Proven Way: Wait Before Polyurethane
Don’t rush your finish! Waiting the correct amount of time before applying polyurethane over paint is crucial for a smooth, durable, and beautiful result. This guide shows you the proven way to ensure perfect adhesion and prevent common mistakes, making your DIY projects shine.
Have you ever finished a paint job, eager to seal and protect your beautiful work, only to apply polyurethane too soon? It’s a common frustration that can lead to a sticky mess, uneven sheen, or even peel. You’ve put in the effort to paint, and the last thing you want is for the protective topcoat to ruin it. Many DIYers wonder, “how long to wait before applying polyurethane over paint?” It can feel like a tricky question with no easy answer. But don’t worry, it’s simpler than you think! With a few clear guidelines and a bit of patience, you can achieve a professional-looking, long-lasting finish every time. Let’s break down the secrets to perfect polyurethane application.
Why Waiting Before Polyurethane is a Game-Changer
Applying polyurethane is like giving your painted surface a tough, protective shield. But this shield needs the surface beneath it to be perfectly ready. If you apply it too early, several things can go wrong, leading to a less-than-ideal finish and potential headaches down the line.
Think of it like baking a cake. You wouldn’t frost a cake that’s still warm, right? The frosting would melt, and it would be a sticky disaster. Wood finishing is similar. Paint needs time to “cure” – a process that goes beyond just being dry to the touch. Curing involves chemical reactions that make the paint layer hard, durable, and ready to bond with another layer.
When paint is still curing, it can be soft and pliable. Applying polyurethane too soon can trap solvents or moisture within the paint layer. This trapped moisture can cause cloudiness or a hazy appearance in your polyurethane, especially if you’re using a water-based product. The sticky surface can also lead to poor adhesion, where the polyurethane doesn’t bond properly to the paint. This might show up later as peeling, bubbling, or a surface that feels tacky even after the polyurethane should be dry.
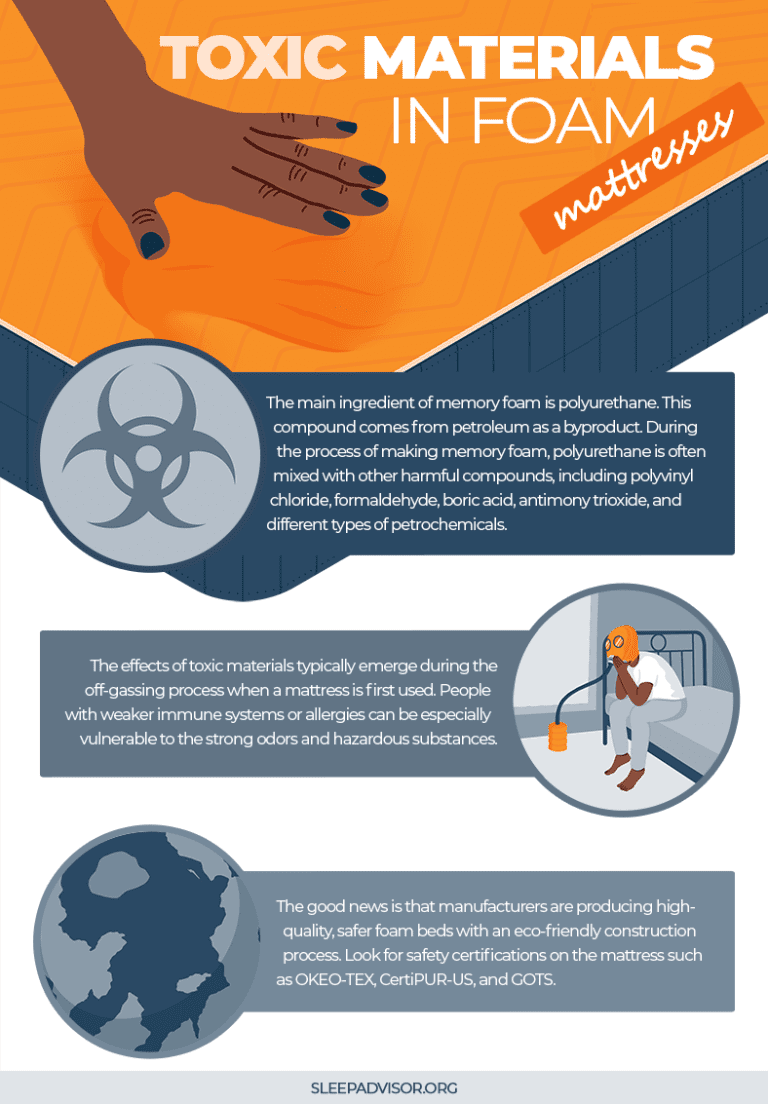
Furthermore, some paints, particularly latex or acrylics, continue to off-gas for a period. This off-gassing can interfere with the curing and drying process of the polyurethane, compromising the final finish. Understanding the difference between “dry to touch” and “fully cured” is key. While a painted surface might feel dry in a few hours, it can take days or even weeks to fully cure and reach its maximum hardness and durability. Polyurethane needs a solid, stable base to adhere to. By allowing the paint adequate time to cure, you’re setting yourself up for a much smoother application and a superior, long-lasting protective finish.
Understanding Paint Curing vs. Drying
This is where most DIYers get tripped up. There’s a big difference between paint being “dry to touch” and “fully cured.”
Dry to Touch
This is when the surface of the paint feels dry and won’t come off on your fingers. It’s usually a matter of a few hours. At this stage, the paint is still very soft and can be easily scratched or damaged. It’s like the crust of bread – dry on the outside, but soft inside.
Fully Cured
This is the real goal. Curing is a chemical process where the paint hardens and reaches its maximum durability. This can take anywhere from a few days to several weeks, depending on the type of paint, humidity, and temperature. A fully cured paint job is tough, resistant to damage, and ready to receive a topcoat like polyurethane. It’s when the entire loaf of bread has finished baking and is firm throughout.
Factors Affecting Curing Time
Several elements influence how quickly your paint will cure, and therefore, when you can safely apply polyurethane. Keeping these in mind will help you make an informed decision.
- Paint Type: Latex and acrylic paints (water-based) typically cure faster than oil-based paints. Water-based paints can often be ready for a topcoat within a few days to a week, while oil-based paints might require two to four weeks.
- Temperature: Warmer temperatures generally speed up the curing process. Cold conditions can significantly slow it down.
- Humidity: High humidity can prolong curing times, especially for water-based paints. Low humidity can sometimes cause the surface to dry too quickly, potentially leading to cracking if not applied properly.
- Ventilation: Good airflow helps with evaporation, which is crucial for the curing process of water-based paints. Poor ventilation can trap moisture and solvents, slowing things down.
- Paint Thickness: Thicker coats of paint take longer to cure than thinner coats. If you applied multiple thick layers, allow extra time.
The Proven Timeline: How Long to Wait Before Applying Polyurethane Over Paint
So, what’s the magic number? It’s not a single answer, but a range based on the paint type. For most DIY projects, you’re likely using water-based (latex or acrylic) paints.
The most commonly recommended waiting period for water-based paints (like latex or acrylic) before applying polyurethane is at least 72 hours (3 days). However, to be absolutely safe and ensure optimal adhesion, many professionals recommend waiting 7 days or even longer for the paint to fully cure.
If you are using oil-based paints, the waiting time is significantly longer. You should wait at least 7 days, and ideally 14-30 days for the oil-based paint to be fully cured before applying polyurethane. This extended time is crucial for the complex chemical reactions that occur during oil-based paint curing.
Here’s a helpful table to summarize:
| Paint Type | Minimum “Dry to Touch” | Recommended “Dry to Topcoat” (Ready for Polyurethane) | Optimal “Fully Cured” (For Best Durability) |
|---|---|---|---|
| Water-Based (Latex/Acrylic) | 2-4 hours | 72 hours (3 days) | 7-14 days |
| Oil-Based | 6-8 hours | 7 days | 14-30 days |
It’s always a good idea to check the specific paint manufacturer’s recommendations on the can. They often provide guidance on recoating times and curing. When in doubt, always err on the side of caution and wait a little longer. Patience now will save you from rework later!
How to Test if Paint is Ready for Polyurethane
Aside from waiting the recommended time, you can perform a simple test to see if your paint is ready. This is especially useful if you’re unsure about the curing conditions.
- The “Stick Test”: Gently press your fingernail into an inconspicuous area of the painted surface. If you can easily dent or scratch the paint, it’s not fully cured. It should feel hard and unyielding.
- The “Rub Test”: Take a clean, white cloth lightly dampened with mineral spirits (for oil-based paint) or denatured alcohol (for water-based paint). Gently rub a small area. If any paint transfers to the cloth, it’s not ready. Be very gentle; you don’t want to remove cured paint.
If either of these tests shows that the paint is still soft or yields color, give it more time. Continue testing every 24 hours until the paint passes these simple readiness checks.
Step-by-Step Guide: Preparing for Polyurethane Application
Once you’ve confirmed your paint is ready, it’s time to prepare for the polyurethane application. Proper preparation is just as important as waiting for the paint to cure.
Step 1: Ensure the Paint is Fully Cured
As discussed, this is the most critical step. Refer back to the timelines and tests. Do not skip this! For water-based paints, aim for at least 72 hours, but a full week is ideal. For oil-based paints, give them at least a week, with two weeks being even better.
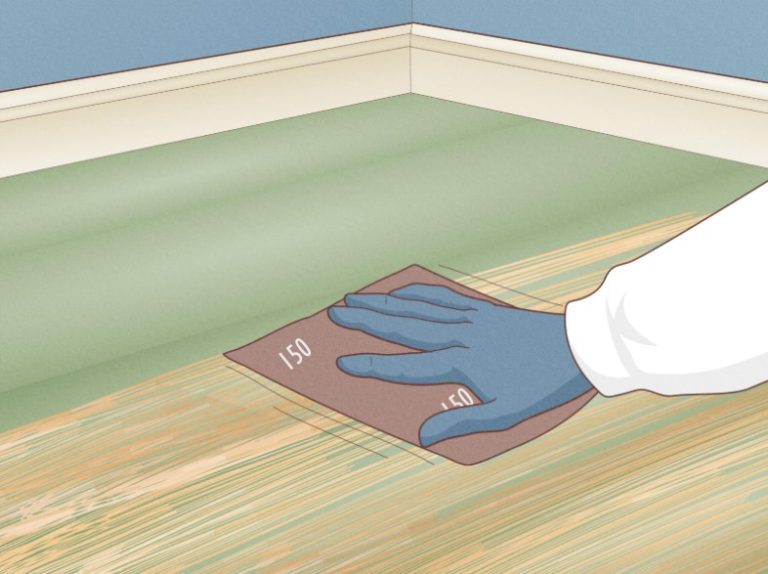
Step 2: Lightly Sand the Surface
Even with proper curing, a painted surface can have tiny imperfections or dust. You need to create a smooth base for the polyurethane to adhere to. This step also helps the polyurethane “grip” the paint surface better.
- Use very fine-grit sandpaper, like 220-grit or higher (e.g., 320-grit).
- Sand the surface very lightly, using gentle, even pressure. You’re not trying to remove the paint, just to de-gloss and smooth it.
- If you’re painting furniture or cabinets, consider using a sanding sponge, as it can conform to curves and edges.
Step 3: Clean the Surface Thoroughly
After sanding, dust is your enemy! Any dust left on the surface will be trapped in the polyurethane, resulting in a gritty, unprofessional finish. This is where a tack cloth or a microfiber cloth comes in handy.
- Use a vacuum cleaner with a brush attachment to remove most of the sanding dust.
- Wipe down the entire surface with a clean, dry microfiber cloth.
- Follow up with a tack cloth. A tack cloth is a specially treated cloth that picks up fine dust particles. You simply wipe the surface, and it leaves no residue behind. This is crucial for a flawless finish. For water-based paints, a slightly damp cloth (with water only) followed by a dry cloth can also work if you don’t have a tack cloth.
Step 4: Check the Weather Conditions
Before you start applying polyurethane, peek outside or check your thermostat and hygrometer. You want to apply polyurethane in optimal conditions.
- Temperature: Most polyurethanes perform best between 65°F and 80°F (18°C to 27°C). Avoid applying in temperatures below 50°F (10°C) or above 90°F (32°C), as this can affect drying and curing.
- Humidity: Aim for relative humidity between 40% and 70%. High humidity can cause water-based polyurethanes to dry cloudy, while very low humidity can cause them to dry too quickly, leading to brush marks.
- Ventilation: Ensure good ventilation, but avoid areas with a lot of dust or airborne particles (like near an open window on a dusty day).
You can find helpful environmental guidance from resources like the EPA on reducing VOCs and managing materials in your home, which often includes tips for painting and finishing.
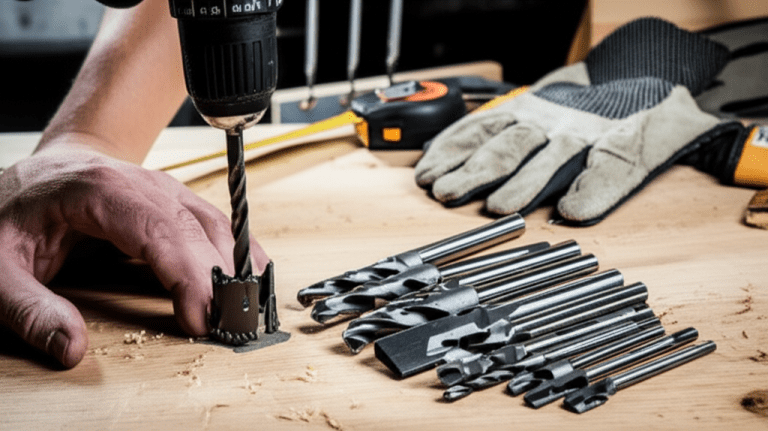
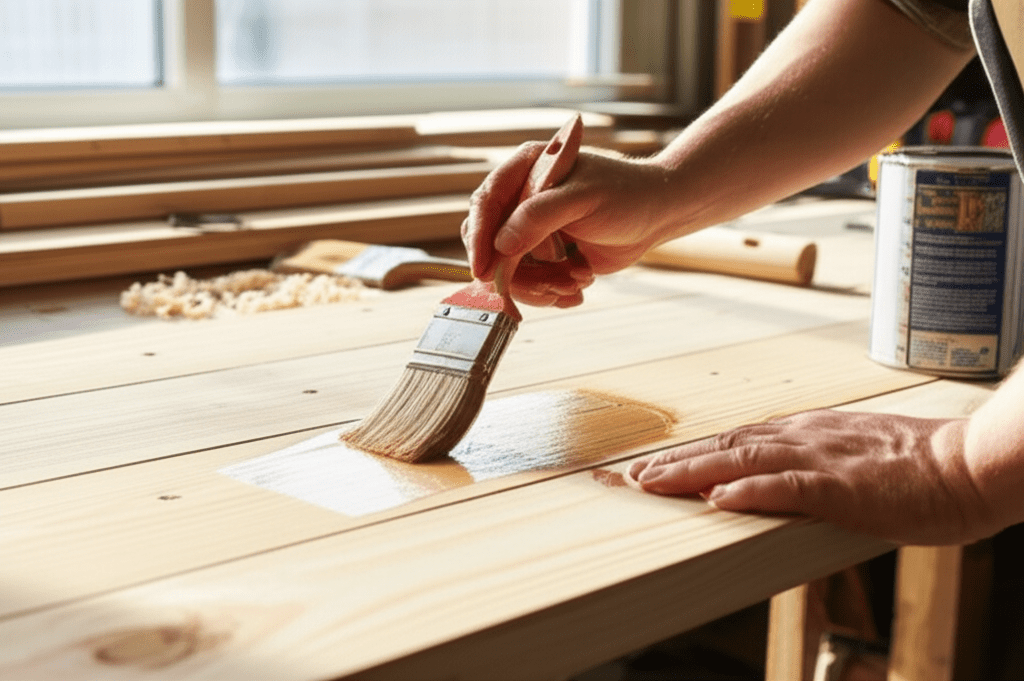
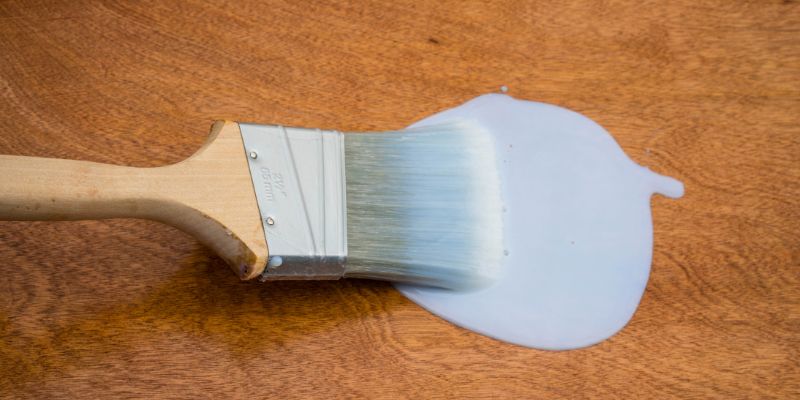
Step 5: Apply the First Coat of Polyurethane
Now you’re ready to apply! Choose the right applicator for the job – a high-quality natural bristle brush for oil-based polyurethane and a synthetic brush for water-based polyurethane, or a foam applicator. Always apply in the direction of the wood grain if you’re working on bare wood, or in long, even strokes if you’re covering a painted surface.
- Stir the polyurethane gently; do not shake it, as this can create bubbles.
- Apply a thin, even coat. It’s better to apply multiple thin coats than one thick coat.
- Avoid overworking the finish. Apply and lay off the brush smoothly.
Step 6: Allow Proper Drying Time Between Coats
Just like with paint, polyurethane needs time to dry before you apply the next coat. Refer to the product can for specific recoating times. For most polyurethanes, this is typically 4-6 hours for water-based and 6-8 hours for oil-based. Lightly sanding and cleaning between coats with fine-grit sandpaper (220-320 grit) and a tack cloth will ensure a smooth, durable finish.
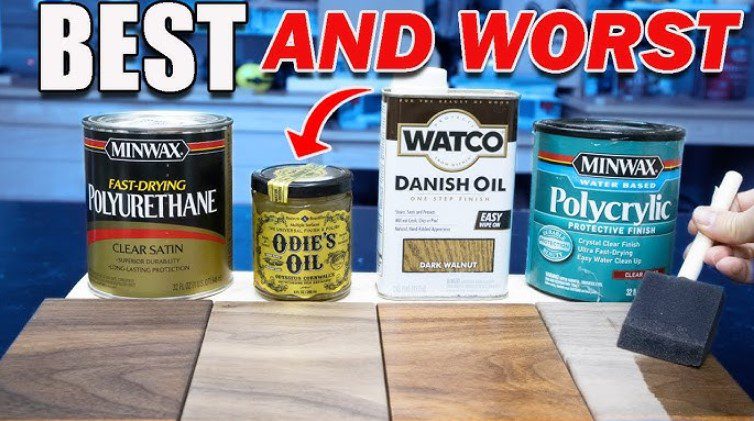
Polyurethane Types and Their Curing Differences
Not all polyurethanes are created equal, and understanding the different types can also impact your waiting times and application process.
Oil-Based Polyurethane
This type offers excellent durability and a warm, amber tone. However, it has a stronger odor, longer drying and curing times, and requires mineral spirits for cleanup. It generally cures harder and is more resistant to chemicals and abrasion. Because of its longer curing process, the waiting times before and between coats are also extended.
Water-Based (Acrylic/Urethane) Polyurethane
These are popular for their low odor, fast drying times, and easy soap-and-water cleanup. They dry clear and are less prone to yellowing over time. While they offer good durability, they might not be as hard or as resistant to abrasion as oil-based polyurethanes. Their curing process is generally quicker, making them a good option if you’re on a tighter schedule, but the fundamental rule of waiting still applies.
The Key Takeaway
Regardless of the type, the underlying principle of allowing the underlying paint layer to fully cure remains the same. Polyurethane relies on a stable, hardened paint surface for proper adhesion and a smooth finish.
Common Mistakes to Avoid
Even with the best intentions, it’s easy to slip up. Here are some common pitfalls when applying polyurethane over paint and how to sidestep them:
- Applying Polyurethane Too Soon: The most common mistake! This leads to adhesion problems, bubbling, and a sticky finish. Patience is key.
- Shaking the Polyurethane Can: Shaking introduces air bubbles that will transfer to your finish. Stir gently instead.
- Applying Thick Coats: Thick coats dry unevenly and can lead to sagging or a milky appearance, especially in humid conditions. Thin, even coats are best.
- Not Sanding and Cleaning Between Coats: Skipping this step results in a less smooth and less durable finish.
- Working in Poor Conditions: Applying in direct sunlight, extreme temperatures, or high humidity can ruin your finish.
- Using the Wrong Applicator: A cheap brush can leave bristles or an uneven finish. Invest in quality tools.
Frequently Asked Questions (FAQ)
What happens if I apply polyurethane too soon over paint?
Applying polyurethane before the paint is fully cured can lead to issues like poor adhesion, bubbling, a sticky or tacky surface, and a cloudy or hazy finish, especially with water-based polyurethanes. The uncured paint can also release gasses that interfere with the polyurethane’s drying process.
Can I use polyurethane over any type of paint?
Yes, you can typically apply polyurethane over most properly cured interior paints, including latex, acrylic, and oil-based paints. However, it’s crucial that the paint is fully dry and cured, and it’s always wise to test in an inconspicuous area first if you’re unsure. For exterior paints or special finishes, always consult the paint manufacturer’s recommendations.
Is it okay to use a spray polyurethane over painted surfaces?
Yes, spray polyurethane can be an excellent option for a smooth, even finish over painted surfaces. Ensure the painted surface is fully cured, clean, and lightly sanded. Apply in thin, even coats, overlapping slightly. Protect surrounding areas from overspray with drop cloths or masking paper. Always follow the manufacturer’s instructions for the specific spray product.
My painted surface feels slightly tacky after applying polyurethane. What did I do wrong?
A tacky finish usually means either the paint wasn’t fully cured before the polyurethane was applied, or the polyurethane itself hasn’t fully cured. It can also be caused by applying the polyurethane too thickly or in high humidity. Ensure you waited long enough for the paint to cure, apply polyurethane in thin coats, and ensure good ventilation and appropriate temperature/humidity levels. If it’s still slightly tacky after a few days, it might need a very light sanding and another thin coat once the tackiness has dissipated.
How do I know if my polyurethane coat is dry enough to recoat?
Most water-based polyurethanes are dry to the touch in about 2-4 hours and ready for recoating in 4-6 hours. Oil-based polyurethanes take longer, usually dry to the touch in 6-8 hours and ready for recoat in 6-8 hours, but it’s always best to check the manufacturer’s instructions. A light sanding (with 220-320 grit) after the initial drying period before recoating helps ensure good adhesion for the next coat.
Can I use a pre-catalyzed or conversion varnish instead of polyurethane over paint?
Yes, specialized finishes like pre-catalyzed lacquer or conversion varnish can be applied over properly prepared and cured paint. These are often used in commercial furniture finishing for their durability and speed of curing. However, they are more advanced products and may require specific application techniques and safety precautions (like good ventilation and possibly respirators). For most DIYers, standard polyurethane is a more accessible and manageable choice.
Conclusion
Waiting before applying polyurethane over paint isn’t just a suggestion; it’s a fundamental step towards achieving a durable, beautiful, and professional-looking finish. By understanding the difference between paint drying and curing, and by factoring in elements like paint type, temperature, and humidity, you can confidently know when your painted surface is truly ready for its protective topcoat.
Remember the golden rule: patience pays off. For water-based paints, aim for at least 72 hours, but a full week is ideal. For oil-based paints, give them a minimum of 7 days, with 14-30 days being optimal. Always perform the simple stick or rub tests to be absolutely sure. Proper preparation, including light sanding and thorough cleaning, is also crucial for the best results.
By following these proven methods and avoiding common mistakes, you’ll protect your painted surfaces effectively and ensure your DIY projects look their best for years to come. Happy finishing!