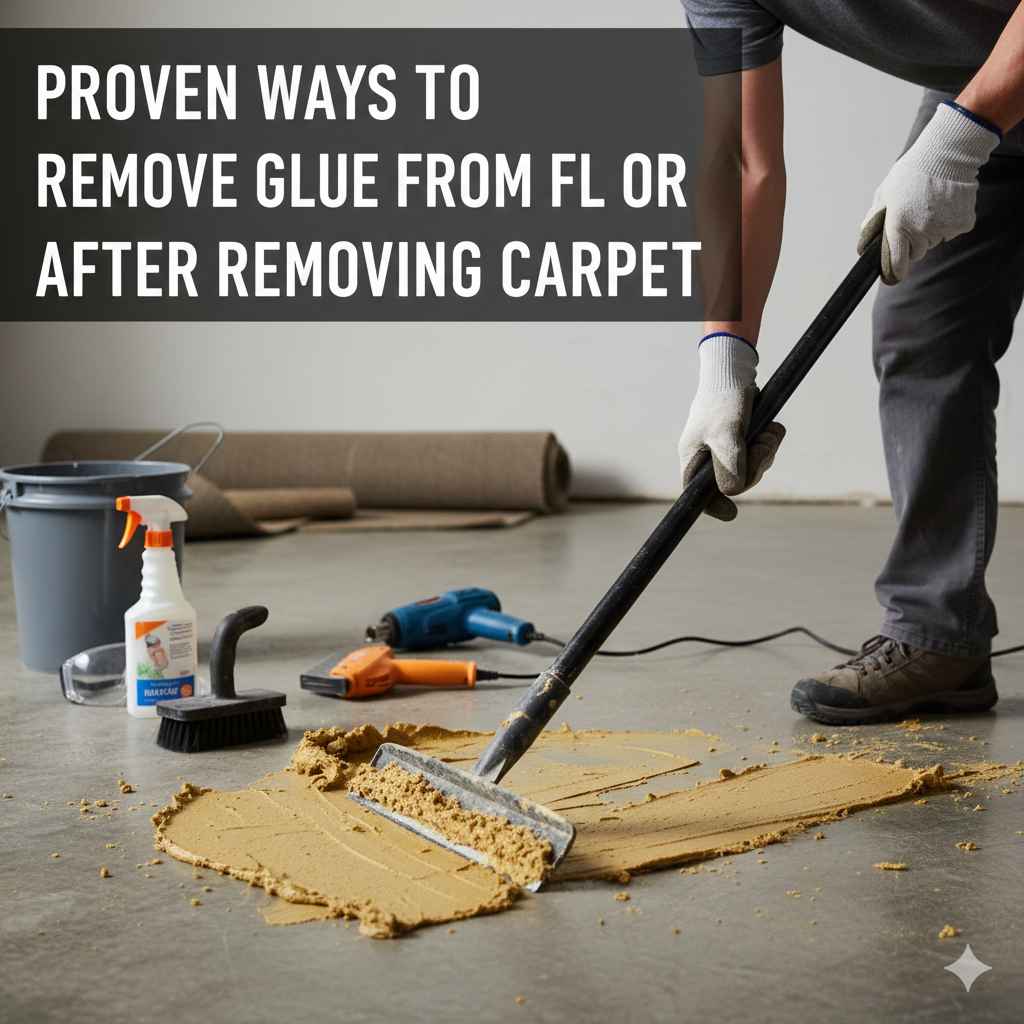
Proven Ways To Remove Glue From Floor After Removing Carpet
To successfully remove stubborn carpet glue from your subfloor or hard flooring, use a combination of gentle heating (like a hairdryer), physical scraping with a dull blade, and safe chemical softening solutions like mineral spirits or citrus-based removers, followed by thorough cleaning.
Pulling up old carpet is exciting! You finally see the beautiful wood, tile, or concrete underneath. But wait—a sticky, gooey layer of old carpet adhesive remains. This residue is frustrating and seems impossible to lift. Don’t worry! Dealing with old carpet glue is a very common DIY cleanup job. With a little patience and the right technique, you can make that floor smooth and ready for the next step. We will walk through proven, safe methods suitable for almost any floor type.
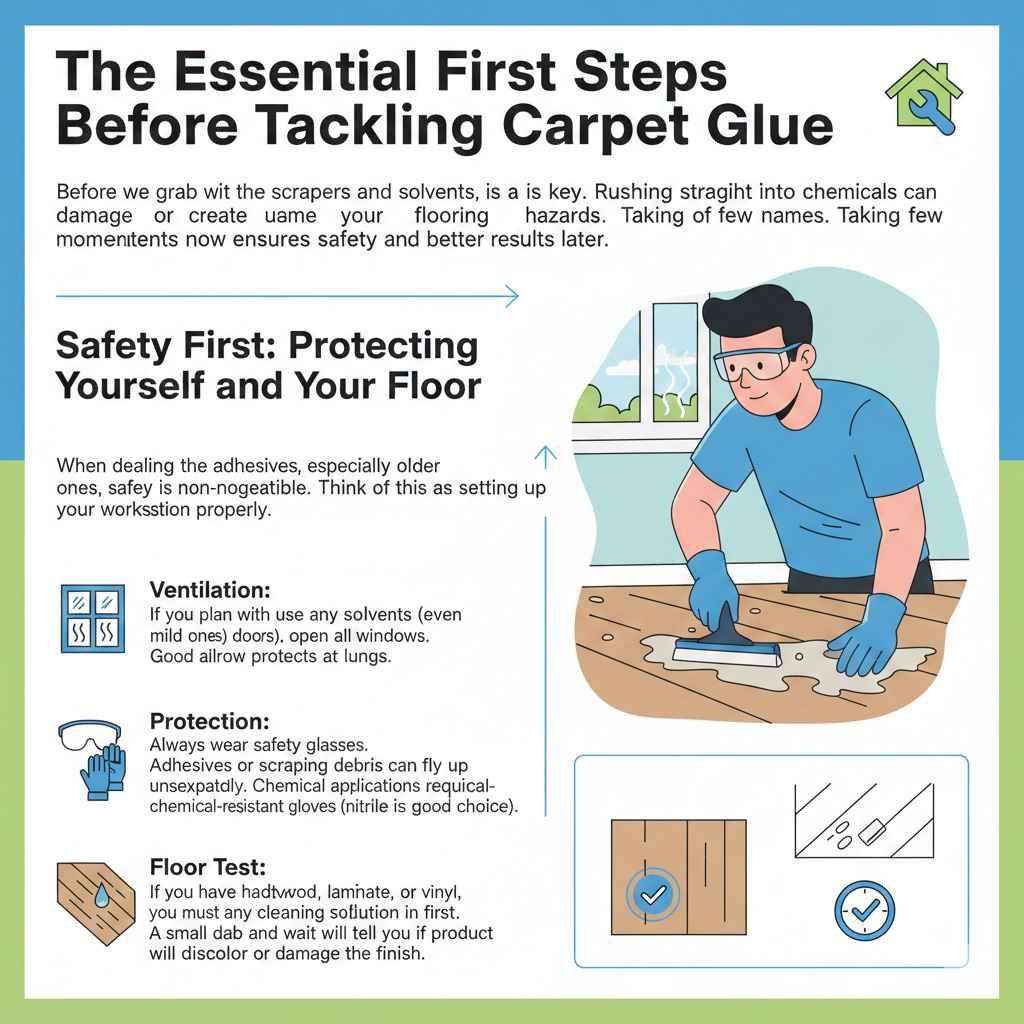
The Essential First Steps Before Tackling Carpet Glue
Before we grab the scrapers and solvents, preparation is key. Rushing straight into chemicals can damage your flooring or create unnecessary hazards. Taking a few moments now ensures safety and better results later.
Safety First: Protecting Yourself and Your Floor
When dealing with adhesives, especially older ones, safety gear is non-negotiable. Think of this as setting up your workstation properly.
- Ventilation: If you plan to use any solvents (even mild ones), open all windows and doors. Good airflow protects your lungs.
- Protection: Always wear safety glasses. Adhesives or scraping debris can fly up unexpectedly. Chemical applications require chemical-resistant gloves (nitrile is usually a good choice).
- Floor Test: If you have hardwood, laminate, or vinyl, you must test any cleaning solution in an inconspicuous area first. A small dab and wait will tell you if the product will discolor or damage the finish.
Identifying Your Floor Type
The glue removal method drastically changes based on what the glue is sitting on. You can’t use the same aggressive approach on old, unfinished wood as you would on modern ceramic tile.
Here is a quick guide to common subfloors and what to watch out for:
- Plywood/OSB Subfloor: This is common under carpet. It’s absorbent and can stain easily if liquids soak in too long. You must be careful not to gouge the wood itself.
- Concrete Slab: This is the toughest surface. It resists most chemicals but holds onto the glue very stubbornly.
- Existing Hardwood/Tile: If you removed carpet glued directly to finished hardwood or ceramic tile, you need extremely gentle methods, as you risk scratching the surface finish or grout lines.
Method 1: The Heat and Scrape Technique (Best for Fresh or Thick Glue)
Heat is your best friend for loosening sticky, strong adhesives. Heat softens the polymers in the glue, making it pliable and easier to lift away rather than just chipping at it.
Tools for Heat Removal
You likely already own these items:
- Hair Dryer (a high-powered one works best) or a Heat Gun (use with extreme caution on wood/vinyl).
- Plastic or Nylon Scraper (preferred for softer floors).
- A long-handled, dull metal scraper or putty knife (for concrete/hard surfaces).
- Heavy-duty trash bags for disposal.
Step-by-Step Heating Process
- Prep the Area: Clear all furniture and vacuum up any loose debris or carpet fibers.
- Apply Focused Heat: Hold your hairdryer or heat gun about 2–3 inches away from a small 1-square-foot section of glue. Keep the heat moving constantly over that area for 30 to 60 seconds. You want the glue tacky and soft, not smoking or burning.
- Test for Softness: Gently press your fingernail into the glue. If it gives easily and feels gooey, it’s ready.
- Scrape Carefully: Immediately use your chosen scraper. Hold the scraper at a very shallow angle (almost flat against the floor). Push slowly and steadily. The glue should roll up onto the blade instead of just chipping away.
- Repeat and Dispose: Once you’ve lifted a section, immediately ball up the gooey glue and place it in a trash bag. Reapply heat to the next small section.
Pro Tip for Heat Guns: If you use a heat gun, keep it moving constantly. High heat directed in one spot can scorch wood subfloors or even cause vinyl flooring underneath to bubble. It’s safer to use a hairdryer if you are unsure.
Method 2: Chemical Softening Agents (For Stubborn Residue)
When scraping alone leaves a thin, smeared layer that heat won’t budge, it’s time to bring in a softening agent. These chemicals break down the adhesive bond, allowing you to wipe or scrape off the remainder.
Choosing Your Solvent
The choice of solvent is critical to avoid floor damage. Always start with the mildest option first.
| Product Name | Best For | Caution Level | Availability |
|---|---|---|---|
| Mineral Spirits (Paint Thinner) | Most robust, heavy-duty adhesives on concrete or unfinished wood. | Medium (Flammable, strong odor, requires ventilation) | Hardware Stores |
| Citrus-Based Adhesive Remover (e.g., Goo Gone) | Lighter residues on finished wood or laminate. | Low (Natural scent, gentle on surfaces) | Most Retail Stores |
| Rubbing Alcohol (Isopropyl) | Very light, thin films, often effective on water-based glues. | Low (Evaporates quickly) | Pharmacies, Groceries |
| Acetone (Nail Polish Remover) | Last resort only, primarily on concrete. | High (Very harsh, will dissolve many finishes/plastics) | Drug Stores |
Applying Solvents Safely
Follow these steps precisely when using any chemical remover:
- Test Spot: Reiterate testing in an hidden area. Apply a tiny drop and wait 15 minutes. Check for discoloration or damage.
- Apply Locally: Dampen a clean rag with your chosen solvent. Do not pour the solvent directly onto the floor, especially if it is wood. You want to saturate the glue, not the subfloor beneath it.
- Let It Dwell: This is the most important step. Allow the solvent time to work—usually 10 to 30 minutes, depending on the product instructions. You might cover the dampened area with plastic wrap to slow evaporation and keep the solvent active.
- Scrape or Wipe: After dwelling time, the glue should become soft or gummy. Use your plastic scraper or a stiff nylon brush to lift the residue. For very light films, a heavy-duty sponge might suffice.
- Rinse Immediately: As soon as the glue is up, clean the area thoroughly with warm, slightly soapy water. This removes the chemical residue, which can otherwise attract new dirt or potentially damage the floor over time. Dry the area completely.
For homeowners working on existing wooden floors, remember that moisture is the enemy of wood. You must use cleaning solutions sparingly and wipe up moisture quickly. For more on protecting wooden subfloors before refinishing, consult resources like those provided by The National Wood Flooring Association, which offers excellent guidance on surface preparation and moisture control (WoodFloors.org Resource Guide).
Method 3: The Mechanical Approach (Heavy Duty for Concrete)
When you have thick glue deposits on durable concrete or when chemicals just aren’t effective, you need mechanical abrasion. This is often the loudest and messiest, but sometimes the fastest, way forward.
Tools for Aggressive Removal
These tools require care, especially around the edges of the room:
- Floor Scraper Machine (a specialized rotary machine—often rentable).
- Long-handled Floor Scraper with sharp, replaceable blades.
- Chisel and Hammer (for very localized, thick chunks).
- Shop Vacuum (essential for immediate cleanup).
Using a Floor Scraper Machine
Renting a dedicated floor stripper or rotary buffer with a stripping pad is often the best route if you have a large area of concrete to clear. These machines use rotating heads to chip away the hardened glue layer.
- Ensure Proper Ventilation: These machines kick up a lot of dust and debris.
- Set Blade Depth: If using a dedicated stripper, ensure the blade depth is set correctly so it only removes the glue layer, not digging excessively into the concrete.
- Work Slowly: Guide the machine steadily over the glue lines. Do not force the machine; let the rotating blades do the work.
- Vacuum Constantly: Keep the built-in vacuum bag emptying or use a powerful shop vac connected nearby to manage the heavy amount of debris generated.
For DIYers tackling smaller spots, a sharp, well-held floor scraper works well. Always angle the blade slightly downward, leaning into the tool for a shaving motion rather than a prying motion. Prying risks gouging the concrete.
The Essential Final Cleaning: Ensuring a Clean Surface
Whether you used heat, chemicals, or heavy scraping, you will almost always have a thin, hazy film left behind. This film must go, especially if you plan to paint the subfloor or install new flooring over it, as new adhesives won’t stick properly to a greasy residue.
Step-by-Step Final Wipe Down
This cleaning process smooths out the surface after the main glue removal:
- Initial Sweep/Vacuum: Remove all loose scraping material and dust.
- Prepare Degreasing Solution: Mix a solution of warm water and a mild detergent or trisodium phosphate (TSP) substitute. TSP is highly effective but harsh; use a milder substitute if your floor is not bare concrete. For wood, simple dish soap is often enough.
- Scrubbing: Use a stiff nylon-bristle brush or a heavy-duty deck brush. Scrub the entire area where glue was present. You are trying to lift the final oily bond layer.
- Rinse Clean: Mop the floor with clean water. You may need to change the water several times until the rinse water comes up clear, not cloudy or sudsy.
- Dry Thoroughly: Use old towels to soak up excess water, then allow plenty of time for air drying. Use fans to speed this process up, particularly on wood subfloors.
A perfectly clean floor allows new adhesive (whether for vinyl planks, tile thin-set, or paint) to bond correctly, leading to a long-lasting installation. For reference on preparing various subfloors for new materials, construction guides from organizations like the U.S. Department of Veterans Affairs offer detailed specifications on moisture content and preparation standards (VA Construction Guides (Search for flooring prep specs)).
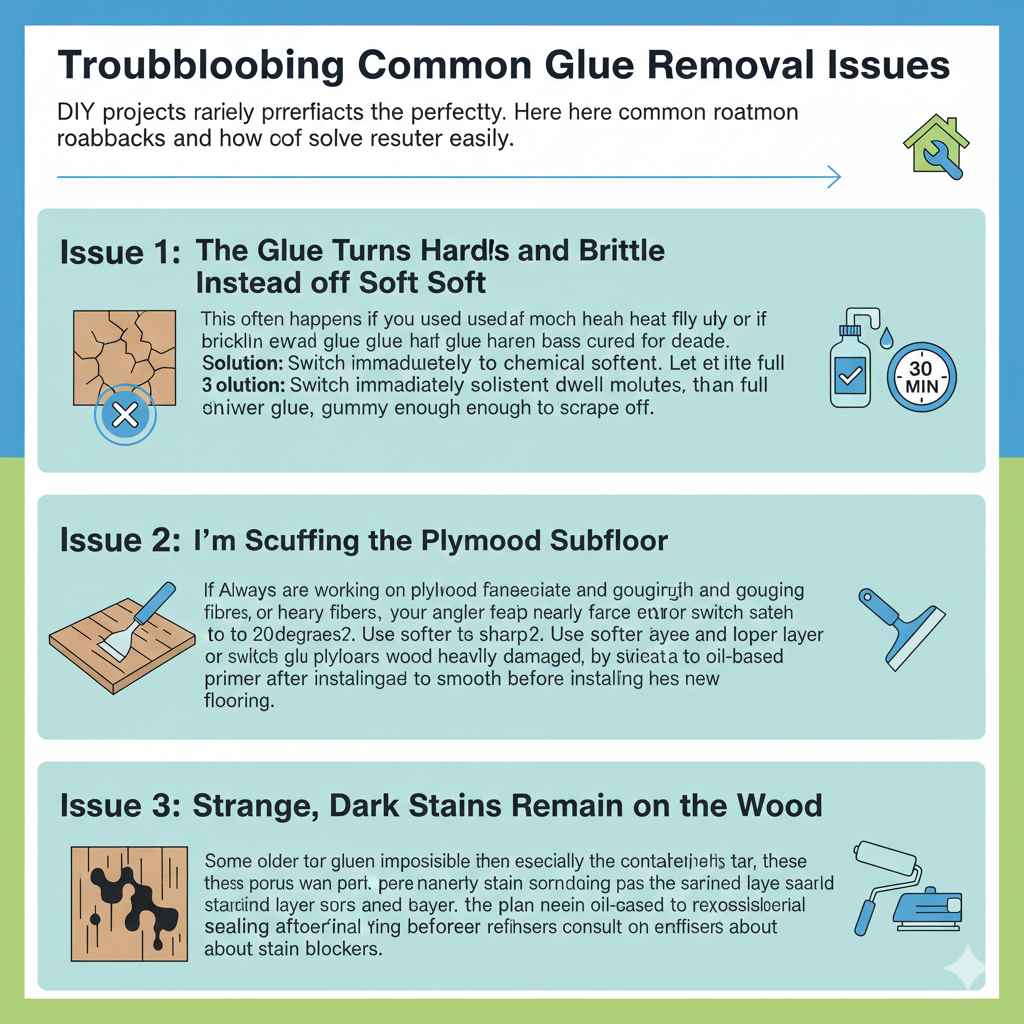
Troubleshooting Common Glue Removal Issues
DIY projects rarely go perfectly. Here are common roadblocks and how to solve them easily.
Issue 1: The Glue Turns Hard and Brittle Instead of Soft
This often happens if you used too much heat too quickly or if the glue has cured for decades. Brittle glue is hard to scrape off in one piece.
Solution: Switch immediately to a chemical softening agent (Method 2). Let the solvent dwell for a full 30 minutes. The solvent will often re-moisten the dried glue, making it gummy enough to scrape off.
Issue 2: I’m Scuffing the Plywood Subfloor
If you are working on plywood and your scraper is gouging the wood fibers, you are either using too much force or your angle is too sharp.
Solution: Always keep your scraper nearly flat against the floor (10 to 20 degrees). Use softer heat application or switch to a plastic scraper. If the wood is heavily damaged, you may need to sand the top layer of the plywood after glue removal to smooth the surface before installing new flooring.
Issue 3: Strange, Dark Stains Remain on the Wood
Some older carpet glues, especially those containing tar or heavy binders, permanently stain porous wood. These stains are often beneath the glue residue itself.
Solution: These stains are often impossible to remove completely without sanding the wood down past the stained layer. If you plan to install a new layer of vinyl or tile, the stain should be encapsulated by sealing the floor with an oil-based primer before installing the final layer. If you plan to stain the wood, consult a professional floor refinisher about stain blockers.
Frequently Asked Questions (FAQ) About Carpet Glue Removal
Q1: Can I just paint over the old carpet glue residue?
A: Generally, no. Most modern flooring adhesives (like those for LVP, tile thin-set, or even carpet padding glue) require a clean, porous, dry surface to achieve a proper chemical bond. Paint or a light film of glue will cause the new layer to peel up later.
Q2: Is it safe to use a floor sander to remove the glue?
A: If you have a concrete subfloor, yes, a drum sander or grinder works well. If you have a wood subfloor, be extremely careful. Standard sanding drums will quickly remove the glue but may also remove too much of your subfloor material, weakening it, or cause deep gouges.
Q3: How long does it usually take to clean a standard 12×12 room?
A: For an experienced DIYer using a combination of heat and scraping, a 12×12 room might take 4 to 6 hours. For a beginner, budget an entire weekend, factoring in time for chemical dwell times and final cleaning/drying.
Q4: Can I use WD-40 to remove carpet glue?
A: WD-40 works on some light, fresh adhesives, but it often leaves behind a heavy, oily residue that needs to be cleaned thoroughly afterward. Mineral spirits or dedicated citrus removers are usually more efficient and easier to clean up completely.
Q5: What is the safest way to remove glue from vinyl sheet flooring?
A: If you are removing carpet glued directly to vinyl, use only gentle heat (hair dryer only, not a heat gun) and a plastic scraper. Apply a citrus-based remover very sparingly and wipe immediately. Vinyl is sensitive to heat and harsh chemicals, which can melt or warp it.
Q6: Do I need to wear a respirator when using chemical glue removers?
A: While simple mineral spirits require good ventilation, if you use stronger commercial removers, or if you are sensitive to smells, wearing a properly fitted respirator rated for organic vapors is always the safest choice. Always check the product’s Safety Data Sheet (SDS).
Conclusion: You’ve Got This!
Seeing that stubborn carpet glue can be discouraging, but remember that this is just preparation work. You are transforming your space, and this cleanup phase is a necessary step toward your goal. Whether your adhesive responds best to the gentle persuasion of heat, the dissolving power of a solvent, or the raw strength of mechanical scraping, you now have multiple reliable methods at your disposal. Choose the method that best matches your floor type and start small. Patience is your most effective tool here. Work in small sections, prioritize safety with good ventilation and gloves, and soon you will have a beautifully clean subfloor ready for its next chapter. Happy renovating!