Varnish Sanding between Coats: Expert Tips Revealed
When it comes to achieving that perfect, smooth finish on your woodworking projects, every detail counts. You might have heard about sanding between coats of varnish, but do you know why it’s so crucial?
Understanding the role of varnish sanding can transform your DIY project from ordinary to extraordinary. This simple yet effective technique can be the secret weapon in your woodworking arsenal, ensuring a flawless, professional look that you can be proud of.
Stay with us as we delve into the importance of sanding between varnish coats and how it can make all the difference in your final results. By the end of this article, you’ll be equipped with the knowledge to enhance your projects, impressing everyone with your craftsmanship.

Credit: guides.jamestowndistributors.com
Why Sanding Between Coats Matters
Sanding between varnish coats is very important. It helps create a smooth surface. Smooth surfaces make the finish look better. Sanding removes dust and bumps. This allows the next coat to stick well. Without sanding, the surface can feel rough. Rough surfaces are less durable. Durable finishes last longer and look nice. Sanding also stops varnish from peeling. Peeling happens when coats do not bond properly. To avoid this, always sand lightly.
Use fine sandpaper for best results. Fine sandpaper prevents deep scratches. Deep scratches can ruin the finish. Sanding also helps in leveling uneven spots. Even spots make the surface look professional. Sanding is not just for looks. It helps protect the wood beneath. Protected wood stays strong and healthy. Regular sanding makes maintenance easy. Easy maintenance saves time and effort.
Choosing The Right Sandpaper
Picking the right gritis key. Start with coarse gritto remove bumps. Use medium gritfor smoothing. Finish with fine gritfor a smooth touch. Each grit has its job. Don’t skip steps for the best finish.
Sandpaper comes in many types. Choose aluminum oxidefor wood. It lasts long. For a fine finish, try silicon carbide. It’s good for wet and dry sanding. Garnetis another type. It wears out faster but leaves a smooth finish. Pick the type that fits your project best.
Proper Sanding Technique
Hand sanding is a slow process but gives great control. You can feel the surface better. This helps in making surfaces smooth. Machine sanding is faster. It covers larger areas quickly. But, machines can leave marks if not used well. It is important to choose the right grit paper. Fine grit is good for smooth finishes. Coarse grit removes more material. Use light pressure to avoid scratches. Keep the surface clean from dust.
Many people press too hard while sanding. This can damage the surface. Always sand along the wood grain. Cross-grain sanding makes ugly marks. Skipping grits is another mistake. Never jump from coarse to fine grit. This leaves rough patches. Clean the surface often. Dust can ruin the final finish. Take breaks to check your work. This helps spot mistakes early.

Credit: www.youtube.com
Preparing The Surface
A clean surface is very important. Dust and dirt can ruin varnish. Use a soft cloth to wipe it away. Make sure the cloth is clean. No dust should remain. Dirt can stick to the varnish. This makes the surface rough. A clean surface helps the varnish stick better. Always check twice for dirt. This saves time later.
Look for scratches or bumps. Imperfections make the varnish look bad. Lightly touch the surface. Feel for any rough spots. Use your eyes and hands. Find any flaws. Fix them before sanding. Small scratches are easy to fix. Sand them gently. This makes the surface smooth. A smooth surface is best for varnish. It looks better and lasts longer.
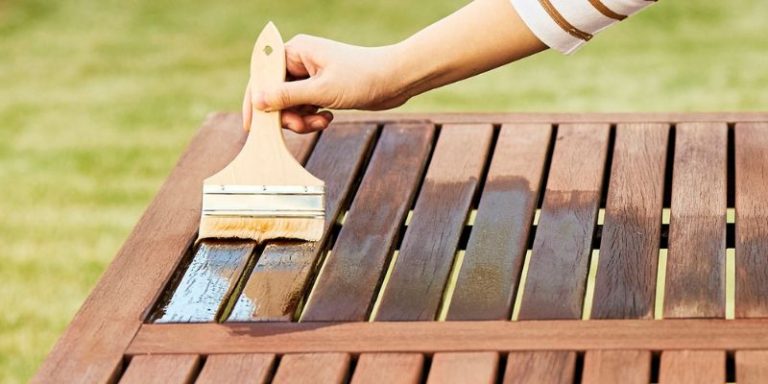
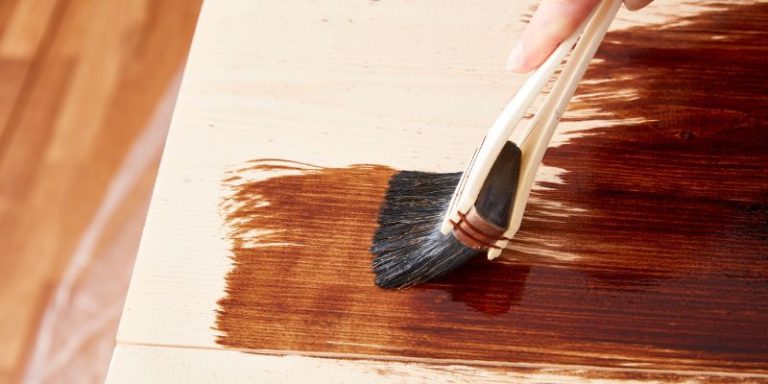
Applying Varnish After Sanding
A smooth finish means careful work. Sanding between coats is key. It helps the varnish stick well. Use fine sandpaper to avoid scratches. Dust off the surface after sanding. A clean surface is important. It stops bumps and bubbles from forming. Smooth and clean surfaces lead to better results.
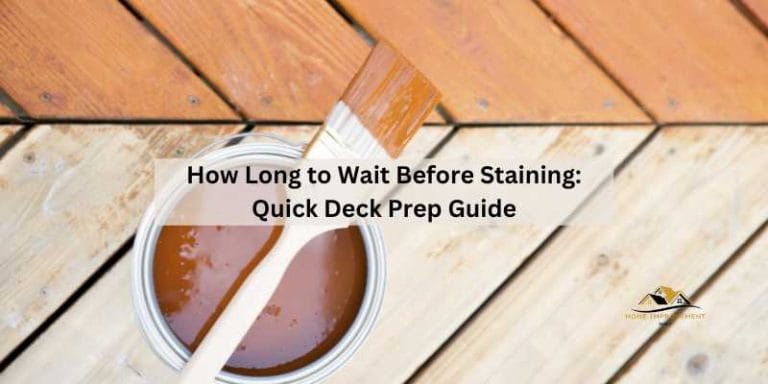
Drying time matters in varnishing. Check the label on your varnish. Some varnishes dry fast. Others take longer to dry. Waiting is important for a good finish. Rushing can ruin the work. Patience ensures the varnish dries well. Let each coat dry fully before sanding. This helps in getting a smooth and shiny surface.
Troubleshooting Sanding Issues
Uneven surfaces can make sanding tough. Use a sanding blockfor better control. It helps keep the surface flat. Move the blockin even strokes. This will smooth out the bumps. Check your work often. Feel the surface with your hand. It should feel smooth.
Dust can ruin your varnish. Use a clean clothto wipe away dust. Wet the cloth a little. It picks up more dust this way. Turn off fans to stop dust from flying. Keep the area clean. This stops dust from settling back. Sand in a clean room if you can. Dust is a big problem for varnish.
Expert Tips For Optimal Results
Sanding between coats helps make surfaces smooth. It removes rough spots and makes the next coat stick well. Use a fine-grit sandpaper for the best results. Sand gently to avoid scratches. Clean the dust off with a damp cloth. This keeps the surface ready for the next coat.
Maintaining Consistency is key. Keep pressure even while sanding. This helps avoid uneven spots. Always use the same sanding technique. This makes sure all areas look the same. Taking time with each step gives a better finish.
Frequently Asked Questions
Why Sand Varnish Between Coats?
Sanding varnish between coats ensures a smooth and even finish. It removes imperfections like dust and bubbles. This process also enhances adhesion of the next layer. A smoother surface results in a more professional and durable finish. Always use fine-grit sandpaper for best results.
How Long To Wait Before Sanding Varnish?
Wait until the varnish is completely dry before sanding. Typically, this takes about 24 hours, depending on the type and conditions. Ensure the surface is hard to touch. Sanding too soon can damage the finish. Check the manufacturer’s instructions for specific drying times.
Can You Use An Electric Sander On Varnish?
Yes, you can use an electric sander on varnish. Choose a sander with adjustable speed settings for control. Use fine-grit sandpaper to avoid scratches. Be gentle and avoid applying too much pressure. This helps achieve a smooth, even surface without damaging the varnish.
What Grit Sandpaper For Varnish Sanding?
Use fine-grit sandpaper, typically between 220 to 320 grit, for varnish sanding. This grit level smooths without scratching. It helps achieve a polished finish and prepares the surface for the next coat. Avoid coarse sandpaper as it can leave marks and damage the varnish.
Conclusion
Sanding between varnish coats is crucial for smooth finishes. It removes imperfections. Ensures each layer adheres well. Use fine-grit sandpaper for best results. Always clean the surface after sanding. This prevents dust from getting trapped. Patience is key for a professional look.
Each coat builds a stronger, more beautiful finish. Remember, practice makes perfect. With time, your skills will improve. A well-sanded varnish enhances wood’s natural beauty. It’s worth the extra effort. So, take your time. Achieve that flawless, polished look. Your project will shine.
And you’ll be proud of your work.