What Happens If You Leave Painters Tape On Too Long? Essential
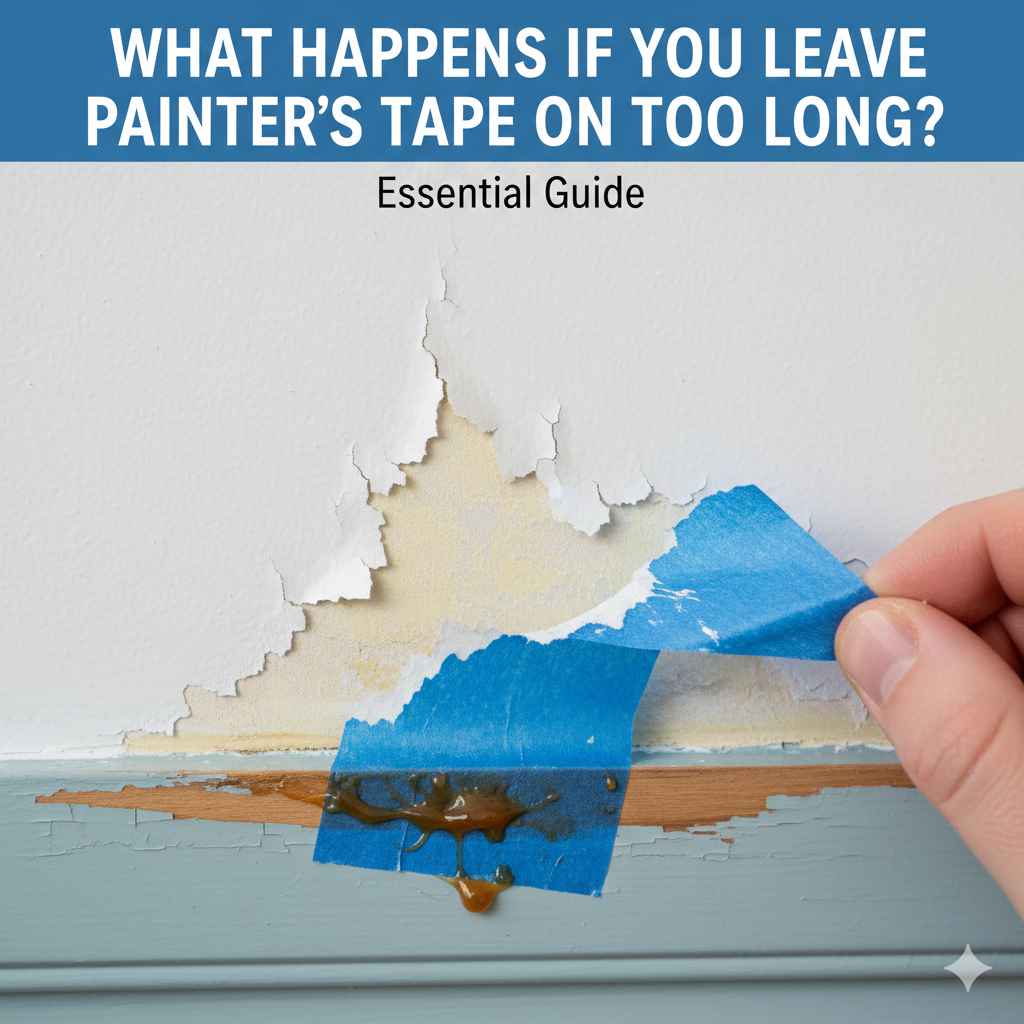
Leaving painter’s tape on too long risks paint peeling, sticky residue, and damaged surfaces. Once the paint is fully cured—usually within 24 to 72 hours—remove the tape slowly at a 45-degree angle to protect your fresh finish. Always check the manufacturer’s recommended curing time for best results.
Hey there, fellow DIY enthusiast! I’m Md Meraj, and I know the feeling. You just finished that perfect coat of paint, everything looks amazing, and you think, “I’ll just peel this tape off tomorrow.” But life happens! Suddenly, it’s three days later, and you’re staring nervously at that strip of blue or green tape wondering if you’ve ruined your sharp lines. It’s a super common worry, but don’t panic! Knowing what happens and how to fix it saves your hard work. We’re going to walk through exactly what happens when tape stays put too long and how to remove it safely, so you can confidently tackle your next room refresh. Let’s make sure those edges stay crisp!
Painter’s tape is a wonderful tool. It creates those beautiful, crisp lines we all want between colors or where paint meets trim. But this little strip of paper and adhesive has a limited lifespan once the paint goes on. It’s not just about aesthetics; leaving it on for too long can cause real problems for your beautiful new finish and the surfaces underneath.
When you’re deep into a project, time flies. Whether it was rain, an unexpected errand, or just needing a break, that tape might have stayed put longer than the label suggested. Understanding the risks means you can act quickly and carefully to save your project.
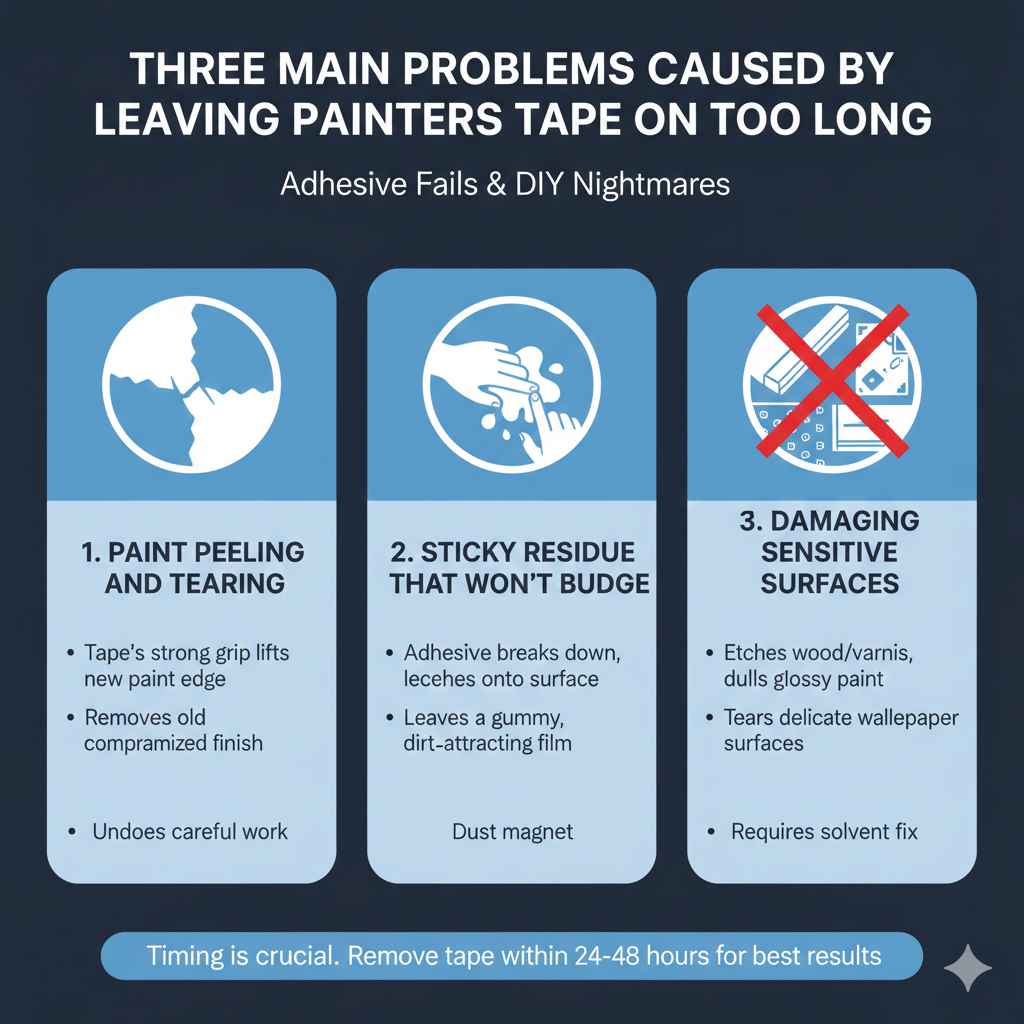
The Three Main Problems Caused by Leaving Tape On Too Long
When painter’s tape cures onto the wall or trim for an extended period—say, a week or more—the adhesive starts to work against you instead of for you. Here are the three biggest headaches you might face.
1. Paint Peeling and Tearing
This is the most frustrating outcome. Painter’s tape is designed to bond well enough to prevent bleeding but weakly enough to release cleanly. When left on too long, the adhesive can chemically “cure” or strengthen its bond to the surface, sometimes grabbing onto the top layer of the dried paint. When you pull it off, the following things can happen:
- Lifting the New Paint: The tape pulls the edge of your new paint layer up, creating a jagged, uneven line, essentially undoing your careful painting work.
- Removing Old Paint: If the paint underneath is older or already slightly compromised, the tape’s grip might be stronger than the existing bond to the wall, pulling off the old finish along with it.
This usually happens because the paint needed more time to fully cross-link and harden (cure), but the tape held down the edge while it dried, creating a weak seam.
2. Sticky Residue That Won’t Budge
The second common issue is the sticky residue left behind. Tape adhesive is pressure-sensitive. Over time, especially if the area is warm or humid, the adhesive breaks down or leeches its sticky components onto the surface. Instead of a clean strip, you’re left with a gummy, hard-to-remove film.
This residue attracts dust and dirt almost immediately. Cleaning it off usually requires solvents, which brings us to the next big risk…
3. Damaging Sensitive Surfaces
Painter’s tape is generally safe for finished interior walls. However, when that adhesive sits for weeks or months, it can affect more sensitive finishes:
- Wood Trim and Varnish: The solvents in some adhesives can etch or dull clear coats and varnishes on wood trim, leaving a hazy or lighter patch where the tape sat.
- Wallpaper: The paper backing of the tape can sometimes tear the delicate surface layer of the wallpaper, or the adhesive can lift the paper right off the wall if it wasn’t installed perfectly.
- Glossy Finishes: Highly glossy paints or lacquers are more prone to having their shine dulled by aggressive adhesives left on too long.
Understanding the “Cure Time” vs. “Dry Time”
To prevent these issues, you must understand what the tape manufacturer means by “safe removal time.” It’s not the same as “dry to the touch.”
Dry Time vs. Cure Time
Dry Time: This is when the paint feels dry enough not to stick to your finger or transfer onto clothing. Most modern latex paints are dry to the touch in 1–4 hours.
Cure Time: This is when the paint has chemically hardened completely and achieved its final hardness and durability. Latex paints often take 7 to 30 days to fully cure, depending on humidity and temperature. This is when the bond between the paint and the tape becomes strongest, making removal risky.
Manufacturer Guidelines: When to Pull the Tape
Always defer to the tape manufacturer. Most standard blue or green painter’s tapes recommend removal within a specific timeframe:
| Tape Type | Recommended Max Time on Surface | Best Practice |
|---|---|---|
| Standard Blue Painter’s Tape | 3 to 7 days | Remove while paint is still slightly soft (but dry). |
| Delicate Surface/Low-Tack Tape | 1 to 3 days | Remove quickly; best for wallpaper or aged paint. |
| FrogTape (or similar medium/high adhesion) | 24 hours (especially if paint is thin) | Often recommends removing while paint is “wet” or slightly tacky for the sharpest line. |
If you search for best practices regarding surface preparation and material compatibility, you’ll find consistent advice across the industry, like the guidelines provided by reputable sources like the Paint Quality Institute, stressing the importance of timing for optimal adhesion and removal.
Your Step-by-Step Safe Removal Guide (Even If It’s Late!)
So, you checked the calendar, and it’s been five days—or maybe five weeks. Don’t panic! We can often salvage the situation with patience and a little technique. The goal is gentle persuasion, not forceful pulling.
Step 1: Assess the Situation
Before touching the tape, look closely at the paint:
- Is it fully hardened? Gently press the paint right next to the tape line. If it feels tacky at all, give it more time, especially if it’s humid indoors.
- Is the tape brittle? Old tape can become stiff and crack when pulled, making removal messy.
- Is there obvious peeling starting? If you see any edges lifting already, stop pulling and move to Step 3 (Heat Method).
Step 2: The Gentle Peel Technique
If the paint seems solid and the tape isn’t completely cemented down, use this controlled method:
- Use a Tool for the Start: Use a putty knife (plastic is safer than metal!) or a fingernail to gently lift a small corner of the tape at one end. Don’t dig deep; just try to get a purchase.
- Pull Slowly, Not Straight Up: This is crucial! Never pull the tape straight out, perpendicular to the wall. Pull the tape back against itself, peeling it away at a shallow 45-degree angle, running parallel to the wall surface. Think about trying to roll the tape back over itself.
- Keep Tension Low: Maintain constant, slow tension. If you feel significant resistance or hear the paint start to rip, STOP immediately and switch to the heat method.
Step 3: The Heat Method (For Stuck Tape)
Heat helps soften the adhesive glue, making it release its grip without tearing the paint underneath. This is your best friend when the tape is old or seems stuck fast.
Tools Needed for Heat Removal:
- Hair dryer (low setting) or a heat gun (used with extreme caution).
- A utility scraper or putty knife (plastic).
Caution: If using a heat gun, keep it moving constantly and set it to the lowest possible heat. Too much direct heat can blister your paint finish.
- Apply Gentle Heat: Hold the hairdryer about 6 to 8 inches away from a 6-inch section of tape. Heat the tape and the immediate surrounding paint surface for about 15–20 seconds. You want it warm, not hot.
- Test the Edge: Try gently lifting one edge of the tape using your putty knife while it’s warm.
- Peel While Warm: Once an edge releases, continue pulling the tape back slowly at that 45-degree angle, reheating small sections (about 6 inches at a time) as you go. The warmth keeps the adhesive soft and pliable.
Step 4: Dealing with Stubborn Residue
If you successfully removed the tape but sticky gunk remains, it’s time for adhesive removal products. Safety first: always test any solvent on an inconspicuous spot first!
Here are safe options for most interior paints:
- Rubbing Alcohol (Isopropyl): Great for breaking down many adhesives. Apply a small amount to a cloth and gently rub the sticky area.
- Citrus-Based Cleaners (Goo Gone, etc.): These are usually safe on cured latex paint and are excellent for dissolving the oily components of the adhesive.
- Mineral Spirits: Use sparingly on latex paint, as it can sometimes dull the finish if left too long, but it works wonders on oil-based residues.
Wipe the area clean with mild soap and water after the residue is gone, and let it dry fully.
Preventative Measures: Setting Yourself Up for Success Next Time
The best way to deal with sticky tape is to never let it get to that point! Here are Md Meraj’s pro tips to ensure perfect tape removal every single time you paint.
Tip 1: Time It Right
If you are painting a room, schedule the tape removal into your plan. If you paint on Saturday morning, plan to remove the tape Saturday evening (if the manufacturer says the paint is ready) or Sunday morning.
Pro Tip for Sharp Lines: Many professionals advocate for removing the tape while the paint is still slightly wet (tacky, but not wet enough to smudge). This ensures the paint hasn’t hardened against the tape, guaranteeing the sharpest possible line. Test a small area first!
Tip 2: Score the Line Before Removal
If you are worried about the paint tearing, use a very light touch with a utility knife or razor blade to score the very edge where the paint meets the tape. This slight incision breaks the physical bond between the paint layer and the tape adhesive, allowing the tape to peel away cleanly without pulling the paint skin with it.
Make sure your scoring tool is extremely sharp so you are cutting the paint film, not gouging the wall surface beneath.
Tip 3: Choose the Right Tape for the Job
Not all tapes are created equal. Using the wrong one dramatically increases the risk of failure.
| Surface Type | Recommended Tape Type | Why? |
|---|---|---|
| Interior Walls (Standard Use) | Medium Adhesion Blue Tape | Good hold, medium removal force, standard indoor timing. |
| Delicate Trim, Wallpaper, Aged Surfaces | Delicate Surface Tape (often white or light green) | Low adhesive strength means it peels easily without damage. |
| Exterior Painting or Rough Surfaces | Tough/Contractor Grade Tape (often stronger blue/green) | Stronger grip to handle textured surfaces and exterior conditions. |
If you are painting over something delicate or already suspect the wall finish is weak, always opt for the lowest adhesion tape you can find.
Tip 4: Temperature and Humidity Control
Extreme heat, cold, or high humidity can affect both paint drying and tape adhesion:
- Heat: High temperatures cause the adhesive to soften initially, but can also speed up chemical changes leading to stickiness later.
- Humidity: High humidity slows down the curing process for latex paints. If it’s humid, you absolutely need to wait longer before removing the tape, or you risk peeling the paint while it’s still pliable.
Aim to paint and remove tape in climate-controlled environments whenever possible. For reference, standard building science suggests that ideal curing conditions involve temperatures between 50°F and 85°F (like those recommended for mold prevention, which relies on proper surface drying).
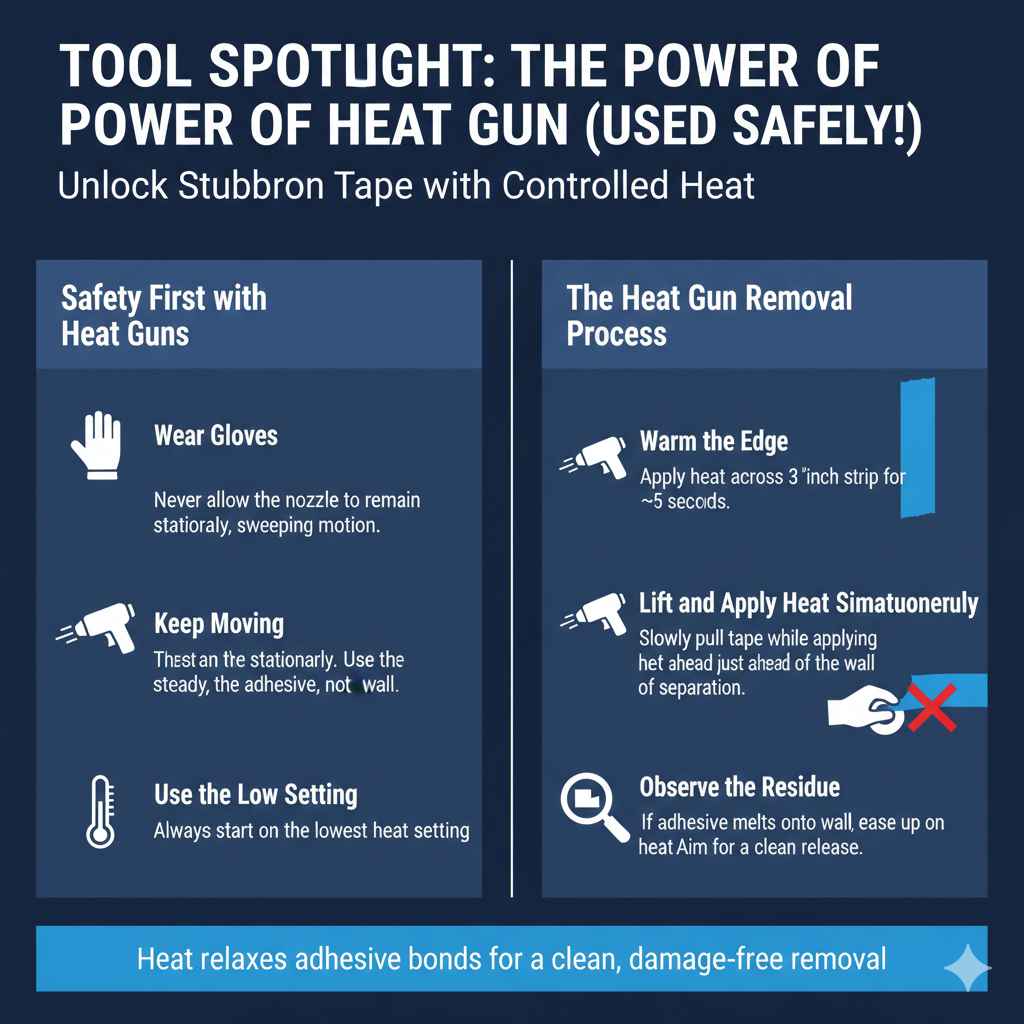
Tool Spotlight: The Power of the Heat Gun (Used Safely!)
While a hairdryer is often sufficient, sometimes you have an old job where the tape is cemented on by time. A heat gun, used correctly, is a game-changer for releasing stubborn adhesives. Here is how I teach homeowners to use this powerful tool safely when dealing with old tape residue or stuck masking material.
Safety First with Heat Guns
Heat guns reach much higher temperatures than hairdryers. Misuse can scorch wood, blister paint, or even melt plastic fixtures.
- Wear Gloves: Protect your hands from radiant heat.
- Keep Moving: Never allow the nozzle of the heat gun to remain stationary over one spot for more than two seconds. Keep a steady, sweeping motion.
- Use the Low Setting: Always start on the lowest heat setting.
The Heat Gun Removal Process
- Warm the Edge: Apply heat evenly across a three-inch strip of tape for about 5 seconds. You are warming the adhesive, not cooking the wall.
- Lift and Apply Heat Simultaneously: As you slowly begin to pull the tape back at that 45-degree angle, continue applying heat just ahead of where the tape is separating from the surface.
- Observe the Residue: If you see any residue beginning to melt onto the wall, ease up on the heat immediately. You want the adhesive to release cleanly from the surface, not melt onto it.
- Clean Up: Once the bulk of the tape is off, any small amounts of residual glue can be gently rubbed off using a microfiber cloth while the area is still slightly warm.
Using heat allows the chemical bonds of the adhesive to relax, turning that rock-hard glue back into a manageable, pliable substance that lets go without tearing your finish.
FAQ: Addressing Your Common Painter’s Tape Worries
It’s completely normal to have lingering questions when dealing with tools and finishes. Here are quick answers to the most frequent concerns I hear from homeowners like you.
Q1: Can I paint over painter’s tape if I forgot to remove it?
A: While you can paint over it, it’s generally a bad idea. The new layer of paint will seal the tape even tighter to the surface. When you finally remove it, it is much more likely to peel the entire coat off because the paint film is now essentially glued to the tape. It’s better to remove it now, clean up any minor bleed, and touch up the line later if needed.
Q2: What is the best way to remove residue from glossy trim?
A: For glossy surfaces, you need a very mild solvent. Start with rubbing alcohol (isopropyl). Apply it to a soft cloth, let it sit on the residue for 30 seconds to soften it, and then wipe gently. Avoid aggressive scraping, as it can scratch the high-gloss finish.
Q3: Will running a utility knife along the edge ruin my paint job?
A: If done lightly, scoring the edge is a huge help! A sharp knife creates a tiny break in the paint film right at the tape line. This prevents the paint from forming a continuous skin across the tape and the wall, allowing the tape to pull away cleanly without taking chunks of paint with it. Just ensure you are only scoring the paint line, not digging into the underlying surface.
Q4: What if my paint is oil-based instead of latex?
A: Oil-based paints take much, much longer to cure—sometimes weeks. If you left tape on an oil-based paint job for more than 48 hours, you should absolutely use the heat method (hairdryer) before attempting to pull it off. The bond created by oil paint is stronger and more rigid than latex.
Q5: Is it better to remove tape when the paint is wet or dry?
A: This depends on your goal. For the absolute sharpest line, remove the tape while the paint is tacky but dry to the touch. For the safest removal on older/unknown paint jobs, wait until the paint is fully cured (up to 7 days for latex). If you wait too long (over a week), you’ll need heat.
Q6: Can I leave painter’s tape on bare wood projects?
A: If you are masking raw, unsealed wood, be very careful. Bare wood is porous, and moisture from the paint can cause the wood to swell slightly under the tape. When it dries, the wood may contract, creating a super-tight grip on the tape. It’s best practice to remove tape from raw wood within 24 hours.
Conclusion: Confidence in Every Line
Leaving painter’s tape on too long is a hurdle many DIYers face, but as we’ve seen, it’s rarely a disaster. The biggest takeaway is understanding that drying time is not curing time, and patience pays off.
If you catch it within a few days, a slow, steady 45-degree peel usually does the trick. If time has betrayed you, don’t rush the removal—bring out the hairdryer or heat gun! Gently warming the adhesive relaxes its grip, allowing you to save those crisp lines you worked so hard to achieve.
Remember, home improvement is all about learning from every project. Now you know the science behind the sticky stuff, you can confidently schedule your next taping job knowing exactly how long you have to work with that essential strip of blue.