What Keeps Furniture From Sliding On Hardwood Floors: Proven Best
The best solution for what keeps furniture from sliding on hardwood floors involves using high-quality felt pads, rubber grips, or specialized furniture stoppers specifically designed to maximize friction without scratching the finish. Choosing the right material based on the furniture weight and frequency of movement is key for a lasting, simple fix.
Hey there! I’m Md Meraj, and if you’ve ever wrestled with a sofa that seems determined to float across your beautiful hardwood floor every time someone sits down, you know how frustrating it is. It’s a common issue! Hardwood floors look amazing, but they are slippery, especially with smooth furniture legs. We want our pieces sturdy, safe, and exactly where we put them.
The good news is that stopping that slide is easier than you think. You don’t need complicated gadgets or expensive contractors. We’re going to walk through the simplest, most reliable methods to lock your furniture in place. Ready to make your living room stop doing the furniture shuffle? Let’s get started!
The Science of Sticking: Why Furniture Slides on Wood
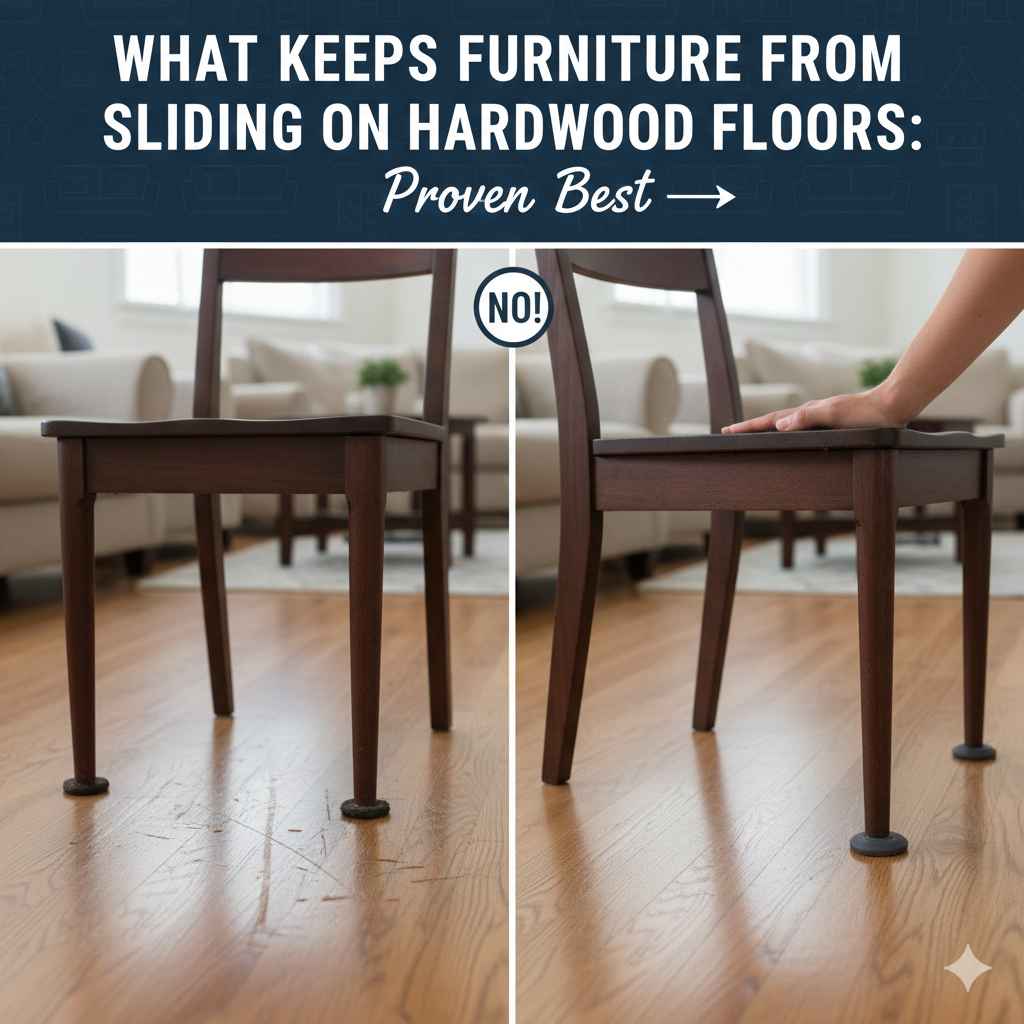
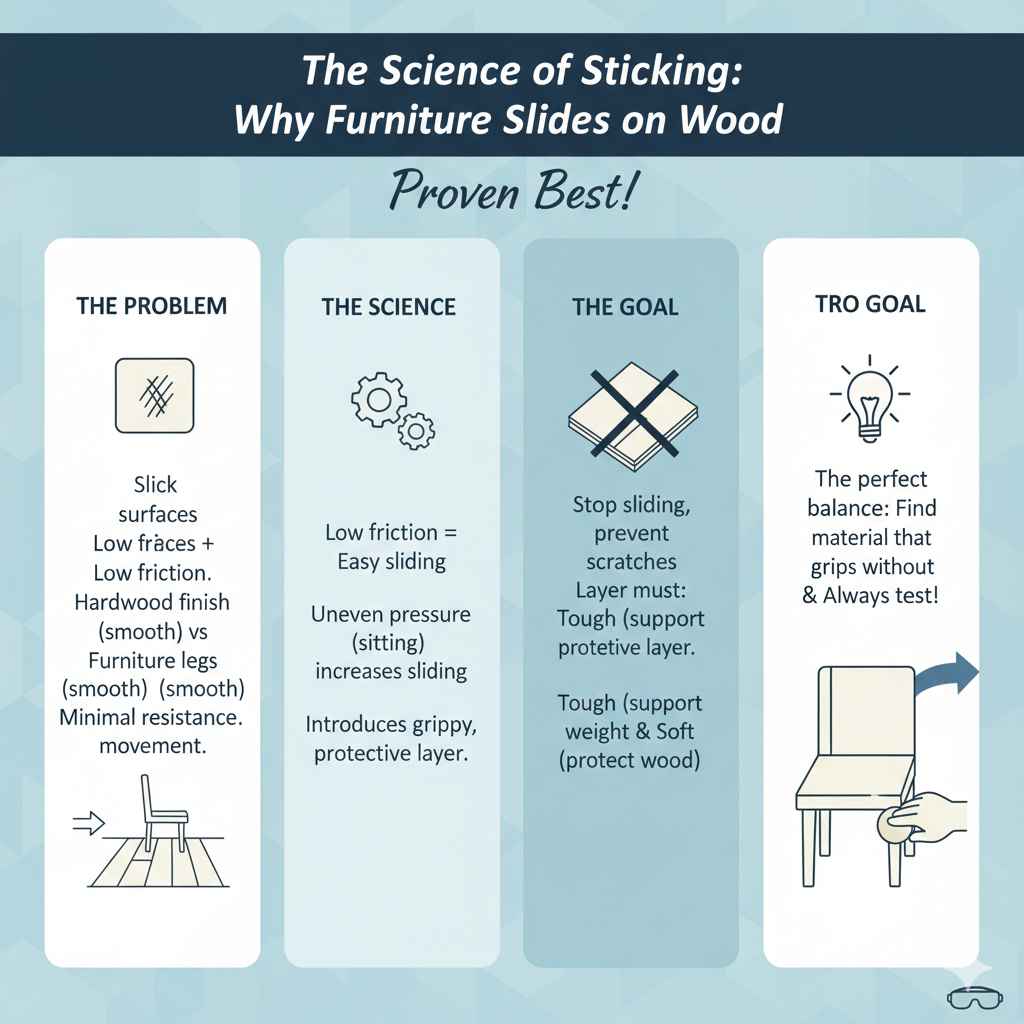
Before we fix the problem, it helps to know why it happens. Hardwood floors are usually finished with a tough, smooth coat (like polyurethane). This finish is designed to be durable and look great, but it offers almost no natural grip.
Furniture legs, especially metal or hard plastic ones, are equally smooth. When these two slick surfaces meet, friction is very low. Friction is the resistance that keeps things still. Low friction means easy sliding, especially when pressure is applied unevenly, like when someone pulls out a dining chair or sits quickly on an armchair.
Our goal is simple: introduce a grippy, protective layer between the leg and the floor. This layer must be tough enough to support the weight but soft enough not to dent or scratch the wood underneath. Finding that perfect balance is the secret!
The Proven Best Solutions: Gripping Power Showdown
When talking about what keeps furniture from sliding on hardwood floors, we need to look at three main categories of materials. Each one works differently based on your needs—whether you need to stop major movement or just minor nudges.
1. High-Quality Felt Pads (The Classic Go-To)
Felt pads are the tried-and-true solution. They are excellent for protecting floors because they are soft. However, the quality makes all the difference when it comes to stopping movement.
Why Felt Works (and When It Fails)
Good quality, thick felt (often made from dense synthetic fibers) provides a smooth surface that is less likely to catch dust and debris that could scratch the floor. But, for heavy, frequently moved furniture, plain felt can sometimes “skate” over the wood.
How to Use Felt Pads Effectively
To make felt work harder against sliding, you need the right application method.
- Clean the Surface: Wipe the bottom of the furniture leg and the floor underneath thoroughly. Dust is your enemy!
- Choose the Right Size: The pad must cover the entire footprint of the leg. A small pad on a large leg means the bare edge of the leg will touch the floor, causing wobbling and increased sliding potential.
- Use Adhesive Backing (The Best Kind): Opt for self-adhesive pads with a strong, reputable adhesive (like 3M). Cheaper glue dries out fast.
- Check Density: For very heavy items like solid wood dressers, look for “high-density” felt.
2. Rubber and Vinyl Grippers (The Friction Masters)
If felt isn’t gripping enough, the next step up involves using materials that naturally have higher coefficients of friction—that’s just a fancy way of saying they stick better. Rubber and dense vinyl are king here.
Advantages of Rubber Solutions
- Superior Grip: Rubber physically grips the wood, making it very hard for furniture to move laterally.
- Vibration Dampening: They are great for things like exercise equipment or washing machines (if you need a temporary solution for hard-to-move appliances).
- Easy Installation: Often available as pre-cut squares or simple stick-on circles.
A Word of Caution on Rubber
This is important: Not all rubber is safe for hardwood floors. Some older or cheaper rubber materials can react chemically with certain wood floor finishes over time, leading to a permanent yellow or brown stain. This is especially true if the finish is oil-based or older lacquer. Always check the manufacturer’s information or test a small piece first.
Tip: Look for “non-staining rubber” or materials explicitly labeled as safe for finished hardwood.
3. Specialized Anti-Slip Furniture Grippers (The Modern Solution)
These products are often combinations of the best materials or unique designs aimed specifically at keeping furniture still. They are often the most effective and look the neatest.
Silicone Furniture Cups
These look like little silicone coaster cups that the chair or table leg slides into. They are fantastic because the entire base of the leg is encased in a high-grip material. They work extremely well for dining chairs that are constantly being pulled in and out.
Rubber-Backed Pads
These pads typically feature a dense felt or fabric top (for floor protection) bonded to a high-traction rubber or silicone bottom. This gives you the best of both worlds: a soft layer touching the floor and a grippy layer touching the leg.
| Solution Type | Best For | Pros | Cons/Considerations |
|---|---|---|---|
| High-Density Felt | Lightly used occasional tables, display shelves | Excellent floor protection, easy to find | Can slide under heavy, frequent use |
| Rubber/Vinyl Grippers | Heavy chairs, frequently moved items | Highest grip/friction level | Risk of staining if material quality is low |
| Silicone Cups | Dining chair legs, lightweight stools | Secure fit, excellent grip | Must match leg shape exactly, visible |
Step-by-Step Guide: Installing Anti-Slide Protectors Correctly
No matter which product you choose—felt, rubber, or a gripper—installation accuracy is 90% of the battle. Doing it right the first time saves you headaches later. Here is my simple process for making sure your protectors stick and stay put.
Tools You Will Need
- The chosen furniture pads/grippers
- Measuring tape or ruler
- Mild soap and water (or wood floor cleaner)
- Clean, dry cloths
- Optional: Screwdriver (if using screw-in felt)
Phase 1: Preparation is Everything
Before you stick anything, preparation is mandatory. A clean surface ensures maximum bond strength. If you skip this, the pad will peel off next week!
- Empty and Clean the Area: Move the furniture completely away from the wall. Vacuum or sweep the entire area thoroughly. Hardwood floors should be free of dust bunnies and debris.
- Clean the Furniture Legs: Wipe down the bottom surface of every leg where the pad will sit. If the leg is sticky or dusty, the adhesive won’t grab. Let the legs dry completely.
- Check the Floor Legs for Hazards: Look closely at your hardwood floor finish. If the floor has heavy waxes or old buildup, it might interfere with the grip of rubber solutions. A light cleaning following guidelines from the National Wood Flooring Association (NWFA) might be needed for a truly clean slate.
Phase 2: Measuring and Application
Getting the size and placement right prevents wobbly furniture.
- Measure the Footprint: Measure the exact width and depth of the furniture leg base. If you are using a circle pad, measure the diameter. If you are using a square pad, measure the side length.
- Choose the Right Pad Size: Select a pad that is equal to or slightly larger than the footprint. Never use a pad that is smaller than the contact surface.
- Peel and Position: Carefully peel the backing paper off the adhesive. Center the pad precisely on the bottom of the leg. Don’t rush this step!
- Apply Firm Pressure: Press the pad onto the leg base very firmly for at least 30 seconds. This activates the adhesive and molds the material against the leg surface.
Phase 3: Curing and Testing
Adhesives need time to set up. Patience pays off here.
- Wait to Place: If using strong adhesive pads, let the furniture sit upright off the floor for about an hour before setting it back down, if possible. This lets the glue cure slightly before bearing weight.
- Slowly Reintroduce Weight: Gently set the furniture back onto the floor. Don’t immediately push or drag it.
- Test the Movement: Test the furniture gently. Push slightly side-to-side. If you feel any slippage, try pressing down hard on that corner again. If the slipping continues, you might need to upgrade the material to rubber or a locking cup design.
When to Upgrade: Moving Beyond Simple Pads
Sometimes, the furniture is just too heavy, or the sliding is too aggressive for standard adhesive pads to handle reliably. When this happens, it’s time to look at permanent or semi-permanent fixture options.
Screw-In Furniture Glides
These are fantastic for extremely heavy items like large buffets, solid wood entertainment centers, or large workshop tables. They involve drilling a small pilot hole into the bottom of the leg and screwing a durable glide (often plastic or hard rubber) directly into the wood.
Pros of Screw-In Glides:
- Extremely secure; they cannot fall off.
- Can often be adjusted in height to level the furniture.
- Handles significant weight without crushing the material.
Safety Note: Always ensure you drill straight and only deep enough for the screw length. You don’t want to drill through the bottom of a hollow leg!
The ‘Locking’ Furniture Feet
These are the silicone cups I mentioned earlier, but they truly excel for chairs. Instead of just being a flat pad, these cups fit around the foot. When the leg is inserted, the cup material squeezes slightly, creating tension that prevents side-to-side movement.
To find the right fit, you often need to measure the diameter of the leg itself, not just the pad area.
Using Area Rugs and Runners Strategically
While not a direct leg solution, this is a critical supporting strategy, especially in high-traffic areas. A quality area rug acts as a natural anchor for your furniture.
To prevent the rug from sliding, you must use a quality rug pad underneath it. For hardwood floors, look for pads made of felt and rubber combination. These pads have high grip against the floor and prevent the rug itself from bunching up. Furniture placed on top of this secured rug stays firmly in place.
For more information on floor coverings and wood care, organizations like the U.S. Fish & Wildlife Service often publish guidelines regarding material compatibility in residential settings, stressing the importance of inert materials near finished wood.
DIY Level Check: Solving the Wobble vs. Slide Problem
Often, people confuse furniture that slides with furniture that wobbles. They require slightly different approaches:
- Sliding: The entire piece moves easily when pushed slightly. Fix: Increase friction (rubber, grippers).
- Wobbling: The piece rocks on one corner, even if it doesn’t slide easily. Fix: Leveling or shimming the low leg.
Troubleshooting Wobble and Slide Together
If your table wobbles and slides, tackle the wobble first.
- Identify the short leg (usually by seeing which corner lifts slightly when pressure is applied to the opposite corner).
- Apply your anti-slide gripper to all four feet (using identical products for consistency).
- Use a thin shim or an adjustable leveling foot insert on the short leg only.
- Re-test. The level piece will now have even pressure on all four grippers, maximizing the stopping power of your chosen solution.
Material Deep Dive: Durability and Floor Safety
When investing your time and money, you want a solution that lasts. Durability is directly related to the material composition. Here’s how they stack up long-term against the wear and tear of daily life.
Felt Durability
Standard, thin felt wears down quickly, especially if furniture is moved often. The fibers compress, and eventually, the thin plastic or glue layer underneath scrapes the floor. For heavy use, look for felt pads that are 1/4 inch thick or more, labeled for commercial use or high-traffic areas.
Rubber Durability and Staining Risk
High-quality synthetic rubber (like SBR or pure silicone) is incredibly durable against wear and tear. The main threat isn’t the wear, but the chemical interaction. If you see any discoloration after applying rubber pads, remove them immediately and clean the floor area thoroughly according to your floor manufacturer’s recommendation.
A report by the American Institute of Architects (AIA) suggests that for high-value antique or historical finishes, inert materials like PTFE (Teflon) combined with a small, secure felt buffer is often recommended, though PTFE slides more than it grips.
Vinyl vs. Plastic
Cheap, hard plastic glides often scratch hardwood floors because they have a sharp edge and very little ‘give.’ Vinyl is slightly softer and more flexible than hard plastic, offering better friction and less risk of scratching if the surface quality is high.
| Material | Estimated Lifespan (Heavy Use) | Floor Protection Rating (1=Poor, 5=Excellent) | Grip Power Rating (1=Slick, 5=Grippy) |
|---|---|---|---|
| Thin Felt | 3–6 Months | 5 | 2 |
| High-Density Felt/Rubber Combo | 1–2 Years | 4 | 4 |
| Pure Silicone Cups | 2+ Years | 5 | 5 |
| Cheap Hard Plastic | Months (until scratched) | 1 (scratches easily) | 1 |
Affordable DIY Fixes: Keeping it Budget-Friendly
You don’t need to spend a fortune to keep your furniture still. Sometimes the best solutions are the simplest and most wallet-friendly.
The Tennis Ball Trick (For Quick Chair Fixes)
If you have old tennis balls lying around, you can cut an ‘X’ into them and slide the legs of lightweight chairs (like dining room chairs) into the cuts. The fuzzy felt exterior of the ball offers great grip.
Caveat: This works very well for grip, but it significantly changes the height of the chair, which might make them too tall to slide under a table properly. Also, make sure the balls are clean; dirt trapped inside can grind into the wood.
Non-Slip Shelf Liner (For Underneath Heavy Items)
For large, heavy pieces like dressers or sofas that you rarely move, you can use the rubberized mesh shelf liner material (the kind often used in kitchen drawers). Cut a piece slightly smaller than the furniture base and simply place the piece on the floor, then set the furniture on top.
This is purely frictional. It offers zero protection against scratches if the furniture shifts slightly, but it is incredibly effective at stopping sliding dead in its tracks because of the heavy, high-friction mesh.
Nail-In Pads vs. Adhesive
If you are looking for the cheapest reliable option, nail-in felt pads (which you tap in with a hammer) are often less expensive than high-quality adhesive pads. They also hold up better against humidity changes, which can sometimes cause adhesive to fail. This is a great budget choice if you don’t mind using a hammer.
Maintenance: Keeping Your Fixes Working Long-Term
You’ve got your furniture locked down—that’s fantastic! But even the best grippers need a little care to stay effective. Think of this as seasonal maintenance for your floors.
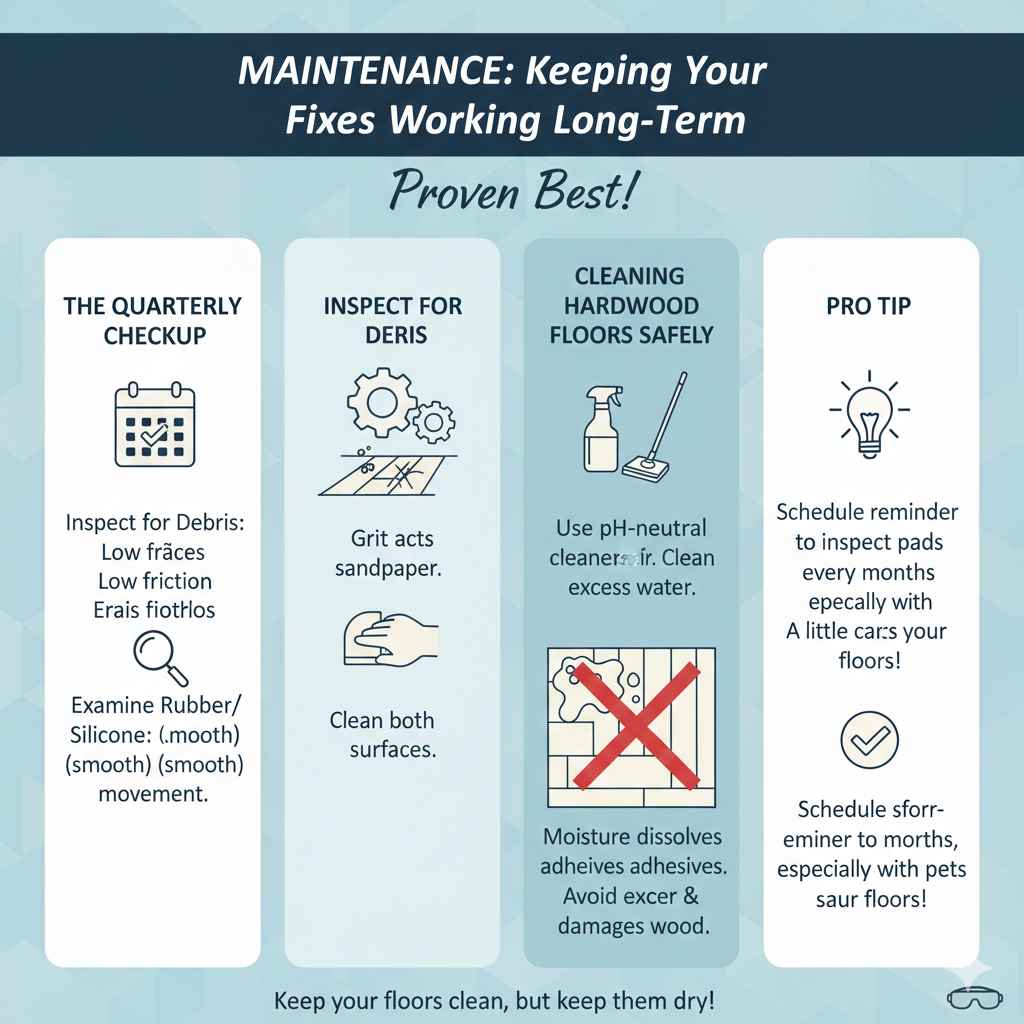
The Quarterly Checkup
Schedule a quick check of all your furniture feet every three months. This is especially important in homes with children or pets, as movement can accelerate wear.
- Inspect for Debris: Look under the pad. Has a small pebble, pet hair, or grit gotten trapped between the pad and the floor? This grit acts like sandpaper. If found, remove the pad, clean both surfaces, and reattach firmly.
- Check Adhesion/Wear: If you use adhesive pads, gently try to wiggle the edge. If it moves, it needs to be firmly pressed down again, or replaced if the adhesive is clearly failing.
- Examine Rubber/Silicone: Look for cracks or hardening in rubber or silicone products. Hardening means they have lost their pliability and friction, and it’s time to replace them before they start to stain or slip.
Cleaning Hardwood Floors Safely
The cleaner you use on your floors directly impacts how well your anti-slide solutions work. Over-waxing or using harsh chemicals can make surfaces slicker.
Always stick to pH-neutral cleaners designed specifically for your hardwood finish. Using excess water is also a risk, as moisture can seep under pads and dissolve adhesives or damage the wood itself. Keep things clean, but keep them dry!
Frequently Asked Questions (FAQ)
Q1: Are silicone chair leg caps safe for brand new hardwood floors?
A: Yes, high-quality silicone caps are generally very safe for new floors because silicone is chemically inert and will not react with modern polyurethane finishes. Always ensure the cap completely covers the foot and doesn’t have any sharp seams underneath.
Q2: How can I stop a heavy antique wooden chest of drawers from sliding?
A: For very heavy, static pieces, the best solution is often screw-in furniture glides with thick rubber feet. If screwing in is not an option, use very large, high-density rubber or composite non-slip pads, ensuring the pad covers the entire base area evenly.
Q3: My felt pads keep falling off. What am I doing wrong?
A: This usually means either the floor/leg surface wasn’t perfectly clean when applied, or you didn’t press hard enough. For persistent problems, switch to a product that uses mechanical fastening (like screw-in glides) or try heavy-duty furniture cups instead of simple stick-on pads.
Q4: Will furniture risers that add height help prevent sliding?
A: Furniture risers themselves won’t stop the sliding; they just raise the furniture higher. However, risers that have built-in rubber bottoms (or risers where you can insert rubber grips) are very effective because the weight is distributed over a larger, grippy surface area.
Q5: Is it okay to use duct tape as a temporary fix for sliding?
A: Absolutely not. While duct tape offers high initial friction, its adhesive is incredibly strong and damaging to wood finishes. When you remove it, you will likely pull off chunks of the finish, creating a much bigger problem than sliding furniture.
Q6: What is the one material I should avoid putting directly on my hardwood floors?
A: Avoid hard, cheap plastic furniture feet and any rubber that is not explicitly marked as non-staining. Older types of rubber can leach plasticizers that permanently discolor lighter-colored wood finishes.
Conclusion: Confidence in Your Stationary Furniture
Feeling confident about tackling that slippery floor issue now? I hope so! We’ve covered the best materials—from dense felt for gentle protection to high-friction rubber and silicone cups for serious stopping power. Remember, what keeps furniture from sliding on hardwood floors isn’t one single magic item; it’s about choosing the right friction solution for the weight and movement of your specific piece, and applying it carefully.
Take your time during the preparation phase; that’s where most people cut corners. Clean the legs, measure twice, and press firmly. With these simple, proven steps, your tables, chairs, and sofas will stay exactly where you command them, protecting your beautiful hardwood investment for years to come. Happy DIY-ing!