Can Pressure Treated Wood Be Stained Right Away
Many people wonder, Can Pressure Treated Wood Be Stained Right Away? This is a common question because pressure treated wood has a unique way of holding moisture. If you try to stain it too soon, the stain might not stick well.
It can lead to a patchy finish or even peeling later on. But don’t worry, getting it right is easier than you think. We’ll walk you through the simple steps needed to make sure your project looks great and lasts a long time.
Let’s find out how to prepare your wood for a beautiful stain.
When Can You Stain Pressure Treated Wood
Understanding the right time to stain pressure treated wood is key to a lasting finish. This type of wood is treated with chemicals to protect it from rot and insects. These chemicals are added under pressure, which also forces moisture into the wood.
This added moisture is the main reason you can’t stain it right away. The water needs time to evaporate. Trying to stain wood that’s still too wet is like trying to paint on a wet sponge; the color won’t soak in properly.
It sits on the surface, making it prone to flaking and uneven color.
So, how long should you wait? There’s no single answer because it depends on a few factors. The weather plays a big role.
Sunny, warm, and windy conditions help the wood dry out much faster than cool, damp, or humid weather. The type of pressure treating process used can also affect drying time. Newer treatments might allow for quicker drying, while older methods could take longer.
Patience is important here. Rushing the process will likely lead to disappointment with the final look of your project.
The Moisture Meter Test
A reliable way to know when your wood is ready is by using a moisture meter. This simple tool takes the guesswork out of the equation. It measures the percentage of moisture within the wood.
For most staining projects, you want the wood to be below a certain moisture content. Typically, this is around 15-18%. If you don’t have a moisture meter, there are other methods, but they are not as precise.
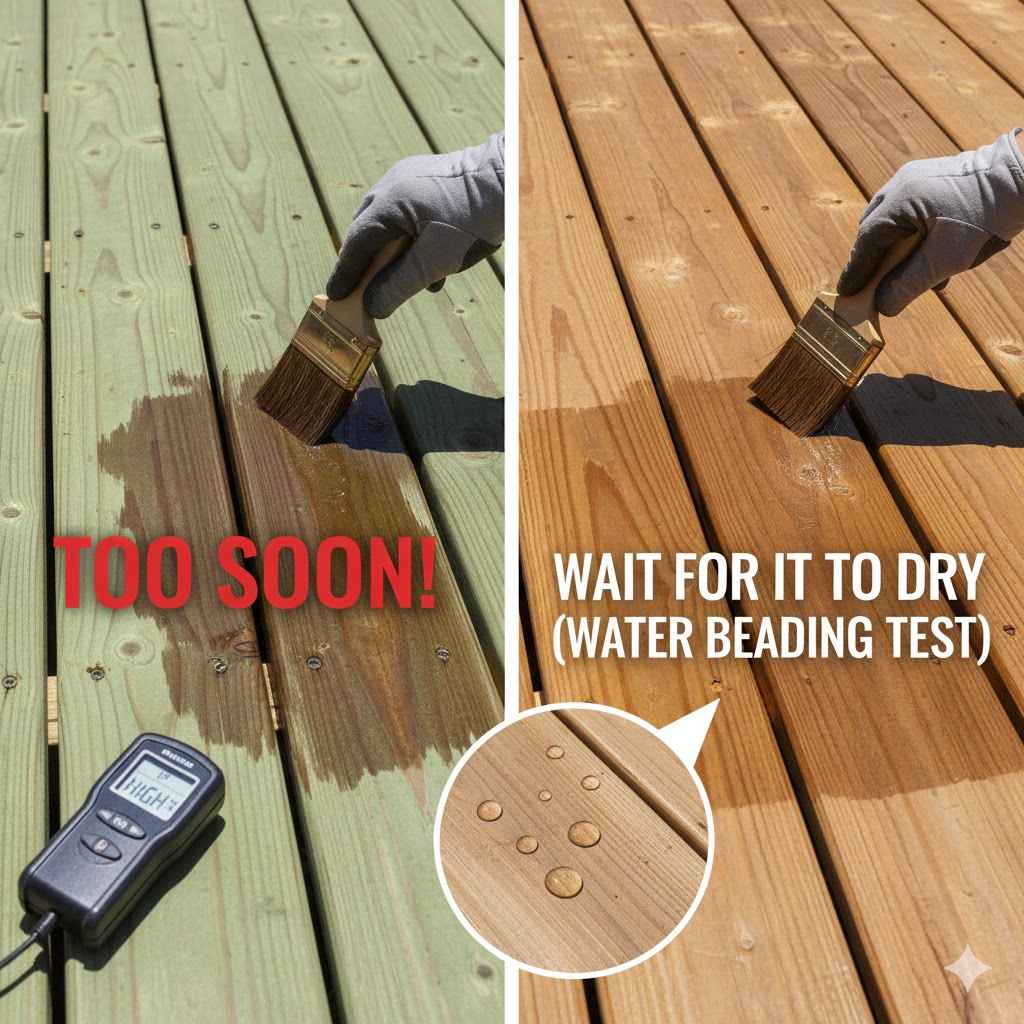
These might involve visual inspection or testing how water beads on the surface.
Using a moisture meter involves inserting its probes into the wood. You should test several different spots on the wood, especially on surfaces that are exposed to air. This gives you a better average of the wood’s moisture level.
If your meter reads above 18%, the wood is still too wet. You’ll need to wait longer and test again. This is a small investment that can save you a lot of frustration and the cost of redoing the job.
Here’s why the moisture meter is so helpful:
- Accuracy: It provides a precise reading of the wood’s moisture content, removing all doubt.
- Efficiency: You can quickly test multiple areas to get a good understanding of the wood’s dryness.
- Prevention: It helps prevent costly mistakes like stain not adhering or peeling later.
This direct measurement is far superior to simply guessing based on how the wood looks or feels. For example, wood might appear dry on the surface but still hold a lot of moisture deeper within. The meter penetrates the surface to give a reading of the interior moisture, which is crucial for stain penetration.
Many DIYers skip this step and regret it later.
The Water Drop Test
If you don’t have a moisture meter, you can perform a water drop test. This method is less exact but can give you a reasonable idea. You simply place a few drops of water onto the surface of the pressure treated wood.
Observe how the water behaves. If the water beads up and sits on the surface, the wood is likely still too wet. This means the wood cannot absorb the water, and therefore, it cannot absorb the stain.
If the wood is ready for staining, the water will soak into the wood relatively quickly. It might leave a darker spot for a short time, but it won’t just sit there in a bead. This indicates that the wood’s pores are open and can accept liquid.
Remember to test this in several areas of the wood, as dryness can vary. This test is a good backup if a meter isn’t available, but always aim for the most accurate method if possible.
Here’s a quick rundown of the water drop test:
- Beading Water: If water forms beads and doesn’t soak in within a few minutes, the wood is too wet.
- Soaking Water: If water absorbs into the wood, leaving a darker patch that eventually dries, the wood is likely ready.
- Multiple Tests: Perform the test in various spots to ensure consistency.
This test works because wood that has dried sufficiently will have lost a lot of its surface tension. When water is applied, it’s able to penetrate the wood fibers rather than resting on top. Think of it like trying to water a dry plant versus a plant that has just been watered; the dry soil absorbs water, while the wet soil might have water sitting on top.
Preparing Pressure Treated Wood for Staining
Once you’ve determined that your pressure treated wood is dry enough, the next step is preparing it for stain. This is a critical phase that ensures the stain applies evenly and lasts longer. Even if the wood is dry, it might have a smooth, waxy surface from the treatment process.
This surface needs to be roughed up slightly, and any dirt or debris must be removed. Proper preparation prevents issues like blotchiness and poor adhesion.
This preparation process isn’t complicated, but it does require attention to detail. Skipping these steps can negate all the waiting you did for the wood to dry. You want to create a clean, slightly porous surface that the stain can bond to effectively.
This will make your finished project look professional and hold up well against the elements. Let’s look at the specific tasks involved in getting your wood ready.
Cleaning the Wood
Before you apply any stain, the wood needs to be thoroughly cleaned. Over time, pressure treated wood can accumulate dirt, mildew, or mold, especially if it’s been left outside for a while. These contaminants can prevent the stain from adhering properly.
You can use a dedicated wood cleaner or a solution of water and a mild detergent. For tougher jobs, a specialized deck cleaner or a mixture of water and a small amount of bleach can be effective, but always test in an inconspicuous area first.
When cleaning, it’s best to use a soft-bristled brush or a garden hose. Avoid using a power washer at a high setting, as it can damage the wood fibers, creating a fuzzy surface. After cleaning, rinse the wood thoroughly with clean water to remove all traces of the cleaning solution.
If you used bleach, ensure it’s completely rinsed away. Leftover cleaner can affect the stain’s color and performance.
Key cleaning considerations include:
- Mild Cleaners: Start with gentle cleaners and only move to stronger solutions if necessary.
- Rinsing is Crucial: Always rinse the wood completely to remove any cleaning residue.
- Brush Type: Use a soft to medium-bristled brush to avoid damaging the wood.
For instance, if you’re cleaning a deck that has been exposed to rain and fallen leaves, you’ll likely find areas with mildew. A mild cleaner will help lift this away. If the mildew is stubborn, a diluted bleach solution might be needed, but the key is to use it sparingly and rinse thoroughly.
You want clean wood, not damaged wood.
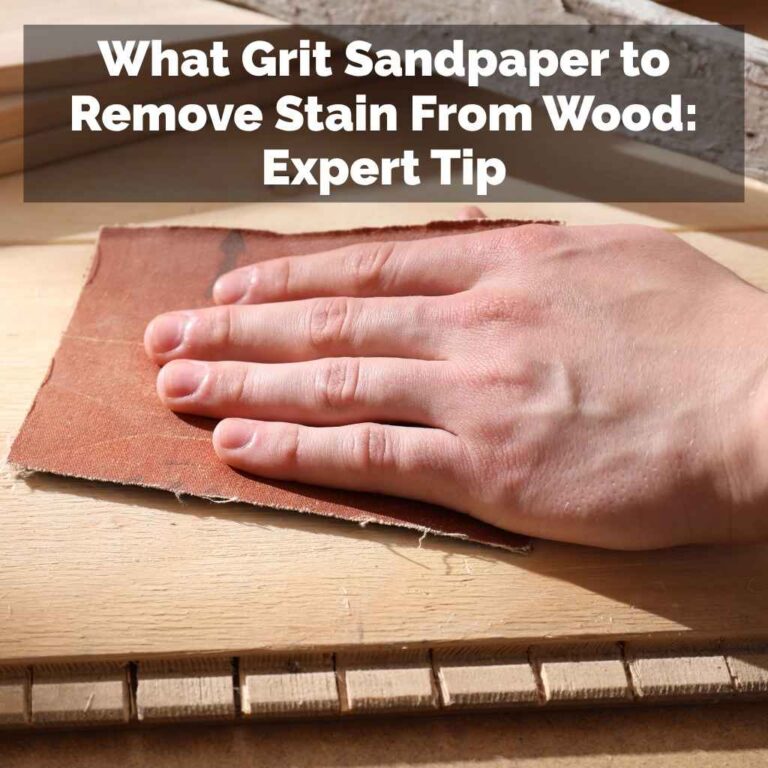
Sanding the Wood
Sanding is another vital step in preparing pressure treated wood for staining. It smooths out any rough spots and opens up the wood grain, allowing the stain to penetrate evenly. If the wood feels rough or has splinters, sanding is a must.
For new wood that has been dried properly, a light sanding is usually sufficient. You can use sandpaper, a sanding sponge, or an orbital sander.
The grit of sandpaper you choose depends on the condition of the wood. For new wood, a grit between 60 and 80 is usually adequate. If the wood is older or has some roughness, you might start with a coarser grit and finish with a finer one.
Always sand in the direction of the wood grain. After sanding, be sure to wipe away all the dust with a tack cloth or a damp rag. Dust left behind will show up in your stain finish.
Sanding best practices:
- Grit Selection: Choose sandpaper grit based on the wood’s condition, generally 60-80 for new wood.
- Grain Direction: Always sand with the wood grain to avoid visible scratches.
- Dust Removal: Thoroughly clean off all sanding dust before staining.
Imagine you have a piece of lumber that feels a bit fuzzy. Sanding it with 80-grit sandpaper will make it smooth. If you don’t sand, the stain might fill in those fuzzies, creating an uneven and rough texture.
The sanding process essentially creates a blank canvas for your stain.
Choosing the Right Stain for Pressure Treated Wood
Selecting the correct stain is just as important as preparing the wood. Not all stains are created equal, and some work better on pressure treated wood than others. The type of stain you choose will affect the look, durability, and maintenance of your project.
You’ll find stains in various opacities, from transparent to solid, and different formulations, like oil-based or water-based.
The goal is to find a stain that will penetrate the wood effectively and offer protection. Since pressure treated wood can sometimes be more resistant to stain absorption due to its treatment, opting for a high-quality product is often worth the investment. Consider the desired look and the level of protection you need for your specific project when making your selection.
Types of Wood Stains
There are several types of wood stains you can choose from. Each offers different benefits and appearances. Understanding these types will help you make an informed decision for your pressure treated wood project.
Transparent stains offer the least amount of color and allow the natural grain of the wood to show through beautifully. They provide a subtle tint and some UV protection. They require more frequent reapplication than other types.
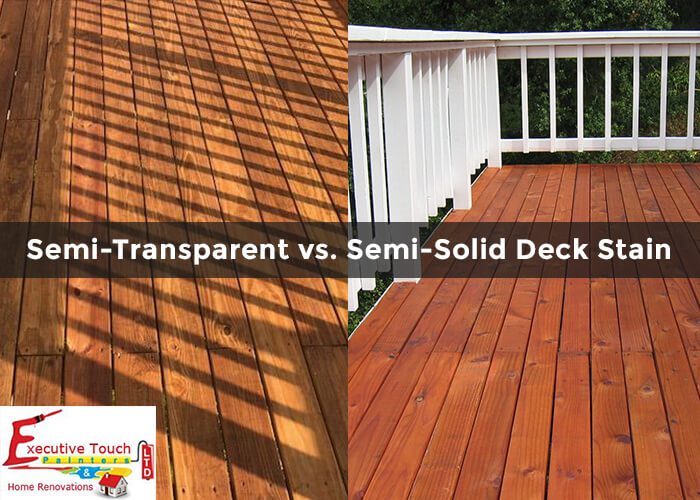
Semi-transparent stains provide more color than transparent stains but still allow some wood grain to be visible. They offer a good balance of color and natural wood appearance. These are a very popular choice for decks and fences.
Semi-solid stains offer a deeper color and hide more of the wood grain. They provide more UV protection and last longer than semi-transparent stains. The wood texture is still somewhat visible.
Solid stains are like thin paint. They cover the wood grain completely, offering the most protection and longest lifespan. They can make the wood look like painted wood, and future reapplication might involve sanding more thoroughly.
Oil-based stains tend to penetrate wood better and offer good protection against moisture and UV rays. They are often preferred for their durability and ease of application, especially on decks. They typically dry slower than water-based stains.
Water-based stains are easier to clean up with soap and water. They dry faster and have lower VOCs (volatile organic compounds), making them more environmentally friendly. Modern water-based stains have improved greatly in terms of durability and penetration.
Here’s a comparison of stain types:
| Stain Type | Wood Grain Visibility | Durability | UV Protection |
|---|---|---|---|
| Transparent | High | Low | Low |
| Semi-Transparent | Medium | Medium | Medium |
| Semi-Solid | Low | High | High |
| Solid | None | Very High | Very High |
For example, if you have a beautiful cedar deck and want to highlight its natural beauty, a transparent or semi-transparent stain would be ideal. If you’re staining an older fence that has some imperfections and you want a uniform color, a solid stain would be a better choice. Many experts recommend semi-transparent or semi-solid stains for pressure treated wood because they offer a good balance of color, protection, and allow some natural wood character to show.
Stain Application Tips
Once you’ve chosen your stain and prepared your wood, it’s time to apply the stain. Proper application techniques will ensure an even, professional-looking finish. Always follow the manufacturer’s instructions on the stain can.
Stir the stain thoroughly before and during use; don’t shake it, as this can create air bubbles.
Apply the stain in thin, even coats. Use a high-quality brush, roller, or pad applicator. If you’re staining a deck, it’s often easiest to work in sections, staining a few boards at a time.
Work from one end of the board to the other, maintaining a wet edge to avoid lap marks. If you see excess stain pooling on the surface, wipe it up with a clean rag within 15-20 minutes.
Allow each coat to dry according to the manufacturer’s recommendations before applying a second coat, if needed. Two thin coats are usually better than one thick coat. Ensure you’re working in good weather conditions.
Avoid staining in direct sunlight, on very hot days, or if rain is expected. Ideal temperatures are usually between 50°F and 80°F (10°C and 27°C).
Here are some important application tips:
- Thin Coats: Apply stain in thin, even layers for best results.
- Wet Edge: Maintain a “wet edge” when staining to avoid visible lines between sections.
- Wipe Excess: Remove any excess stain that pools on the surface within the recommended time.
Consider staining a fence. If you apply the stain too thickly, it can look streaky and might peel. A better approach is to apply a thin coat, let it dry, and then apply a second thin coat if the color isn’t deep enough.
This ensures the stain soaks into the wood rather than just sitting on top like paint.
Can Pressure Treated Wood Be Stained Right Away The Final Answer
So, to directly answer the question, Can Pressure Treated Wood Be Stained Right Away? The short answer is usually no. However, with a little patience and the right preparation steps, you can achieve a beautiful, long-lasting stain job on your pressure treated wood.
Waiting for the wood to dry sufficiently, cleaning it, and sanding it are all essential parts of the process. Choosing the right stain and applying it correctly will ensure your project looks fantastic and stands up to the elements for years to come.
Frequently Asked Questions
Question: How long does pressure treated wood need to dry before staining
Answer: Typically, pressure treated wood needs to dry for at least 48 hours to several weeks, depending on weather conditions. Using a moisture meter to ensure the moisture content is 18% or below is the most accurate method.
Question: Can I stain pressure treated wood immediately after installation
Answer: It’s generally not recommended to stain pressure treated wood immediately after installation. The wood contains a significant amount of moisture from the treatment process, which needs to evaporate first.
Question: What happens if I stain pressure treated wood too soon
Answer: Staining too soon can lead to the stain not adhering properly. This may result in a patchy finish, peeling, or premature failure of the stain coat.
Question: What kind of stain is best for pressure treated wood
Answer: Semi-transparent or solid stains are often recommended for pressure treated wood as they offer good protection and can cover minor imperfections. Oil-based stains can penetrate well, while water-based options are easier to clean.
Question: Do I need to clean pressure treated wood before staining
Answer: Yes, cleaning is crucial. It removes dirt, mildew, and any surface residue from the treatment process, ensuring the stain adheres evenly and effectively.
Wrap Up
You’ve learned that staining pressure treated wood right away is generally not advised. Waiting until it’s dry, usually around 18% moisture content, is key. Proper cleaning and light sanding prepare the surface.
Choosing the right stain type and applying it correctly ensures durability and appearance. Following these steps will give you a beautiful result for your project.