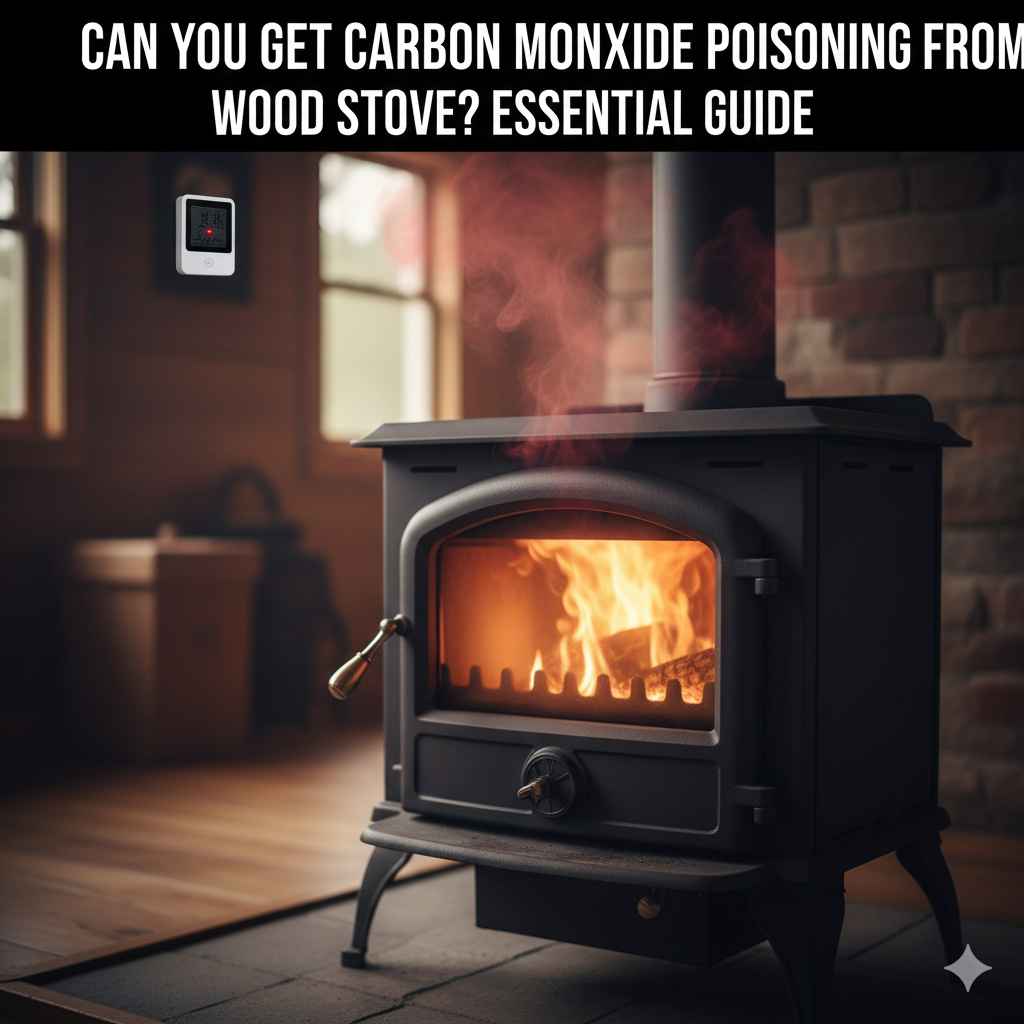
Can You Get Carbon Monoxide Poisoning From Wood Stove? Essential Guide
Yes, you absolutely can get carbon monoxide (CO) poisoning from a wood stove if it is not installed, used, or maintained correctly. This invisible, odorless gas is a real risk when burning wood indoors. Learn the simple steps to keep your home safe and enjoy your fire worry-free.
Hello there! I’m Md Meraj, and if you love the cozy heat and crackle of a wood stove, you’re in the right place. Wood heat is fantastic, but that beautiful fire can create a silent danger: carbon monoxide. It’s frustrating when you just want to enjoy your warmth but worry about safety. Don’t sweat it! We’re going to break down exactly how CO happens with wood stoves and give you easy, step-by-step instructions to prevent poisoning completely. By the end of this guide, you’ll feel confident managing your stove safely. Let’s get started and make sure your home stays warm and safe.
The Invisible Threat: Understanding Carbon Monoxide and Wood Stoves
When you burn wood, you are performing combustion—fire needs fuel (wood) and oxygen, and it produces heat, smoke, and exhaust gases. When combustion is complete and efficient, you get mostly carbon dioxide (CO2) and water vapor. But if the fire doesn’t get enough air, or if the chimney or venting system is blocked, you get carbon monoxide (CO).
CO is the silent killer because it has no smell, color, or taste. Your body mistakes it for oxygen when you breathe it in, starving your organs of what they need to function. This is why managing your wood stove correctly is non-negotiable.
What Exactly is Carbon Monoxide (CO)?
Think of CO as a waste product of an unhappy fire.
Colorless: You can’t see it.
Odorless: You can’t smell it.
Tasteless: You can’t taste it.
It’s created when wood burns without enough oxygen (incomplete combustion). A well-maintained, modern stove running efficiently rarely produces dangerous amounts, but a poorly maintained, older stove, or one used incorrectly, is a prime source. The Centers for Disease Control and Prevention (CDC) clearly states that fuel-burning appliances like wood stoves must be vented properly to prevent CO buildup (Source: CDC guidance on CO prevention).
When is a Wood Stove Most Likely to Produce CO?
The danger spikes during specific scenarios. Knowing these moments lets you be extra vigilant:
- Startup Phase: When the fire is just starting, it’s often smoldering and needs a lot of air. If you close the damper too soon, it chokes the fire and creates CO.
- Dirty or Blocked Chimney: Creosote buildup acts like tar, narrowing the flue. This blocks exhaust gases from leaving, forcing them back down into your living space.
- Downdrafts: If your chimney isn’t tall enough or if nearby trees or buildings create wind turbulence, the wind can push exhaust gases back down the flue.
- Using Wet or Unseasoned Wood: Wet wood burns inefficiently (it spends most of its energy boiling off water), leading to more smoke and more CO.

Step 1: Installation and Inspection—The Foundation of Safety
You wouldn’t build a deck without strong posts, and you shouldn’t operate a wood stove without a safe installation. This is the most crucial area for preventing CO leaks.
Hearth and Clearance Requirements
The area immediately around your stove must be protected from intense heat, but this isn’t directly related to CO, it’s related to fire safety. However, a proper installation ensures all components (like the stove pipe connection) are tight and sealed against leaks. Always follow the manufacturer’s manual precisely regarding distances from combustible walls.
The Importance of Proper Venting and Chimney
Your chimney is the exhaust system for your house. If it’s clogged or leaks, the CO has a direct path inside.
Essential Chimney Checks Before Lighting Up:
- Check the Flue Pipe Connection: Ensure the stovepipe connecting the stove to the chimney (or wall vent) is connected securely with screws and has no gaps.
- Inspect the Damper: Make sure the internal damper opens and closes fully. If it’s rusted or stuck partially closed, it restricts exhaust flow.
- Look for Damage: Check the entire visible chimney or vent system for rust holes, cracks, or separations between sections.
For manufactured systems, always confirm that all components meet the standards set by the National Fire Protection Association (NFPA). They provide detailed guidelines on safe venting systems for all heating appliances.
Step 2: Using Your Wood Stove Safely—Fuel and Air Control
Once installed correctly, how you operate the stove dictates whether you get a clean burn or a CO-producing smolder. This is where your everyday habits make the biggest difference.
The Right Fuel Makes a Difference
You need dry, seasoned wood. “Seasoned” means the wood has been split and allowed to dry for at least six to twelve months, reducing the moisture content to 20% or less.
Fuel Quality Comparison Table
| Wood Type | Moisture Content | Burn Efficiency | CO Production Risk | Notes |
|---|---|---|---|---|
| Well-Seasoned Hardwood | 15% – 20% | High | Low | Ideal for steady, long burns. |
| Green/Wet Wood | 40% + | Very Low | High | Wastes energy boiling water; creates lots of smoke and CO. |
| Scrap Lumber/Treated Wood | Varies | Unpredictable | Very High | Never burn treated wood; it releases toxic chemicals, not just CO. |
Mastering Air Control (Dampers and Air Intakes)
This is the trickiest part for beginners, but once you understand it, it becomes second nature. You need air (oxygen) to burn fuel completely.
- Startup (The Hungry Phase): When starting a fire, open the primary air intake control (often a sliding vent near the bottom) and the flue damper (if your stove has one) fully. This feeds the fire plenty of oxygen to get it hot and established quickly.
- Cruising (The Hot Phase): Once the fire is burning vigorously and the stove body is hot, you can start closing the primary air intake slowly to regulate the heat output. The key is not to choke it down too much. If you see heavy black smoke pouring out, you need more air.
- Overnight Burn (The Smoldering Trap): This is when CO risk is highest. If you try to run the stove on minimal air all night, you are likely achieving incomplete combustion, resulting in smoldering coals that pump out CO instead of steady heat. Only reduce air enough to maintain a steady, visible flame, not a dying ember bed.
Pro Tip: A good burn produces light, wispy smoke or vapor exiting the chimney, not thick black smoke. If you look up and see thick black smoke, your fire is struggling and producing too much CO.
Step 3: Maintenance—Keeping the System Clean
Even the best operation will fail if the system is clogged. Regular maintenance keeps the exhaust path clear and prevents dangerous blockages.
Creosote: The Silent Builder
Creosote is a sticky, tar-like substance that condenses in your chimney or stove pipe when smoke cools down too quickly—often happening when you run a low, slow fire (see Step 2, Overnight Burn).
What Creosote Does:
- It narrows the space where exhaust gases travel.
- It can ignite, causing a dangerous chimney fire.
- It can physically block the flue, forcing smoke and CO back into your home.
Schedule Annual Professional Cleaning
This is the one job I highly recommend hiring a certified chimney sweep to do annually, usually before the heating season begins. They have the specialized brushes and tools to remove hardened creosote layers safely. Look for sweeps certified by the Chimney Safety Institute of America (CSIA).
DIY Pipe Cleaning
While a professional handles the main flue, you should inspect and clean the stovepipe that runs between the stove and the chimney connection periodically (perhaps twice a season, depending on use).
- Ensure the stove is completely cold.
- Carefully disconnect the stovepipe sections (have rags ready—it’s messy!).
- Use a stiff wire brush specifically sized for your pipe diameter to scrub the inside walls.
- Reassemble everything tightly.
Step 4: The Essential Safety Net—Carbon Monoxide Detectors
No matter how well you install or maintain your stove, accidents happen—a sudden gust of wind, a small crack in the stove body, or a momentary lapse in judgment. A working CO detector is your life insurance policy against carbon monoxide poisoning from a wood stove.
Placement is Key
You need detectors on every level of your home, especially near sleeping areas. Since CO is the same weight as air, it mixes evenly, but detectors should be placed according to the manufacturer’s instructions—usually high on the wall or on the ceiling, but always checking the specific model requirements.
CO Detector Placement Guide
| Location | Why It Matters |
|---|---|
| Near sleeping areas | You won’t notice symptoms while asleep. |
| Near the wood stove area (but not right next to it) | To catch immediate leaks, but avoid false alarms from normal startup smoke. |
| On every level of the home | CO spreads throughout the house quickly. |
Detector Maintenance
CO detectors are not “set it and forget it.”
- Test Monthly: Press the test button once a month to ensure the alarm sounds.
- Change Batteries Twice a Year: Use the same schedule as your smoke detector batteries (e.g., Daylight Saving Time changes).
- Replace the Unit Every 5–10 Years: The sensors wear out. Check the expiration date printed on the back of the unit.
If your CO detector goes off, treat it as a real emergency. Immediately evacuate everyone from the house and call 911 from a neighbor’s house or a cell phone outside*. Do not try to investigate the stove yourself until emergency personnel have cleared the area.
Recognizing the Signs of Carbon Monoxide Poisoning
Being able to recognize symptoms is vital because you might be exposed before the alarm goes off, or if the alarm batteries die. Early symptoms are often mistaken for the flu or a headache, which is why CO is so dangerous.
Mild Exposure Symptoms (Often Mistaken for Illness):
- Dull headache
- Dizziness or lightheadedness
- Nausea (stomach ache or vomiting)
- Fatigue or tiredness
Severe Exposure Symptoms (Requires Immediate Medical Attention):
- Confusion or disorientation
- Shortness of breath
- Chest pain (especially in those with heart conditions)
- Loss of consciousness
If you suspect CO poisoning, the immediate action is always the same: GET OUTSIDE and call for help. Fresh air is the only treatment until medical help arrives.
Troubleshooting Common CO Issues Related to Wood Stoves
Sometimes the problem isn’t a major failure, but a small operational hiccup. Here’s how to diagnose minor issues that could lead to CO buildup.
Problem 1: Smoke Puffs Back into the Room When Opening the Door
This usually happens when you open the door to load wood. The pressure inside the house pushes the smoke out instead of letting the draft pull it up the chimney.
Fixes:
- Slow Down: Open the door only an inch at first.
- Increase Airflow: Before fully opening the door, crack the primary air intake control wide open for about 30 seconds. This ramps up the chimney draft, creating a stronger pull upwards.
- Check Outside Air: If you have a modern, tightly sealed home, you might need to crack a window slightly on the windward side of the house to allow replacement air in.
Problem 2: The Fire Burns Sluggishly, Even with Air Open
If your fire just sits there, smoldering, even when the air vents are wide open, you likely have a draft problem or poor fuel.
Fixes:
- Check the Damper: Double-check that the flue damper is fully open and not partially closed by debris.
- Inspect for Creosote: A thick layer of creosote can drastically reduce the chimney’s ability to draw air. If you suspect this, schedule a cleaning.
- Use Better Wood: If you are burning wet wood, the fire will never get hot enough for a clean burn. Switch to drier fuel.
Problem 3: The Chimney Seems Fine, But the CO Alarm Near the Stove Chirps Occasionally
If the alarm chirps or gives a warning beep but doesn’t sound the full evacuation alarm, it means CO levels are rising but haven’t hit the danger threshold yet.
Action Plan:
- Immediate Air Check: Go to the stove and ensure all air controls are wide open for 5–10 minutes to clear the exhaust.
- Inspect for Leaks: Check the stovepipe connections (gaskets, screws) for any visible smoke or soot leakage, which could also mean CO leakage.
- Monitor: If the chirping stops quickly, you identified a minor operational issue. If it continues to chirp intermittently, treat it as a minor leak and call a sweep to inspect the system thoroughly.
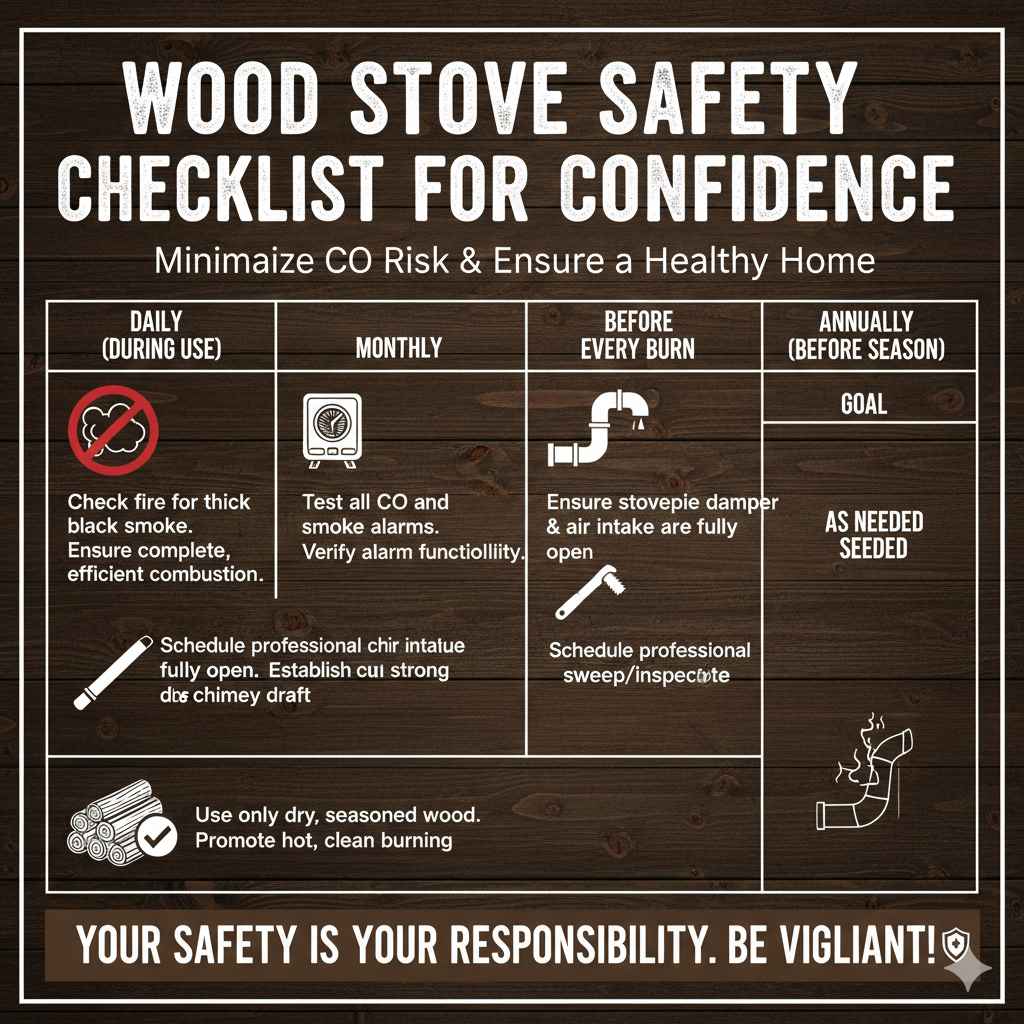
Wood Stove Safety Checklist for Confidence
To wrap up all these points, here is a simple, actionable checklist you can print out and keep near your wood stove. Following these steps regularly will minimize your risk of carbon monoxide poisoning from wood stove use.
| Frequency | Task | Goal |
|---|---|---|
| Daily (During Use) | Check fire for thick black smoke. | Ensure complete, efficient combustion. |
| Monthly | Test all CO and smoke alarms. | Verify alarm functionality. |
| Before Every Burn | Ensure stovepipe damper and air intake are fully open at startup. | Establish a strong chimney draft. |
| Annually (Before Season) | Schedule professional chimney sweep/inspection. | Remove dangerous creosote buildup. |
| As Needed | Use only dry, seasoned wood. | Promote hot, clean burning. |
Frequently Asked Questions (FAQ) for Wood Stove Owners
Q1: Is it safer to use a wood stove than a gas furnace when considering CO poisoning?
Neither is inherently safer; both rely on proper venting. A modern, properly installed gas furnace has safety cutoffs, but a malfunctioning or uninspected wood stove can produce very high levels of CO quickly. Safety depends entirely on installation and maintenance for both.
Q2: Can I use my wood stove if I have a blocked chimney but I run it on super low heat?
Absolutely not. A blocked chimney forces exhaust gases back into the room regardless of how low you run the fire. If the path is blocked, the fire cannot exhaust, and CO will backdraft. Never run a stove with a known blockage.