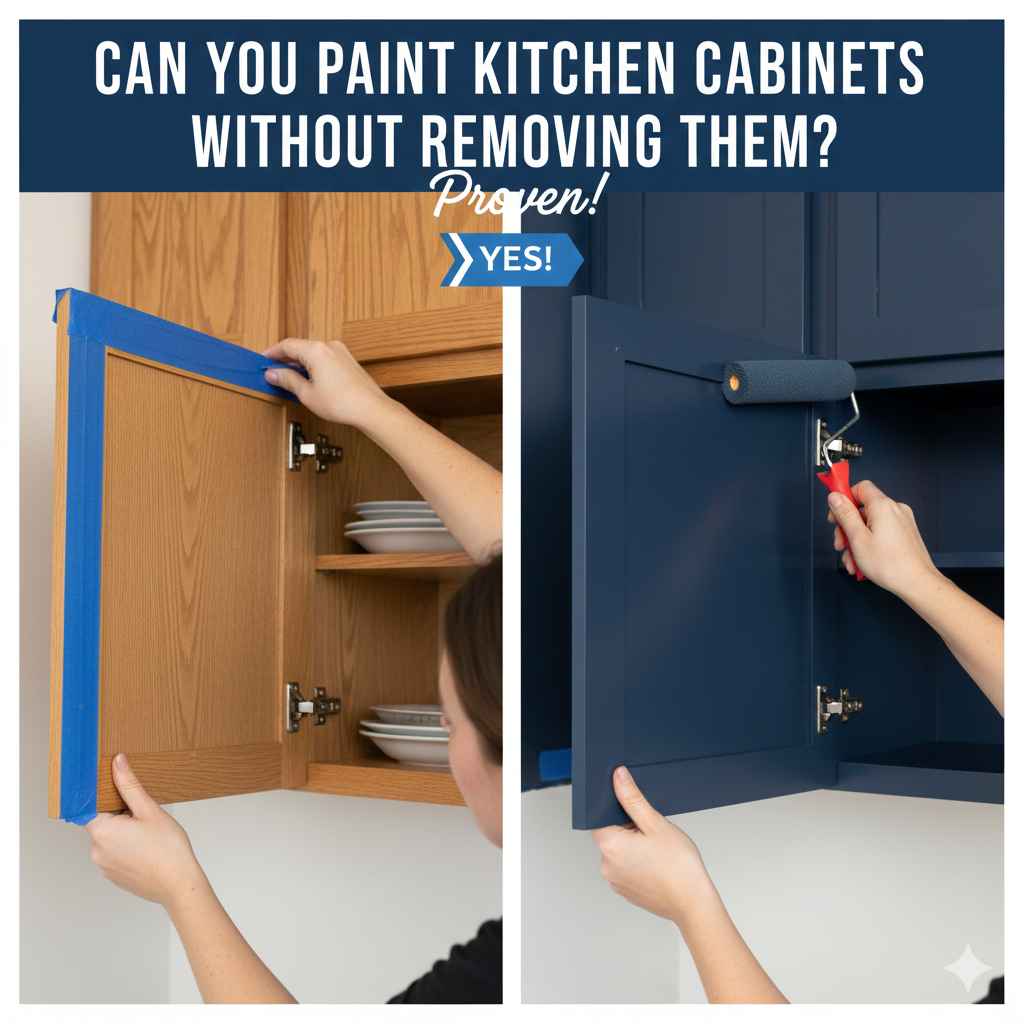
Can You Paint Kitchen Cabinets Without Removing Them? Proven!
Yes, you absolutely can paint kitchen cabinets without removing them, but preparation is the most critical factor for a professional, long-lasting finish. By using quality primers and adhering strictly to sanding and cleaning steps, homeowners can successfully refresh their cabinets in place, saving significant time and effort.
Does the thought of taking apart your entire kitchen—removing every door, drawer, and hinge—feel like a project too big to handle? You are not alone! Many homeowners want that beautiful, updated cabinet look but fear the hassle, cost, and time commitment involved in fully dismantling the kitchen. The good news is that for most cabinet types, you can skip the heavy lifting and paint them right where they stand. With the right approach, clear steps, and a little patience, we can achieve a finish that looks professionally done. Ready to see how we turn this massive job into a manageable weekend project? Let’s dive into the proven method for painting cabinets in place.
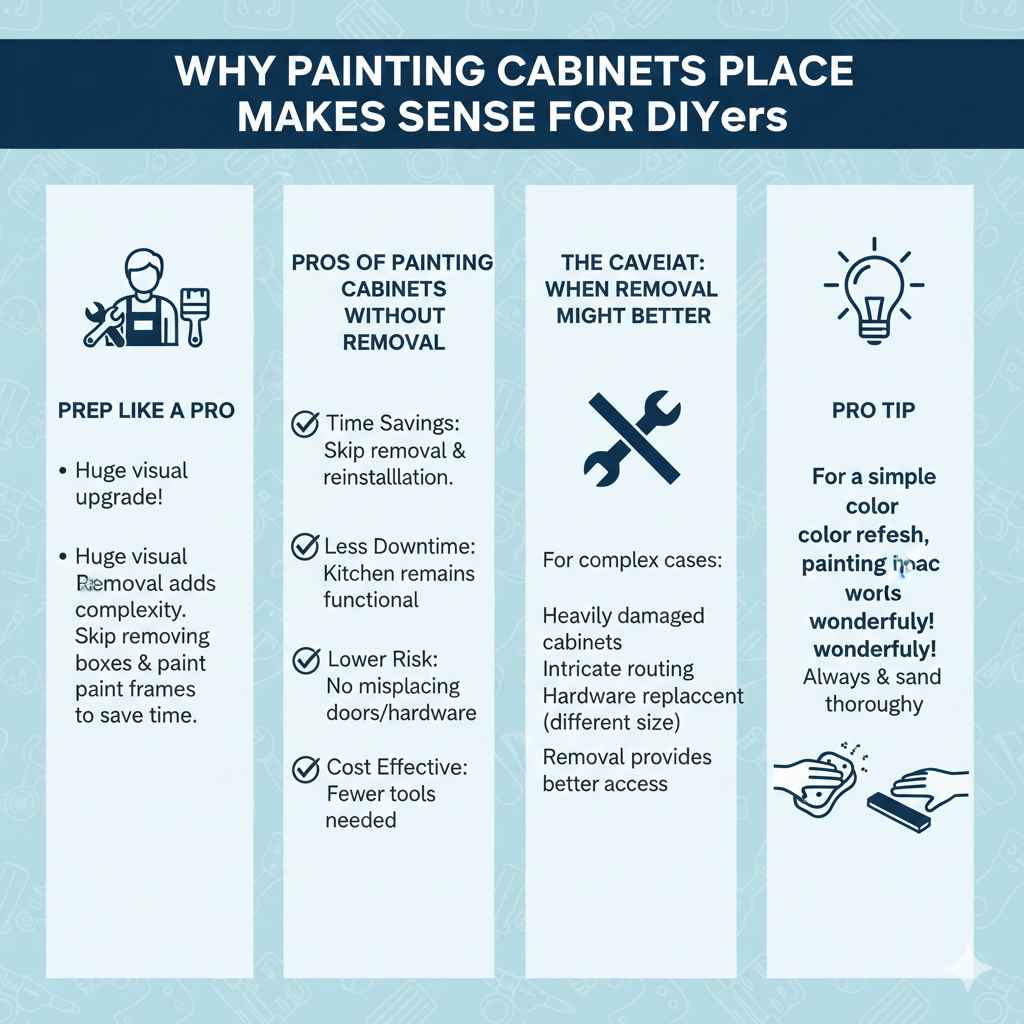
Why Painting Cabinets In Place Makes Sense for DIYers
Painting cabinets is a huge visual upgrade, but removal adds layers of complexity. When you skip removing the boxes and simply paint the frames (the stationary parts), you save a massive amount of time.
Pros of Painting Cabinets Without Removal
This method really appeals to the busy homeowner because of these key benefits:
- Time Savings: You skip the labor-intensive process of door removal, hardware cataloging, and complex reinstallation.
- Less Downtime: Your kitchen remains functional (even if it’s messy for a short time). You only need to block off access to small sections at a time.
- Lower Risk: Eliminating the need to transport, store, and potentially misplace dozens of doors and hardware pieces reduces the risk of damage or loss.
- Cost Effective: Fewer specialized tools or storage solutions are needed.
The Caveat: When Removal Might Be Better
While painting in place is often preferred, it’s important to be honest about limitations. If your cabinets are heavily damaged, feature intricate routing that requires precise corner work, or if you plan to entirely replace the hardware with a different size, taking the doors off might give you better access. However, for a simple color refresh, painting in place works wonderfully.
Essential Tools and Supplies for Success
Success in painting cabinets—whether they are on the wall or on sawhorses—comes down to the quality of your materials and tools. Do not skimp on cleaning and prep supplies; they are the foundation of your lasting finish.
The Prep Toolkit (The Non-Negotiables)
Before any paint touches the wood, you need this arsenal ready:
- High-Quality Cleaner: Degreaser like TSP (Trisodium Phosphate, though many prefer the milder substitutes now available at hardware stores) or a strong grease-cutting dish soap.
- Sandpaper Variety: You will need 120-grit (for initial smoothing), 180-grit (for general sanding), and 220-grit (for final light scuffing).
- Tack Cloths: Essential for picking up every speck of fine dust before priming.
- Painter’s Tape: High-quality, strong blue tape to protect countertops and walls. Look for low-tack varieties if you worry about pulling off paint.
- Plastic Sheeting and Drop Cloths: Heavy-duty plastic for covering countertops and plastic sheets or canvas for the floor.
- Screwdrivers/Drill: To remove handles/knobs (we leave doors attached for this method, but hardware removal is still necessary).
The Painting Toolkit
For that smooth, factory-like finish, spraying is generally superior, but a high-quality brush and roller setup is perfectly acceptable for DIYers.
- Primer: A high-adhesion bonding primer specifically designed for slick surfaces (like TSP-prepped wood or laminate).
- Paint: Cabinet-grade enamel paint (oil-based or high-quality waterborne acrylic enamel) is crucial for durability.
- Brushes: Use high-density, angled sash brushes (1.5-inch or 2-inch) with fine synthetic bristles (like Chinet or high-end nylon/polyester blends).
- Rollers: Microfiber or foam rollers specifically rated for smooth finishes (1/4-inch nap or less).
- Sprayer (Optional but Recommended): An HVLP (High Volume, Low Pressure) paint sprayer provides the smoothest, fastest results, but requires significant masking effort.
The Proven Step-by-Step Guide: Painting Cabinets Attached
This process focuses on preparing the fixed cabinet boxes and doors while they are still mounted. Remember, this method works best if you can work one section or one cabinet box at a time, allowing the adjacent areas to serve as barriers.
Step 1: Empty and Protect the Kitchen Area
Your priority now is creating a clean, contained workspace.
- Clear Everything: Remove all items from inside and on top of the cabinets.
- Protect Surfaces: Use plastic sheeting to fully cover the countertop surfaces. Tape it securely along the backsplash and edges.
- Floor Coverage: Lay down canvas drop cloths or heavy plastic sheets beneath the cabinets you are working on.
- Wall Masking: Carefully apply painter’s tape where the cabinet frames meet the walls, the backsplash, and the ceiling. Press the tape down firmly to create a good seal—this prevents accidental paint splatters on your wall paint.
- Hardware Removal: Remove all knobs and pulls. Place all screws and hardware into clearly labeled plastic bags (e.g., “Top Cabinets Left Side”).
Step 2: Deep Cleaning—The Key to Adhesion
This is where most DIY paint jobs fail. Kitchen cabinets are coated in years of grease, cooking residue, and grime that prevents primer and paint from sticking. If you skip this, your paint will peel off in a year or two.
- Degrease: Mix your degreasing solution (TSP substitute or strong dish soap) according to the directions. Using a non-abrasive sponge or rag, scrub every surface of the cabinet frames and doors. Pay extra attention to areas around the handles and the edges near the stove.
- Rinse Thoroughly: This is vital. Wipe down all cleaned surfaces multiple times with clean water only. Any soap residue left behind will block adhesion.
- Dry Time: Allow the cabinets to air dry completely. You can speed this up slightly with a fan, but make sure they are bone dry to the touch before sanding.
Step 3: Sanding for Grip (Scuff Sanding)
We are not trying to remove the old finish; we are just dulling the surface (scuffing) so the primer has a rough texture to grab onto.
- Use 180-grit sandpaper on a sanding block or an orbital sander (use light pressure if using a power sander).
- Sand all surfaces evenly—the frame, the doors, and any exposed side panels. You are looking for a dull, matte finish, not bare wood.
- For detailed areas or corners, use a folded piece of 180-grit sandpaper by hand.
- Once sanding is complete, vacuum up the heavy dust using a shop vac with a soft brush attachment.
- Wipe every surface down with a tack cloth until no visible dust remains. You should be able to run a white glove over the surface without picking up any residue.
Step 4: Priming for Durability
Primer acts as the glue between the old finish and your new paint color. For cabinets, you must use a bonding or stain-blocking primer designed for slick surfaces. Many experts recommend oil-based or shellac-based primers (like Zinsser B-I-N) if you suspect old layers of varnish or strong stains, but modern high-adhesion acrylic primers are easier for beginners to handle.
- Paint the Frames: Use your angled brush to carefully apply a thin, even coat of primer to the fixed cabinet boxes. Keep your lines neat where the cabinet meets the tape.
- Apply to Doors: If you are leaving the doors attached, use your brush/roller or sprayer carefully on the face of the doors. It is much harder to get even coverage on hinges and door edges this way.
- Light Sand (Optional but Recommended): Once the primer is fully dry (check the can!), use 220-grit sandpaper very lightly to smooth out any dust nibs or texture. Wipe clean with a tack cloth.
- Second Coat: Apply a second coat of primer for maximum adhesion and to ensure that no dark old finish bleeds through your light topcoat.
Step 5: Painting the Top Coat
This is where the transformation happens! Apply paint just as you did the primer, focusing on thin, even coats.
It is highly recommended to use a sprayer if you are leaving the doors on, as brush strokes or roller texture are much more noticeable on a large, flat surface.
If using a brush and roller setup on attached doors:
- Apply the paint in thin coats. Trying to achieve full coverage in one coat almost always leads to drips and uneven texture.
- On the frame, use the brush for edges and corners, then immediately follow up with the mini-roller to blend the paint for a smooth look.
- Allow ample drying time between coats. Cabinet paints often look wet for a long time but require patience before recoating. Check the manufacturer’s recoat window.
Step 6: Drying, Curing, and Reassembly
Resist the temptation to touch your work! Even if the paint feels dry to the touch, it is still curing.
- Drying Time: Follow the paint manufacturer’s instructions precisely for drying time. Most enamels need at least 24 hours before handling the doors or applying the second coat.
- Second Coat: Apply your final coat of paint using the same technique as the first.
- Wait to Cure: This is the most frequently ignored step! Cabinet paint needs time to reach its maximum hardness (cure). While you can reinstall hardware after 48–72 hours, try to avoid heavy use, slamming doors, or cleaning the cabinets for at least 5–7 days. Curing time affects long-term durability.
- Reinstall Hardware: Once cured enough, carefully reinstall your existing knobs and pulls.
- Remove Tape: Gently peel the painter’s tape and remove the plastic coverings from your counters. Admire your hard work!
Primer Comparison: Which One Is Right for Your Cabinets?
The primer you choose determines how well the paint sticks, especially on tricky surfaces like laminate or heavily varnished wood. For painting cabinets in place, you need excellent surface preparation, but a foolproof primer bridges minor prep gaps.
| Primer Type | Best For | Ease of Use (Beginner) | Drying Time |
|---|---|---|---|
| Oil-Based Alkyd | Stain blocking, raw wood, high-tannin woods. Excellent adhesion. | Medium (Strong odor, difficult cleanup) | Slower (6-8 hours) |
| Shellac-Based (BIN) | Extreme adhesion, sealing odors, slickest surfaces (like old laminate). | Medium (Very fast drying but strong fumes) | Fast (Under 1 hour) |
| Waterborne Bonding Acrylic | General use, easiest cleanup, low odor. Great for most existing painted surfaces. | High (Easy cleanup with water) | Fast (2-4 hours) |
To ensure you are using the best product for your specific cabinet material, consulting reliable resources like those provided by the Occupational Safety and Health Administration (OSHA) regarding proper ventilation when using strong solvents or paints is always a smart move.
Troubleshooting Common Issues When Painting Attached Cabinets
Working in tight spaces introduces specific challenges. Here are the most common pitfalls when painting cabinets without removing them and how to fix them.
Issue 1: Drips and Runs on Door Faces
Cause: You applied the paint too thickly, especially on vertical surfaces, or you didn’t use a high-quality roller/brush designed for smooth finishes.
The Fix: If the paint is still wet, immediately use your brush (clean, no paint on it) to gently feather out the drip. If the paint is dry, you must lightly sand the entire drip area with 220-grit sandpaper until smooth, wipe it clean, and apply a very thin coat of paint over that section only.
Issue 2: Hardware Holes Show Through
Cause: The old primer or stain is bleeding through the paint, or the area around the hole wasn’t sanded properly.
The Fix: This almost always means the primer failed. If you have only one coat, apply a small spot of stain-blocking shellac primer directly over the hole. If you have several coats on, lightly sand the spot, wipe it, and apply a thin topcoat.
Issue 3: Sticky or Soft Paint After Days of Drying
Cause: Not enough curing time, or you used a paint not rated for the high traffic of kitchen cabinets (low solids content).
The Fix: Increase ventilation significantly. If you are certain the temperature is stable (above 70°F), running a dehumidifier in the kitchen can help pull moisture out of the drying paint film. You must wait longer. Do not put weight or heavy use on these surfaces until they harden.
Issue 4: Paint Splatter on Walls or Countertops
Cause: Inadequate taping or using too high a pressure setting if you chose to spray the doors.
The Fix: This is why prep is key! If it’s wet, wipe it immediately with a damp sponge. If it’s dry, you will need to lightly sand the affected area and touch up the original wall/countertop paint. Always apply a second layer of painter’s tape over the first layer if you suspect heavy spraying.
Comparing Methods: Attached vs. Detached Doors
To give you a full picture, let’s compare painting the fixed cabinet boxes (attached) versus the more traditional approach of removing the doors entirely and painting them on sawhorses.
| Factor | Painting Cabinets Attached (In Place) | Painting Cabinets Detached (Off Hinges) |
|---|---|---|
| Prep & Masking Time | Shorter overall prep; major time spent masking surrounding areas. | Longer setup time (removing, labeling, storing); minimal masking needed later. |
| Coverage Quality | Challenging on door edges and hinges; harder to avoid brush marks. | Excellent. Can spray all surfaces evenly (including grooves and edges). |
| Kitchen Disruption | Low to Medium. Kitchen is usable immediately, just taped off. | High. Kitchen is unusable for the duration of the project (3-7 days minimum). |
| Drying Space | Minimal. Doors dry in place, risking drips or contamination. | High Requirement. Needs a dedicated, dust-free space (garage, spare room) to lay out 15+ doors. |
As you can see, painting in place trades perfect coverage in tight spots for overall project speed and convenience. For the beginner aiming for a big impact with less fuss, the attached method wins out if you are patient with your brushwork.
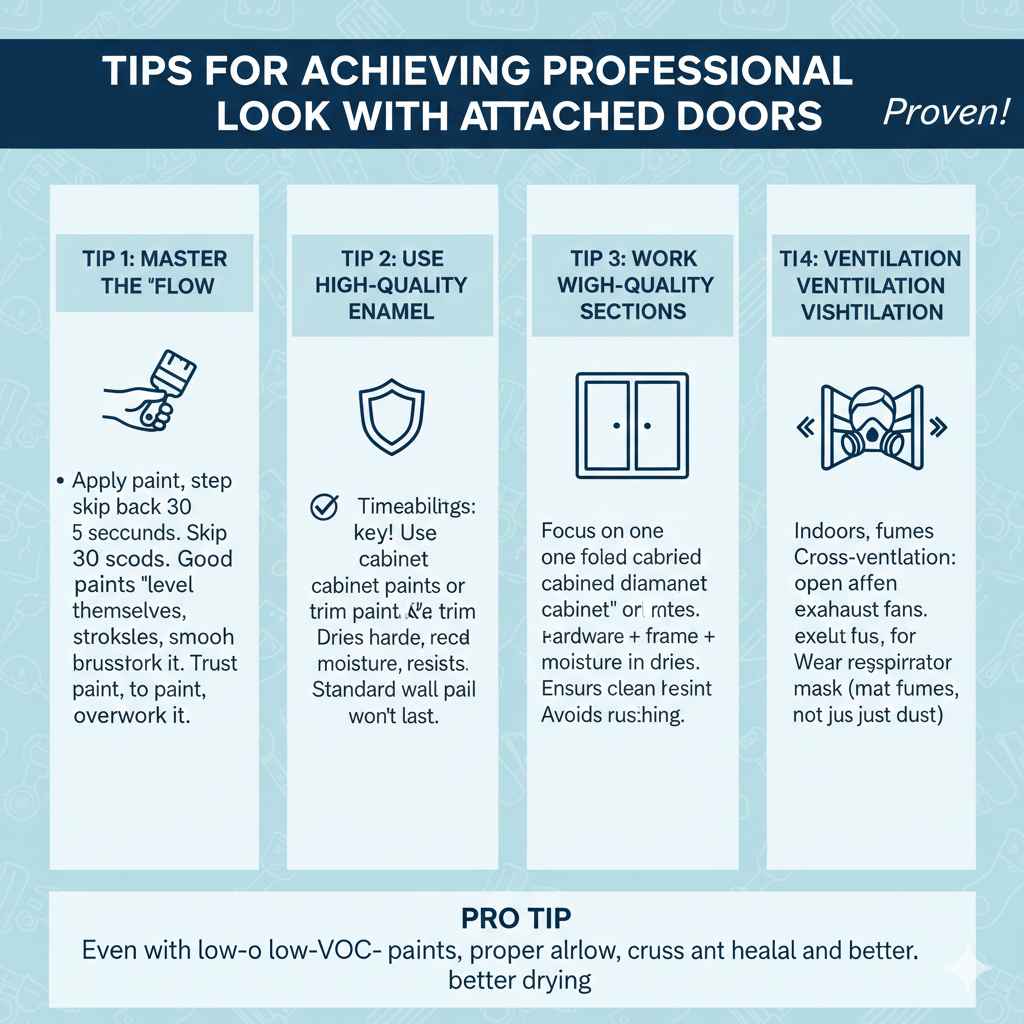
Tips for Achieving a Professional Look with Attached Doors
Since you are fighting gravity and tight angles, these tips help elevate your in-place job:
Tip 1: Master the “Flow”
When using a brush or roller on a vertical, attached door, apply the paint and then step back for 30 seconds. Good cabinet paints have excellent “leveling” properties—meaning they self-smooth out brush strokes as they dry. Don’t overwork the wet paint; trust the leveling action.
Tip 2: Use High-Quality Enamel
Durability is everything in a kitchen. Standard wall paint simply will not stand up to cleaning, friction, and moisture. Look for paints marketed specifically as “cabinet enamel” or “trim and door paint.” These are engineered to dry harder and resist moisture better. Check resources from organizations like the Paint Quality Institute for modern, durable paint technology.
Tip 3: Work in Sections
Do not try to paint all your cabinet frames at once, then all the doors. Work methodically, one full cabinet box (frame plus its attached doors) before moving to the next. This ensures you can focus on clean lines where the frame meets the wall before the area dries.
Tip 4: Ventilation, Ventilation, Ventilation
Because you are working indoors and close to surrounding surfaces, odor and fume control are paramount. Even if you use low-VOC paints, ensure you have cross-ventilation. Open windows, run exhaust fans, and wear a good respirator mask designed for fumes (not just a dust mask).
Frequently Asked Questions (FAQ) for First-Time Cabinet Painters
Q1: Can I paint over existing laminate cabinets without removing them?
A: Yes, but it is very difficult. You MUST use a specific high-adhesion bonding primer (often shellac or epoxy-based) after a very thorough cleaning and sanding (scuff sanding). Standard primers often fail on glossy laminate.
Q2: How long do I have to wait between painting the frame and the doors?
A: If you are painting the frame and the attached doors in one session, you should wait until the frame coat is fully dry before attempting the door coat, usually 4–8 hours depending on humidity and paint type. However, it’s safer to do the frame one day and the doors the next, allowing the frame to cure slightly more.
Q3: Do I have to remove the cabinet doors to paint the hinges?
A: Not necessarily, but it’s messy. If you leave the doors on, you must carefully paint around the hinges on the frame, and then use a small artist’s brush to delicately paint the visible parts of the hinge plate attached to the door frame. If the hinges are bulky, it might look cleaner to remove them or accept that they will remain the original color.
Q4: What is the best paint finish for kitchen cabinets?
A: Semi-gloss or Satin are the best choices. They provide the high durability and washability needed in a kitchen while hiding minor imperfections better than a high-gloss finish. High-gloss shows every single brush mark or roller texture.
Q5: Can I use regular house paint on my cabinets?
A: We strongly advise against it. Standard interior latex paint lacks the hardness (scuff resistance) required for daily use on cabinets. You need a dedicated trim/cabinet enamel paint for a finish that lasts longer than a few months.
Q6: My cabinets are white and I want to paint them gray. Do I need a stain-blocking primer?
A: If the white paint is in good shape and you have thoroughly cleaned and scuffed it, a high-adhesion bonding primer should suffice. However, applying a coat of stain-blocking primer never hurts, as it ensures zero bleed-through and provides a consistent, even base color for your new gray.
Conclusion: Confidence in Your Cabinet Transformation
Painting your kitchen cabinets without the headache of removal is absolutely achievable. It demands respect for the prep work—cleaning, sanding, and priming are not optional extras; they are the foundation of your professional-looking result. By sticking to these clear, manageable steps, dedicating time to proper drying, and choosing durable cabinet-grade materials, you are well on your way to saving hundreds of dollars and enjoying a refreshed kitchen. Don’t rush the curing phase, and you will soon have beautiful, lasting cabinets that you painted yourself, right in place! You have all the knowledge you need to tackle this project with confidence.