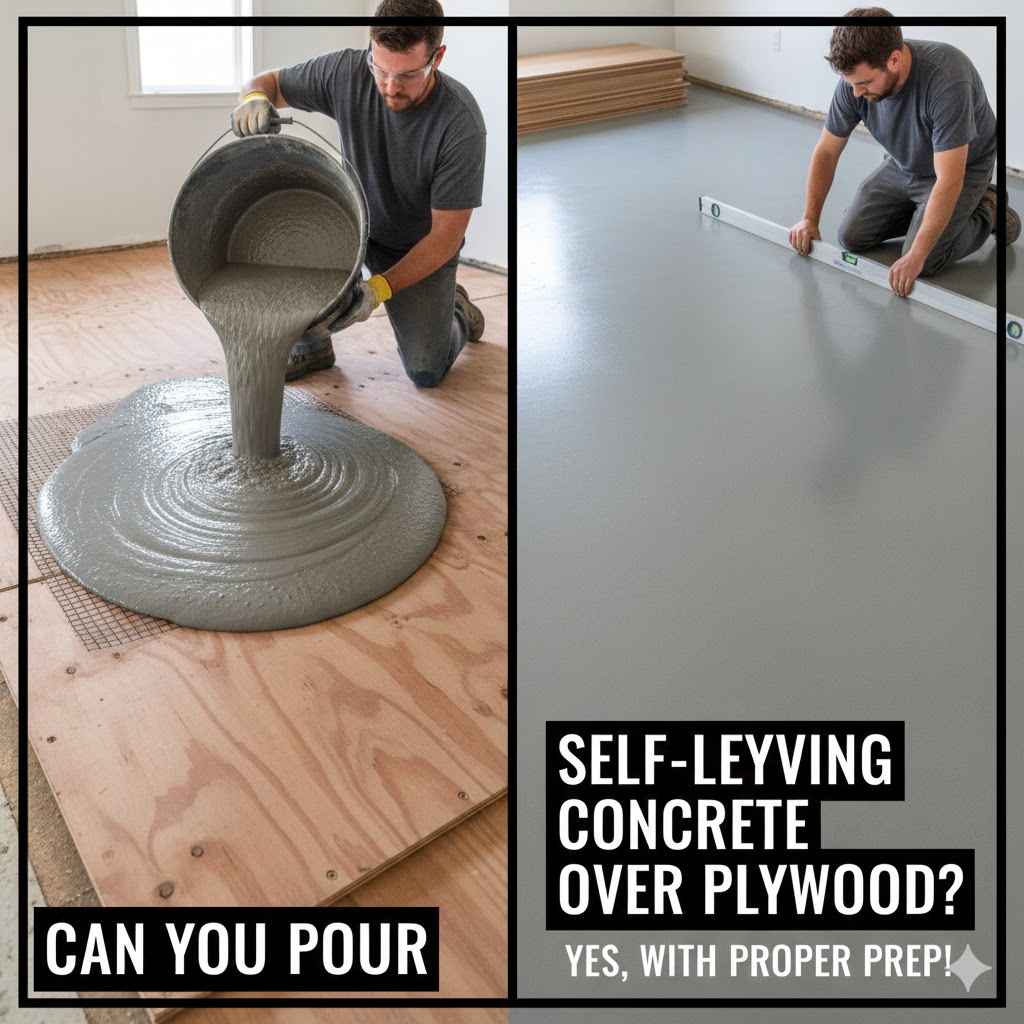
Can You Pour Self-Leveling Concrete Over Plywood
Many folks wonder, Can You Pour Self-Leveling Concrete Over Plywood? It’s a common question, especially for DIYers starting new flooring projects. Thinking about how plywood and concrete work together can seem tricky. But don’t worry!
We’ll walk through it step by step. You’ll see how to get a smooth, solid base for your new floor. Ready to learn how it’s done the right way?
Is Plywood a Good Base for Self-Leveling Concrete
Understanding Self-Leveling Concrete
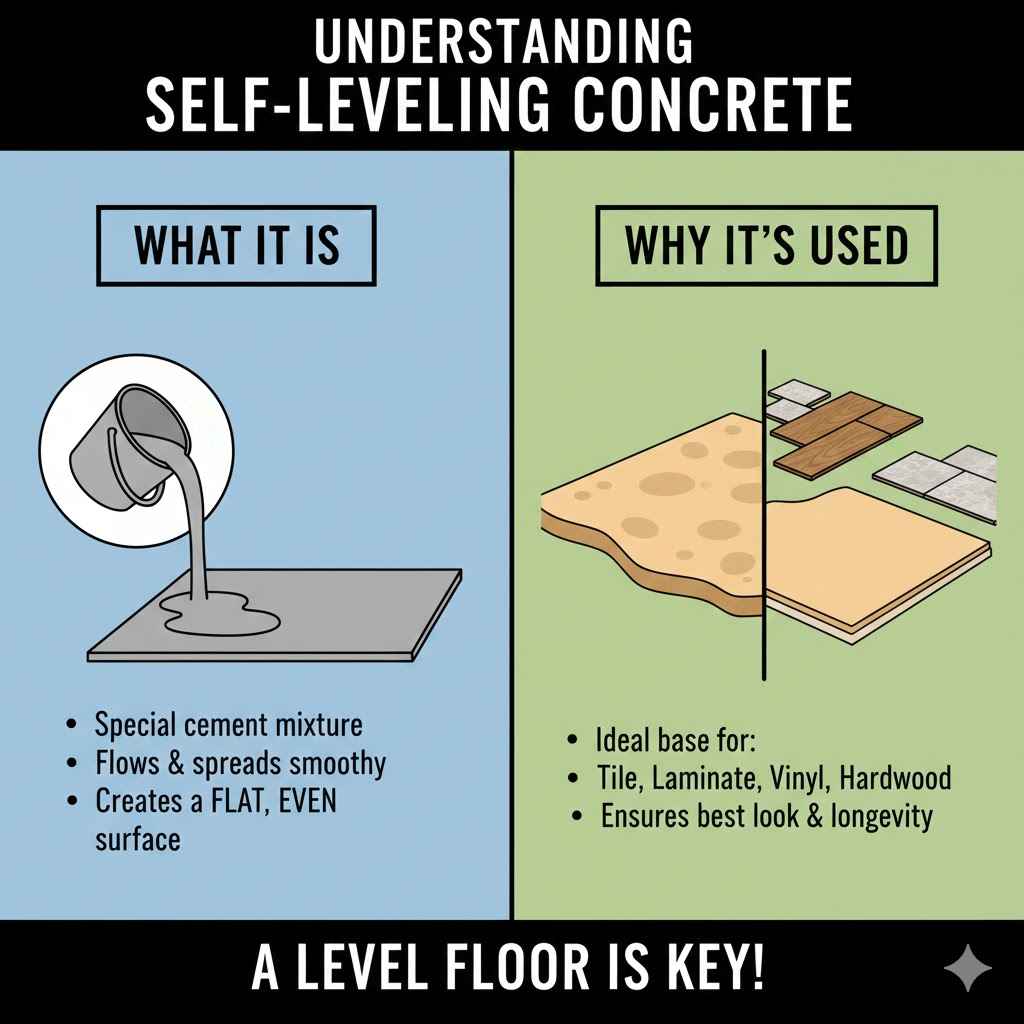
Self-leveling concrete is a special kind of cement mixture. It’s designed to flow and spread out smoothly on its own. This makes it perfect for creating a flat, even surface. It’s often used before installing tile, laminate, vinyl, or hardwood floors. A level floor is key for any flooring project to look its best and last longer.
Why People Ask About Plywood and Concrete
Plywood is a common subfloor material. It’s strong and relatively easy to work with. When you think about pouring a liquid cement-like product over wood, questions pop up. Will the wood hold up? Will the concrete stick? Will it warp or damage the plywood? These are valid concerns. People want to make sure their floor is stable and won’t cause problems down the road. Getting the preparation right is super important.
Can You Pour Self-Leveling Concrete Over Plywood
Yes, you absolutely can pour self-leveling concrete over plywood. However, it’s not as simple as just pouring it directly onto the wood. There are some important steps you must take to make sure the job is done correctly and lasts. The plywood needs to be prepared properly. This ensures the self-leveling concrete has a strong bond and won’t crack or fail.
Preparing Plywood for Self-Leveling Concrete
Proper preparation is the most important part of this project. If you skip these steps, you risk your new floor failing.
1. Check Plywood Condition
Inspect the plywood subfloor carefully. It needs to be in good shape. Look for any signs of damage. This includes:
- Rot or water damage
- Soft spots
- Loose or warped sections
- Mold or mildew
If you find any of these issues, you need to fix them first. Replace damaged sections or reinforce weak areas. The plywood must be solid and stable.
2. Ensure Plywood is Secure
All plywood sheets must be firmly attached to the floor joists. Any movement in the subfloor will cause problems with the self-leveling concrete.
- Use screws, not nails, to fasten the plywood. Screws hold better.
- Add screws every 6 inches along the edges and every 10-12 inches in the field of the panel.
- Make sure screw heads are slightly countersunk, but not so deep that they tear the surface.
You don’t want any squeaks or flexing when you walk on the subfloor.
3. Clean the Plywood Surface
The plywood must be completely clean. Any dirt, dust, grease, or debris will prevent the self-leveling concrete from bonding properly.
- Sweep the floor thoroughly.
- Vacuum up all fine dust. A shop vac works best.
- For stubborn grease or grime, you might need a degreaser. Follow up with clean water and let it dry completely.
A clean surface is essential for good adhesion.
4. Address Gaps and Seams
Even well-installed plywood can have small gaps between sheets or at the edges. These need to be handled.
- For very small gaps (less than 1/8 inch), you can often fill them with a compatible wood filler or a cementitious patching compound.
- Larger gaps should be addressed by adding blocking between the joists if possible, or filling them with a rigid material before applying the primer.
The goal is to create a continuous, solid surface.
5. Seal the Plywood
This is a critical step that many people overlook. Plywood is porous and can absorb moisture from the self-leveling concrete mix. This can weaken the bond and even cause the plywood to swell or warp.
- You need to use a primer specifically designed for self-leveling underlayments.
- These primers create a barrier between the plywood and the concrete.
- They also improve adhesion by providing a slightly rougher surface for the concrete to grip onto.
- Follow the primer manufacturer’s instructions for application and drying times. Usually, one or two coats are needed.
Do not skip this step. It is vital for a successful project.
6. Reinforce with Mesh (If Necessary)
For larger areas or if your plywood is thinner than recommended (e.g., 3/4 inch thick), you might need to add reinforcement.
- Fiberglass reinforcing mesh is commonly used.
- Lay the mesh over the primed plywood.
- It should be embedded into the primer or the first thin layer of self-leveling compound.
- The mesh adds tensile strength and helps prevent cracking, especially in areas where there might be some slight subfloor movement.
Always check the self-leveling concrete manufacturer’s recommendations. They will tell you if and when mesh is needed.
Choosing the Right Self-Leveling Concrete
Not all self-leveling compounds are the same. Read the product label carefully. Some are designed for specific subfloors or for use over radiant heating systems. Make sure the product you choose is suitable for use over a primed plywood subfloor. Pay attention to the thickness it can be poured in a single application.
The Pouring Process
Once your plywood is prepped, you’re ready to pour.
1. Mix the Self-Leveling Concrete
Follow the manufacturer’s instructions exactly.
- Use the correct amount of water. Too much or too little can affect the strength and flow.
- Mix in a clean bucket with a mixing paddle on a drill.
- Mix only what you can pour and spread within the working time of the product (usually 10-20 minutes).
- Pour the dry mix into the water, not the other way around.
- Mix until smooth and lump-free.
2. Pour and Spread
Work in sections if you have a large area.
- Start pouring the mixed concrete along the lowest point of the room or your starting wall.
- Let it flow. Use a gauge rake to help guide it to the desired thickness.
- A smooth trowel or squeegee can help to further level it out and remove any minor ridges.
- Work quickly to blend new batches into the previous ones before they start to set.
3. Curing
Allow the self-leveling concrete to cure fully. This can take 24-72 hours, depending on the product and environmental conditions.
- Keep the area free from traffic.
- Avoid extreme temperature changes or drafts.
- Once cured, it will be hard and ready for your final flooring.
When Not to Pour Self-Leveling Concrete Over Plywood
There are a few situations where pouring self-leveling concrete over plywood might not be the best idea.
- Very old or damaged plywood: If the plywood is too far gone, it’s better to remove it and start with a new subfloor.
- Unstable subfloor: If the joists are undersized or sagging significantly, addressing the structural issue is more important than just covering it up.
- Extreme moisture: If the subfloor is in an area with constant high humidity or a risk of leaks, it might be better to consider a different solution.
Common Mistakes to Avoid
Mistakes can happen. Being aware of them can help you avoid them.
- Skipping the primer: This is a major one. Without primer, adhesion will be poor.
- Not cleaning properly: Any debris will create weak spots.
- Using too much water: This weakens the concrete and can cause it to crack later.
- Not mixing enough: If you don’t mix enough to cover an area in one go, you’ll get cold joints (lines where one pour meets another that has already started to set).
- Walking on it too soon: This can leave footprints and damage the still-soft surface.
The Role of Underlayment
Self-leveling concrete acts as an underlayment. It creates a smooth, stable surface. This is essential for the longevity and appearance of your final flooring. It protects your finished floor from imperfections in the subfloor.
Can You Pour Self-Leveling Concrete Over Underlayment Plywood
Yes, self-leveling concrete can be poured over underlayment plywood. Underlayment plywood is specifically designed as a smooth base for flooring. However, the same preparation steps apply. You still need to ensure it’s clean, secure, and properly primed. The goal is always a solid, well-bonded surface.
When to Use a Concrete Board Instead
Sometimes, a concrete board (like cement board) is a better choice than self-leveling concrete.
- Areas with high moisture: Bathrooms and kitchens often benefit from cement board, especially under tile, as it’s less affected by water than plywood.
- Uneven subfloors that don’t need perfect flatness: If you just need a stable surface and the self-leveling aspect isn’t critical, cement board can be quicker.
- When the final floor needs a very rigid base: Cement board provides a rigid layer that can be beneficial under certain types of tile.
Advantages of Using Self-Leveling Concrete Over Plywood
When done correctly, using self-leveling concrete over plywood offers several benefits:
- Creates a perfectly flat surface: This is its main job.
- Improves floor strength: It adds a solid layer over the subfloor.
- Enhances flooring performance: Makes tile, laminate, and vinyl look better and last longer.
- Covers minor imperfections: It can smooth out slight dips or bumps in the plywood.
Considerations for Different Flooring Types
The type of flooring you plan to install might influence your decision.
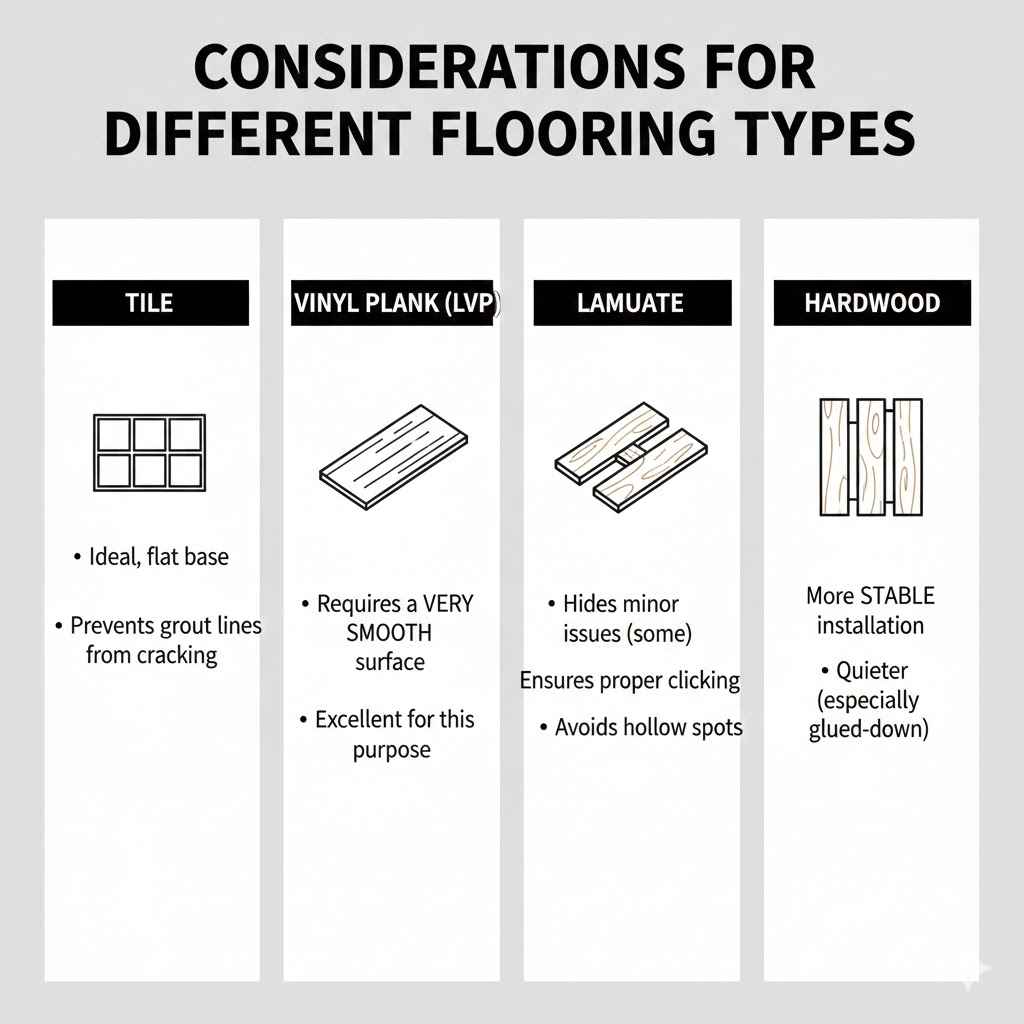
- Tile: Self-leveling concrete provides an ideal, flat base for tile, preventing grout lines from cracking due to an uneven subfloor.
- Vinyl Plank Flooring (LVP): LVP requires a very smooth surface. Self-leveling concrete is excellent for this.
- Laminate Flooring: Laminate can hide minor subfloor issues, but a flat surface ensures it clicks together properly and avoids hollow spots.
- Hardwood Flooring: While some hardwood can be nailed down over plywood, a leveled subfloor can lead to a more stable and quieter installation, especially for glued-down hardwood.
Frequently Asked Questions
Question: Do I need to prime plywood before pouring self-leveling concrete?
Answer: Yes, absolutely. Priming creates a barrier to prevent moisture absorption by the plywood and improves the adhesion of the self-leveling concrete. It is a critical step.
Question: What if my plywood subfloor is uneven?
Answer: Self-leveling concrete is designed to smooth out minor unevenness. However, for major dips or humps, you might need to address those issues before pouring by adding shims or grinding down high spots.
Question: How long does it take for self-leveling concrete over plywood to cure?
Answer: Curing times vary by product but typically range from 24 to 72 hours. Always check the manufacturer’s instructions for specific drying and curing times before installing your final flooring.
Question: Can I pour self-leveling concrete over painted plywood?
Answer: It is generally not recommended to pour directly over paint. The paint can act as a bond breaker. You would need to thoroughly clean, scuff sand, or remove the paint and then prime the plywood.
Question: What is the minimum thickness for self-leveling concrete over plywood?
Answer: Most self-leveling concrete products can be poured as thin as a feather edge or up to 1-2 inches, depending on the specific product. Always check the product specifications for minimum and maximum pour depths.
Final Thoughts
You can indeed pour self-leveling concrete over plywood. The key is proper preparation. Cleaning, securing, and priming the plywood are non-negotiable steps. These actions ensure a strong bond and a durable surface. This approach creates the perfect foundation for your new flooring. Follow these steps, and your project will be a success.
Wrap Up
Pouring self-leveling concrete over plywood is a viable solution for a flat floor. Success depends on preparing the plywood subfloor thoroughly. Secure it, clean it well, and always use a primer. This creates a strong bond and prevents issues. You’ll get a smooth, stable base ready for any new flooring. Your project will have a professional finish.