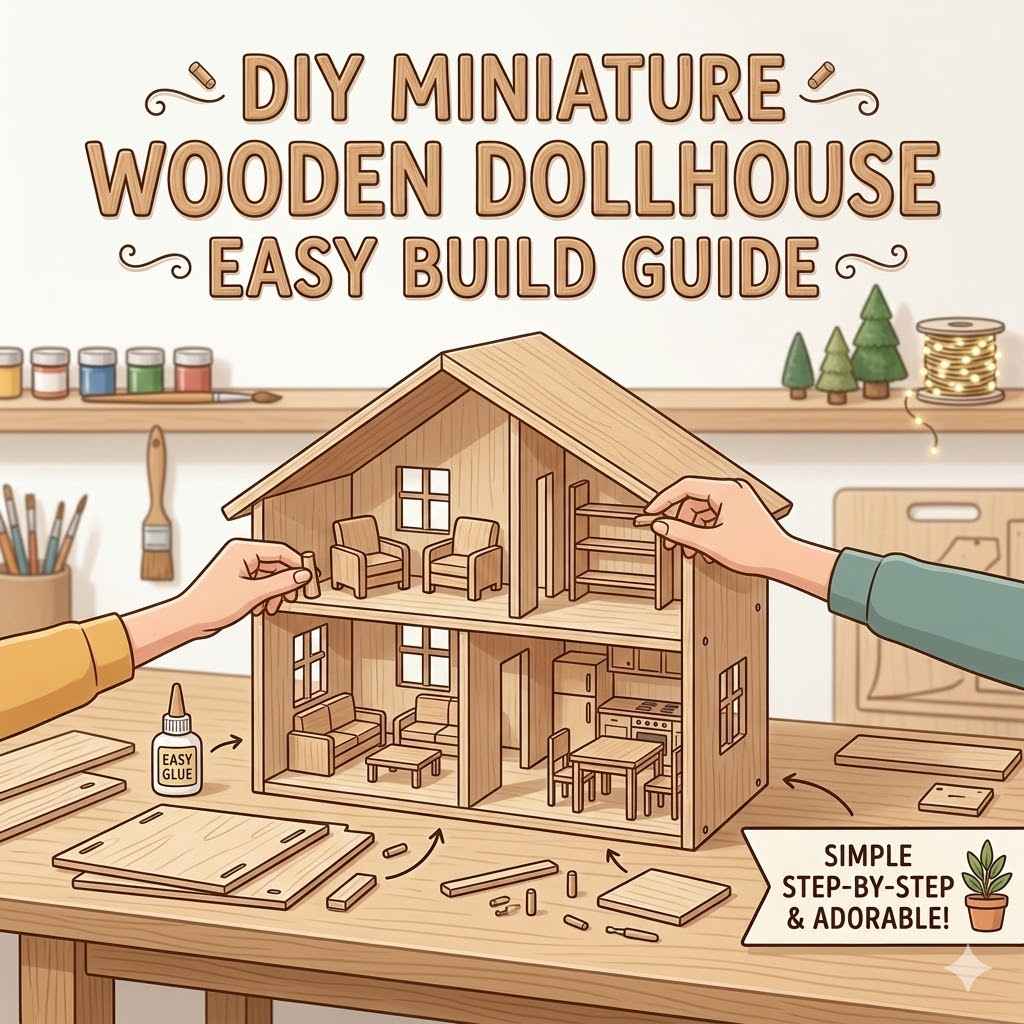
DIY Miniature Wooden Dollhouse Easy Build Guide
Getting started with building a dollhouse can seem a little tricky. Many people wonder if it’s too hard to do at home. But don’t worry!
We’ve put together a DIY Miniature Wooden Dollhouse: Easy Build Guide to make it simple. We will show you step by step how to create your own charming little house. This guide will break down everything you need to know to get building right away.
Building Your First DIY Miniature Wooden Dollhouse
This section is all about getting you ready to build your very first miniature wooden dollhouse. We’ll cover what you need and why picking the right materials matters. It’s like having a blueprint for success.
We want to make sure you have a clear path from gathering supplies to holding your finished dollhouse. Think of it as laying the foundation for your miniature home.
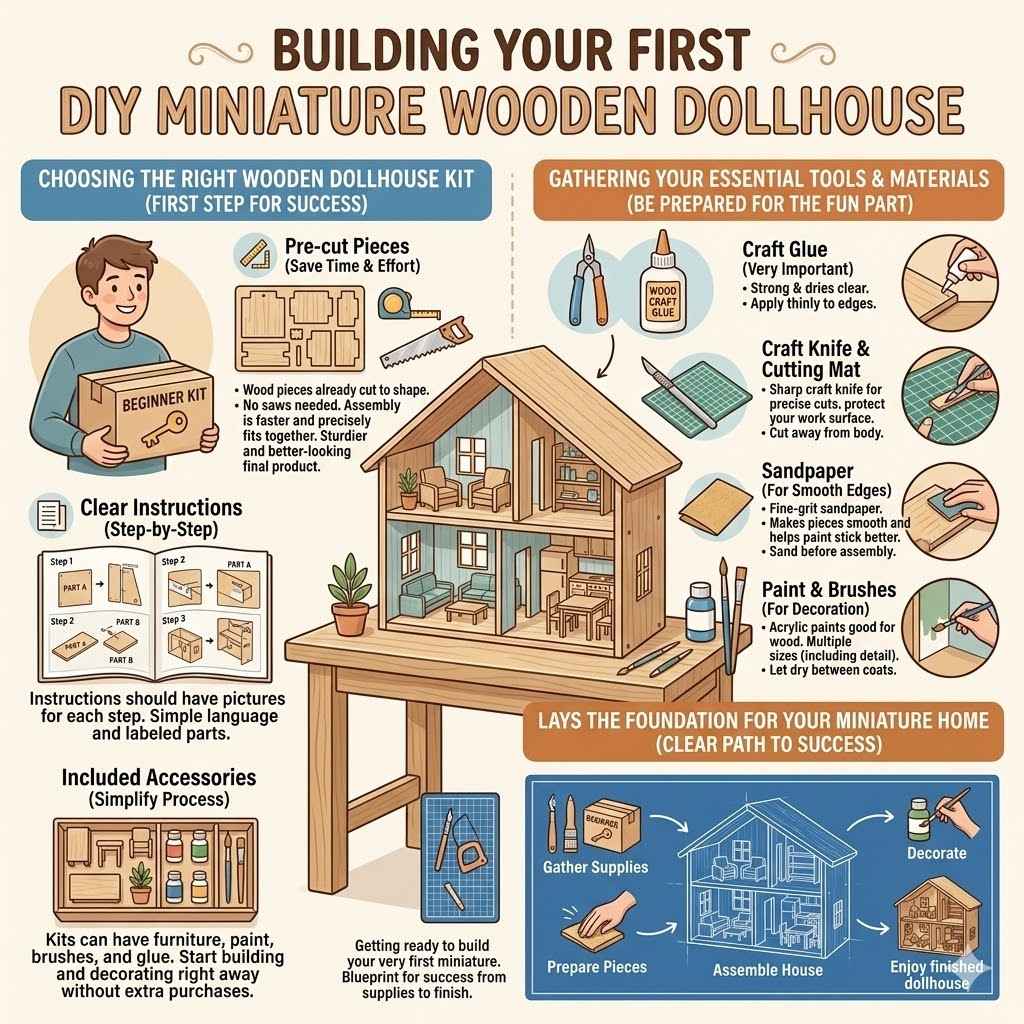
Choosing the Right Wooden Dollhouse Kit
Selecting the best kit is your first big step. A good kit makes all the difference for a fun and easy building experience. Look for kits that are made for beginners.
They often come with pre-cut pieces and clear instructions. Some kits even have everything you need, like glue and paint. This saves you trips to the store and keeps things simple.
Pre-cut pieces save time and effort. When the wood pieces are already cut to the right shape, you don’t need special tools like saws. This makes assembly much faster. It also means less risk of making mistakes with measurements or cuts. The pieces will fit together more precisely, leading to a sturdier and better-looking final product. Beginners will find this very helpful.
Clear, step-by-step instructions are essential. Good instructions should have pictures or diagrams for each step. They should explain what to do in simple language. If the instructions are confusing, building can become frustrating. Kits designed for beginners usually have very detailed guides. They often label each part so you know exactly where it goes.
Included accessories simplify the process. Some kits come with miniature furniture, paint, brushes, and glue. This means you can start building and decorating right away without needing to buy extra items. It’s a convenient way to get everything in one package. This is especially great if you’re not sure what other supplies you might need.
Gathering Your Essential Tools and Materials
Besides the kit, you’ll need a few tools. Most of these are common household items. Having them ready will help your building process go smoothly.
We want you to be prepared so you can focus on the fun part.
Craft glue is very important. White craft glue or wood glue works well for wooden dollhouse kits. Make sure it’s strong enough to hold the wood pieces together securely. You’ll want a glue that dries clear so it doesn’t show on your finished dollhouse. Apply it thinly to the edges of the pieces before joining them.
A small craft knife or cutting mat can be useful. Sometimes, small pieces might need a little trimming. A sharp craft knife allows for precise cuts. Always use a cutting mat underneath to protect your work surface. Be very careful when using sharp tools and always cut away from your body.
Sandpaper for smooth edges is a good idea. After cutting or if pieces feel rough, a little sanding can make them smooth. Use fine-grit sandpaper for a smooth finish. This also helps paint stick better later on. Sanding before assembly is usually easier.
Paint and brushes for decoration. Once the house is built, you’ll want to make it pretty. Acrylic paints are good for wood and come in many colors. Have a few different sizes of paintbrushes, including a small one for details. Let each layer of paint dry completely before adding another.
Assembling Your DIY Miniature Wooden Dollhouse Step-by-Step
Now that you have your supplies, let’s start building! This part covers the actual construction of your dollhouse. We will guide you through each stage of putting the pieces together.
Think of it as putting together a puzzle. Following these steps will help you create a strong and beautiful miniature home.
Preparing the Dollhouse Pieces
Before you start gluing, take a moment to prepare all the wooden pieces. This makes assembly much easier and faster. It’s like getting all your ingredients ready before cooking.
You want everything to be in order so you can build without interruptions.
Lay out all pieces and check them against the instructions. Make sure you have everything from your kit. Compare the shapes and sizes of the pieces to the diagrams. This helps you identify each part and see how they will fit together. It’s a good way to catch any missing or damaged pieces early.
Lightly sand any rough edges. If any of the wood pieces have splinters or rough edges, gently sand them smooth with fine-grit sandpaper. This will make the dollhouse safer to handle and will give it a more finished look. It also helps paint adhere better later on.
Organize pieces by section or room. Grouping the walls for one room together, or all the floor pieces, can be very helpful. This way, when the instructions tell you to build a specific area, you already have all the necessary parts within easy reach.
Putting Together the Walls and Floors
This is where your dollhouse really starts to take shape. You’ll be connecting the main structural parts. Follow the instructions carefully for the order of assembly.
Glue is your best friend here.
Apply a thin layer of glue to the edges of the wall panels where they will join. Don’t use too much glue, as it can squeeze out and look messy. A little goes a long way. Make sure the glue is on the surface that will connect to another piece.
Carefully press the glued edges together. Hold them in place for a few seconds until they feel secure. Some people use small clamps or tape to hold pieces together while the glue dries completely. This ensures a strong bond.
Attach the floor pieces to the walls. The floors usually slide into grooves or attach to the bottom edges of the walls. Make sure the floors are level before the glue sets. A level floor is important for placing furniture later.
Adding the Roof and Details
The roof is often the last major structural piece. After the roof is on, you can add any extra details that come with your kit. This is the part where the house really starts to look complete.
Assemble the roof sections if they come in multiple parts. Glue these sections together first, then attach the completed roof to the top of the dollhouse walls. Ensure it sits evenly on all sides.
Attach any windows, doors, or chimneys according to the instructions. These are usually small pieces that add character. Glue them carefully in their designated spots. Sometimes, windows might have clear plastic pieces to represent glass.
Let the entire dollhouse dry thoroughly. Before you move on to painting or decorating, give the glue ample time to dry completely. This can take several hours or even overnight, depending on the type of glue and humidity. A well-dried structure is a strong structure.
Decorating Your DIY Miniature Wooden Dollhouse
Building the house is just the first part. Now comes the fun of making it your own! Decorating allows you to express your creativity and make the dollhouse unique.
We will explore ways to bring your miniature home to life with color and style. This is where imagination truly shines.
Painting the Exterior and Interior
Painting is one of the easiest ways to change the look of your dollhouse. You can choose any colors you like. Think about how you want each room to feel.
Apply a base coat of paint to the exterior. Choose a color for the main walls, like a soft blue or a warm yellow. Let this layer dry completely before adding other colors or details.
Paint the trim and accents. The window frames, doors, and roof edges can be painted a contrasting color. White is a classic choice for trim, but bright colors can also add a playful touch. This makes the architectural features stand out.
Decorate the interior walls. You can paint each room a different color, or you can add wallpaper. If you are using wallpaper, make sure to cut it to size before gluing it on. Small scraps of patterned paper can work well.
Paint the floors. The floors can be painted to look like wood, tile, or carpet. For a wood floor effect, use a brown paint and perhaps add some darker lines for floorboards. If you want a tile look, paint it in a checkerboard pattern.
Adding Miniature Furniture and Accessories
Furniture and tiny accessories bring your dollhouse to life. You can buy these or even make some yourself. These items make the house feel lived-in and real.
Arrange furniture in each room. Place a sofa in the living room, a bed in the bedroom, and a table in the kitchen. Think about how people would arrange their rooms in a real house. This helps create realistic scenes.
Add small details like rugs, curtains, and pictures. A tiny rug can make a living room feel cozy. Curtains can be made from fabric scraps. You can print small pictures to hang on the walls. These details really enhance the miniature world.
Consider lighting for your dollhouse. Some dollhouses can have working lights. Battery-operated LED lights are safe and easy to install. They can make the house look magical, especially in the evening.
Personalize with plants and outdoor elements. Tiny potted plants for windowsills or a small garden outside can add a natural touch. Even a tiny doormat can make a difference. These little touches make the dollhouse special.
Advanced Techniques and Tips for Your Dollhouse Project
Once you’ve built and decorated your first dollhouse, you might want to try some new things. This section offers ideas to take your dollhouse building skills to the next level. These tips can help make your future projects even more impressive.
Creating Realistic Textures and Finishes
Making the miniature materials look real is a key part of dollhouse building. We will explore how to achieve these lifelike effects. This is where you can really impress with your attention to detail.
Simulate brickwork on exterior walls. You can use textured paint or small craft bricks. Another method is to draw brick patterns onto painted walls with a fine marker. This can add a lot of visual interest.
Create a wood grain effect on floors or furniture. Use a dry brush technique with darker paint over a base coat. Drag the brush lightly to create the look of wood grain. Practice this on scrap wood first.
Make realistic roofing materials. Small wood shingles, textured paper, or even tiny pieces of felt can mimic roofing. Consider using different shades of grey or brown for a weathered look.
Add weathered effects to exterior paint. A little bit of dry brushing with lighter or darker colors can make the paint look aged. This can give your dollhouse a charming, established feel.
Customizing and Scratch Building
Sometimes, a kit doesn’t have exactly what you want. Customizing parts or building from scratch gives you total control. This is for when you want something truly unique.
Modify kit pieces to fit your vision. You might want to add extra windows, change a wall layout, or build an extension. Careful cutting and gluing will be needed.
Learn to scratch build simple elements. This means building parts from raw materials like balsa wood or cardboard. For example, you could build a custom porch or a unique fence from scratch.
Use a variety of materials for different effects. Beyond wood, consider using cardstock for wallpaper, fabric scraps for curtains, and clear plastic for windows. Small beads can become doorknobs.
Explore 3D printing for custom parts. If you have access to a 3D printer, you can design and print very specific items, like unique furniture legs or decorative architectural elements. This opens up a world of possibilities.
Lighting and Electrical Systems
Adding lights can transform your dollhouse. It makes it feel more alive and allows you to display it in different settings. This can seem complicated, but it’s quite manageable.
Simple battery-powered LED lights are easiest. These come in strings or as individual lights. They are safe and do not require complex wiring. You can hide the battery pack easily.
Wire a series of lights for a more integrated look. You can connect multiple LEDs to a single power source. This involves simple soldering or using special connectors designed for dollhouse wiring.
Consider using a dollhouse wiring system. These systems often include a transformer, wires, and connectors designed specifically for miniature homes. They allow for more advanced lighting setups.
Install lights in specific locations. Think about where you want light to come from. Ceiling lights, table lamps, and even tiny wall sconces can add realism and ambiance.
Tips for Success with Your DIY Miniature Wooden Dollhouse
We have covered building, decorating, and even some advanced ideas. Now, let’s wrap up with some general tips to ensure your dollhouse project is a great success. These are simple pointers to keep in mind throughout your building experience.
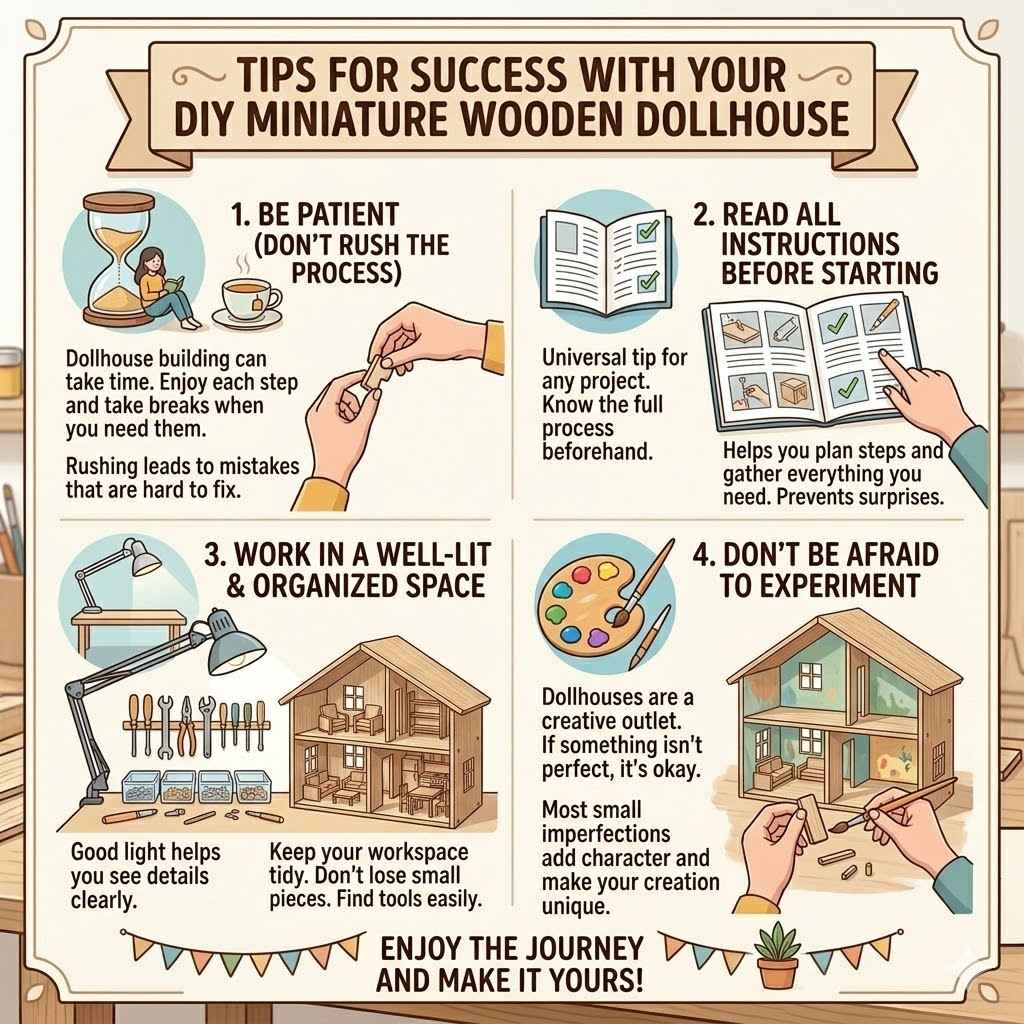
Be patient. Dollhouse building can take time. Don’t rush the process. Enjoy each step and take breaks when you need them. Rushing can lead to mistakes that are hard to fix.
Read all instructions before starting. This is a universal tip for any project. Knowing the full process beforehand helps you plan your steps and gather everything you need. It prevents surprises along the way.
Work in a well-lit and organized space. Having good light helps you see details clearly. Keeping your workspace tidy means you won’t lose small pieces and can find tools easily.
Don’t be afraid to experiment. If something doesn’t turn out perfectly, it’s okay. Dollhouses are a creative outlet. Most small imperfections add character and make your creation unique.
Frequently Asked Questions
Question: What is the easiest type of dollhouse to build for a beginner?
Answer: For beginners, the easiest type of dollhouse to build is typically a pre-cut wooden kit. These kits come with all the pieces already shaped and ready to be assembled, often with detailed instructions and diagrams, making the process much simpler than starting from scratch.
Question: Do I need special tools for a DIY Miniature Wooden Dollhouse: Easy Build Guide?
Answer: You will need some basic craft tools like craft glue, a craft knife for any small adjustments, fine-grit sandpaper, and paintbrushes. Many kits come with basic supplies, but having a few extra tools can make the process smoother and result in a more polished finish.
Question: How long does it usually take to build a miniature wooden dollhouse?
Answer: The time it takes can vary a lot. A simple kit might take a weekend to build and decorate. More complex kits, or if you plan to add a lot of custom details, could take several weeks.
Patience is key, and enjoying the process is more important than rushing.
Question: Can I paint my dollhouse before assembling it?
Answer: Yes, it’s often easier to paint individual pieces before you glue them together, especially for interior walls or intricate exterior details. Just be careful not to get paint on the edges where the glue will be applied, as this can weaken the bond.
Question: Where can I find miniature furniture and accessories for my dollhouse?
Answer: You can find a wide variety of miniature furniture and accessories online from specialty dollhouse shops, large craft stores, and marketplaces like Amazon or Etsy. You can also find tutorials for making your own accessories from everyday materials.
Summary
This guide provided a clear path to building your own DIY miniature wooden dollhouse. We covered choosing a kit, gathering tools, step-by-step assembly, and creative decorating ideas. You learned how to make your miniature home unique.
Now you have the confidence to start building your dream dollhouse.