Faucet Repair Parts: How to Identify the Right Replacement
Faucet Repair Parts: How to Identify the Right Replacement starts with a careful diagnosis rather than a rushed replacement. This guide explains the safe checks, parts or tools, and decision points that matter for faucet repair parts. The aim is to identify the exact source of the problem, make a limited repair when it is appropriate, and know when a professional is the safer choice.
Start by identifying the faucet style
A single-handle cartridge faucet, two-handle compression faucet, ball faucet, and ceramic-disc faucet do not use the same repair kit. Look for a brand name or model marking on the faucet body, escutcheon, underside of the spout, or original paperwork. Take clear photos before removing the handle. The order of a handle screw, cap, retaining clip, cartridge, and O-ring matters during reassembly. If the faucet is old or unbranded, bring the worn part to a plumbing supplier rather than relying on a product thumbnail.
The parts that commonly wear out
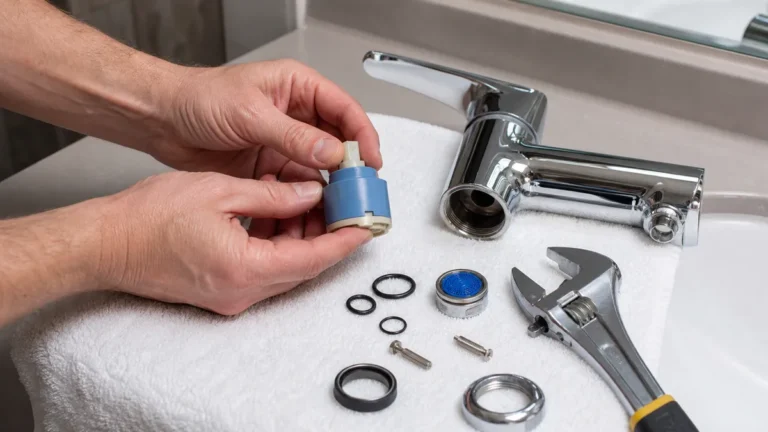
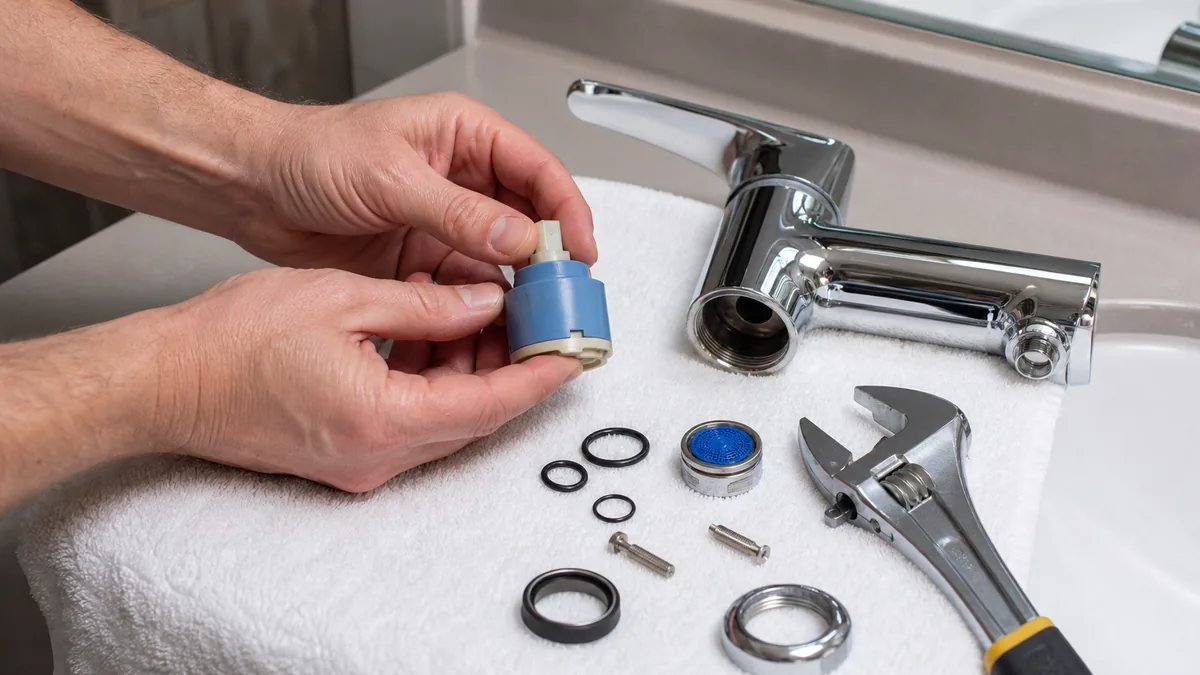
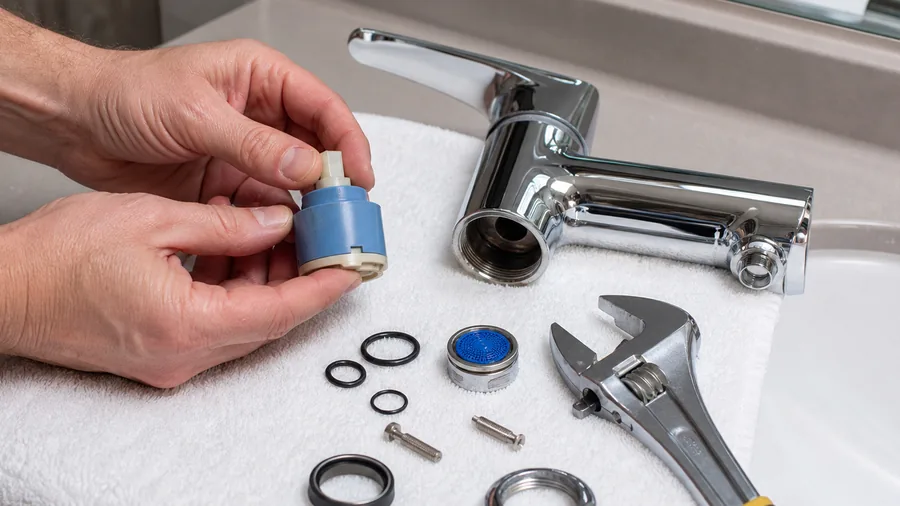
An aerator can clog with mineral particles and reduce flow without causing a leak. O-rings seal moving spouts and cartridges; a flattened, torn, or hardened ring can allow water to escape around a handle or spout base. Cartridges control hot and cold flow inside many modern faucets. Older ball-style units may use rubber seats and springs, while compression faucets use a stem washer. A supply hose, mounting gasket, or drain connection is a separate repair path and should not be confused with an internal faucet leak.
How to match a cartridge or seal
Remove pressure first, then compare the old part from every angle. Note its length, stem shape, tab positions, number of ports, retaining clip groove, and the exact location of any seals. A cartridge that almost fits can damage the faucet body or leave the handle misaligned. For a seal, compare inside diameter, thickness, and cross-section rather than assuming a universal kit will work. Clean mineral buildup from the mating surface before fitting a new ring; a new seal cannot compensate for a scratched, dirty, or distorted surface.
Do not overlook the simple parts
A loose aerator, washer, or handle screw can create a symptom that looks more serious than it is. If the problem is weak flow only at one faucet, inspect and clean the aerator before opening the valve body. If water appears below the sink, dry the area and run the faucet while watching the supply connections, drain, and faucet base separately. The first wet point is more useful than the largest puddle. This small observation prevents buying an internal repair kit for a hose or drain problem.
Build the diagnosis before spending money
The fastest-looking repair is often the expensive one when it starts with the wrong assumption. For faucet repair parts, write down when the symptom occurs, what changes it, and what remains normal. Compare cold and hot water, on and off positions, a recently cleaned surface, or an isolated fitting as appropriate. That short observation period gives you a useful baseline. It also helps you explain the problem clearly if the repair needs professional help.
Separate the failed part from the symptom
A wet surface, weak performance, unusual sound, or repeated refill is evidence, not a diagnosis by itself. Water can travel along a faucet body or hose; vibration can travel through a ceiling; a toilet can make the same refill sound for two different reasons. Trace the first point at which the condition appears, then test one possible cause at a time. This keeps a simple repair from becoming a collection of unnecessary replacement parts.
Prepare the area so the check stays controlled
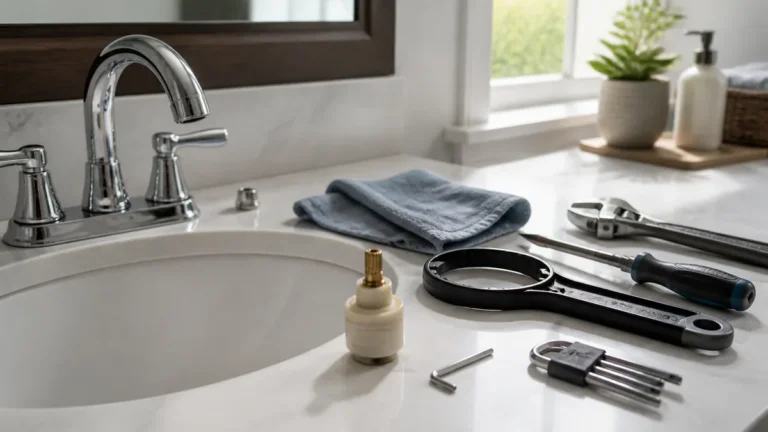
Clear the work area, protect finished surfaces with a towel, and keep a shallow container ready for small parts or residual water. Take photographs before removing a handle, cover, clip, fitting, or adjustment piece. If the task involves a water supply, confirm the local shutoff actually holds before loosening anything. If it involves a powered fan or another electrical component, use the breaker rather than relying on a wall switch. A controlled setup makes it much easier to notice what changed after each step.
Use a one-change test sequence
Make only one correction, restore the fixture gently, and test the original symptom before moving to the next possibility. For example, cleaning an accessible surface, reseating a loose part, or adjusting a specified setting can prove whether deeper disassembly is necessary. Replacing several components at once may hide the cause and makes a later failure harder to diagnose. Keep the original part until the repair has been tested through normal operation and again after the area has rested.
Fit and compatibility are part of the repair
A replacement that looks close is not always compatible. Manufacturers vary the shape of seals, cartridges, threads, mounting clips, valve connections, and electrical components. Match the original by model, dimensions, connection style, and the location where it was installed. Read the instructions supplied with the replacement before opening packaging or altering the fixture. This is especially important when a part sits behind trim or inside a tank, because a wrong component can create a new leak, bind a mechanism, or prevent normal operation.
Protect the parts that are still working
Avoid force when a part is stuck. Mineral buildup, corrosion, old plastic, and finished surfaces can be damaged long before a seized component releases. Use the correct tool, support the surrounding fitting, and stop if a pipe, valve, housing, or mounting stud begins to twist. Cleaning the accessible area and using a verified removal method is safer than applying more leverage. The goal is to repair the confirmed fault without turning a serviceable fixture into a replacement project.
Check the result under normal conditions
A repair is not complete the moment a new part is installed. Run the fixture through the condition that originally produced the problem, then look for secondary issues. Check slowly at first, use a dry tissue around fittings or seams, and return later to make sure the result holds. In a bathroom, small drips can travel into cabinets or flooring before they are visible. A short follow-up check is a practical safeguard, not unnecessary extra work.
Keep a simple repair record
Save the model number, part number, a photo of the original arrangement, and the date of the repair. Those details reduce guesswork when the same fixture needs service later. They are also helpful when ordering a compatible part or speaking with a plumber. A useful record is specific: which symptom appeared, which component was changed, and what test confirmed the result. It turns a one-time DIY repair into reliable maintenance information for the home.
Use a simple before-and-after check
Before beginning, note the original condition in plain language. Was the problem constant or intermittent? Did it occur only while the fixture was running, after it was shut off, or after a particular action? After the repair, repeat that same condition instead of relying on a quick glance. This comparison is useful because it separates a genuine improvement from a symptom that merely paused while the fixture was apart. It also prevents a small secondary issue from being mistaken for the original fault.
Choose a durable repair over a temporary concealment
Sealants, extra tightening, and improvised shims can sometimes hide a symptom without correcting its source. A durable repair addresses the part or condition that actually failed, keeps future service possible, and does not transfer stress to another component. If the correct repair requires access behind a wall, removal of a brittle fitting, or work outside the limits of a homeowner-safe task, protecting the property is more important than completing the job without help.
Plan for normal bathroom conditions
Bathrooms expose fixtures to frequent moisture, mineral deposits, cleaning products, and temperature changes. A repair that looks good immediately after installation should also be checked after regular use. Wipe away standing water, keep ventilation working, and avoid harsh cleaners on rubber seals, finished surfaces, or plastic components unless the manufacturer specifically approves them. These small habits help a correctly repaired fixture last longer and make the next inspection easier.
If the same symptom returns
Do not keep replacing related parts at random. Return to the first observation, confirm whether the symptom changed, and inspect the surrounding connection or mechanism for a second cause. Repeated failure can point to incorrect fit, a damaged mating surface, poor installation, or a problem outside the fixture itself. That is the point to pause, collect the model details and photos, and ask for targeted professional advice rather than escalating the DIY repair.
A safe step-by-step approach
Work slowly and make one change at a time. Before starting, protect surrounding finishes, keep small parts in order, and isolate water or power whenever the task reaches a connection or moving internal component. The repair should remain reversible until you have confirmed the diagnosis.
- Close both stop valves and open the faucet to release remaining pressure.
- Photograph the faucet and lay removed parts in order on a towel.
- Identify the first failed component from the leak, flow, or handle symptom.
- Compare the old part by model, dimensions, tabs, ports, and seal location.
- Clean the mating surface, install the compatible replacement, and test slowly.
What to check before buying a replacement
A replacement part or tool must fit the exact fixture and the confirmed failure. Record the make, model, dimensions, connector shape, and location of the original component. Keep the old part until the replacement has been compared side by side. This avoids a common wasteful cycle: buying a plausible universal part, discovering it does not seat correctly, and then having to reopen the fixture.
Also check the condition around the failed part. A new seal will not correct a scratched valve seat, a new cartridge cannot overcome a damaged faucet body, and a cleaner cannot restore a worn fan motor. Looking for the cause as well as the damaged component makes the repair more durable.
Common mistakes to avoid
The most common mistake is buying a ‘universal’ cartridge before identifying the faucet. Other avoidable errors include pulling on a stuck cartridge without the correct puller, installing an O-ring dry on a rough surface, and discarding the old part before the new one has been compared.
When a professional is the safer choice
Call a plumber when the shutoff valve will not close, the faucet body is cracked, the connection under the counter is corroded or inaccessible, or a leak has reached cabinetry, flooring, or a wall.
How to confirm the repair worked
Restore water or power slowly and observe the fixture through its normal use. Inspect the repair while operating, immediately after shutoff, and again later the same day. A dry tissue, stable water level, normal sound, or reliable flow is more meaningful than a quick visual glance. If the same symptom returns, stop changing random parts and revisit the original diagnosis.
Frequently asked questions
What is the first thing to check for faucet repair parts?
Begin with the visible symptom and determine whether it is isolated. For faucet repair parts, identify the first point where water, noise, blockage, or poor performance begins before removing any part. That observation tells you which repair path is actually relevant.
Can a homeowner usually handle this repair?
Many basic checks and clearly matched replacement parts are manageable for a careful homeowner. Stop when the task involves hidden wiring, a failed shutoff, a cracked fixture, a rigid or corroded connection, active water damage, or any step you cannot perform safely.
How can I avoid repeating the problem?
Use the correct compatible part, clean the mating surface, follow the manufacturer instructions, and test under normal conditions. Keep a note of the model, part number, and repair date so a future repair does not start from guesswork.
Conclusion
A successful faucet repair parts repair is not about replacing the most visible part. It is about confirming the source, using a compatible component or tool, and checking the result carefully. That approach protects the fixture, reduces repeat work, and makes it easier to decide when professional service is worthwhile.
Sponsored / affiliate links. As an Amazon Associate I earn from qualifying purchases. I may earn additional commission from eligible campaigns.