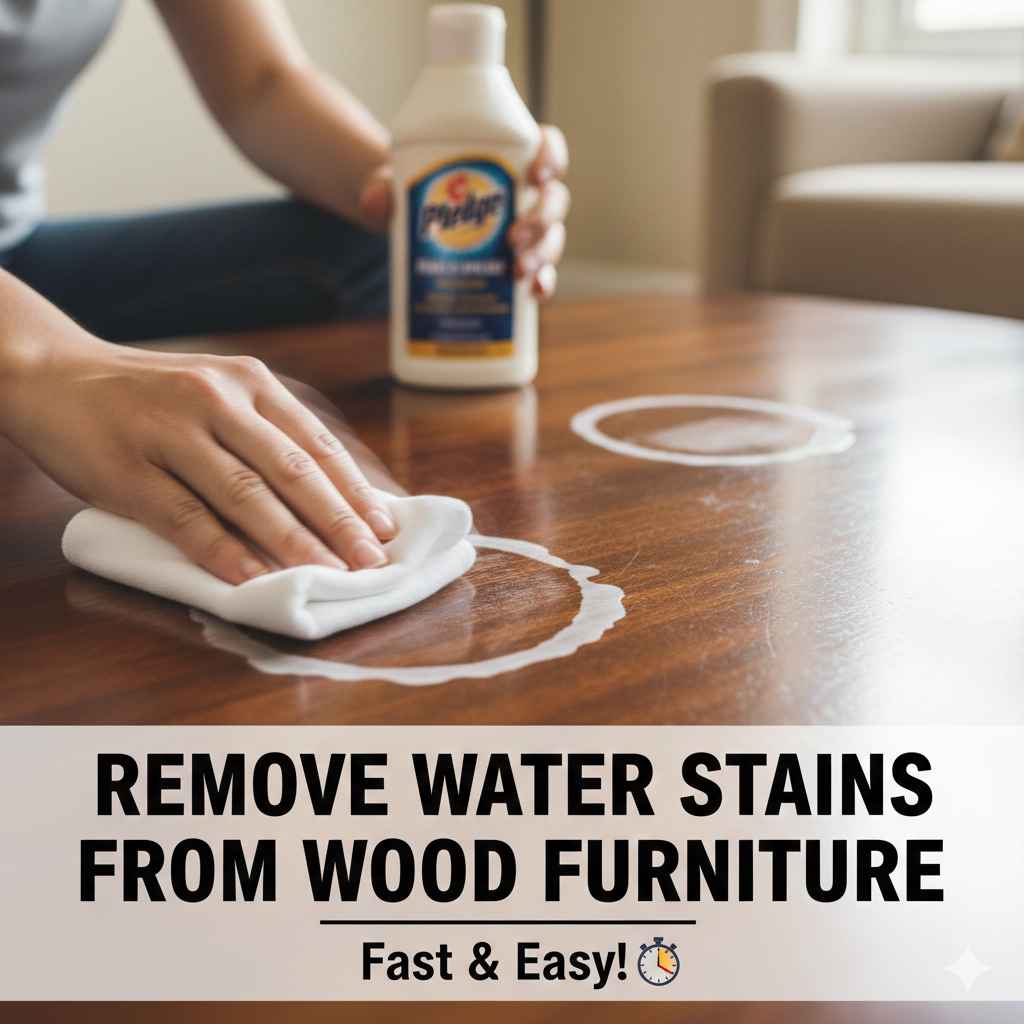
How Do You Remove Water Stains From Wood Furniture | Fast
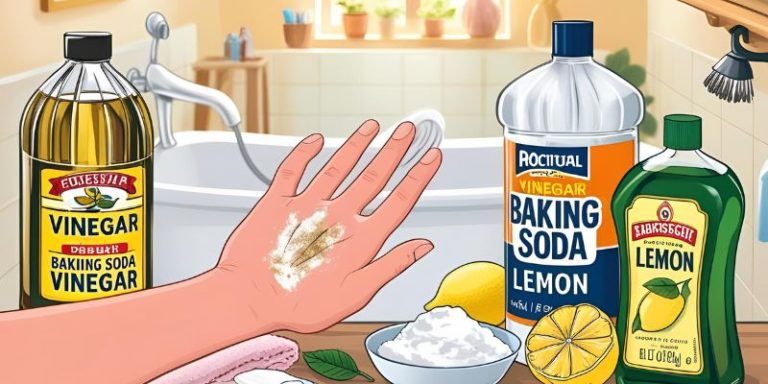
To remove white water stains from wood, gently iron a clean cloth over the stain on a low, dry setting to evaporate the moisture. For tougher white rings, mix equal parts baking soda and white toothpaste into a paste, rub it on the stain with a soft cloth in the direction of the grain, and then wipe it clean.
That little white ring on your beautiful wooden coffee table can feel like a big disaster. You know the one—left behind by a sweaty glass or a hot mug. It’s a common problem we all face. It can be so frustrating to see a perfect piece of furniture marred by a simple mistake. But don’t worry, it’s not permanent, and you don’t need to be a professional to fix it.
I’m here to guide you through a few simple, fast, and effective ways to get those marks out. We’ll look at easy solutions using things you probably already have at home. By the end of this guide, you’ll have the confidence to tackle those pesky water stains and make your furniture look new again. Let’s get started!
First, Understand Your Stain: Is It White or Dark?
Before you grab any supplies, the most important step is to figure out what kind of water stain you have. The color of the stain tells you how deep the damage goes. Getting this right is key to choosing the right method and avoiding making things worse.
White Water Stains (The Easy Fix)
If you see a cloudy, white, or light gray ring or spot, that’s good news! A white stain means the moisture is trapped in the top layer of the wood’s finish (like lacquer, shellac, or varnish), not in the wood itself. These are usually caused by a cold, sweaty glass or a warm mug. Because the damage is shallow, these are much easier to remove.
Dark Water Stains (A Deeper Problem)
If the stain is dark brown or black, it means water has soaked through the finish and has gotten into the wood fibers. This often happens when water sits on the surface for a long time, like from a leaking plant pot. Dark stains are more serious because the water has caused the wood itself to discolor. Fixing them requires a bit more work, but it’s still something you can handle with the right steps.
Use this simple table to help you identify your stain:
| Stain Color | What It Means | Common Cause | Difficulty to Remove |
|---|---|---|---|
| White, Cloudy, or Light Gray | Moisture is trapped in the finish layer. | A cold glass, a hot coffee mug, a pizza box. | Easy |
| Dark Brown or Black | Water has soaked into the wood itself. | A leaking vase, a plant pot, prolonged spills. | More Difficult |
Now that you know what you’re dealing with, let’s move on to the solutions. We’ll start with the easy fixes for those common white rings.

How to Remove White Water Stains from Wood
White water stains are the most common and, thankfully, the easiest to fix. The goal is to gently lift the trapped moisture out of the finish. We’ll try a few methods, starting with the gentlest one first. Always test any method on a small, hidden spot of your furniture first, like the underside of a table, to make sure it doesn’t harm the finish.
Method 1: The Iron Method (For Fresh Stains)
This is often the quickest and easiest way to fix a white water ring. The gentle heat from the iron turns the trapped moisture into vapor, allowing it to escape the finish.
What You’ll Need:
- A clothes iron
- A clean, dry cotton cloth or t-shirt (white is best to avoid color transfer)
Step-by-Step Instructions:
- Empty the Iron: Make sure there is no water in your iron. You want dry heat, not steam. Turn the steam setting completely off.
- Set the Heat: Set the iron to its lowest heat setting. High heat can damage the wood finish, so start low.
- Cover the Stain: Place your dry cotton cloth over the white water stain. Make sure the cloth is smooth and flat.
- Apply Heat: Gently press the warm iron on the cloth over the stain for just a few seconds. Do not let it sit still. Keep the iron moving in a slow, circular motion.
- Check Your Progress: Lift the cloth and iron every 5-10 seconds to check on the stain. You should see it start to fade. If it’s working, continue in short bursts until the stain is gone.
This method is surprisingly effective, especially for newer stains. If the stain is still there after a few tries, don’t turn up the heat. Instead, move on to the next method.
Method 2: The Mayonnaise Method (Yes, Really!)
It sounds strange, but mayonnaise can work wonders on white water stains. The oil in the mayonnaise helps to displace the moisture trapped in the finish, while its thick consistency allows it to sit on the stain and work slowly.
What You’ll Need:
- Full-fat mayonnaise
- A soft cloth or paper towel
- A clean, dry cloth for wiping
Step-by-Step Instructions:
- Apply the Mayonnaise: Dab a small amount of mayonnaise directly onto the white water stain using a soft cloth or your finger.
- Let it Sit: Let the mayonnaise sit on the stain for at least one hour. For very stubborn stains, you can leave it on overnight. The oil needs time to penetrate the finish and work its magic.
- Wipe it Clean: After letting it sit, wipe away the mayonnaise with a clean, dry cloth.
- Buff the Surface: Polish the area with a separate clean cloth to restore the shine. The stain should be gone!
Method 3: The Toothpaste & Baking Soda Paste
If the first two methods didn’t quite do the trick, this gentle abrasive paste can help buff the stain out of the finish. It’s important to use the right kind of toothpaste for this to work.
What You’ll Need:
- Non-gel, white toothpaste (like Colgate or Arm & Hammer)
- Baking soda
- A small bowl
- A soft, clean cloth
Step-by-Step Instructions:
- Make the Paste: In a small bowl, mix one part baking soda with two parts white toothpaste. Stir it until it forms a consistent paste.
- Apply the Paste: Dab a small amount of the paste onto a soft cloth. Gently rub the paste onto the water stain. Always rub in the direction of the wood grain to avoid scratching the surface.
- Be Gentle: Use very light pressure. You are gently buffing the surface, not scrubbing it. The mild abrasives in the paste will lift the stain.
- Wipe and Clean: After a minute or two of gentle rubbing, wipe the paste away with a clean, damp cloth. Then, dry the area immediately with another dry cloth.
- Polish: You may need to apply a bit of furniture polish to the area to restore its shine.
This table summarizes which method to try first based on your situation:
| Method | Best For | Time Required | Potential Risk |
|---|---|---|---|
| Iron | Fresh, light stains | 2-5 minutes | Low (if heat is kept low) |
| Mayonnaise | Slightly older, stubborn white stains | 1 hour to overnight | Very Low |
| Toothpaste & Baking Soda | Stubborn stains that other methods didn’t fix | 5-10 minutes | Low (if gentle pressure is used) |
How to Remove Dark Water Stains from Wood
Dark water stains are more challenging because the damage is in the wood itself. This means you’ll need to work through the finish to treat the wood underneath. These methods are more involved, so be prepared to take your time. Remember to wear safety gear like gloves and eye protection, especially when working with chemicals.
Method 1: Using Oxalic Acid (Wood Bleach)
Oxalic acid is a type of mild acid, often sold as “wood bleach,” that is excellent at removing water and rust stains from wood. It works by chemically reacting with the discoloration and restoring the wood’s natural color. You can find it in crystal form at most hardware stores.
Before you begin, you must first remove the finish (like varnish or lacquer) over the stained area. The bleach can’t reach the wood if the finish is in the way. Use a chemical stripper or sandpaper to carefully remove the finish from the stained section and a small surrounding area.
What You’ll Need:
- Oxalic acid crystals
- Hot water
- A glass or plastic container (do not use metal)
- A synthetic paintbrush
- Safety glasses and chemical-resistant gloves
- White vinegar
- Clean cloths
Step-by-Step Instructions:
- Safety First: Put on your safety glasses and gloves. Oxalic acid can irritate the skin and eyes. Ensure your workspace is well-ventilated.
- Strip the Finish: As mentioned, you must first remove the old finish from the stained area. Use sandpaper or a chemical stripper, following the product’s directions carefully.
- Mix the Solution: In your non-metal container, dissolve the oxalic acid crystals in hot water. A good starting ratio is about 1 ounce of crystals per 1 pint of hot water. Stir with a plastic spoon until the crystals are fully dissolved. The U.S. Forest Service provides detailed guidelines on wood finishing and restoration that can be helpful here.
- Apply the Wood Bleach: Use your paintbrush to apply the solution evenly over the entire stained area. It’s often best to treat the whole surface (like the entire tabletop) to ensure a uniform color after you’re done.
- Let it Work: Let the solution sit and dry completely on the wood. As it dries, you should see the dark stain begin to lighten and disappear. This may take an hour or several hours.
- Neutralize the Acid: After the stain is gone and the wood is dry, you must neutralize the acid. Mix a solution of one part white vinegar and one part water. Wipe down the treated area with this solution, then wipe it again with a cloth dampened with plain water.
- Let it Dry: Allow the wood to dry completely, which could take up to 24 hours.
- Refinish: Once dry, lightly sand the area with fine-grit sandpaper (220-grit) to smooth it out. Then, apply a new finish (like varnish or polyurethane) to match the rest of the furniture.
Method 2: Sanding and Refinishing
If the dark stain is not too deep, or if you prefer a non-chemical approach, you can sand the stain out. This method involves physically removing the top layer of stained wood and then refinishing the piece.
What You’ll Need:
- Sandpaper (various grits, like 100, 150, and 220)
- A sanding block or orbital sander
- Tack cloth or a damp rag
- Wood stain that matches your furniture
- A new finish (polyurethane, lacquer, or varnish)
- Clean cloths or brushes for application
Step-by-Step Instructions:
- Strip the Old Finish: Just like with the wood bleach method, you need to remove the finish over the stain. You can sand it off, starting with a medium-grit sandpaper (like 100 or 120-grit).
- Sand the Stain Away: Once the finish is gone, continue sanding the dark stain with the medium-grit sandpaper. Always sand with the grain of the wood. Be careful to only sand as much as needed to remove the stain. The goal is to remove the discolored wood fibers.
- Feather the Edges: To blend the sanded area with the rest of the furniture, feather the edges by sanding a larger area around the original spot with a finer grit sandpaper (150-grit).
- Final Sanding: Go over the entire surface with a fine-grit sandpaper (220-grit) to create a smooth, uniform base for the new finish.
- Clean the Surface: Wipe away all the sanding dust with a tack cloth or a slightly damp rag. Let it dry completely.
- Apply New Stain: If your furniture was stained, apply a new coat of wood stain to the sanded area to match the original color. Follow the directions on the stain can, and wipe away any excess. Let it dry.
- Apply the New Finish: Apply a new top coat of finish, like polyurethane or varnish, to protect the wood. You’ll likely need to apply it to the entire surface (like the full tabletop) to get a seamless, even look. Apply thin coats and let them dry completely, lightly sanding between coats as the product directions recommend.
How to Prevent Water Stains in the Future
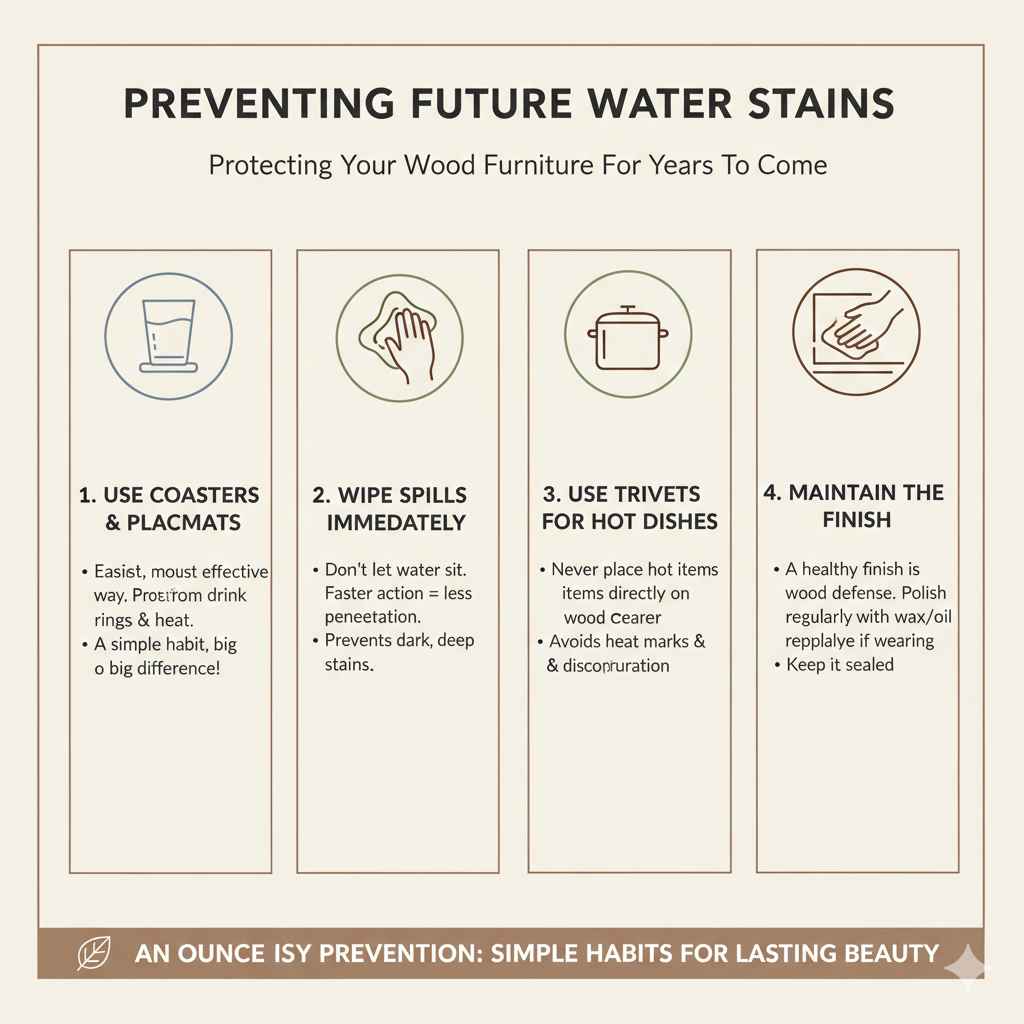
An ounce of prevention is worth a pound of cure! Now that your furniture looks great again, here are some simple habits to prevent future water stains:
- Use Coasters and Placemats: This is the easiest and most effective way to protect your wood surfaces from drink rings and heat marks.
- Wipe Up Spills Immediately: Don’t let water sit on the wood. The faster you wipe up a spill, the less chance it has to penetrate the finish.
- Use Trivets for Hot Dishes: Never place hot pots, pans, or dishes directly on a wood table. Use trivets or hot pads to create a protective barrier.
- Maintain the Finish: A healthy, intact finish is your wood’s best defense. Regularly polish your furniture with a high-quality furniture polish or wax. If you notice the finish is wearing thin, consider applying a fresh coat of polyurethane or varnish to reseal it. The University of Kentucky Extension offers great advice on caring for wood furniture.
Frequently Asked Questions (FAQ)
Can I use a hairdryer instead of an iron to remove white water stains?
Yes, you can! A hairdryer on a low to medium heat setting can work similarly to an iron. Hold it several inches away from the surface and move it back and forth over the stain. It’s a great, gentle alternative if you’re worried about the direct heat from an iron.
Will these methods work on all types of wood furniture?
These methods are generally safe for wood furniture with a hard finish like lacquer, varnish, or polyurethane. However, they may not be suitable for oil-finished or unfinished wood. Always test any method on a hidden spot first to see how it reacts.
What if the mayonnaise trick leaves an oily spot?
If you notice an oily residue after using the mayonnaise method, don’t worry. Just take a clean, dry cloth and gently buff the area. If that doesn’t work, a tiny amount of mild soap on a damp cloth should remove it. Be sure to dry the spot completely afterward.
Why did the water stain turn black instead of white?
A stain turns black when water has fully penetrated the finish and reacted with the tannins in the wood itself, causing a chemical discoloration. This often happens with woods high in tannins, like oak. Black stains indicate deeper damage to the wood fibers and require more intensive methods like wood bleach or sanding to fix.
Can I use olive oil instead of mayonnaise?
While the oil is the active ingredient, mayonnaise works best because its creamy texture keeps the oil in place over the stain. Using just olive oil can be messy and less effective because it may run off. Some people have success mixing oil with something like ashes or salt to create a paste, but mayonnaise is the simplest solution.
How do I know what kind of finish my furniture has?
A simple test can help. Find an inconspicuous spot and apply a drop of denatured alcohol. If the finish gets sticky or dissolves, it’s likely shellac. If lacquer thinner makes it sticky, it’s lacquer. If neither affects it, you probably have a modern varnish or polyurethane finish, which is very durable.
Is it better to hire a professional for dark stains?
If you’re not comfortable using chemical strippers, wood bleach, or sanding a large area, hiring a professional furniture restorer is a great option. They have the experience and tools to handle deep stains and complex refinishing jobs, ensuring a perfect result. For a valuable family heirloom, this is often the safest choice.
Final Thoughts
Dealing with water stains on your favorite wood furniture can be upsetting, but it’s a problem with a clear solution. For those common white rings, a little gentle heat or a dab of mayonnaise is often all it takes to make them vanish. For more serious dark stains, the fix is more involved but completely achievable for a determined DIYer.
The key is to correctly identify your stain, start with the gentlest method, and always test on a hidden spot first. With a bit of patience and the right technique, you can restore the beauty of your wood furniture and feel proud of the work you did yourself. So go ahead, tackle that stain with confidence—you’ve got this!