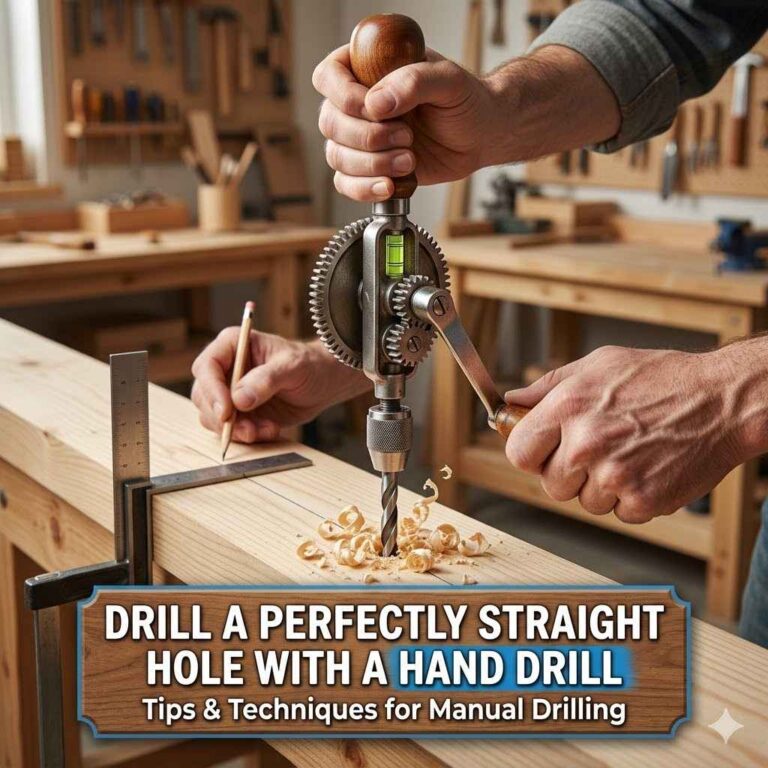
How Long Before You Can Drill New Concrete
Getting ready to hang that new shelf or mount your TV on a fresh concrete wall? It’s totally normal to wonder, How Long Before You Can Drill Into New Concrete? This is a super common question, and sometimes, finding a clear answer can feel a bit tricky. You want to make sure the concrete is ready, but you don’t want to wait too long either!
Don’t worry, we’ve got you covered. This guide will walk you through everything you need to know, step by step. Let’s find out exactly when your new concrete will be ready for drilling.
Understanding Concrete Curing Times
The core reason behind the question of How Long Before You Can Drill Into New Concrete? lies in the process called curing. Concrete doesn’t just dry; it actually hardens through a chemical reaction called hydration. This reaction takes time and needs the right conditions to happen properly.
Rushing this process can lead to weaker concrete, cracks, or damage when you try to drill. We need to make sure the concrete has reached a certain strength before we put any stress on it.
This hydration process is a bit like baking a cake. You can’t take the cake out of the oven too early, or it will be gooey in the middle. Similarly, concrete needs its full curing time to develop its intended strength and durability.
The longer it cures, the stronger it gets. Factors like temperature, humidity, and the type of concrete mix all play a part in how quickly this happens. Understanding these elements helps us know when it’s safe to drill.
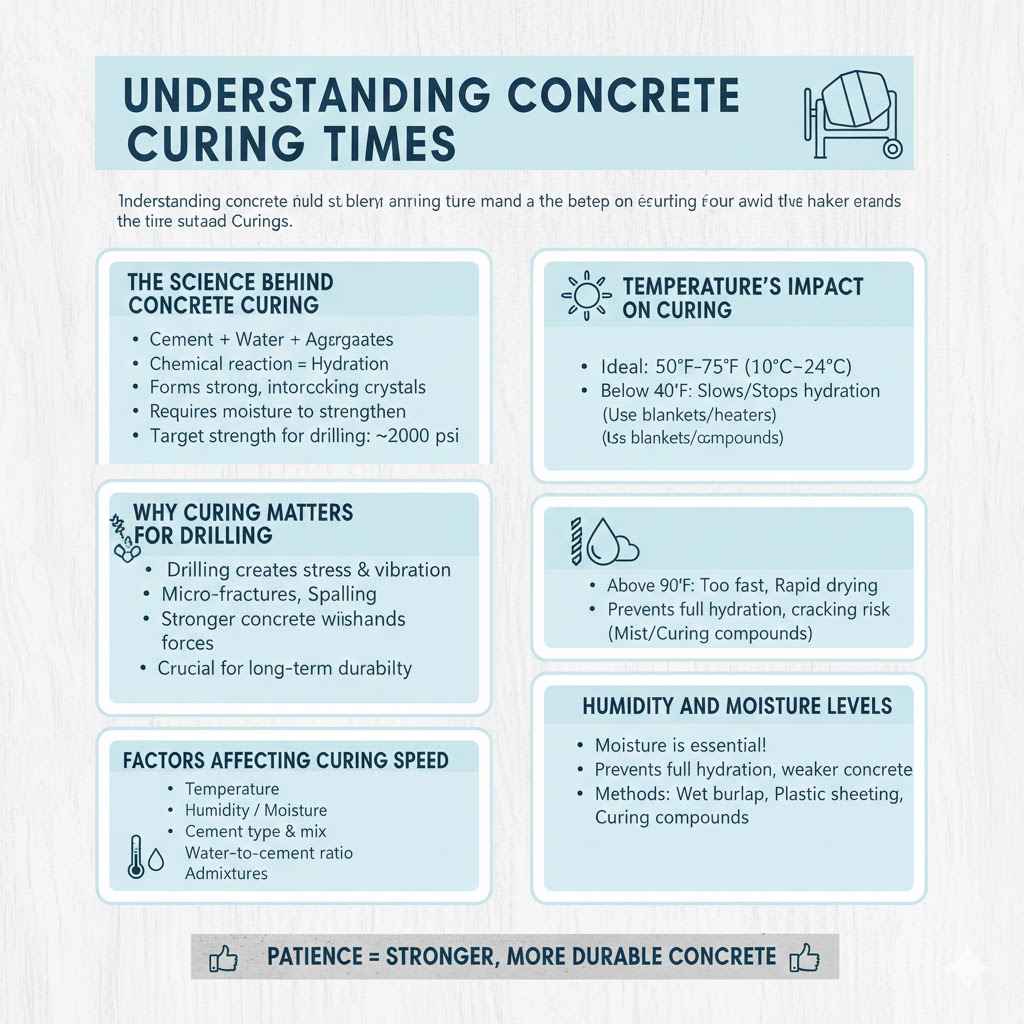
The Science Behind Concrete Curing
Concrete is made from cement, water, and aggregates like sand and gravel. When water is added to cement, a chemical reaction starts. This is called hydration.
This reaction forms crystalline structures that interlock, making the concrete hard and strong. This process is not about drying out; in fact, keeping the concrete moist during curing actually helps the hydration process. If concrete dries out too quickly, the chemical reaction can stop prematurely, resulting in weaker concrete.
The strength of concrete is often measured in pounds per square inch (psi). Fresh concrete starts with very low psi and gradually increases as it cures. For drilling, we usually want the concrete to reach a minimum strength, often around 2000 psi, though higher is better for long-term durability and easier drilling.
This strength level indicates that the internal structure of the concrete is stable enough to withstand the forces of drilling without crumbling or breaking apart.
Why Curing Matters for Drilling
Drilling into concrete creates significant stress and vibration. If the concrete hasn’t cured enough, these forces can cause micro-fractures to expand. This can lead to surface spalling (chipping away of concrete) or even deeper structural damage.
It’s like trying to push a nail into dry bread versus moist dough; the dry bread will crumble much more easily. The hardened, cured concrete provides a solid matrix that can resist the cutting action of the drill bit.
The curing time is crucial for achieving maximum compressive strength. This strength is what prevents the concrete from being compromised when you drill. It’s also important for resisting other stresses like expansion, contraction, and load-bearing over time.
Giving concrete its full curing period ensures it performs as intended throughout its lifespan, making future modifications like drilling safer and more effective.
Factors Affecting Curing Speed
Several environmental factors can speed up or slow down the concrete curing process. Temperature is a big one. Warmer temperatures generally speed up the chemical reactions, while colder temperatures slow them down.
Humidity also plays a role; high humidity helps keep the concrete moist, aiding hydration. Low humidity can cause the surface to dry out too quickly, hindering the curing process.
The type of cement used, the water-to-cement ratio in the mix, and the presence of any admixtures (chemicals added to modify concrete properties) also influence curing times. For instance, some special cement types are designed for faster curing, while others are made for slower setting. A lower water-to-cement ratio generally leads to stronger concrete but might require more careful curing to ensure proper hydration.
Temperature’s Impact on Curing
Ideal curing temperatures are typically between 50°F and 75°F (10°C and 24°C). When temperatures drop below 40°F (4°C), the hydration process slows down significantly, and can even stop if it gets too cold. This is why contractors often take special measures to protect fresh concrete during winter months, such as using heating blankets or insulated forms.
On the other hand, very high temperatures, above 90°F (32°C), can also be problematic. The concrete can set too quickly, making it difficult to work with and potentially leading to increased shrinkage and cracking. This rapid drying can also prevent the internal hydration reactions from completing fully, resulting in weaker concrete.
In hot weather, methods like misting the concrete surface or using special curing compounds are often employed to maintain adequate moisture.
Humidity and Moisture Levels
Moisture is the essential ingredient for concrete to cure and gain strength. Without enough moisture, the cement cannot fully hydrate. This is why keeping the concrete moist is vital, especially during the initial curing period.
In dry climates or during hot, windy conditions, the surface of the concrete can lose moisture rapidly through evaporation. This can lead to a weak surface layer.
To combat this, various curing methods are used. These include covering the concrete with wet burlap or plastic sheeting, ponding water on the surface, or applying liquid membrane-forming curing compounds. These methods help to retain the moisture within the concrete, allowing the hydration process to continue effectively and the concrete to reach its intended strength and durability.
How Long Before You Can Drill Into New Concrete A General Timeline
When asking How Long Before You Can Drill Into New Concrete?, there isn’t a single, exact answer that fits every situation. However, there are general guidelines based on common concrete mixes and curing conditions. These timelines give you a good idea of when it’s usually safe to start drilling.
Remember, these are averages, and external factors can influence the actual readiness of your concrete.
For most standard concrete applications, like sidewalks, driveways, or interior slabs, you’ll typically need to wait at least a few days before light drilling. However, for more critical applications or when you need to be absolutely sure, waiting longer is always a safer bet. This waiting period allows the concrete to achieve a sufficient level of hardness and internal strength.
Initial Setting vs. Full Curing
Concrete has different stages of hardening. The initial set is when the concrete begins to lose its plasticity and starts to stiffen. This can happen within a few hours.
However, this is far from being strong enough to drill into. Full curing, on the other hand, refers to the process where concrete continues to gain strength over weeks, months, and even years.
The strength development is rapid in the first few days and weeks, but it continues to increase slowly over a much longer period. For practical purposes like drilling, we are concerned with the point where the concrete has gained enough strength to resist the forces of the drill without damage. This strength is typically evaluated based on established curing periods.
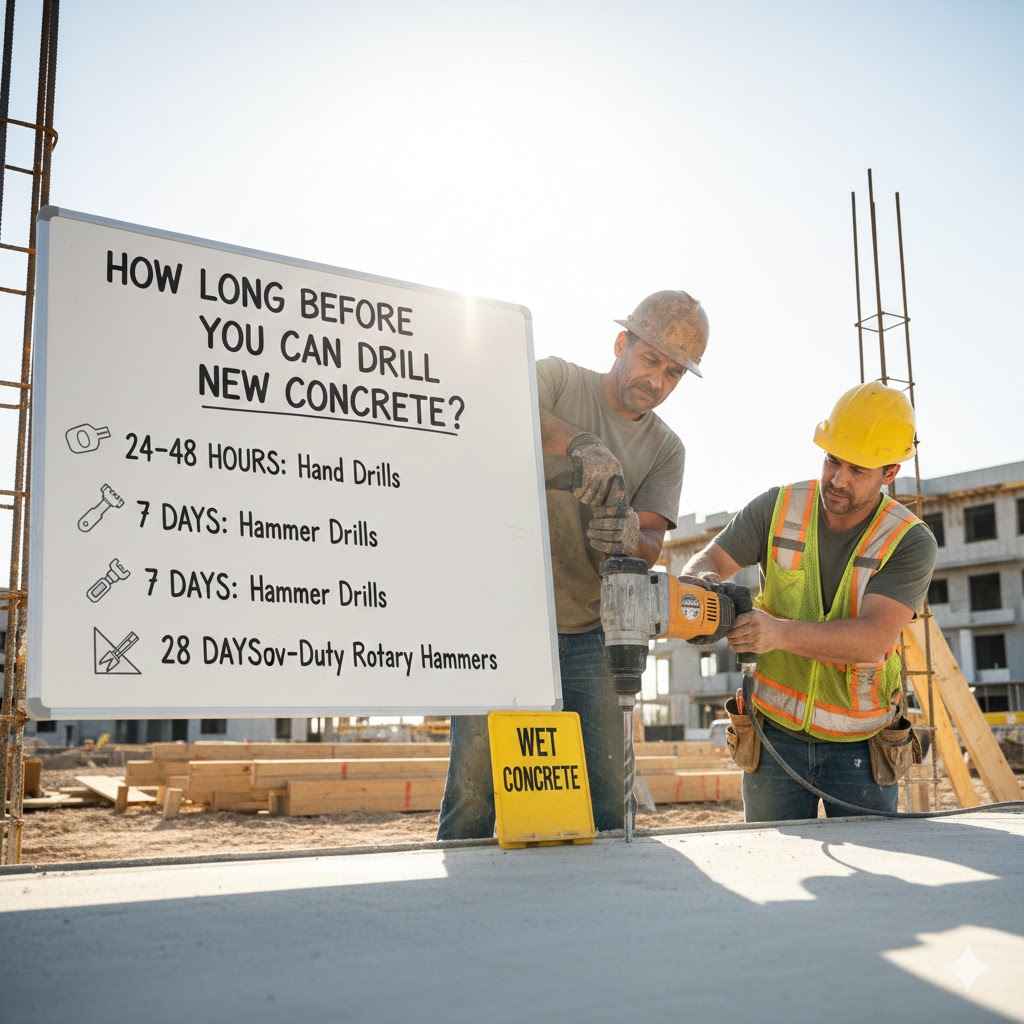
The First Few Days
In the first 24 to 72 hours after pouring, concrete is still very fragile. While it may feel hard to the touch, its internal structure is still developing. Attempting to drill during this period is highly discouraged.
You risk creating significant damage, including cracking, chipping, and compromising the overall integrity of the concrete. Think of it as being too early to put weight on a freshly sprained ankle; it needs time to heal and strengthen.
During this early stage, the concrete is most vulnerable to external impacts and stresses. The hydration process is just getting started, and the interlocking crystalline structure is not yet robust. Even light drilling can cause internal disruption that may not be immediately visible but can lead to problems down the line.
Patience is key here to ensure a solid foundation for any future attachments.
The First Week
By the end of the first week, typical concrete mixes will have gained a significant portion of their final strength, often around 50-70%. For many light-duty applications, such as hanging a small picture frame or a lightweight shelf, drilling might be considered after about 7 days. However, this depends heavily on the curing conditions during that week.
If the weather was warm and humid, promoting good hydration, the concrete will be stronger than if it was cold and dry. It’s always a good idea to test a small, inconspicuous area first if you decide to drill this early. Be prepared to stop if you notice excessive chipping or crumbling, which would indicate the concrete isn’t ready.
The First Month and Beyond
For most standard concrete, waiting for at least 28 days is often recommended for full strength development, especially for heavy-duty applications or structural work. After 28 days, concrete typically reaches about 90% of its ultimate compressive strength. Drilling into concrete that has cured for a month is generally considered safe for most purposes, including mounting heavier items like large TVs or cabinets.
The concrete will continue to gain strength beyond 28 days, but the rate of gain slows considerably. So, while drilling at 28 days is usually fine, the concrete will only become more robust with each passing week. If you’re unsure or dealing with critical structural elements, consulting with a concrete professional or waiting even longer, up to 60 or 90 days, is the most cautious approach.
Assessing Concrete Readiness for Drilling
Figuring out How Long Before You Can Drill Into New Concrete? involves more than just looking at a calendar. You can also perform some simple tests or observations to get a better idea of the concrete’s condition. These methods can provide valuable clues about its readiness.
It’s important to remember that even with these tests, the exact strength cannot be determined without specialized equipment. However, they can give you a good practical assessment. The goal is to avoid damaging your new concrete by drilling too soon.
Visual Inspection and Touch Test
A visual inspection can tell you a lot. Does the concrete look uniformly colored and consistent, or are there still very dark, wet patches? The surface should appear to be uniformly cured and free from visible moisture that can be wiped away.
If it’s still significantly damp to the touch or feels chalky, it’s likely not ready.
You can also try the scratch test with a fingernail or a small, hard object like a coin. On properly cured concrete, it should be difficult to scratch the surface. If you can easily gouge or scratch the concrete, it indicates it hasn’t reached sufficient hardness yet.
A few days after pouring, it might feel hard, but a scratch test reveals its true surface integrity.
Checking for Cracks and Surface Issues
Look for any signs of cracking, flaking, or significant surface imperfections. While some minor shrinkage cracks can occur in concrete, extensive or deep cracks might suggest that the curing process wasn’t optimal or that the concrete is not yet stable. These could be exacerbated by drilling.
If you see significant chipping or crumbling when you lightly press a fingernail or a small tool onto the surface, it’s a clear sign that the concrete is not yet hard enough. The surface should feel solid and unyielding to minor pressure. Any signs of weakness here mean you should wait longer.
Moisture Meter Readings (If Available)
A concrete moisture meter can provide a more objective assessment of the moisture content within the concrete. These devices measure the electrical resistance or capacitance, which varies with moisture levels. Lower readings generally indicate drier, harder concrete.
While moisture meters are primarily used for determining if concrete is dry enough for coatings or flooring, they can also give an indication of curing progress. However, it’s important to note that low moisture doesn’t always equate to maximum strength; a balance is needed for optimal hydration. Always consult the meter’s manual for specific readings related to concrete curing.
Understanding Moisture Meter Readings
Different moisture meters work on slightly different principles, so understanding the specific device’s calibration is important. Generally, for concrete that is ready for drilling, you would be looking for readings that indicate the concrete is no longer excessively wet. Readings that show the concrete is in a state of stable moisture content, rather than actively drying, are preferable.
It’s worth noting that a moisture meter primarily measures surface or near-surface moisture. The interior of the concrete may still be hydrating. Therefore, a moisture meter reading should be used in conjunction with other indicators and the general timeline for curing.
The Hammer Test (Use with Caution)
A hammer test can be a more advanced method, but it requires some experience. It involves tapping the concrete with a hammer and listening to the sound produced. A sharp, ringing sound typically indicates well-cured, hard concrete.
A dull, hollow sound might suggest weaker or less cured concrete.
This method is less reliable for beginners as it’s subjective and depends on distinguishing between different sound qualities. It’s also crucial not to hit the concrete too hard, as this could cause damage if it’s not ready. It’s generally better to rely on visual inspection, touch, and established timelines.
Best Practices for Drilling into New Concrete
Once you’ve determined that your concrete is ready, there are specific techniques and tools that will make drilling easier and safer. Knowing how to approach the task properly will help you achieve clean holes and prevent damage to the surrounding concrete.
The right equipment and approach are just as important as waiting for the right time. Using the correct drill bit and setting can make a huge difference in how smoothly the process goes.
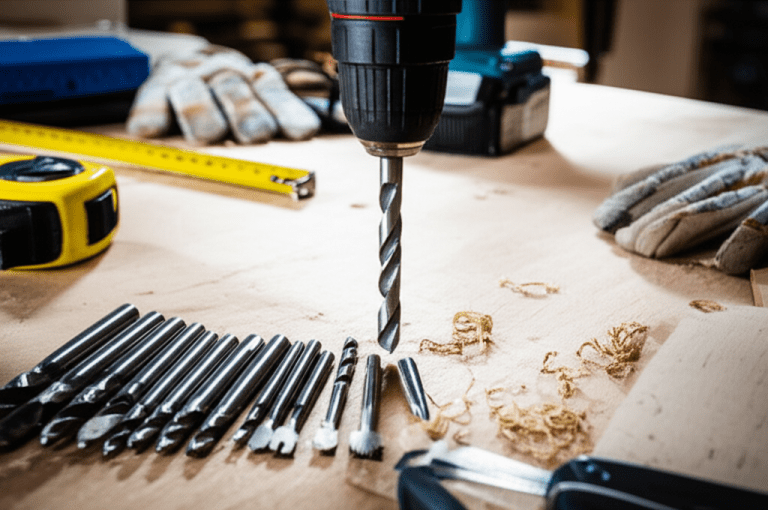
Choosing the Right Drill Bit
For drilling into concrete, you absolutely need a masonry drill bit. These bits are designed with a carbide tip that is much harder than standard drill bits, allowing them to bore through tough materials like concrete, brick, and stone. Using a regular drill bit will simply be ineffective and will likely be destroyed very quickly.
Masonry bits come in various sizes, measured by diameter. Choose the size appropriate for the anchor, screw, or fastener you plan to use. It’s also a good idea to have a set of different sizes on hand, as you might need to start with a smaller pilot hole and then enlarge it.
Carbide-Tipped vs. Diamond-Tipped Bits
Carbide-tipped masonry bits are the most common and suitable for general-purpose drilling into concrete. They are durable and relatively inexpensive. For extremely hard concrete or for drilling very precise or large holes, diamond-tipped core bits are used.
These are much more expensive and typically used with specialized core drilling equipment.
For most DIY tasks, a good quality carbide-tipped masonry bit will be sufficient. Ensure it is sharp and in good condition. A dull bit will require more force, generate more heat, and can lead to a messier hole.
Using a Hammer Drill
A hammer drill is highly recommended for drilling into concrete. Unlike a standard drill, a hammer drill has a mechanism that rapidly pounds the drill bit forward and backward as it rotates. This pounding action, combined with the rotation, chips away at the concrete much more effectively than rotation alone.
The impact action makes drilling through hard concrete significantly faster and easier. Most hammer drills have settings to switch between standard drilling mode and hammer drill mode. Make sure you are using the hammer drill setting when working with concrete.
When a Standard Drill Might Suffice
If you are drilling into very soft concrete, or if you only need to drill a very small, shallow hole, a standard drill with a good masonry bit might be able to do the job. However, it will take much longer and require more effort. For any significant drilling into harder concrete, a hammer drill is almost essential.
The effectiveness of a standard drill on concrete also depends on the power of the drill itself. A high-powered standard drill might perform better than a low-powered hammer drill, but the dedicated impact action of a hammer drill provides a distinct advantage in most scenarios.
Drilling Techniques for Success
When drilling, start with a center punch or a sharp tap to create a small indentation. This prevents the drill bit from “walking” or wandering across the surface. Apply firm, steady pressure.
Let the drill do the work; don’t force it too hard, as this can overheat the bit or damage the concrete.
Periodically withdraw the drill bit from the hole while it’s still spinning slowly. This helps to clear out dust and debris, which is crucial. Concrete dust can clog the flutes of the drill bit and also clog the hole, making it harder to drill deeper and potentially causing the bit to overheat.
Clearing Dust and Debris
Regularly clearing out dust is critical for efficient drilling. Concrete dust is abrasive and can quickly dull your drill bit, making the process much harder. It can also trap heat.
Use compressed air, a shop vacuum, or a stiff brush to remove the dust from the hole as you drill deeper.
If you’re drilling a large number of holes, consider using a dust extraction system or a vacuum attachment that connects directly to your drill. This not only helps keep the bit cool and sharp but also significantly reduces airborne dust, which is a health hazard.
Cooling the Drill Bit
Drilling into concrete generates a lot of friction and heat, which can quickly wear out your drill bit and even damage the concrete if it gets too hot. It’s a good idea to cool the bit periodically. You can do this by dipping the tip of the drill bit into water for a few seconds every minute or two of drilling, especially if you notice it getting very hot.
Be cautious when using water, as it can create slurry with the concrete dust. Ensure you have a way to manage this slurry, like a shop vacuum. Alternatively, many professionals use specialized cooling systems or lubricants designed for concrete drilling.
Common Pitfalls to Avoid
When you’re eager to drill into your new concrete, it’s easy to overlook critical steps or rush the process. Avoiding common mistakes will save you time, effort, and potential damage to your new concrete surface.
Being aware of these potential problems ahead of time can help you navigate the process smoothly and ensure successful drilling.
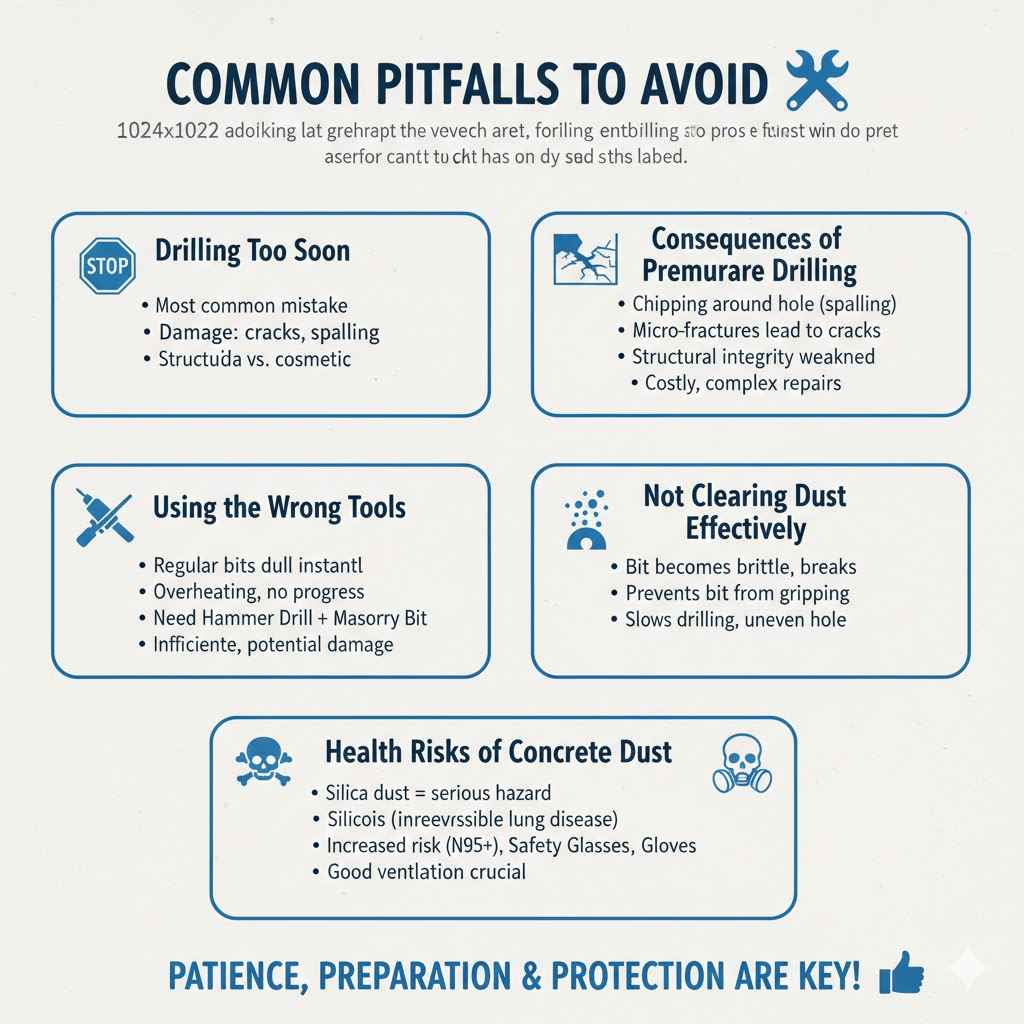
Drilling Too Soon
The most common pitfall is simply drilling before the concrete has cured sufficiently. As discussed, this can lead to significant damage. Always err on the side of caution.
If in doubt, wait another few days or a week. The slight delay is far better than having to repair cracked or spalled concrete.
This is especially true for critical structural applications or areas that will experience significant load. For a lightweight picture hook, a slightly premature drill might not be catastrophic, but for mounting a heavy bracket, waiting the full recommended time is essential.
Consequences of Premature Drilling
The consequences can range from cosmetic issues to serious structural problems. You might notice chipping around the drilled hole, which is known as spalling. In more severe cases, drilling too early can propagate cracks throughout the concrete, weakening its overall integrity.
This can lead to the failure of anything attached to the wall or floor.
Furthermore, repairing damaged concrete is often more complex and costly than waiting for proper curing. It can involve specialized patching compounds, grinding, and even re-pouring sections, which can be time-consuming and unsightly.
Using the Wrong Tools
Another major mistake is attempting to drill concrete with tools not designed for it. Using a regular drill bit on concrete will likely result in the bit dulling instantly, overheating, and producing very little progress. You’ll waste time and potentially ruin your drill bit.
Similarly, not using a hammer drill when necessary will make the process incredibly arduous, and you might end up applying excessive force that can damage the concrete even if it has cured somewhat. Always use a masonry bit and a hammer drill for concrete.
Impact of Inadequate Tools
When you don’t use the right tools, you’re setting yourself up for frustration and potential failure. A regular drill bit will get hot very quickly, potentially damaging the drill itself. A dull bit also generates more heat and requires more pressure, which can lead to the concrete crumbling unevenly around the hole.
The lack of an impact mechanism means you are relying solely on the friction of the bit against the concrete. This is a slow and inefficient process, and it’s easy to make mistakes, like pushing too hard in one spot, which can cause subsurface fracturing.
Not Clearing Dust Effectively
Failure to clear dust and debris from the hole is a common oversight. This not only makes drilling more difficult but also causes the drill bit to overheat. Overheated bits become brittle and can break, and excessive heat can also negatively impact the concrete around the hole.
The dust also acts as a lubricant in a bad way, preventing the drill bit from gripping the material effectively. This leads to the bit spinning in place and not cutting. Good dust management is crucial for a clean, efficient drilling process and for the longevity of your tools.
Health Risks of Concrete Dust
Concrete dust, also known as silica dust, is a serious health hazard. Inhaling fine silica particles can lead to silicosis, a progressive and irreversible lung disease. It can also increase the risk of lung cancer and other respiratory problems.
Wearing a respirator (like an N95 or better) is essential when drilling concrete, especially if you don’t have an effective dust extraction system.
Proper ventilation and dust control measures are not just about making the job easier; they are about protecting your health. Always work in a well-ventilated area and use personal protective equipment, including safety glasses, gloves, and a respirator.
Frequently Asked Questions
Question: Can I drill into concrete after 3 days?
Answer: Generally, it’s not recommended to drill into brand new concrete after only 3 days. While it may feel hard, it hasn’t reached sufficient strength for drilling without risking damage. Waiting at least 7 days for light tasks, and 28 days for heavier applications, is a much safer approach.
Question: What is the best drill bit for new concrete?
Answer: For new concrete, you need a masonry drill bit, which has a carbide tip designed to cut through hard materials. For most common tasks, a carbide-tipped masonry bit is perfect. Always ensure it’s sharp and the correct size for your needs.
Question: Do I need a hammer drill for concrete?
Answer: A hammer drill is highly recommended for drilling into concrete. Its impact action significantly speeds up the process and makes it easier by chipping away at the concrete. While a powerful standard drill might manage very small holes, a hammer drill is essential for efficient and effective drilling.
Question: How can I tell if my concrete is cured enough to drill?
Answer: You can tell by visual inspection (no wet patches, uniform color), the touch test (surface feels hard and dry, not chalky), and a scratch test (difficult to scratch with a fingernail or coin). For best results, follow general timelines like 7 days for light use and 28 days for heavier use.
Question: What happens if I drill into concrete too soon?
Answer: Drilling into concrete too soon can cause chipping, cracking, and spalling around the hole. It weakens the concrete’s structure, which can lead to more significant damage over time and compromise anything attached to it. It’s much better to wait for the concrete to cure properly.
Summary
Knowing How Long Before You Can Drill Into New Concrete? ensures your projects last. Generally, wait at least 7 days for light use and 28 days for heavier tasks. Always use masonry bits and a hammer drill.
Inspect your concrete and be patient. Your efforts will result in strong, reliable attachments.