How Long Wood Glue Needs to Dry Before Taking Clamps Off
Figuring out How Long Should Wood Glue Dry Before Removing Clamps? is a common puzzle for anyone starting woodworking. It’s tricky because getting it wrong can lead to joints that come apart later. But don’t worry! This post will help you get it right every time. We’ll go step-by-step so you can confidently remove those clamps and make sure your projects last. You’ll soon know the best drying times for different types of wood and glue, ready to build like a pro.
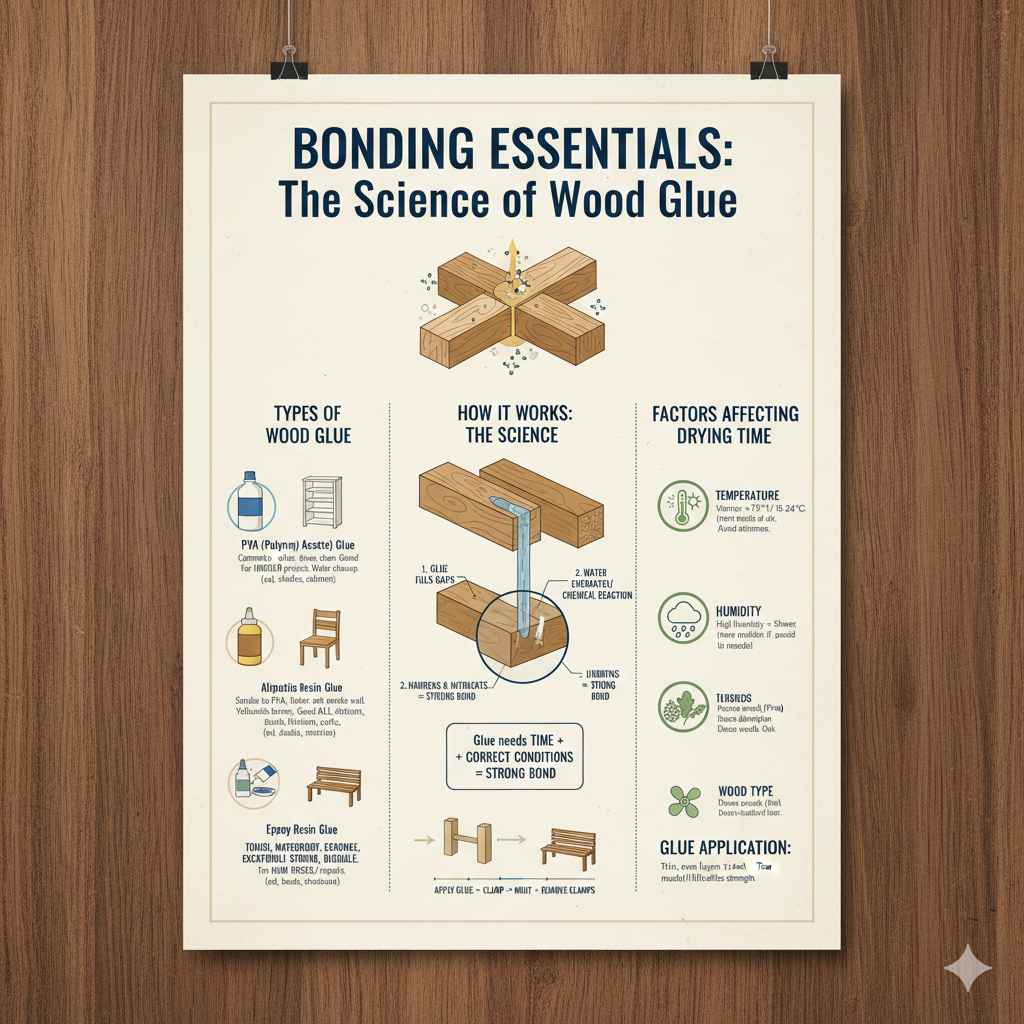
Bonding Essentials: The Science of Wood Glue
Wood glue is a fantastic adhesive, but how it works is more than just sticking things together. It’s a chemical process that needs time and the correct conditions to create strong bonds. Think of it like a superhero – it needs the right setup to perform at its best. The main job of wood glue is to fill tiny gaps in the wood and then harden, creating a solid connection between the pieces. Understanding this process will help you appreciate why letting the glue dry is so important.
Types of Wood Glue and Their Characteristics
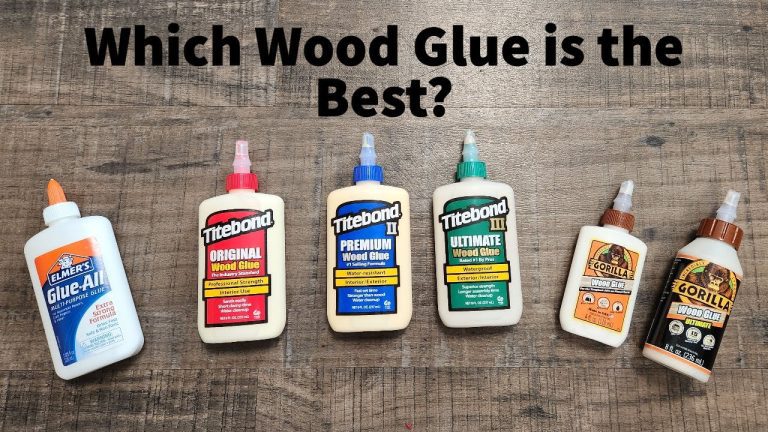
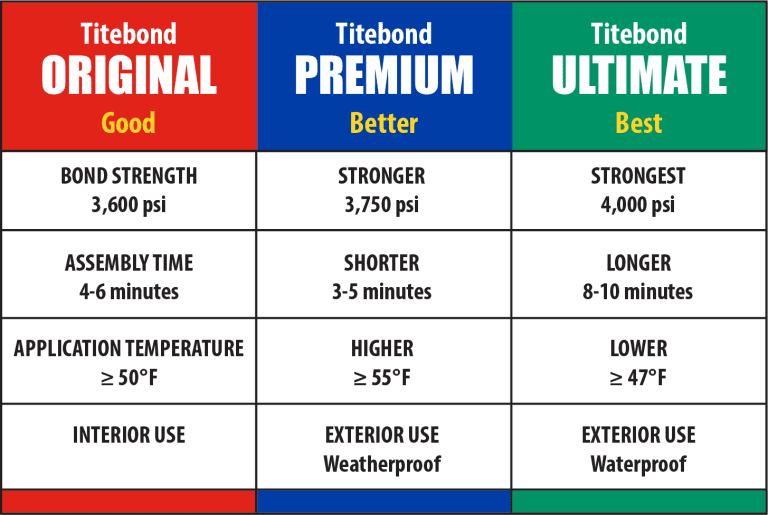
There are different types of wood glue, each with its own specific strengths and weaknesses. The best choice depends on what you are building. Knowing a bit about each kind can really help. Understanding the differences in dry time, strength, and water resistance can make all the difference in the final product. Choosing the correct glue type is the first key step toward a successful woodworking project.
- PVA (Polyvinyl Acetate) Glue: This is probably the most common type. It is usually white and dries clear. It’s perfect for indoor projects because it’s easy to clean up with water. But it may not be the best choice if your project will be exposed to water or moisture often.PVA glues are great for general woodworking tasks. They are strong once dry but can weaken with prolonged exposure to moisture. Consider them for projects like bookshelves, tables, and cabinets that stay indoors. Look for glues labeled as “wood glue” or “carpenter’s glue.”
- Aliphatic Resin Glue: This is similar to PVA glue but often sets a bit faster and has slightly improved strength. Many woodworkers like it because it sands well. It’s good for a wide range of projects, from furniture to crafts.This type is often yellowish-brown when wet. It tends to be a good all-around choice. Its fast-setting properties make it ideal when you’re in a hurry. However, it still has some limitations, especially in wet environments.
- Polyurethane Glue: This glue is tough stuff, providing strong, waterproof bonds. It expands as it dries, which can fill gaps. It is a good choice for outdoor projects or anything that might get wet. Remember, it can be messy to use, so follow the instructions carefully.Polyurethane glue is perfect for projects that will face the weather. It forms a very strong, waterproof bond that other glues may not achieve. It’s useful for outdoor furniture, boat building, and any project exposed to the elements. Remember that the glue expands while curing, so be careful about how much you apply.
- Epoxy Resin Glue: This glue is exceptionally strong. It’s made of two parts that you mix together: a resin and a hardener. It creates a very durable bond. Epoxy is great for projects that need to handle a lot of stress or extreme conditions.Epoxy creates very strong, permanent bonds. It’s perfect for projects requiring high strength or resistance to chemicals and moisture. This glue is often used in boat building, repairs, and projects where the bond must be tough and last a long time. It can be more expensive than other glues.
Factors Affecting Wood Glue Drying Time
The amount of time your wood glue needs to dry depends on several things. Humidity, temperature, and the type of wood and glue all play a role. Getting these factors correct will help you achieve a robust and reliable bond. Understanding how these factors impact your project is essential for successful woodworking. Let’s delve into these key areas.
- Temperature: Warmer temperatures usually help glue dry faster. Colder temperatures slow things down. Ideally, you want to work in a room that is at room temperature or slightly warmer. Too much heat, however, can sometimes cause problems, such as the glue setting before you’re ready.Most wood glues work best at temperatures between 65°F and 75°F (18°C to 24°C). The warmer the environment, the quicker the glue will set and harden. When working in colder temperatures, the drying time can significantly increase. Consider using a space heater in your workshop if the weather is cold.
- Humidity: High humidity means there’s more moisture in the air. This can slow down the drying process. A less humid environment lets the glue dry faster. Try to avoid working on glue-ups when the air is damp, especially during rainy seasons.High humidity levels can delay the drying process of wood glue. Excess moisture in the air prevents the glue from properly curing. You can use a dehumidifier to lower the humidity in your workshop if you are experiencing very humid conditions.
- Wood Type: Different kinds of wood absorb glue differently. Some woods, like softwoods (pine, fir), absorb glue quickly. Hardwoods (oak, maple) may take a little longer. Knowing your wood type will help you estimate the right drying time.The type of wood you’re working with directly affects how the glue behaves. Porous woods like pine absorb the glue faster, resulting in quicker curing times. Dense woods like oak and maple have less absorption, so the glue might require more time to dry.
- Glue Application: Using the right amount of glue is also important. Too much glue can make the joint slippery and might take longer to dry. Using too little, and you will not get a good bond. Always follow the instructions on the glue bottle to get it right.The amount of glue you apply affects the drying time and the joint’s overall strength. A thin, even layer is usually best. Excessive glue can lead to a longer drying time and squeeze-out, which can be messy. Insufficient glue could cause a weak bond.
Unlocking the Answers: How Long Should Wood Glue Dry Before Removing Clamps?
The big question is this: How Long Should Wood Glue Dry Before Removing Clamps? The answer depends on the type of glue you’re using and the project you’re working on. It’s better to be patient and wait the right amount of time. Removing clamps too soon can cause the joint to come apart, and then you’ll need to start again. Understanding the guidelines for each kind of glue will help ensure success. Remember, patience is key.
General Drying Times Based on Glue Type
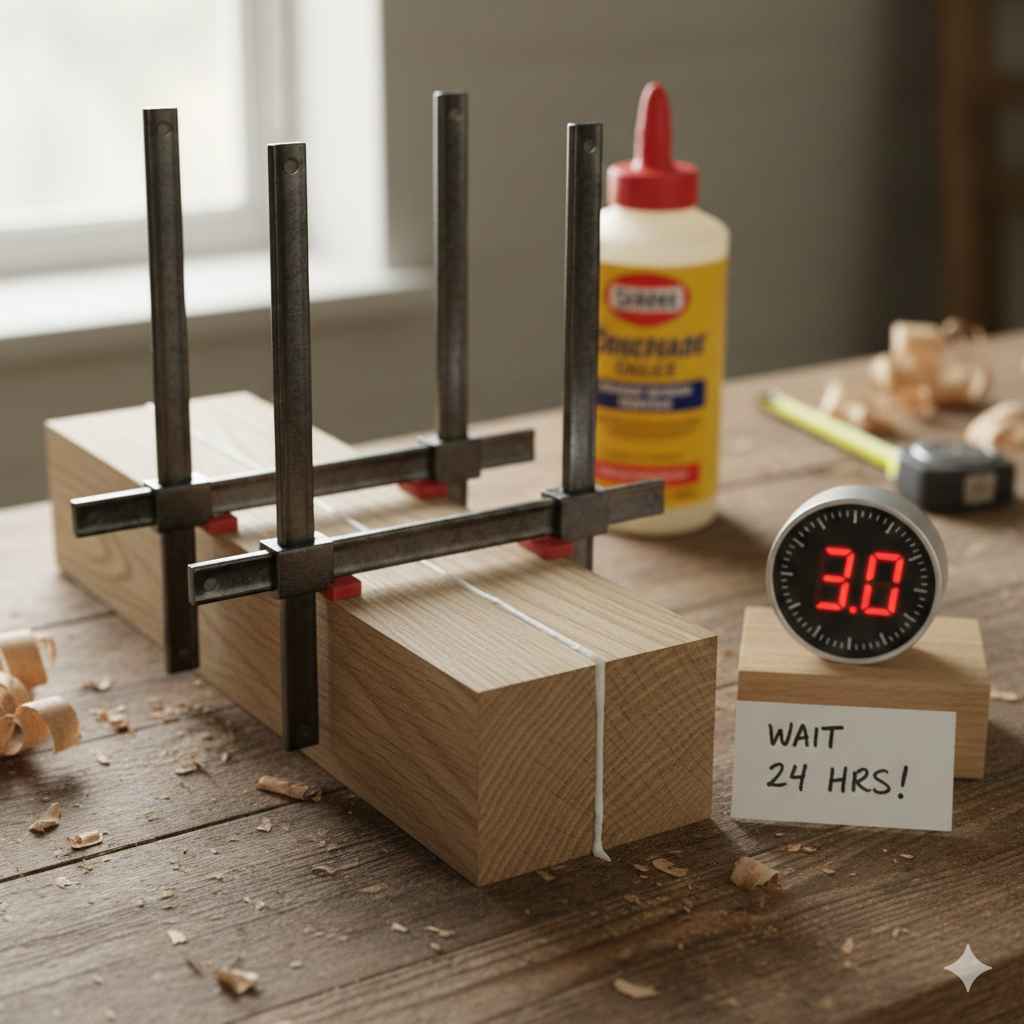
Here are some general guidelines for removing clamps after gluing. Remember, these are estimates, and other factors could change the amount of time. Always check the instructions on your glue bottle. These guidelines will give you a good starting point for a lot of woodworking projects. These are based on average conditions, so make adjustments as necessary for your particular work area.
- PVA Glue: For PVA glue, wait at least 30 minutes to an hour before lightly handling the piece. To reach full strength, let it dry for 24 hours. The clamps can often be removed after an hour, but it is best to leave it clamped longer, perhaps four to six hours, especially if the pieces are under stress.The dry time for PVA glue usually varies. While you might be able to remove clamps in an hour, waiting a little longer will make your project even more robust. Always give it 24 hours to cure before putting any strain on it, but the longer, the better.
- Aliphatic Resin Glue: This glue usually dries faster than PVA glue. You can typically remove clamps after about 20 to 45 minutes, but the joint will not be fully cured. For best results, allow it to sit for 24 hours before applying any heavy loads or sanding.Aliphatic resin glues have a quicker setting time, making them convenient for projects where time is limited. Although clamps can be taken off in under an hour, the glue continues to harden over the next 24 hours. This type of glue can be helpful for quick assembly projects.
- Polyurethane Glue: This glue can set pretty quickly, sometimes within 30 minutes. However, it’s best to leave the clamps on for at least an hour or two. Polyurethane glue often cures within a few hours, but wait 24 hours for full strength.Polyurethane glue is fast-acting, yet it requires time to reach maximum strength. Removing clamps too early might affect the final bond quality. When using this type of glue, it is best to allow the recommended drying time to guarantee a strong, reliable connection.
- Epoxy Resin Glue: Epoxy often needs a longer clamp time. Depending on the epoxy type, you might need to leave clamps on for several hours or overnight. Always follow the manufacturer’s instructions for the specific epoxy you’re using.Epoxy glues are known for their exceptional strength but require more time to set. The clamp time can vary, so consult the instructions. Waiting for the complete curing time is crucial for an effective bond.
Checking for Dryness
There are several ways to check if your glue is ready. You don’t always need to guess. A simple test can save you a lot of trouble. After the recommended time has passed, try these to check if the glue is ready. It’s better to be sure than to have to start over. Always make sure the glue is fully cured before continuing to the next steps.
- Visual Inspection: The glue should look dry and clear (or whatever color your glue is designed to be). There should not be any wet or soft spots. If the glue looks wet or milky, it’s not dry yet.A visual inspection is a quick and easy way to determine how the glue is doing. Look closely at the glue line; it should be firm and clear, not soft or gooey. Any unusual appearance could be a sign that the glue needs more time to dry completely.
- Gentle Touch Test: Gently touch the joint to see if it feels solid. Don’t apply too much pressure. If it feels firm and doesn’t give way, it’s a good sign that the glue is ready.Use your fingers to gently check the joint. The joint should feel rigid and fixed if the glue has set properly. This touch test can quickly confirm whether the glue has started setting.
- The “Squeeze-Out” Test: Look at any glue that squeezed out from the joint. If this glue is hard and dry, it indicates that the glue inside the joint is probably dry, too. If the squeeze-out is still soft, give it more time.The squeeze-out is a great visual indicator. Examining this small amount of dried glue provides a good clue about the state of the joint itself. If the squeeze-out looks set, it generally means that the interior of the joint is likely dried as well.
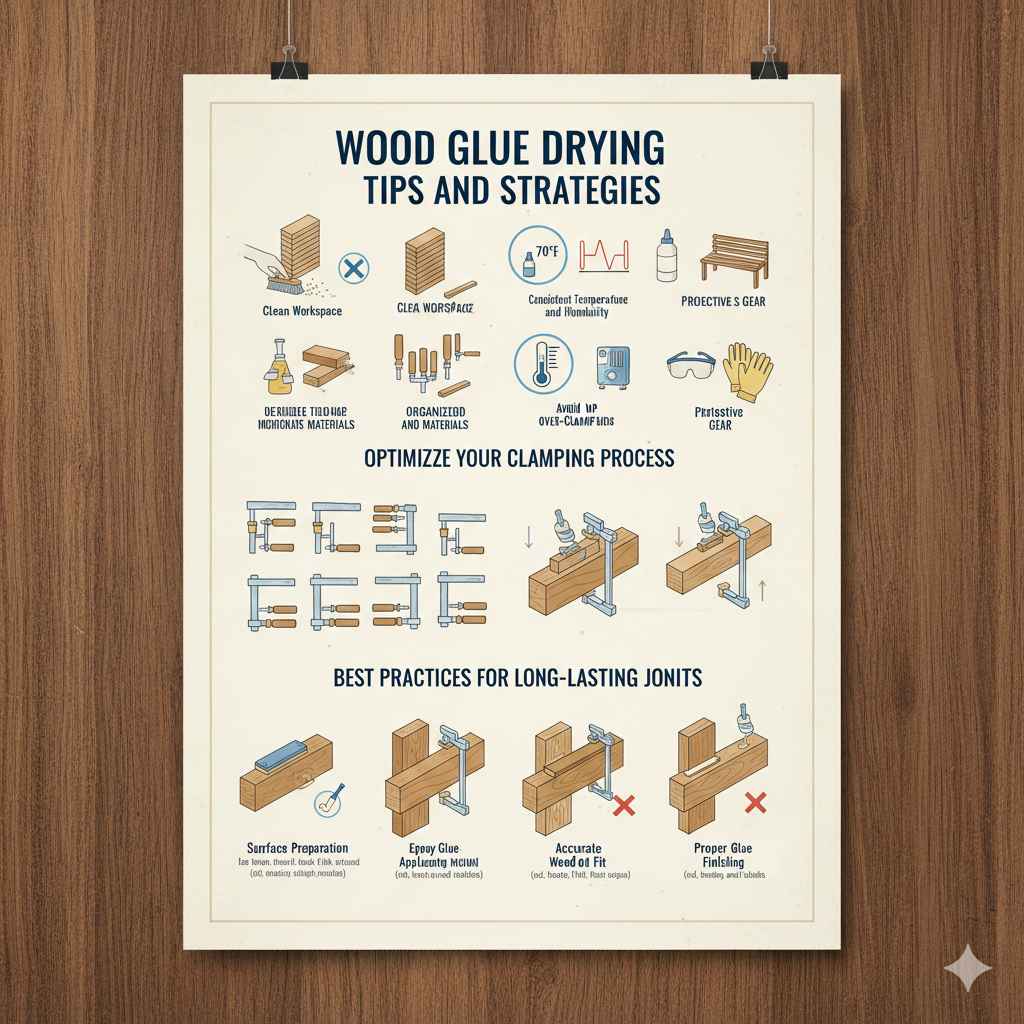
Wood Glue Drying Tips and Strategies
Here are some key tips and strategies to help you get the best results when using wood glue. These tips are based on real-world experience and will help you create strong, long-lasting woodworking projects. Using these approaches, you can build confidence in your craft. Remember, good preparation is half the battle.
Prepping Your Workspace
Preparing your workspace is key for a successful glue-up. This involves many things, including the environment, the tools, and the wood. Taking these extra steps helps everything run smoother. These steps set the stage for success. Proper preparation saves time and frustration. Let’s explore how to prepare your workspace for the best results.
- Clean Workspace: Ensure your workspace is clean and free of dust and debris. This helps the glue adhere better to the wood. Dust can get in the way of a good bond. Make sure you clear your work area before starting.A clean workspace is more than just good practice; it prevents contamination. Dust, dirt, and other particles can prevent the glue from making full contact with the wood. A clean work surface ensures the best possible bond between the glued pieces.
- Consistent Temperature and Humidity: Try to maintain a consistent temperature and humidity. These conditions play a significant role in how quickly your glue dries. A climate-controlled shop or room is ideal, especially if you live in an area with major humidity swings.Maintaining the correct conditions helps speed up the drying process. Fluctuations in temperature and humidity can throw off the glue’s drying time. The ideal environment guarantees that your glue cures uniformly and forms a reliable joint.
- Organized Tools and Materials: Keep your clamps, glue, and wood pieces organized and ready to use. Having everything within reach will speed up your workflow. A well-organized shop makes for a stress-free experience.Having everything ready prevents delays. Organizing your tools and materials before gluing saves time and effort. Clear a space for all of the necessary equipment and materials so you won’t have to search around when time is of the essence.
- Protective Gear: Wear safety glasses and gloves when working with wood glue. Some glues have chemicals that can cause skin or eye irritation. Protecting yourself is important in every woodworking project.Safety gear protects you from spills and splashes. Safety glasses prevent debris from getting into your eyes. Gloves can protect your skin from irritants in the glue. Proper gear helps keep you safe while you work on your projects.
Optimizing the Clamping Process
Clamping is just as important as the glue. Clamps apply the necessary pressure to hold the pieces together while the glue dries. The right clamping process ensures strong joints and precise alignment. Take a look at the techniques to maximize your outcomes. A little know-how makes a big difference. Follow these pointers for a successful clamping operation.
- Proper Clamp Selection: Use the right kind of clamps for your project. There are clamps for nearly every situation. Make sure they are the correct size and type. The correct choice will make your life a lot easier, and your joints will be stronger.Choosing the correct clamps is essential for a great outcome. Understand what kind of clamps work well for different types of joints. Consider the size, design, and maximum capacity. Using the right clamps guarantees that your pieces stay together correctly during drying.
- Even Pressure Distribution: Try to distribute the clamp pressure evenly across the joint. Uneven pressure can lead to gaps or misalignments. Use cauls or scrap pieces of wood to spread the pressure. This will help make sure you don’t damage your workpiece.Distributing clamp pressure is key for accurate results. Use clamping cauls or pads. This technique keeps the pieces in line, and helps achieve a uniform bond. Correct pressure distribution is key for precise and long-lasting woodworking.
- Avoid Over-Clamping: Don’t over-clamp. Too much pressure can squeeze out all the glue, weakening the joint. The goal is to provide enough pressure to keep the pieces together while the glue sets. Follow the instructions on the glue container.Over-clamping is a common error. Excessive pressure might remove all the glue. This limits its ability to bind the wood together. Avoid overdoing the clamps, which could weaken your project.
- Clamp Placement: Position your clamps to keep the joint aligned and prevent any shifting. Consider how the clamps will apply pressure and ensure the pieces stay in the right position. Good clamp placement can prevent problems.Proper clamp placement is essential for the alignment of the pieces during the drying process. Make sure to apply the clamps at strategic locations. This step helps prevent any shifting or misalignment. Strategic clamp positioning can produce professional-looking results.
Best Practices for Long-Lasting Joints
Taking a few extra steps will improve the strength and durability of your joints. These best practices will help you with long-lasting wood projects. They involve the right prep work, glue application, and clamp techniques. Keep these tips in mind as you work on your next project. It’s the small details that create lasting quality. Incorporate these tips to get the greatest possible results.
- Surface Preparation: Ensure the surfaces you are gluing are clean, dry, and free of dust, grease, and other contaminants. This provides a clean surface for the glue to bond. Clean wood means a good bond.Preparing the surfaces properly is a key step. Remove any dust, debris, or old finish. A clean and smooth surface helps the glue attach properly. Good surface preparation leads to stronger, more dependable joints.
- Accurate Wood Fit: Make sure your wood pieces fit together snugly. Tight joints provide a better bond than gaps. If there are gaps, the glue will need to fill them, which can weaken the joint. Always test fit the pieces before applying glue.Accurate fitting is a key step in producing professional results. Precisely fitted joints give the best bond. The better your pieces fit, the stronger your joint will be. Ensure that the pieces fit properly for maximum bond strength.
- Proper Glue Application: Apply the correct amount of glue evenly across the surface. Too much glue can lead to squeeze-out and a weaker joint. Too little, and you will not have a good bond. Follow the glue manufacturer’s instructions for the best results.Applying the right amount of glue is also a vital step. Using too much glue might cause issues with drying time and bond strength. Too little, and the bond might not hold. Adhere to the glue manufacturer’s instructions.
- Sanding and Finishing: Once the glue is completely dry and the clamps have been removed, you can sand the joints to make them flush. After sanding, apply your desired finish. This will improve the look of the project and protect the wood.Sanding and finishing improve the look and longevity of your projects. Sand the dried glue and smooth out any rough edges. Then, apply a protective finish to safeguard the wood from moisture and wear. This procedure can greatly extend the project’s life.
Frequently Asked Questions
Question: Can I speed up the drying time of wood glue?
Answer: Yes, you can. Using a space heater to gently warm the room can speed up the drying process. Just avoid using too much heat, as it can sometimes cause problems.
Question: What happens if I remove the clamps too early?
Answer: If you remove clamps before the glue is dry, the joint may come apart or shift. This can ruin your project. Always wait for the glue to cure properly.
Question: Can I use wood glue outdoors?
Answer: Some wood glues are designed for outdoor use and are water-resistant. Polyurethane glue is a good choice for outdoor projects. Make sure to check the glue’s label.
Question: How do I clean up wood glue?
Answer: Most PVA glues can be cleaned up with water while they are still wet. Always follow the manufacturer’s instructions. Once the glue is dry, it can be more difficult to remove, and you may need to sand it off.
Question: What if the joint is not perfectly aligned?
Answer: For slight misalignments, you can often use clamps to correct the joint as the glue dries. For more significant issues, you may need to re-glue the joint after making the necessary adjustments.
Final Thoughts
So, the answer to How Long Should Wood Glue Dry Before Removing Clamps? is not a one-size-fits-all thing. It changes based on the type of glue, the wood, and the conditions of your workspace. But the main idea is straightforward: let the glue dry long enough. Knowing the general times, using the tests we went through, and being patient will help you build solid projects that last. Take your time, trust the process, and soon you’ll be removing those clamps with confidence. You’ve got this! Happy woodworking!