How To Apply Danish Oil: A Step-By-Step Guide
Danish oil, a penetrating oil finish, has gained prominence among woodworking enthusiasts and professionals for its ability to enhance the natural beauty of wood while providing robust protection. Comprised of a blend of oil and varnish, this versatile finish is renowned for its ease of application and quick drying time, making it an ideal choice for both novice and seasoned craftsmen. Understanding the intricacies of how to apply Danish oil effectively can significantly influence the final aesthetic and durability of wood projects.
Unraveling the complexities of this finishing technique will empower you to achieve stunning results that showcase your craftsmanship beautifully.
How To Apply Danish Oil For A Perfect Finish
Danish oil is a popular finish for enhancing wood’s natural beauty while providing protection. This summary outlines essential steps for applying Danish oil effectively. Readers will learn about the preparation of the wood surface, application techniques to ensure an even finish, and tips for achieving the desired sheen. Additionally, the benefits of using Danish oil, including its ease of application and maintenance, will be highlighted. Understanding these aspects will help achieve a professional-looking result on woodworking projects.
Understanding Danish Oil
Definition and composition of Danish oil. Benefits of using Danish oil for wood finishing. Comparison with other wood finishes.
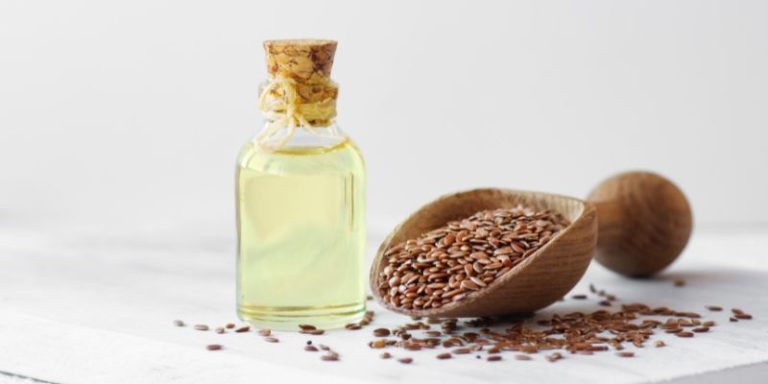
Danish oil is a special mixture made from oil and varnish. It helps protect and enhance wood while keeping it looking natural. Using Danish oil means your furniture gets a nice shine and is safe from scratches and spills.
Unlike other finishes, it’s easy to apply and dries faster than a cat running from a dog!
Here are some benefits:
| Benefit | Description |
|---|---|
| Easy Application | Just wipe it on and let it soak! |
| Natural Look | Enhances wood without hiding its beauty. |
| Durability | Protects against water and stains. |
Compared to other finishes, Danish oil is like that friendly neighbor who brings cookies! It’s simple, effective, and doesn’t need heavy sanding. So, if you want your wood to look good and last long, Danish oil is your go-to buddy!
Preparing Your Wood Surface
Cleaning and sanding the wood surface. Importance of removing old finishes and contaminants. Choosing the right type of wood for Danish oil application.
First, let’s roll up our sleeves and get that wood surface sparkling clean! A good wash gets rid of dust and grime. Think of it as giving your wood a refreshing shower. Next, it’s time to sand.
This helps smooth out rough spots and removes any old finishes. Remember, nobody likes peeling paint or sticky surfaces!
Picking the right wood is also key.
Some woods, like oak or walnut, soak up Danish oil like a sponge at a water fight. But avoid those that are too oily. It’s like trying to paint a slippery banana – messy and not fun! Here’s a handy table to help you choose:
| Wood Type | Best for Danish Oil |
|---|---|
| Oak | Yes! |
| Pine | Yes! |
| Maple | Yes! |
| Cedar | No |
| Teak | No |
Tools and Materials Needed
List of essential tools for application. Recommended brands and types of Danish oil. Safety gear and precautions.
To get started on your Danish oil adventure, you’ll need a few trusty tools. Grab a clean, lint-free cloth for smooth application. A foam brush can make spreading easier, while sandpaper helps prepare the surface. Here’s a quick rundown of some essential materials:
| Tool/Material | Recommended Brands |
|---|---|
| Lint-free cloth | Shop Towels, Microfiber Cloths |
| Foam brush | Wooster, Purdy |
| Sandpaper | 3M, Norton |
| Danish oil | Watco, Minwax |
Don’t forget your safety gear!
Wear gloves and a mask to keep those fumes away. After all, the only thing you want to breathe in is the fresh aroma of your masterpiece, not any funny business from chemicals!
Step-by-Step Application Process
How to apply Danish oil: a detailed stepbystep guide. Tips for achieving an even finish. Recommended drying times between coats.
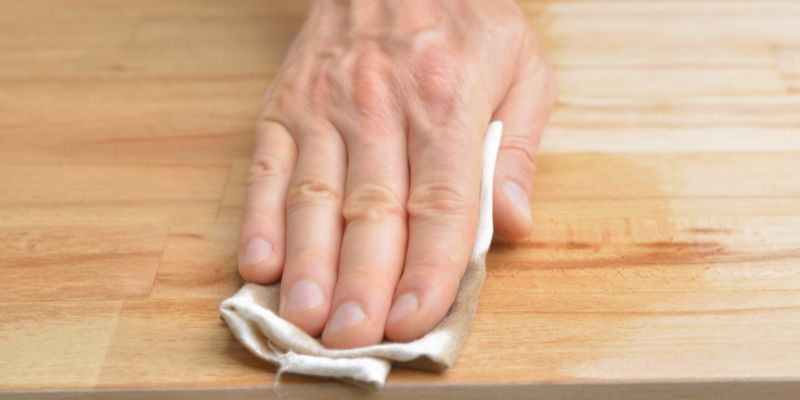
Applying Danish oil can be a fun adventure! First, prepare your wood by cleaning it well. Then, grab a cloth or brush to apply the oil evenly. Make sure to rub it in, like you’re giving it a nice back rub!
Wait about 20 minutes before wiping off any excess. Let each coat dry for at least 6-8 hours before adding another layer. For an even finish, remember, patience is key—no one likes a lumpy pancake!
| Step | Action | Drying Time |
|---|---|---|
| 1 | Clean the surface | N/A |
| 2 | Apply Danish oil | 20 minutes |
| 3 | Wipe off excess | N/A |
| 4 | Wait before next coat | 6-8 hours |
Techniques for Different Wood Types
Applying Danish oil on softwoods vs. hardwoods. Special considerations for exotic woods. Techniques for enhancing grain and color in various woods.
Applying Danish oil varies by wood type, affecting the final look. Softwoods, like pine, absorb oil quickly. Use thin coats and wipe off excess to prevent sticky spots.
In contrast, hardwoods, like oak, need a bit longer to soak in. Use slightly thicker coats for better results.
- For exotic woods, test the oil on a small area first. They may react differently.
- Enhance grain by applying multiple coats, allowing each to dry completely.
- Use a brush or cloth and work with the grain for smooth application.
This method showcases the unique beauty of each wood type.
Maintaining and Caring for Danish Oil Finishes
How to clean surfaces finished with Danish oil. Tips for reapplication and touchups. Longterm care and maintenance strategies.
Keeping Danish oil finishes looking sharp is easy and fun! First, for cleaning, grab a soft cloth and some mild soap. Wipe the surface gently—it’s not a wrestling match! For touchups, just rub in a little more oil where needed.
Remember, less is more; you don’t want a slick surface where you could slide right off! For long-term care, dust regularly and consider reapplying oil every six months to keep it shiny.
| Task | Frequency |
|---|---|
| Dusting | Weekly |
| Cleaning | Monthly |
| Reapplication | Every 6 Months |
Common Mistakes to Avoid
Common pitfalls in the application of Danish oil. Troubleshooting issues such as streaks and uneven finishes. Guidance on how to fix mistakes.
Applying Danish oil can be tricky. Avoid common mistakes for the best results. Here are some pitfalls to watch out for:
- Applying too much oil at once can cause streaks.
- Not letting each coat dry completely leads to uneven finishes.
- Using a dirty cloth can introduce dust or debris.
If you face issues, don’t worry! To fix streaks, lightly sand the area and reapply a thin layer.
For uneven spots, follow up with extra coats, ensuring each layer dries before adding more. This will help achieve a smooth and beautiful finish.
Frequently Asked Questions about Danish Oil
Addressing common concerns and misconceptions. Answers to popular queries about usage and safety. Summary of expert tips for optimal results.
Many people have questions about using Danish oil. Can it harm my health? Danish oil is safe when used correctly.
Always work in a well-ventilated area. How should I apply it? Use a clean cloth or brush and apply thin layers. For best results, follow these tips:
- Sand the surface before applying.
- Let it dry completely between coats.
- Use a final coat for extra shine.
These simple steps can help you achieve a beautiful finish every time!
Conclusion
In conclusion, applying Danish oil is a straightforward process that enhances the beauty and durability of your wood projects. By following the proper steps—preparing the surface, applying the oil, and allowing it to cure—you can achieve a stunning finish that protects your wood while allowing its natural grain to shine. Embrace this classic technique for lasting results in your woodworking endeavors.
FAQs
What Surface Preparation Is Necessary Before Applying Danish Oil?
Before applying Danish oil, ensure the surface is clean, dry, and free of dust, dirt, and grease. Sand the wood to a smooth finish, starting with a coarser grit and progressing to a finer grit for optimal absorption. Remove any sanding dust with a tack cloth or vacuum. If the surface has existing finishes, strip them completely for proper adhesion of the oil.
How Many Coats Of Danish Oil Should Be Applied For Optimal Results?
For optimal results, it is generally recommended to apply at least three to four coats of Danish oil. Allow each coat to fully dry before applying the next, usually about 8-12 hours. Buff the surface lightly between coats to achieve a smooth finish. Always follow the manufacturer’s instructions for specific guidelines.
Can Danish Oil Be Mixed With Other Finishes, And If So, How?
Yes, Danish oil can be mixed with other finishes, such as varnishes or polyurethane, to enhance its properties. To do this, combine equal parts of Danish oil with the other finish in a separate container, ensuring thorough mixing. It’s important to conduct a test on a small, inconspicuous area first to check for compatibility and the desired effect. Additionally, be aware that mixing may alter the drying times and final appearance of the finish.
What Techniques Can Be Used To Achieve An Even Finish When Applying Danish Oil?
To achieve an even finish when applying Danish oil, start by thoroughly sanding the surface to remove imperfections and ensure proper adhesion. Use a clean, lint-free cloth or foam applicator to apply the oil in thin, even coats, following the wood grain. Allow the oil to penetrate for about 10-15 minutes before wiping off any excess to prevent a sticky residue. Finally, let each coat dry completely before applying additional layers, typically two to four coats for optimal results.
How Long Does Danish Oil Need To Dry Between Coats, And What Are The Best Conditions For Application?
Danish oil typically requires about 4 to 8 hours to dry between coats, though this can vary based on temperature and humidity. For optimal results, apply it in a warm, well-ventilated area with a temperature around 70°F (21°C) and humidity levels below 50%. It’s important to ensure the previous coat is fully dry before applying the next layer. Always follow the manufacturer’s recommendations for the best results.