How to Apply Linseed Oil to Wood: Step-by-Step Guide
Clean and lightly sand the wood, then rub boiled or raw linseed oil into the grain with a brush or lint-free cloth, working in small sections. Let it soak in for 15–30 minutes, wipe away everything that hasn’t absorbed, and let it cure — boiled linseed oil dries to the touch in 1–3 days, raw can take 2–10 weeks. Skipping the wipe-off step is the single most common reason a finish turns sticky. This guide covers surface prep, the application steps, drying times, and safe disposal of oily rags.
Quick Answer
Sand the wood smooth, wipe off dust, then apply linseed oil with a brush or cloth in small 12″x12″ sections, working with the grain. Let each coat sit 15–30 minutes, wipe off the excess so nothing stays glossy-wet, and let it cure fully before a second coat. Never bunch up oily rags — boiled linseed oil rags can self-heat and ignite.
Raw vs. Boiled Linseed Oil: Which to Use
Linseed oil is pressed from flax seeds and comes in two forms that behave very differently once applied. Raw linseed oil has no additives and cures slowly — typically 2 to 10 weeks — which makes it forgiving to work with but impractical for anything you need to use soon. Boiled linseed oil (which isn’t actually boiled) has metal driers added, usually cobalt or manganese compounds, that cut drying time to roughly 1–3 days.
For furniture, tool handles, and most interior wood projects, boiled linseed oil is the practical choice because of the faster turnaround. Raw linseed oil suits food-adjacent or slow, traditional finishing work where the metal driers in boiled oil aren’t wanted. For a full side-by-side comparison, see our boiled vs. raw linseed oil breakdown.
- Protects wood from moisture and minor surface wear
- Enhances grain color and depth without building a plastic-looking film
- Penetrates rather than sitting on the surface, so it won’t chip or peel like a film finish can
Preparing the Surface
Linseed oil only penetrates bare, unfinished wood — it will not soak into a surface that’s already painted, varnished, or sealed with polyurethane. If the piece has an old finish, strip or sand it down to bare wood first.
Sand with the grain, starting around 150-grit and finishing at 220-grit for a smooth surface that absorbs oil evenly. Wipe the dust off with a dry cloth, then go over it again with a slightly damp rag or a tack cloth to lift any fine dust the dry wipe missed.
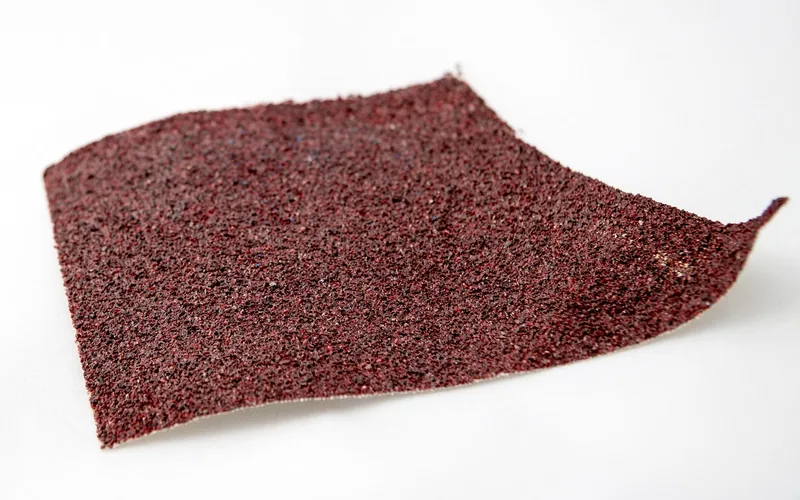
| Surface Type | Prep Needed | Sanding Grit |
|---|---|---|
| Bare wood | Dust off, tack cloth | 150 → 220 |
| Old finish present | Strip or sand to bare wood first | 80 → 220 |
| Previously oiled wood | Clean with mineral spirits, light scuff | 220 |
Keep the workspace dry with good airflow. High humidity slows down absorption and can leave the surface tacky instead of soaking in cleanly.
Tools and Materials Needed
You need very little to apply linseed oil: a natural-bristle brush or lint-free cotton rags, 150- and 220-grit sandpaper, a dust mask, nitrile gloves, and the oil itself.
| Tool/Material | Purpose |
|---|---|
| Natural-bristle brush or lint-free rag | Even application, works oil into the grain |
| 150 & 220-grit sandpaper | Surface prep before the first coat |
| Nitrile gloves + dust mask | Skin and respiratory protection during application and sanding |
| Boiled or raw linseed oil | Boiled for faster drying; raw for slow, traditional cure |
Best Linseed Oil Pick
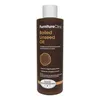
Furniture Clinic Boiled Linseed Oil, 250ml – $11.95
The 1–3-day dry time this guide recommends for most furniture and tool-handle projects, in a size that won’t sit half-used for months.
- Best for: Furniture, tool handles, interior wood projects
- Why we picked it: Fast 1–3-day cure matches the boiled-oil timeline above
- Main drawback: Contains metal driers — not the choice for food-contact surfaces
Compare more linseed oil options
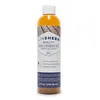 Option 1 LinSheen Raw Linseed Oil – $15.99
|
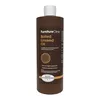 Option 2 Furniture Clinic BLO, 500ml – $17.95
|
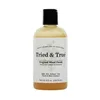 Option 3 Tried & True Original, 8oz – $24.99
|
As an Amazon Associate we earn from qualifying purchases.
Step-by-Step Application Process
Once the surface is sanded and dust-free, apply the oil in this order:
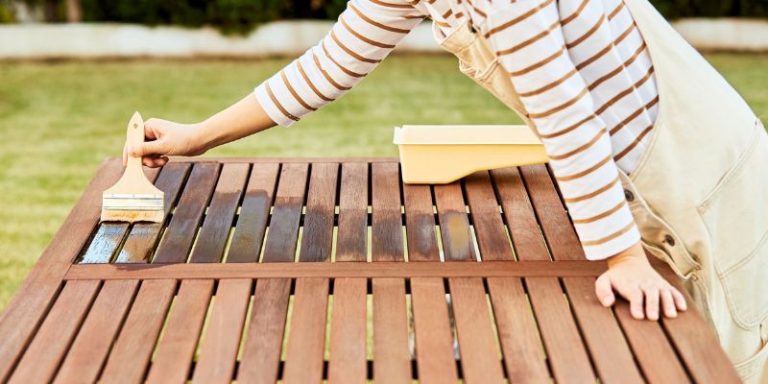
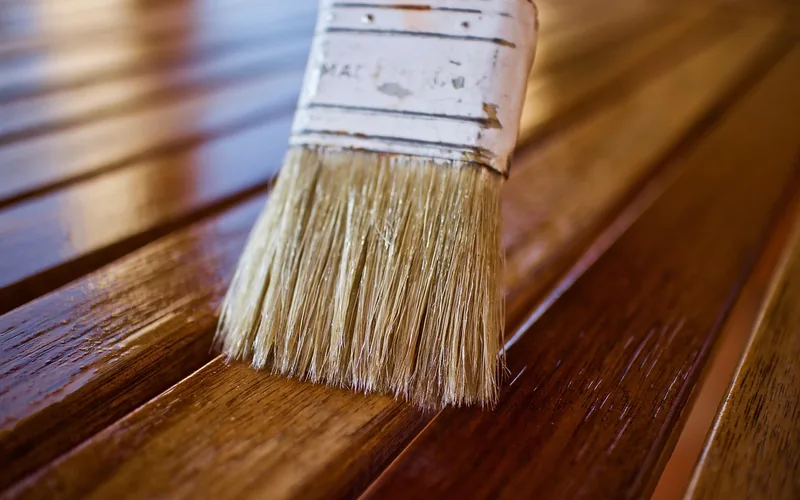
- Pour a small amount: Work in roughly 12″x12″ sections rather than flooding the whole piece at once.
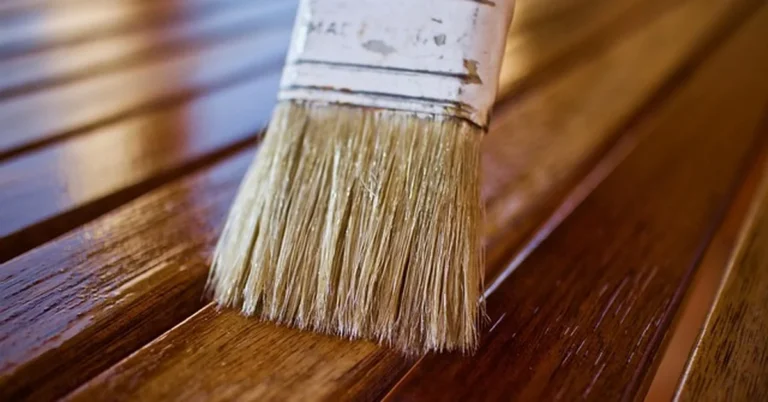
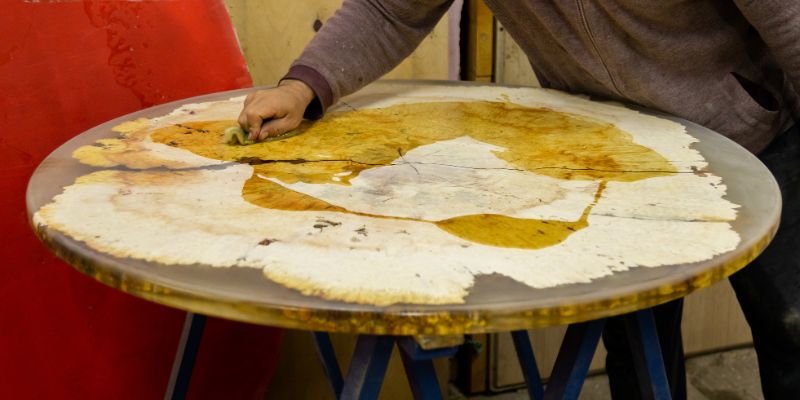
- Rub it in with the grain: Use a brush or lint-free cloth in circular motions, then finish strokes in the direction of the wood grain.
- Let it soak in: Wait 15–30 minutes. The surface should look wet, not puddled.
- Wipe off all excess: Use a clean, dry rag and wipe until no wet sheen remains. Skipping this step is the top cause of a sticky, tacky finish.
- Wait before handling: Give it about 2 hours before touching the piece again.
- Apply additional coats: Let each coat fully dry — 1–3 days for boiled oil, up to several weeks for raw — before adding the next thin layer. Two to three coats is typical.
⚠️ Rags soaked in boiled linseed oil can spontaneously combust — the metal driers speed up an exothermic oxidation reaction that generates heat as the rag dries. Never bunch up or pile oily rags. Lay them flat outdoors to dry fully, or submerge them in a sealed water-filled metal container, before disposal. Raw linseed oil cures too slowly to pose the same risk.
Tips for an Even Finish
Thin coats beat thick ones every time. A heavy first coat looks impressive going on but almost always leaves gummy, sticky patches once it starts to cure — two or three thin coats produce a more even sheen than one thick one.
Keep the workspace ventilated throughout — open a window or run a fan, both for the fumes and to help the oil cure evenly. Clean brushes and rags immediately after each session with warm soapy water (or dispose of oily rags per the safety note above) so they’re ready, and safe, for the next coat.
| Problem | Cause | Fix |
|---|---|---|
| Sticky, tacky surface | Excess oil not wiped off, or coat applied too thick | Wipe down with a dry rag; if already cured, wipe with mineral spirits |
| Uneven sheen | Inconsistent wipe-off between sections | Apply a thin, even coat over the whole piece and wipe uniformly |
| Slow or no drying | High humidity or low airflow | Increase ventilation, use a fan, reduce humidity |
Maintenance and Reapplication
A linseed oil finish is low-maintenance but not permanent — unlike a film finish, it wears from use rather than peeling or chipping. Wipe up spills promptly and avoid standing water on the surface.
Check the finish every few months for dullness or a rough, dry feel — both are signs it’s time to reapply. Most linseed-oiled surfaces need a fresh coat every 6–12 months, more often on high-traffic pieces like tabletops or tool handles.
| Task | Frequency |
|---|---|
| Clean tools/brushes | Immediately after each use |
| Inspect the finish | Every 3 months |
| Reapply a coat | Every 6–12 months, or sooner on high-traffic surfaces |
“The wipe-off step is where most first-time linseed oil finishes go wrong — a section that still looks glossy-wet after 20–30 minutes hasn’t finished absorbing, and leaving it that way is what turns into a gummy film a day later. Wipe until the rag comes away dry, not just when the surface looks less shiny.”
If linseed oil isn’t the right fit for your project — food-contact surfaces that need a fully food-safe cure, or a faster-drying option — see our guide to linseed oil substitutes like tung oil, Danish oil, and walnut oil. For questions specifically about food contact, we cover that separately in is boiled linseed oil food safe. For the broader picture on types, pros and cons, and alternative finishes, see our complete linseed oil for wood guide.
Frequently Asked Questions
How long does linseed oil take to dry?
Boiled linseed oil dries to the touch in 1–3 days; raw linseed oil can take 2–10 weeks to fully cure. Temperature, humidity, airflow, and coat thickness all affect the actual time — warmer, drier, well-ventilated spaces cure faster.
How long does a linseed oil finish last on wood?
A finish typically holds up 6 months to a year before it needs a fresh coat, though high-traffic surfaces like tabletops may need reapplication sooner. Unlike film finishes, it wears gradually rather than failing all at once.
Can linseed oil be used indoors?
Yes, with ventilation. Open a window or run a fan while applying and during the first day of curing to clear fumes and help the oil dry evenly.
How do I properly thin linseed oil for easier application?
Mix it with a solvent such as mineral spirits or turpentine, starting at roughly a 1:1 ratio and adjusting to taste. Stir until uniform and test on a scrap piece first, since thinned oil penetrates faster and can change how many coats you need.
Can linseed oil be used on different types of wood?
Yes, on both softwoods like pine and hardwoods like oak, but porosity varies — softer, more porous woods absorb oil faster and may need multiple coats, while dense hardwoods take longer to fully cure. Test an inconspicuous spot first, since the same oil can look noticeably different from one wood species to the next.
Is it safe to dispose of linseed oil rags in the trash?
Not while they’re bunched up or piled together — boiled linseed oil rags generate heat as they cure and can spontaneously combust. Lay them flat outdoors until fully dry and hard, or soak them in a sealed, water-filled metal container, before throwing them away.
Wrapping It Up
Applying linseed oil comes down to three things done in order: sand and clean the wood first, apply thin coats and wipe off everything that doesn’t absorb within 30 minutes, and let each coat cure fully before the next one. Boiled linseed oil suits most furniture and tool-handle projects with its 1–3-day dry time; raw linseed oil suits slower, traditional work. Handle oily rags carefully — that’s the one step in this process that’s a genuine safety issue, not just a cosmetic one.
Sponsored / affiliate links. As an Amazon Associate I earn from qualifying purchases. I may earn additional commission from eligible campaigns.