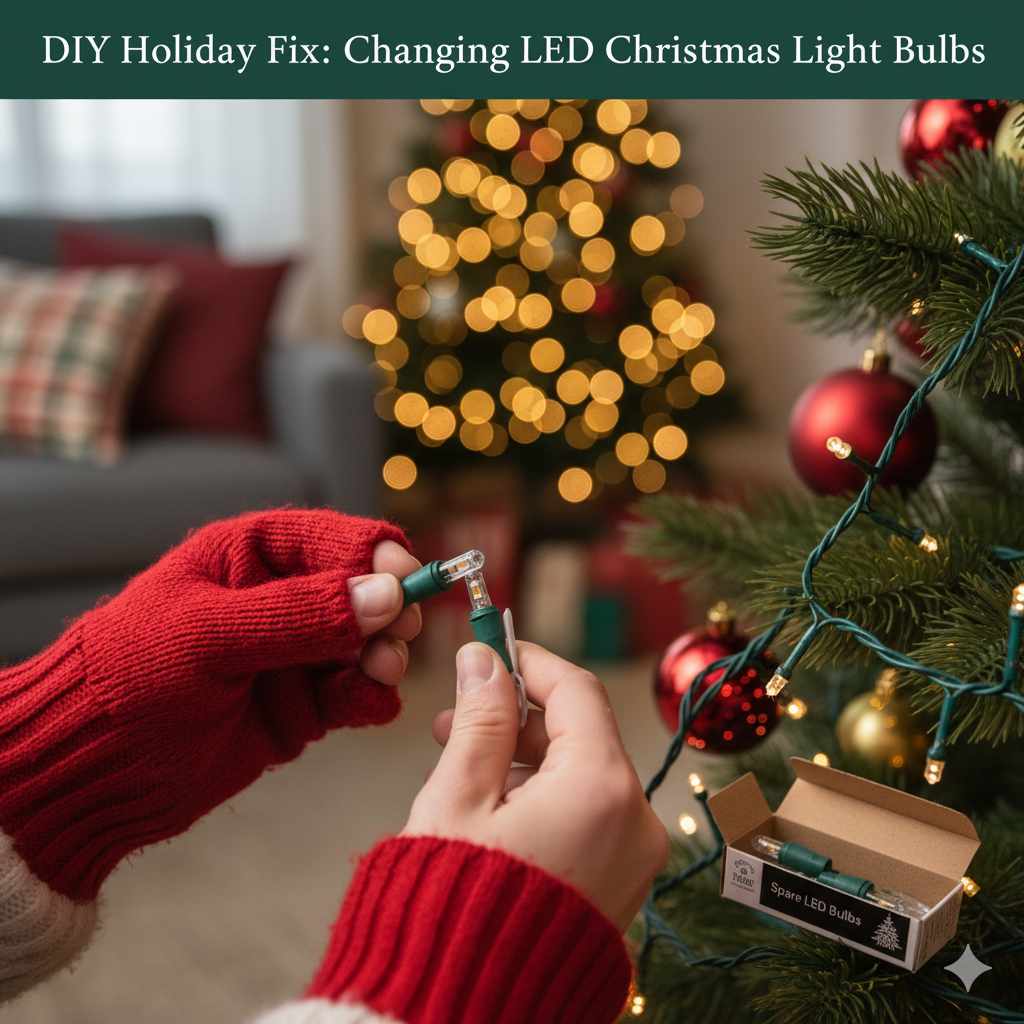
How To Change LED Christmas Light Bulbs: Essential Guide
Quick Summary:
Changing LED Christmas light bulbs is straightforward. Identify the faulty bulb, unplug the string, and carefully replace it with an identical LED bulb. Ensure the new bulb has the correct voltage and type. This guide offers simple steps for a festive, problem-free display.
Hello there! It’s Md Meraj, your go-to guide for making home projects feel as easy as pie. You know those dazzling Christmas lights that make your home sparkle? Sometimes, a single bulb can go out, leaving a dark spot and a bit of frustration. It’s a common hiccup, but don’t worry! Fixing it is much simpler than you might think. With just a few easy steps, you can get your beautiful light display shining brightly again. We’ll walk through it together, making sure you feel confident every step of the way. Let’s get those lights back to their full glory!
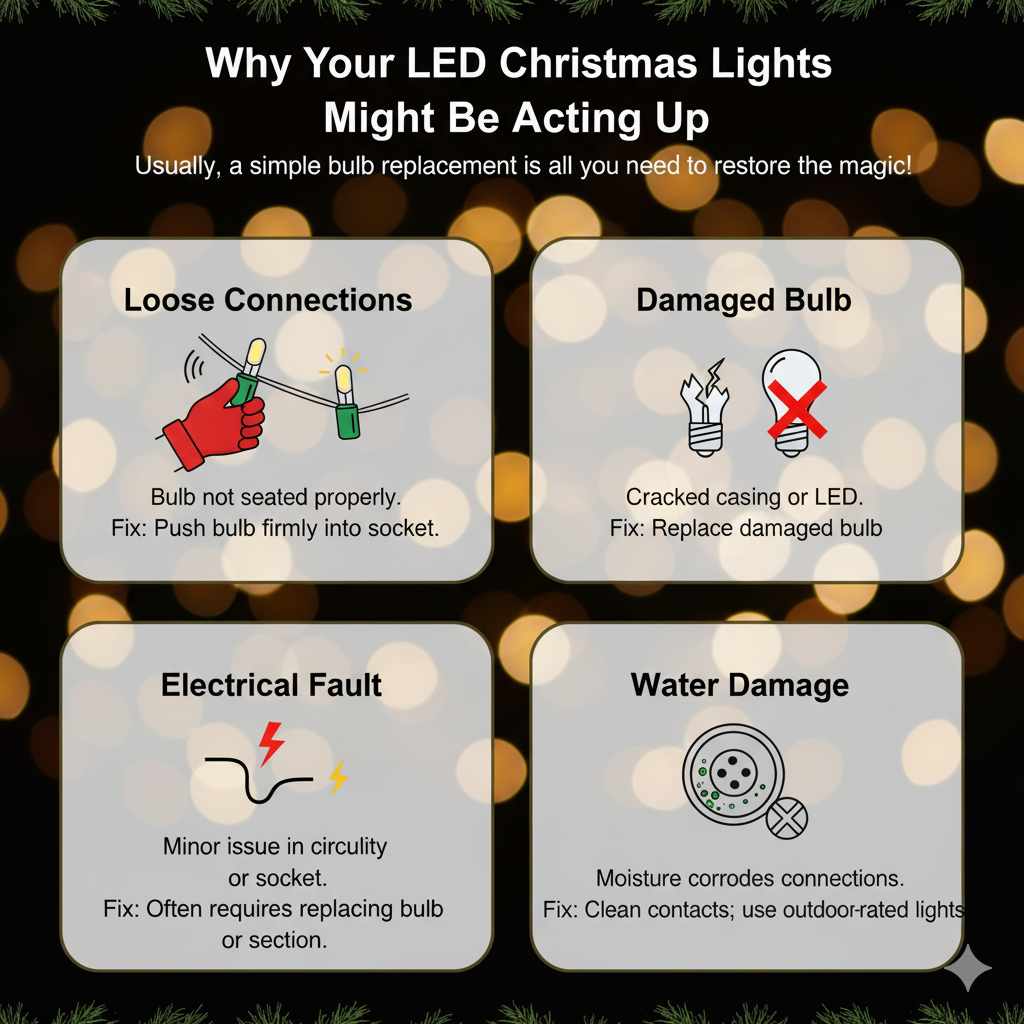
Why Your LED Christmas Lights Might Be Acting Up
Seeing a section of your beloved Christmas lights go dark can be a real mood-killer, especially when you’ve spent time carefully arranging them. Unlike older incandescent bulbs, which often burn out gradually or leave a faint glow, LED Christmas lights tend to be a bit more all-or-nothing. When an LED bulb fails, it usually means that specific light (and sometimes a whole section) will stop working entirely. This can happen for a few reasons:
- Loose Connections: Sometimes, the bulb might just not be seated properly in its socket. Vibrations or a slightly bumpy setup can cause this.
- Damaged Bulb: The LED itself, or the small plastic casing around it, could be cracked or damaged from storage or installation.
- Electrical Fault: While less common, there could be a minor issue within the bulb’s internal circuitry or the socket itself.
- Water Damage: If your outdoor lights have been exposed to moisture, it can corrode the connections and cause a bulb to fail.
The good news is that for most DIY homeowners, the fix is usually as simple as replacing a single bulb. It’s a small task that makes a big difference, restoring the magic of your holiday decorations without needing to replace the entire string. Let’s dive into how you can do it safely and effectively.
Essential Tools You’ll Need
When it comes to changing LED Christmas light bulbs, you generally don’t need a whole toolbox. The beauty of this task is its simplicity. However, having the right few items on hand will make the job much smoother and safer. Think of these as your trusty sidekicks for this little home improvement mission:
- Replacement LED Bulbs: This is the most crucial item! Make sure they are the exact same type and voltage as your existing bulbs. We’ll talk more about this in a bit.
- Pliers (Optional, but Recommended): Small needle-nose pliers can be incredibly helpful for gripping and gently pulling out stubborn bulbs.
- A Small Step Ladder or Stool: For safely reaching higher sections of your lights, whether indoors or outdoors. Always ensure it’s stable and on even ground.
- A Dry Cloth: To wipe away any dust or moisture from the socket before inserting a new bulb.
- A Bright Light Source (like a flashlight or headlamp): This is especially useful if you’re working in dim light or trying to spot a specific burnt-out bulb in a long string.
Remember, safety first! Always ensure the light string is unplugged before you start any tinkering. This simple step prevents any accidental shocks and keeps you safe while you work.
Step-by-Step Guide: How to Change an LED Christmas Light Bulb
Ready to bring back the sparkle? Follow these straightforward steps, and you’ll have your lights looking perfect in no time. It’s a process that requires a bit of care, but no special skills are needed. Let’s get started!
Step 1: Safety First – Unplug the Lights!
This is the absolute, non-negotiable first step. Before you even think about touching a bulb or a socket, locate the plug and disconnect it from the power source. Whether it’s an indoor outlet or an outdoor one, make sure the power is completely off. This protects you from any electrical risk and ensures you won’t accidentally get a shock. Double-check that the lights are indeed off and cool to the touch.
Step 2: Identify the Culprit Bulb
Now, you need to find the specific LED bulb that has gone out. Sometimes it’s obvious if there’s a dark spot in an otherwise lit string. If the entire string is out, you might have a different issue (like a blown fuse, which we can touch on later). For a single dead bulb:
- Visually Inspect: Look for any bulbs that are visibly cracked, discolored, or simply not lit while the others are.
- Test Each Bulb (If Necessary): If it’s not immediately clear, you might need to gently wiggle each bulb in its socket. Sometimes a loose connection is the only problem. If wiggling it makes it light up briefly, that’s your faulty bulb.
Step 3: Carefully Remove the Old Bulb
Once you’ve pinpointed the problematic bulb, it’s time to take it out. LED bulbs are often designed to be pulled straight out of their sockets. Here’s how:
- Grip Gently: Hold the plastic base of the bulb firmly but without squeezing too hard.
- Pull Straight Out: Gently pull the bulb straight up and out of the socket. Avoid wiggling it side-to-side too much, as this could damage the socket.
- Use Pliers (If Needed): If the bulb is stuck, use your needle-nose pliers to grip the plastic base and pull gently. Be careful not to crush the bulb or damage the wires.
Sometimes, LED bulbs have a small plastic tab that needs to be pressed or a specific way to twist, but most common types are designed for a simple pull. If you’re unsure, check the packaging the lights came in or look for a model number to search online.
Step 4: Prepare the Socket
Before inserting the new bulb, take a moment to inspect the socket. Make sure there’s no dust, debris, or moisture inside. If you see any, gently wipe it out with a dry cloth. A clean socket ensures a good connection for the new bulb. If you notice any corrosion or damage to the socket itself, this might indicate a larger problem with the string, and it might be safer to consider replacing the entire string.
Step 5: Insert the New LED Bulb
This is where your new, identical LED bulb comes into play. Alignment is key here:
- Match the Base: Ensure the base of the new LED bulb lines up perfectly with the socket.
- Push Firmly: Gently but firmly push the new bulb straight into the socket until it feels seated. You might feel a slight click or resistance as it locks into place.
- Check for Proper Fit: The bulb should sit snugly and straight. It shouldn’t be loose or tilted.
If the new bulb doesn’t seem to fit, don’t force it. Double-check that you have the correct replacement bulb. Trying to force the wrong bulb can damage the socket or the new bulb.
Step 6: Test the Lights
With the new bulb in place, it’s time for the moment of truth! Plug the light string back into the power source. If you’ve correctly identified and replaced the faulty bulb, the dark spot should now be illuminated, and the whole string should light up beautifully. If the new bulb still doesn’t light up, or if other lights now go out, don’t panic. It could mean:
- The new bulb is faulty (it happens!).
- The socket itself is damaged.
- There’s an issue further down the string that caused the original bulb to fail.
In these cases, you might need to repeat the process with another new bulb or consider that the entire light string might be nearing the end of its life. For more troubleshooting tips, you can check out resources from organizations like the U.S. Department of Energy on LED technology and lighting efficiency.
Choosing the Right Replacement LED Bulbs
This is super important! Not all LED bulbs are created equal, and using the wrong one can cause problems, from the new bulb not working to even damaging your light string. Think of it like using the right key for a lock – it just has to be the correct one. Here’s what to look for:
Key Factors to Consider:
- Voltage: This is the most critical factor. LED Christmas lights operate on specific voltages. You MUST replace a bulb with one of the exact same voltage. Using a higher voltage bulb can burn out the socket and other bulbs, while a lower voltage bulb might not light up or will be dimmer. Check the packaging or the wire of your light string for voltage information.
- Type of LED: There are different shapes and sizes of LED bulbs used in Christmas lights. Common types include mini-lights (small, cone-shaped) and large-lens bulbs. Ensure your replacement matches the original size and shape.
- Color: This might seem obvious, but make sure you get the same color! Replacing a warm white bulb with a cool white one will look out of place.
- Base Type: Most LED Christmas lights have a push-in base with two pins. Ensure your replacement bulb has the same base configuration.
- “Non-Replaceable” LEDs: Some cheaper light strings have LEDs that are permanently soldered into the circuit. These cannot be replaced individually. If one of these goes out, you typically have to replace the entire string. Always check your light set’s specifications.
Where to Find Replacement Bulbs
You can usually find replacement LED Christmas light bulbs at:
- Hardware stores
- Home improvement centers
- Online retailers (like Amazon, specialty lighting stores)
- Sometimes, the original manufacturer of your lights
It’s often a good idea to buy a small pack of replacement bulbs when you first buy your lights, just in case. This way, you have spares on hand before the holiday rush!
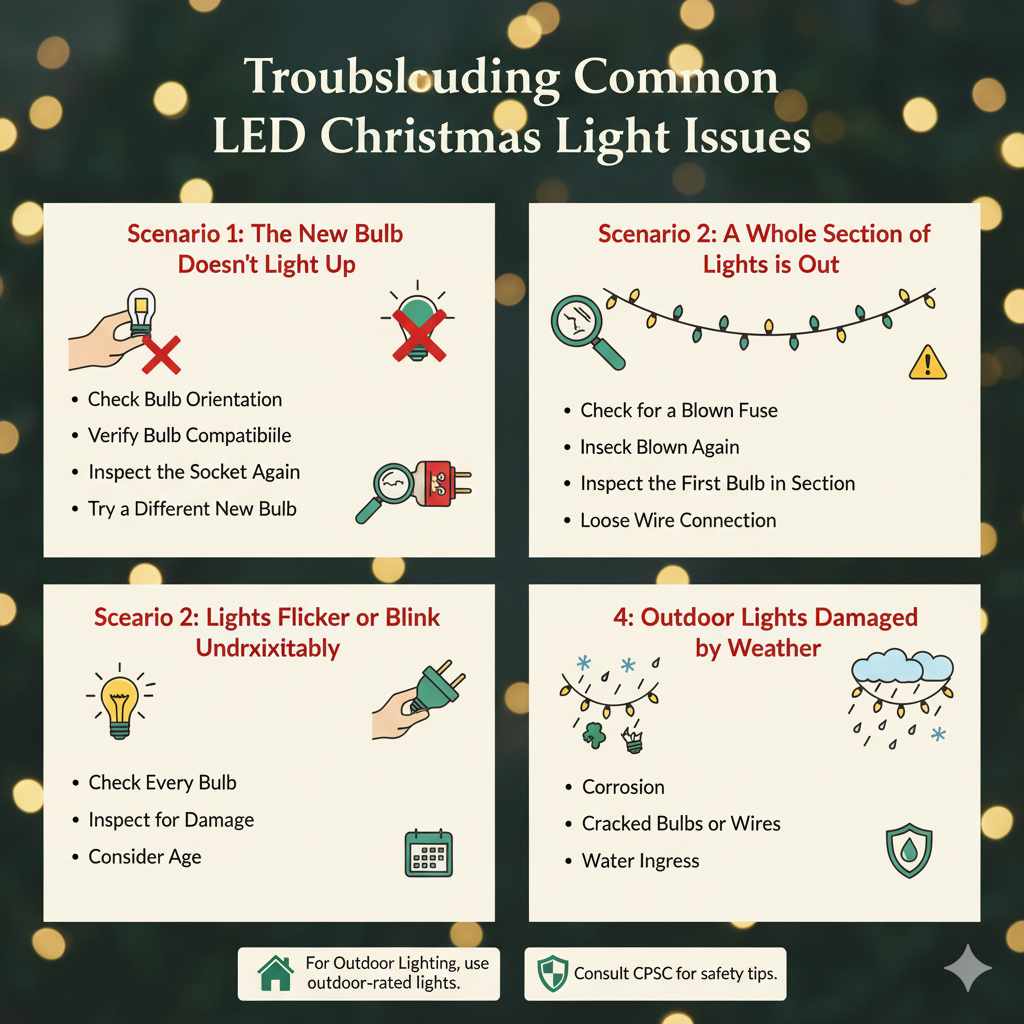
Troubleshooting Common LED Christmas Light Issues
Sometimes, changing a bulb doesn’t solve the problem, or you encounter other little quirks. Don’t fret! Most issues are fixable. Here are a few common scenarios and how to tackle them:
Scenario 1: The New Bulb Doesn’t Light Up
You’ve replaced the bulb, plugged it in, and… still dark. What now?
- Check Bulb Orientation: While most LED bulbs are not polarized (meaning they work no matter which way you insert them), some might be. Try removing the bulb and reinserting it, giving it a slight twist.
- Verify Bulb Compatibility: Are you absolutely sure it’s the correct voltage and type? Double-check the packaging.
- Inspect the Socket Again: Look closely at the metal contacts inside the socket. Are they bent, dirty, or corroded? Gently try to straighten bent contacts with a small tool or clean them with a dry cloth.
- Try a Different New Bulb: It’s possible the replacement bulb you just put in is also faulty. Try a third one if you have it.
Scenario 2: A Whole Section of Lights is Out
If an entire segment of your lights is dark, it usually points to a problem with the first bulb in that segment or a blown fuse. LED strings are often wired in series within segments.
- Check for a Blown Fuse: Many LED light strings have a small, replaceable fuse located in the plug. Open the plug housing (it usually has a small sliding door or compartment). If the fuse wire is broken, it needs to be replaced with one of the same amperage. You can find replacement fuses at hardware stores. Check out NFPA’s Electrical Safety Tips for general home electrical safety advice.
- Inspect the First Bulb in the Section: If there’s no blown fuse, the problem is likely with the very first bulb in the dark section. Carefully try replacing that bulb.
- Loose Wire Connection: In rare cases, a wire might have become loose where it connects to a socket or within the string itself. This is harder to fix and might require replacing the entire string if you can’t find the loose connection.
Scenario 3: Lights Flicker or Blink Unpredictably
Flickering lights can be annoying and might indicate a loose connection somewhere in the string or a failing bulb.
- Check Every Bulb: Go through the entire string and gently ensure each bulb is firmly seated in its socket.
- Inspect for Damage: Look for any signs of damage to the bulbs, sockets, or wiring.
- Consider Age: Older light strings, even LEDs, can sometimes develop internal issues. If flickering persists after checking all connections, the string might be at the end of its usable life.
Scenario 4: Outdoor Lights Damaged by Weather
Weather can be tough on outdoor decorations. If your lights have been exposed to rain, snow, or extreme temperatures, you might see:
- Corrosion: Look for green or white powdery residue inside sockets or on wires. This is corrosion and can prevent good electrical contact. Gently clean it off with a dry cloth or a small brush.
- Cracked Bulbs or Wires: Physical damage from ice, falling branches, or animals can occur. Replace any damaged bulbs or sections of wire immediately.
- Water Ingress: Ensure your light strings are rated for outdoor use and that all connections are sealed as much as possible.
For outdoor lighting, always opt for lights specifically designed and rated for exterior use. The Consumer Product Safety Commission (CPSC) also offers valuable holiday decoration safety advice.
Comparing LED vs. Incandescent Christmas Light Bulbs
It’s helpful to understand why we’re dealing with LEDs and how they differ from the older incandescent bulbs. This knowledge can help you appreciate the benefits and understand potential issues.
| Feature | LED Christmas Lights | Incandescent Christmas Lights |
|---|---|---|
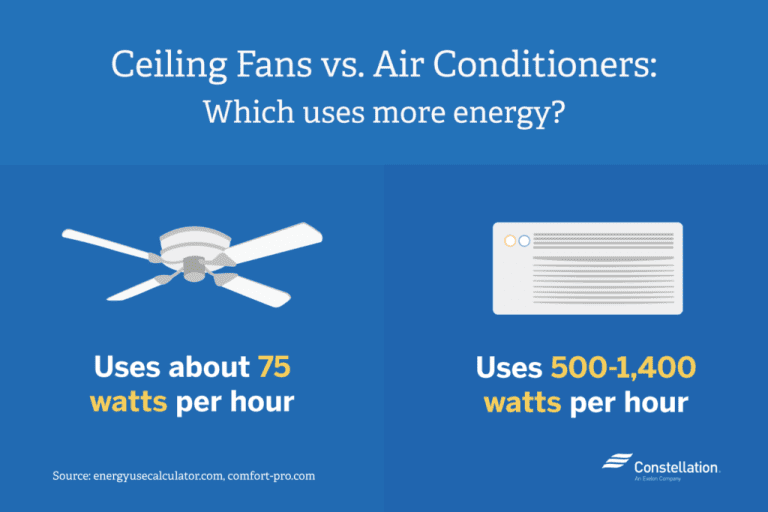
| Energy Efficiency | Extremely energy efficient; use up to 80% less energy. | Consume more energy, generate significant heat. |
| Lifespan | Very long lifespan (25,000+ hours is common). | Much shorter lifespan (around 1,000-2,000 hours). |
| Heat Production | Produce very little heat, making them cooler and safer to touch. | Get very hot, posing a fire risk and burn hazard. |
| Durability | More durable, often made of plastic, resistant to breakage. | Made of glass, prone to shattering if dropped. |
| Cost | Higher upfront cost, but much cheaper to run and maintain over time. | Lower upfront cost, but higher electricity bills and frequent replacements. |
| Failure Mode | Tend to fail by dimming gradually or going out completely. Individual bulb replacement is common. | Tend to burn out suddenly. If one bulb burns out, others in the same series can go out too. |
| Environmental Impact | Lower energy consumption and longer lifespan reduce waste. | Higher energy use and shorter lifespan contribute to more waste and resource consumption. |
As you can see, LEDs offer significant advantages in terms of cost savings, safety, and longevity. While the initial investment might be higher, they truly pay off in the long run. This is why understanding how to maintain them, like changing a bulb, is so worthwhile!
Frequently Asked Questions (FAQ)
Q1: How do I know if my LED Christmas light bulb is burnt out?
A: Look for a bulb that is dark while the rest of the string is lit. Sometimes, the plastic casing might appear discolored or cracked. If the whole string is out, check the fuse first, then look for a visibly damaged bulb in the first section.
Q2: Can I replace an LED Christmas light bulb with a regular incandescent bulb?
A: No, absolutely not. They operate on different electrical principles and voltages. Using an incandescent bulb in an LED socket can damage the socket, other bulbs, or even cause a fire. Always use an LED replacement bulb specifically designed for your light string.
Q3: My LED string lights are completely out. What should I do?
A: First, check the fuse in the plug. Most LED strings have a small fuse compartment. If the fuse is blown, replace it with one of the exact same amperage. If the fuse is fine, check the first bulb in the string or the connection point where the string plugs into the power source.
Q4: How many LED bulbs can I replace before I need to worry about the whole string?
A: For most standard LED Christmas light strings, replacing one or a few bulbs is perfectly fine. If you find yourself replacing many bulbs on a single string, it might indicate that the string is old and its components are starting to fail. At that point, it might be more cost-effective and safer to invest in a new string.
Q5: What if the replacement LED bulb I bought doesn’t fit?
A: Don’t force it! This usually means the bulb base or size is incorrect. Double-check the type of bulb your original string uses. You need to match the base shape and size precisely. Refer to your light string’s packaging or manufacturer’s website if possible.
Q6: Are LED Christmas lights safe to touch when they are on?
A: Yes, one of the major advantages of LED lights is that they produce very little heat. They remain cool to the touch, making them much safer than incandescent bulbs, especially for indoor decorations or if children or pets might come into contact with them.
Conclusion: Keep Your Holidays Bright and Worry-Free
There you have it! Changing an LED Christmas light bulb is a simple, achievable DIY task that can save your festive display and your peace of mind. By following these steps – always prioritizing safety by unplugging the lights first, correctly identifying the faulty bulb, and using the right replacement – you can easily keep your decorations looking their best.
Remember the key takeaways: always unplug, use identical replacement bulbs (same voltage and type!), and handle everything gently. Don’t be afraid to get your hands a little festive. Even if you encounter a small hiccup, like a stubborn bulb or a blown fuse, you now have the knowledge to troubleshoot and fix it. These little fixes are what make home improvement so rewarding – you’re not just fixing lights; you’re building confidence and mastering your own space.
So, go ahead and tackle that dark spot in your lights. With these simple instructions, you’re well-equipped to ensure your home shines brightly throughout the holiday season and beyond. Happy decorating, and enjoy the warm, festive glow you’ve helped create!