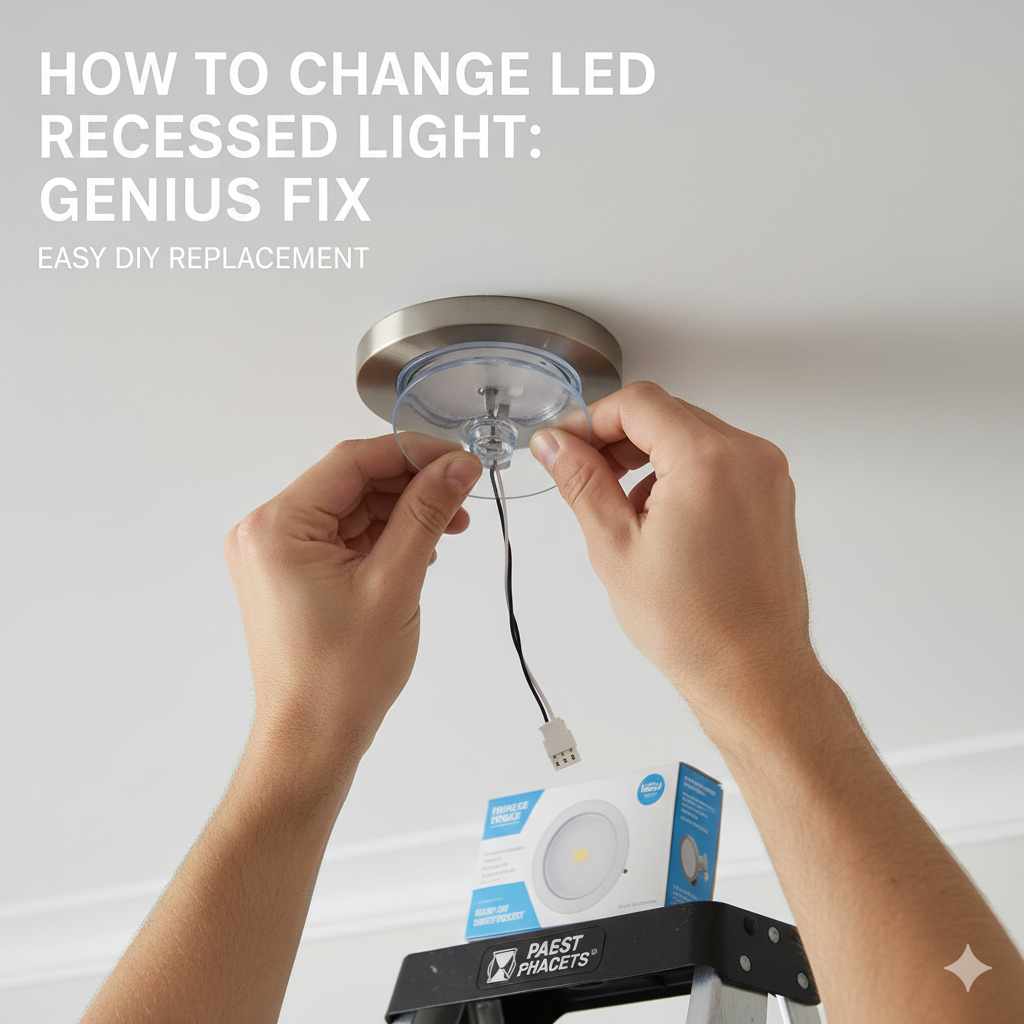
How To Change LED Recessed Light: Genius Fix
Quick Summary:
Changing an LED recessed light is a straightforward DIY fix! You’ll need basic tools and a few simple steps to replace a faulty fixture safely and efficiently. This guide breaks down the process, making it easy for anyone to get their lighting back in working order without calling a pro.
Hello there, DIY enthusiasts! Md Meraj here. Are you staring up at a dark spot where a light used to be? A burnt-out LED recessed light can be a real bummer, especially when you’re used to that bright, even illumination. It might seem a bit daunting to tackle electrical fixtures, but trust me, changing out an LED recessed light is a totally achievable project for most homeowners. With a little patience and the right guidance, you’ll have your lighting back in no time. This guide is designed to walk you through every step, making sure you feel confident and safe as you go.
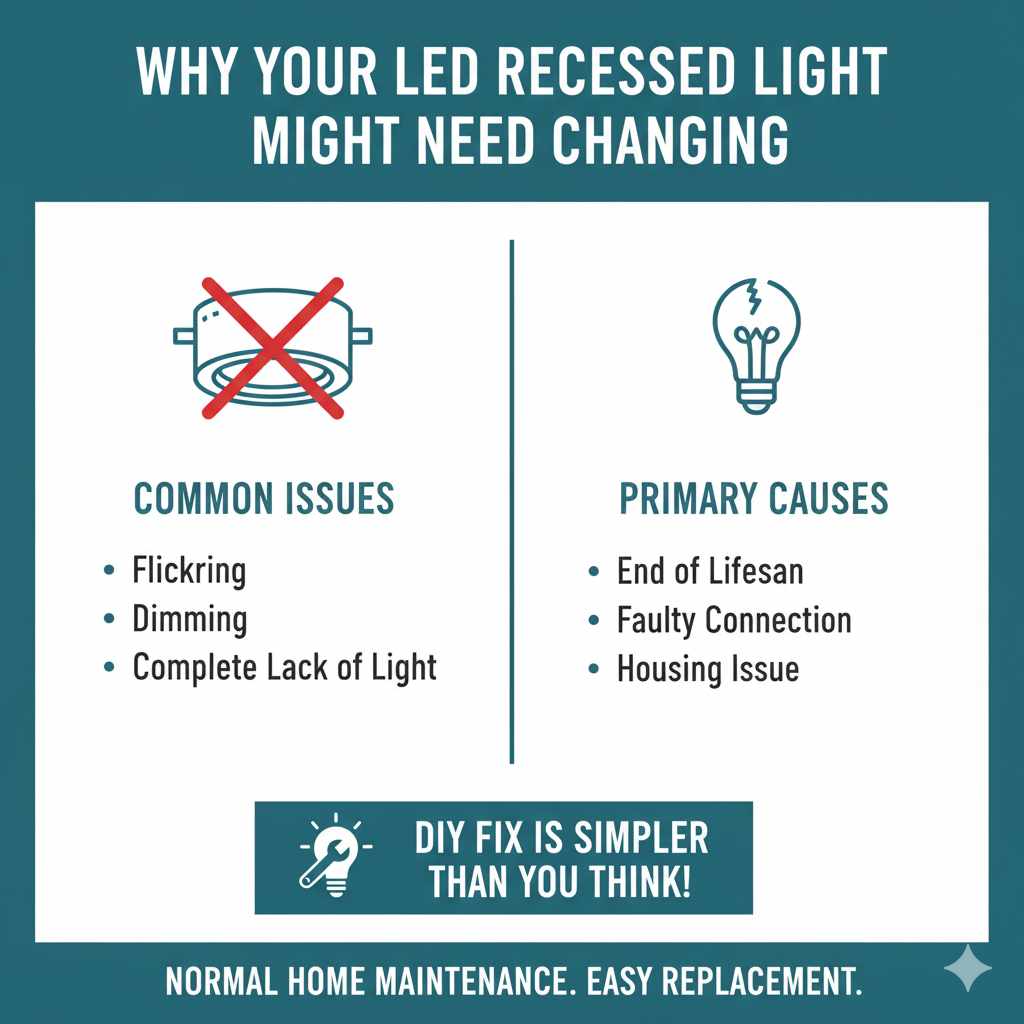
Why Your LED Recessed Light Might Need Changing
LED recessed lights are fantastic – they’re energy-efficient, long-lasting, and provide great light quality. However, like any electrical component, they can eventually fail. The most common reason for a change is simply the end of its lifespan, though sometimes a faulty connection or an issue with the housing can be the culprit. You might notice flickering, dimming, or a complete lack of light. Don’t worry if this happens; it’s a normal part of home maintenance, and replacing one is often a much simpler fix than you might imagine.
Gathering Your Tools and Materials: What You’ll Need
Before we dive into the actual replacement, let’s make sure you have everything ready. Having your tools at the outset will make the process smooth and prevent you from having to stop mid-task. Safety first, always!
Essential Tools for the Job
- Safety Glasses: Protect your eyes from dust and debris.
- Ladder: A sturdy, stable ladder is crucial for reaching the ceiling safely.
- Screwdriver Set: You’ll likely need a Phillips head and possibly a flathead screwdriver.
- Wire Strippers/Cutters: For preparing wires if you’re not using a plug-and-play connector.
- Voltage Tester (Non-Contact is Easiest): This is your most important safety tool. It confirms the power is OFF.
- Pliers: Useful for gripping and manipulating wires.
- Gloves: Optional, but can help with grip and keep your hands clean.
Your New LED Recessed Light Fixture
This is the star of the show! When you buy a replacement, make sure it’s compatible with your existing housing. Many newer LED fixtures are “integrated,” meaning the LED is built into the trim and can’t be removed separately like old incandescent bulbs. Others are “retrofit” or “remodel” kits designed to fit into existing recessed housings. Check the size (usually 4-inch, 6-inch) and the type of connection.
Pro Tip: If you’re unsure about compatibility, take a picture of your old fixture and its connection to the store or look for labels on the existing housing. For more information on choosing the right fixture, you can check out resources like the U.S. Department of Energy’s Energy Saver website, which offers great insights into energy-efficient lighting options.
Safety First! Turning Off the Power
This is the absolute, non-negotiable first step. Working with electricity can be dangerous if you’re not careful. We need to make sure the power to the light you’re working on is completely off.
- Locate Your Electrical Panel: This is usually in a basement, garage, or utility closet.
- Identify the Correct Circuit Breaker: Look for a breaker labeled for the room or the specific lights. If it’s not clearly labeled, you might need to do a little detective work. You can turn off breakers one by one and check if the light goes out.
- Flip the Breaker to the “OFF” Position: Make sure it’s firmly in the off position.
- Test the Light: Go back to the light fixture and try to turn it on using the light switch. It should not come on.
- Use Your Voltage Tester: This is your final safety check. Carefully bring the tip of your non-contact voltage tester near the wires inside the fixture once you access it. If it lights up or beeps, the power is still on, and you need to go back to the breaker box and find the correct breaker. Never proceed if the tester indicates voltage.
Understanding Circuit Breakers: A circuit breaker is a safety device that protects your home’s electrical wiring from damage caused by overloads or short circuits. When a problem occurs, the breaker “trips,” cutting off the power to that circuit. For a deeper understanding of how they work, you might find the Consumer Product Safety Commission’s guidance helpful.
Step-by-Step Guide: How to Change Your LED Recessed Light
Now that we’ve secured the power, let’s get to the actual replacement. We’ll cover two common types of LED recessed lights: integrated fixtures and retrofit kits.
Part 1: Removing the Old LED Recessed Light
This part might vary slightly depending on the design of your fixture, but the general principles are the same.
-
Access the Fixture:
- For Integrated LED Fixtures: These often have a trim that simply pulls down. Some might have spring clips holding them in place. Gently pull down on the trim. If it resists, look for small metal clips on the sides. You may need to carefully push these clips upwards towards the ceiling to release the trim.
- For Retrofit Kits: These usually have a separate trim and bulb. You’ll typically unscrew the bulb first, and then the trim might pull down or have screws to remove.
-
Disconnect the Wiring:
- Once the trim is down or removed, you’ll see the internal housing and the wiring.
- Integrated LED: You’ll likely find a small junction box attached to the fixture. Open this box (it usually has a cover you can pry off or unscrew). Inside, you’ll see wires connected with wire nuts.
- Retrofit Kit: You’ll see the bulb socket. If you’re replacing the entire housing, you’ll still need to access the wiring connected to the housing itself, usually in a junction box.
-
Remove Wire Nuts:
- Gently twist the wire nuts counter-clockwise to remove them.
- Carefully pull the wires apart.
-
Release the Fixture from the Housing:
- Integrated LED: The entire LED fixture (including the trim) is usually one unit. It might be held in by screws in the junction box, or it might just hang by the wires until you’re ready to pull it out. Sometimes, there are clips holding the entire fixture to the ceiling frame. You might need to gently push or bend these to free it.
- Retrofit Kit: If you’re just replacing the bulb and trim, you’re done with removal for this step. If you’re replacing the entire recessed housing (the metal can in the ceiling), this is where you’d detach it. This often involves releasing clips or screws that hold the metal can to the ceiling joists.
- Lower the Fixture: Once all connections are undone and any retaining clips are released, carefully lower the old fixture. Be mindful of its weight and any attached wires.
Part 2: Installing the New LED Recessed Light
Now for the exciting part – putting in your new, bright light!
-
Prepare the New Fixture:
- Unpack your new LED fixture.
- If it’s an integrated unit, you’ll see the attached trim and LED.
- Locate the junction box on the new fixture.
-
Connect the Wires: This is where you’ll match up the wires from your ceiling with the wires on the new fixture. Standard wiring usually involves:
Black wire (hot) from the ceiling connects to the black wire on the new fixture.
White wire (neutral) from the ceiling connects to the white wire on the new fixture.
Green or bare copper wire (ground) from the ceiling connects to the green or bare copper wire on the new fixture.Important Note: Always match colors. If your new fixture has different colored wires, refer to its specific installation instructions. If you’re ever unsure, it’s best to consult a qualified electrician.
-
Secure Wire Connections:
- Place a wire nut securely over the joined ends of each pair of wires (e.g., black to black).
- Twist the wire nut clockwise until it’s snug. Give each wire a gentle tug to ensure it’s secure.
- Tuck the connected wires neatly back into the junction box.
- Close the junction box cover.
-
Install the New Fixture:
- Carefully push the new fixture up into the ceiling opening.
- Integrated LED: Most integrated fixtures have spring clips. You’ll need to push the fixture up until these clips engage with the inside of the recessed housing or the ceiling structure, holding the fixture firmly in place. Some may have screws to secure the junction box or the fixture itself.
- Retrofit Kit: If you replaced the housing, ensure it’s secured to the joists as per its instructions. Then, you’ll attach the trim and bulb according to its specific design.
-
Install the Trim (if separate):
- For integrated units, the trim is usually part of the fixture you just pushed up.
- For retrofit kits, you’ll attach the trim to the bulb socket or the housing. This might involve screwing it in or simply pushing it up until it snaps into place.
-
Final Test:
- Turn the light switch ON.
- Go back to your electrical panel and flip the circuit breaker back to the “ON” position.
- The new LED light should illuminate!
Understanding Wire Connectors: Wire nuts are a common and safe way to join electrical wires. They are essentially plastic caps with a metal coil inside that grips the wires together. For more details on electrical safety and connectors, the National Fire Protection Association (NFPA) offers valuable resources.
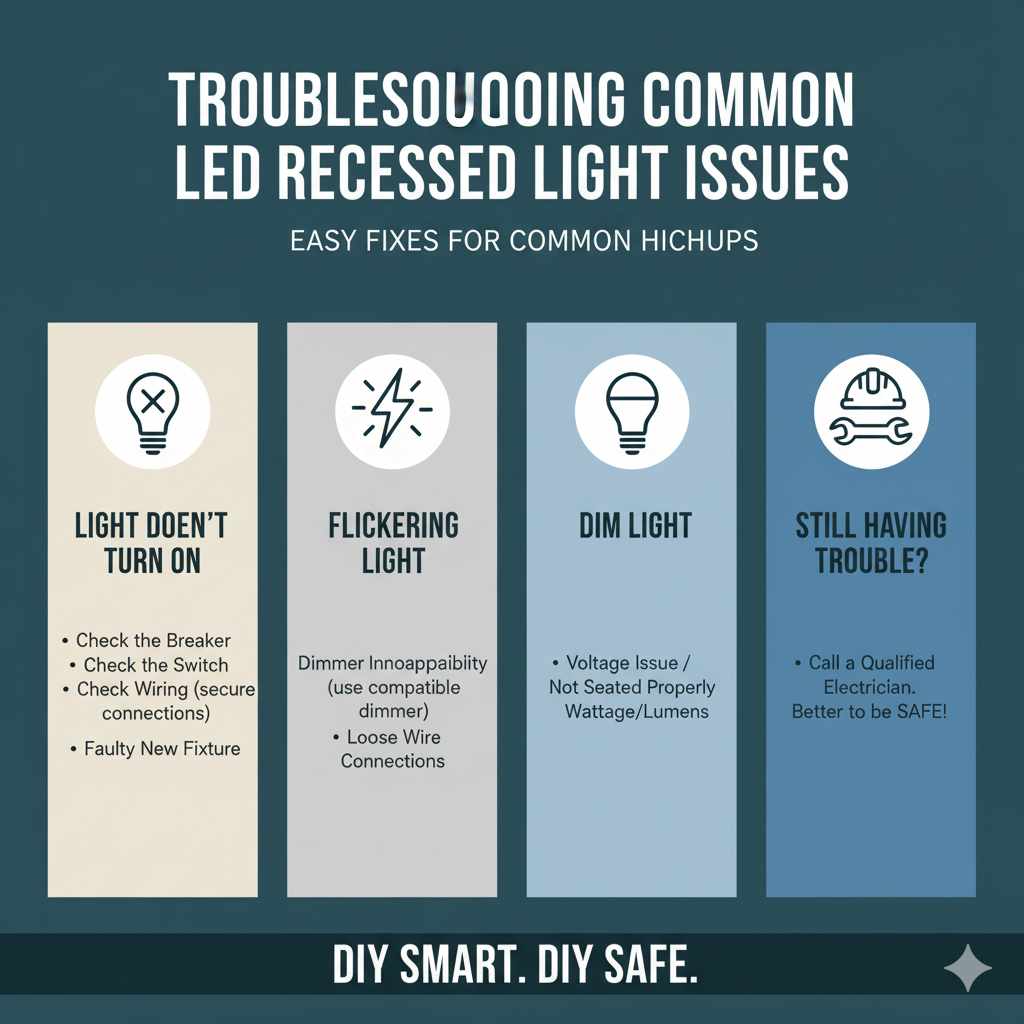
Troubleshooting Common Issues
Even with the best intentions, sometimes things don’t go perfectly. Here are a few common hiccups and how to fix them:
-
Light Doesn’t Turn On:
- Check the Breaker: Did you flip it back on? Is it tripped again?
- Check the Switch: Is the wall switch in the “ON” position?
- Check Wiring: Double-check your wire connections. Are they secure? Are the colors matched correctly? Did you accidentally loosen one while installing the fixture?
- Faulty New Fixture: Although rare, new fixtures can sometimes be defective.
-
Flickering Light:
- This can sometimes happen with dimmer switches if the new LED isn’t compatible with the dimmer. Ensure you have a compatible dimmer or replace it with a standard switch.
- Loose wire connections can also cause flickering.
-
Dim Light:
- This is less common with LEDs unless there’s a voltage issue or the fixture isn’t fully seated, affecting its performance.
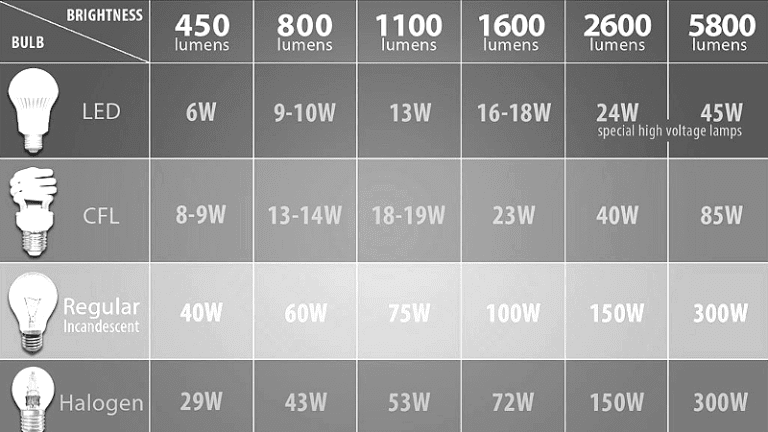
- Ensure you have the correct wattage/lumens for your needs.
If you’ve tried these steps and are still having trouble, don’t hesitate to call a qualified electrician. It’s better to be safe!
Integrated vs. Retrofit LED Recessed Lights: What’s the Difference?
It’s helpful to know what you’re working with. Recessed lighting has evolved, and understanding the types can make your DIY project much smoother.
| Feature | Integrated LED Recessed Light | Retrofit LED Kit |
|---|---|---|
| What it is | The LED light source and trim are a single, sealed unit. The LED is not replaceable. | A separate LED bulb and trim designed to fit into an existing “can” or housing in the ceiling. |
| Installation | Replaces the entire fixture, including the trim. Connects directly to the junction box. | Replaces an old incandescent bulb and trim. The existing “can” housing stays in place. |
| Lifespan | LEDs are long-lasting. When the LED eventually fails, the entire fixture must be replaced. | LEDs are long-lasting. The LED bulb can be replaced if it fails, but the trim is usually part of the bulb assembly. |
| Pros | Sleeker design, often better energy efficiency, easier installation for complete fixture replacement. | Can update older fixtures without replacing the entire housing, often more affordable to replace just the bulb/trim. |
| Cons | Entire fixture must be replaced if the LED fails. | May not offer the same seamless look as integrated units. |
| Best For | New installations or when replacing old, non-LED recessed fixtures entirely. | Upgrading older recessed light housings to LED technology. |
FAQ: Your Burning Questions Answered
Q1: How long should an LED recessed light last?
A: LED recessed lights are designed to be very long-lasting, often rated for 25,000 to 50,000 hours of use. This can translate to 15-25 years or more, depending on how many hours a day they are used.
Q2: Can I replace just the LED bulb in my recessed light?
A: If you have a “retrofit” or “remodel” LED kit, you can typically replace the LED bulb and trim assembly. However, if you have an “integrated” LED fixture (where the LED is built into the trim), you cannot replace just the bulb; you must replace the entire fixture.
Q3: Do I need a special dimmer switch for LED recessed lights?
A: Yes, most LED lights require LED-compatible dimmer switches. Standard incandescent dimmers can cause LEDs to flicker, hum, or not dim properly. Always check the fixture’s specifications and purchase a dimmer rated for LED use.
Q4: What if my new LED light is a different color temperature than my old one?
A: Color temperature (measured in Kelvin, K) affects the “warmth” or “coolness” of the light. For example, 2700K is warm, like an old incandescent bulb, while 5000K is very cool and bright. If you want a consistent look, try to match the Kelvin rating of your old light or choose a fixture with adjustable color temperature settings.
Q5: Is it safe to replace recessed lighting myself?
A: Yes, it is generally safe for homeowners to replace LED recessed lights, provided you follow crucial safety steps, especially turning off the power at the circuit breaker and verifying it’s off with a voltage tester. If you are uncomfortable with electrical work, it’s always best to hire a qualified electrician.
Q6: What’s the difference between a “recessed light” and a “can light”?
A: These terms are often used interchangeably. A “recessed light” is the general category of lighting fixture installed into a ceiling or wall cavity. The “can” refers to the metal housing that holds the light bulb and electrical components within the ceiling space. So, a can light is a type of recessed light.
Conclusion
And there you have it! You’ve successfully navigated the process of changing out an LED recessed light. I hope this guide has shown you that with clear steps and a focus on safety, DIY electrical projects like this are well within your reach. You’ve saved yourself some money and gained valuable skills. Remember, the key is preparation, taking your time, and always prioritizing safety by ensuring the power is off. Now, go enjoy the brilliant, efficient light from your newly installed fixture. If you tackled this project, you should feel a real sense of accomplishment!