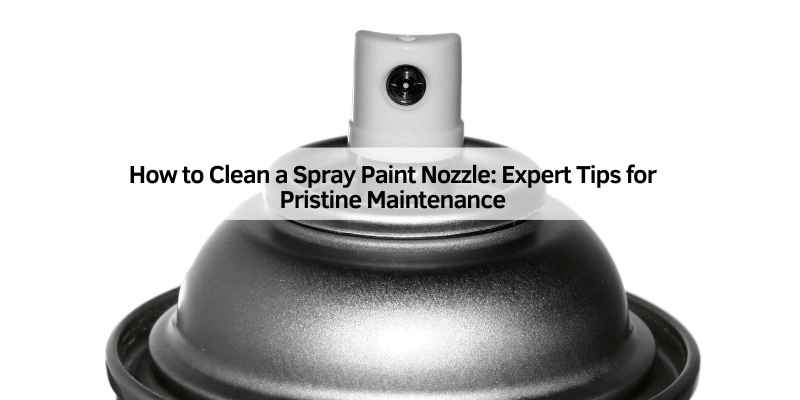
How to Clean a Spray Paint Nozzle: Expert Tips for Pristine Maintenance
How to Clean a Spray Paint Nozzle: Expert Tips for Pristine Maintenance
Clogged spray paint nozzles are the bane of any DIY enthusiast or professional painter’s existence. That frustrating moment when you press the actuator, expecting a smooth, even coat, only to be met with sputtering, irregular spray patterns, or worse, nothing at all, can bring projects to a grinding halt. Fortunately, with a few simple techniques and the right approach, you can easily clean spray paint nozzle blockages and ensure your spray cans are always ready for action. Proper maintenance isn’t just about convenience; it’s about maximizing the lifespan of your spray paint and achieving professional-quality results every time.
Understanding Why Nozzles Clog
Before diving into the cleaning process, it’s helpful to understand why spray paint nozzles become clogged in the first place. The primary culprit is dried paint. When paint is exposed to air, it begins to cure and harden. If paint is left to dry within the nozzle after use, it can form a solid blockage that prevents the aerosolized paint from escaping. This can happen for several reasons:
Improper Storage: Not inverting the can after use is the most common cause of nozzle clogging.
Incomplete Cleaning: Failing to properly clean the nozzle after a painting session.
Long Periods of Disuse: Even with proper storage, very old cans might develop slight blockages over time.
Environmental Factors: Extreme temperatures or humidity can sometimes affect paint viscosity and drying times, potentially contributing to clogs.
The good news is that most clogs are easily preventable and, when they do occur, are often reversible.
The Importance of a Clean Spray Paint Nozzle
A clean spray paint nozzle is crucial for several reasons:
Consistent Spray Pattern: A clean nozzle delivers a uniform mist, resulting in smooth, even coverage without drips, splatters, or uneven patches. This is essential for a professional finish, whether you’re touching up furniture, painting automotive parts, or creating artistic designs.
Paint Efficiency: When a nozzle is clogged, you waste paint. You might be tempted to press harder or spray from closer distances, which can lead to thicker, less economical application. A clean nozzle ensures you get the most out of every can.
Extended Can Lifespan: By preventing clogs and ensuring proper function, you extend the usability of your spray paint cans. A can that’s been rendered useless by a stubborn clog is essentially a waste of money.
Project Quality: Ultimately, the quality of your finished project is directly impacted by the tools you use. A well-maintained spray can with a clean spray paint nozzle contributes significantly to a superior outcome.
How to Clean a Spray Paint Nozzle: Step-by-Step
There are two primary methods for cleaning a spray paint nozzle: the inversion method (preventative) and the deep clean method (corrective).
Method 1: The Inversion Method (Preventative Maintenance)
This is the most crucial step to prevent clogs and should be done every time you finish using a spray paint can.
1. Turn the Can Upside Down: After you’ve finished painting, turn the spray can completely upside down.
2. Spray for a Few Seconds: Press the actuator (the spray button) firmly. You’ll notice that instead of paint, a clear propellant will spray out. Continue spraying until only clear propellant comes out, and no more paint is expelled. This process clears any residual paint from the nozzle and the dip tube.
3. Release the Actuator: Once only propellant is spraying, release the actuator.
This simple step takes mere seconds but is incredibly effective at preventing dried paint from hardening in the nozzle and tube, ensuring your can is ready for its next use.
Method 2: Deep Cleaning a Clogged Spray Paint Nozzle
If you’ve skipped the inversion step or encountered a particularly stubborn clog, a deep clean is necessary.
Materials You’ll Need:
A can of spray paint with a clogged nozzle
A small bowl or container
A stiff wire (paperclip, thin wire from a craft store, or a specialized nozzle cleaning tool)
A solvent compatible with the paint (e.g., lacquer thinner, acetone, mineral spirits – check the paint can for recommendations)
Gloves and eye protection (for safety)
Paper towels or a clean cloth
Steps for Deep Cleaning:
1. Remove the Nozzle: Carefully pry the spray nozzle off the can. You can usually do this by gently wiggling it and pulling upwards. Be cautious not to damage the valve stem.
2. Soak the Nozzle: Place the removed nozzle into your small bowl. Pour enough of the appropriate solvent over it to completely submerge the nozzle.
3. Let it Soak: Allow the nozzle to soak in the solvent for at least 15-30 minutes. For very stubborn clogs, you might need to soak it for a few hours or even overnight.
4. Use the Wire: After soaking, take your stiff wire and carefully insert it into the nozzle’s opening. Gently push and twist the wire to dislodge any remaining dried paint particles. Be careful not to force it, as you could damage the delicate internal components of the nozzle. You may need to repeat the soaking and poking process.
5. Clean the Dip Tube (Optional but Recommended): If the clog is severe, paint may also be lodged in the dip tube. You can try to flush this out by briefly reattaching the nozzle (or a spare nozzle) and spraying a small amount of solvent through the can (if the can still has propellant). Alternatively, you can try to clean the dip tube by inserting the wire directly into the tube opening at the top of the can.
6. Rinse and Dry: Once you believe the nozzle is clear, rinse it thoroughly with clean water (if using water-based paint) or more solvent. Ensure all residual paint and solvent are removed. Allow the nozzle to air dry completely.
7. Reattach and Test: Carefully reattach the clean, dry nozzle to the spray paint can. Turn the can upside down and spray for a few seconds to expel any remaining solvent or water, ensuring you get a clean propellant spray. Then, try spraying normally to test the flow.
Troubleshooting Persistent Clogs
If the deep cleaning method doesn’t fully resolve the issue, consider these points:
Paint Type: Different paints require different solvents. Lacquer-based paints often respond best to lacquer thinner or acetone, while oil-based paints might need mineral spirits. Always check the paint can’s label for recommended cleaning agents.
Nozzle Damage: In rare cases, the nozzle itself might be internally damaged or corroded, making it impossible to clear. If you’ve tried multiple cleaning attempts without success, it might be time to replace the nozzle. Many hardware stores and craft shops sell universal replacement spray nozzles.
* Can Issues: If the can itself seems to have lost pressure or the valve is faulty, cleaning the nozzle won’t help.
Preventative Maintenance is Key
The best way to deal with a clogged spray paint nozzle is to prevent it from happening in the first place. Making the inversion method a non-negotiable part of your painting routine will save you time, frustration, and money in the long run. A quick flip and spray after each use ensures that your spray paint cans remain in optimal condition, ready to deliver that perfect finish whenever you need them.
By understanding why nozzles clog and implementing these simple cleaning and maintenance tips, you can ensure that your spray paint projects are always a success. Maintaining a clean spray paint nozzle is a small effort that yields significant rewards in terms of paint quality and efficiency. Happy painting!

