How to Paint Black Lacquer on Wood: Primer and Thin Coats
Sand the wood with fine-grit sandpaper, apply an oil-based primer, then paint thin, even coats of black lacquer for a smooth, high-gloss finish. Skipping the sanding or priming step leads to drips, poor adhesion, and a finish that chips instead of a durable, glossy shell. This guide covers materials, wood prep, and applying primer and lacquer layers.
Choosing The Right Materials
Our Pick: Best Black Lacquer
 |
Rust-Oleum Lacquer Black Spray Paint – $6.96 The thin, even coats this guide recommends are easiest to control straight from a spray can for a high-gloss finish. Check on Amazon |
More Prep Essentials
 Zinsser Cover-Stain Oil-Base Primer – $7.97 The oil-based primer this guide says works best under lacquer, creating a smooth, sandable base coat. Check on Amazon |
 Fine-Grit Sandpaper Assortment – $8.99 Multiple grits for the first sanding pass and the light sanding this guide calls for between coats. Check on Amazon |
 Tack Cloth, 6-Pack – $7.99 Wipes away sanding dust before priming, exactly the step this guide’s wood-prep section describes. Check on Amazon |
Selecting the right materials ensures a smooth black lacquer finish on wood. High-quality sandpaper and primer are essential for preparation. Use a fine-bristle brush or spray gun for even application.
Types Of Wood
Softwoods like pine and cedar are good for beginners. Hardwoods like oak and maple provide a smoother finish. Ensure the wood surface is clean and dry. Sand the wood to remove rough spots. Use a tack cloth to pick up dust. Proper preparation helps the paint stick well.
Best Paint Brands
Popular brands include Rust-Oleum and Minwax. Rust-Oleum offers durable and glossy finishes. Minwax provides a rich black color. Both brands are easy to apply and long-lasting. Choose a brand known for quality and durability.
Preparing The Wood Surface
Start by wiping down the wood with a damp cloth. Remove dust and dirt. Mild soap and water can help with stubborn grime. Dry the surface with a clean towel. Ensure no moisture remains on the wood. This step is crucial for a smooth finish.
Use a fine-grit sandpaper to sand the wood. Sand in the direction of the wood grain. This helps to avoid scratches. Wipe away dust with a tack cloth. Sanding creates a smooth surface for the lacquer. Repeat if necessary for perfect results.
Applying Primer
Select a high-quality primer. Choose one that is compatible with lacquer. This will help the lacquer stick well. Oil-based primers are often best for this. They create a smooth surface. Make sure the primer is also sandable.
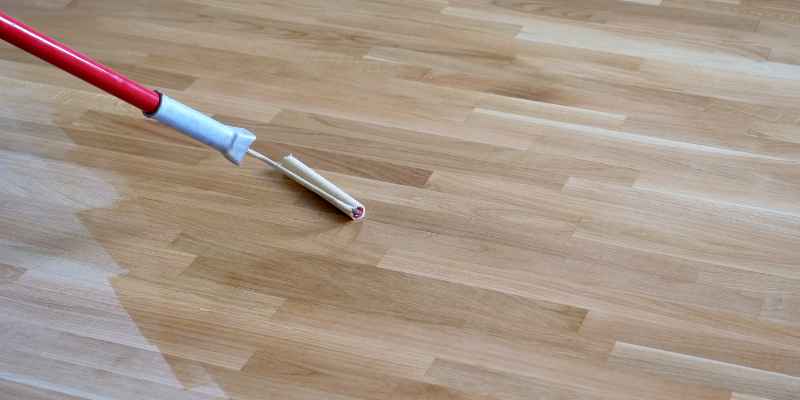
Use a brush or spray to apply the primer. Brushes are good for small areas. Sprays work best for larger surfaces. Apply the primer in thin, even coats. Let each coat dry completely before adding another. Sand lightly between coats for a smooth finish.
Painting Techniques
Discover the secrets to applying black lacquer on wood for a sleek, professional finish. Achieve smooth, even coverage by sanding the surface and using thin coats of lacquer. Enhance your wood projects with a flawless, glossy appearance using these expert techniques.
Brush Vs. Spray
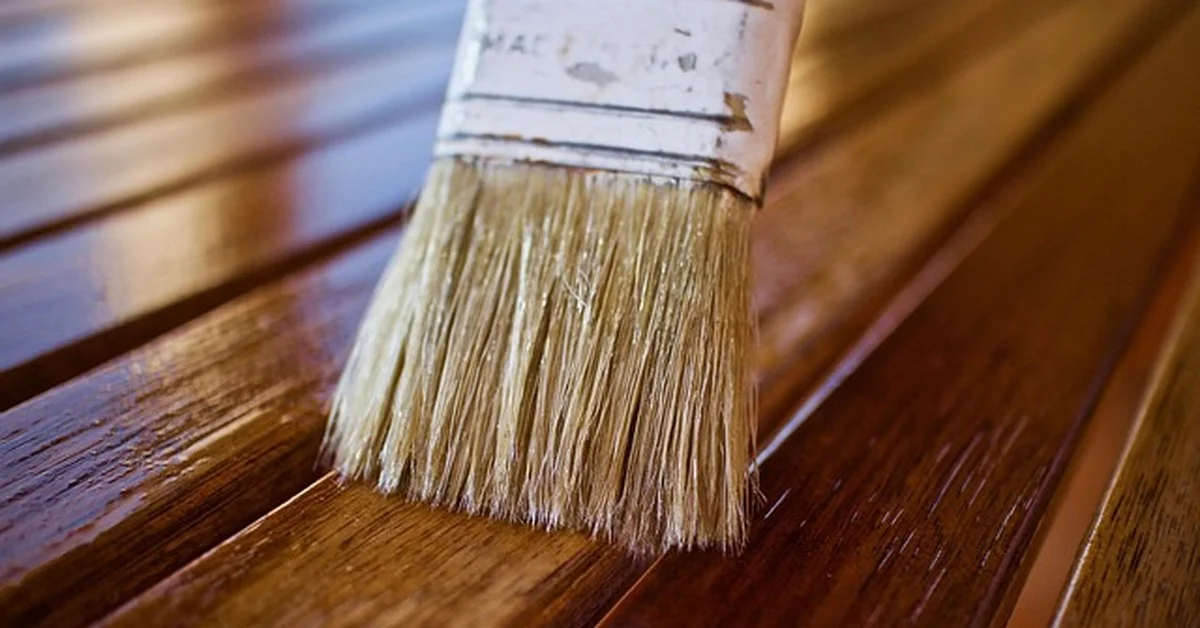
Brush painting gives more control over the paint application. It is good for small areas. You need to use smooth, even strokes. This helps to avoid brush marks. Spray painting covers large areas quickly and evenly. It produces a smooth finish. Spraying is ideal for detailed surfaces. Choosing the right method depends on the project size and detail.
Layering For Depth
Layering the lacquer adds depth and richness to the wood. Start with a thin coat. Let it dry completely. Add additional layers for a deeper finish. Sanding lightly between coats helps the layers bond better. This makes the finish smooth and durable. Always use fine-grit sandpaper for this step.
Drying And Curing
Keep the room temperature between 70°F and 75°F. Make sure the humidity is low. Ensure good ventilation in the room. Use fans to circulate the air. Avoid dusty or dirty areas. Clean and prepare the wood surface. Apply thin, even coats of lacquer. Let each coat dry before applying the next one.
Allow the lacquer to dry for at least 24 hours. Full curing takes up to two weeks. Avoid touching the surface during this time. Keep the wood in a dust-free environment. Check for a smooth, hard finish after curing.
Finishing Touches
Polish the wood gently. Use a soft cloth for this. Buff the surface in small circles. This makes the lacquer shine. Repeat until the wood looks smooth. Use a clean part of the cloth each time. Avoid pressing too hard. This can damage the finish.
Apply a protective coating. Choose a clear coat for this. It helps the lacquer last longer. Spray or brush it on. Let it dry completely. Sand lightly between coats. Use fine-grit sandpaper for this. Apply at least two coats. More coats give better protection.
Troubleshooting Common Issues
Bubbles can ruin the smooth finish. To fix bubbles, sand the area gently. Use fine-grit sandpaper for best results. Clean the surface before reapplying lacquer. Apply thin coats to prevent new bubbles. Make sure the room is dust-free.
Streaks can appear if the lacquer is not applied evenly. Use a high-quality brush for smooth application. Avoid overloading the brush with lacquer. Apply in even, straight strokes. Allow each coat to dry completely before adding the next. Sand lightly between coats for a flawless finish.
Maintenance Tips
Use a soft cloth to clean painted wood. Avoid harsh chemicals that can damage the paint. A mixture of water and mild soap works best. Wipe gently to prevent scratching the surface. Dry the wood completely after cleaning.
Place the wood away from direct sunlight. Sunlight can cause the paint to fade. Use furniture pads to prevent scratches. Reapply lacquer every few years for a fresh look. Dust regularly to keep the surface clean.
Frequently Asked Questions
What Is Black Lacquer?
Black lacquer is a high-gloss finish used on wood. It provides a sleek, durable, and polished look, enhancing the wood’s appearance.
How Do You Prepare Wood For Lacquer?
Clean the wood surface thoroughly and sand it smoothly. Ensure it’s free from dust and debris before applying primer.
Can You Apply Black Lacquer With A Brush?
Yes, you can use a brush. However, for a smoother finish, spraying is often recommended.
How Many Coats Of Lacquer Are Needed?
Typically, 3 to 4 coats are sufficient. Each coat should be thin and allowed to dry completely before the next.
Conclusion
Mastering black lacquer on wood enhances your projects with elegance. Follow the steps for a flawless finish. Practice makes perfect. Soon, you’ll create stunning, professional-looking pieces. Enjoy the process and transform your wooden items with the beauty of black lacquer.
Happy painting!
Sponsored / affiliate links. As an Amazon Associate I earn from qualifying purchases. I may earn additional commission from eligible campaigns.