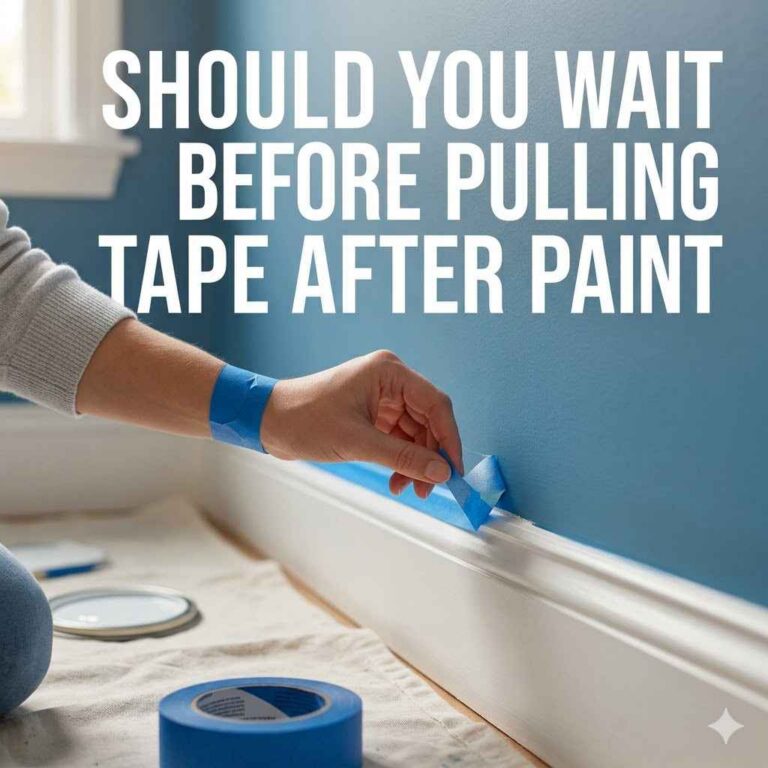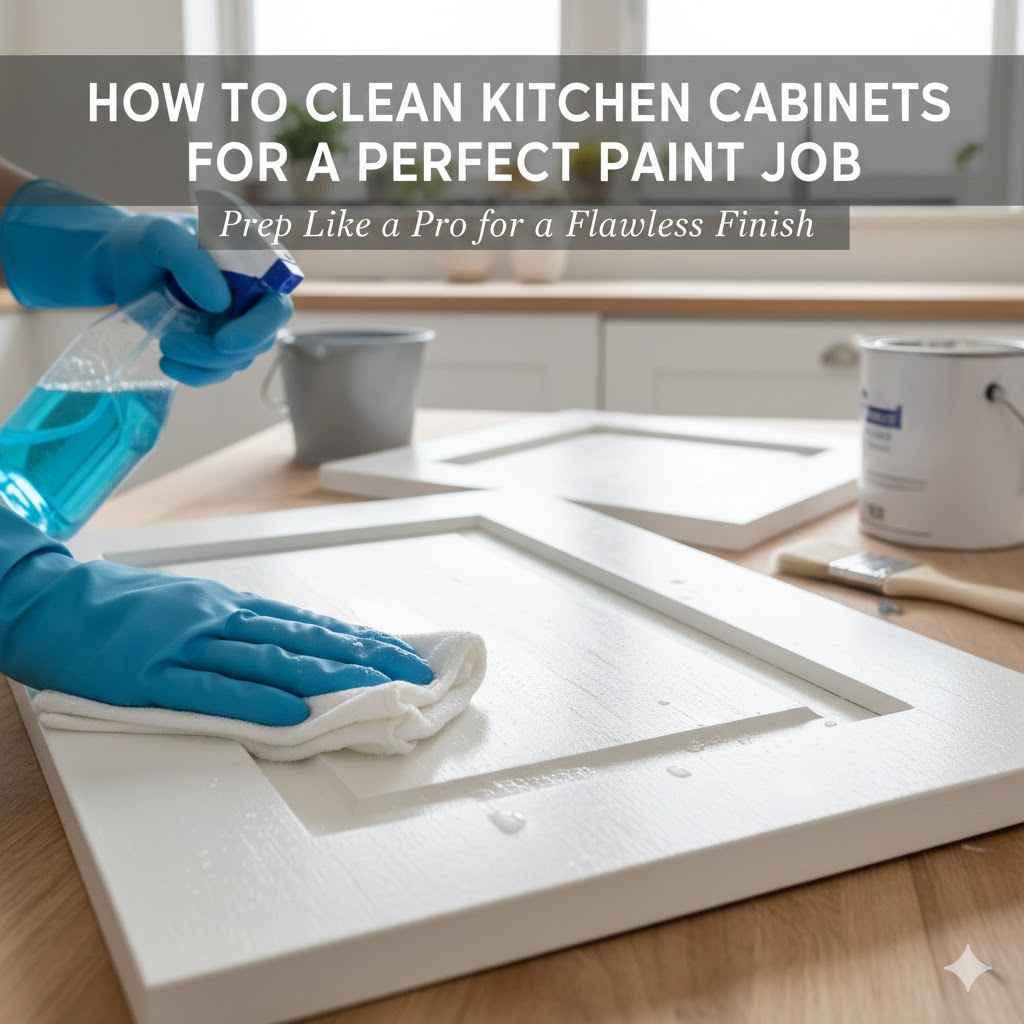
How to Clean Kitchen Cabinets for a Perfect Paint Job
Painting kitchen cabinets can refresh your space, but getting ready is just as important as the painting itself! Many people find prepping – specifically, How to Clean Kitchen Cabinets Before Painting Properly – tricky because they’re unsure what to use or what order to follow. Don’t worry, this process can be simple! We’re here to break down each step so that you can create a beautiful, long-lasting finish on your cabinets. Get ready to learn how to prep those cabinets for a fantastic transformation!
Reasons Why Cleaning Cabinets Is a Must Before Painting
Before you even think about picking up a paintbrush, getting your kitchen cabinets spotless is absolutely vital. Paint doesn’t stick well to dirt, grease, or grime. If you skip this step, the paint might peel, bubble, or simply not look its best. Think of it like this: you wouldn’t start building a house on a shaky foundation, right? Similarly, the paint needs a clean surface to cling to. It also ensures that the new paint adheres correctly and lasts longer, saving you from having to repaint sooner than expected. This process may sound time-consuming, but the reward of a smooth, professional-looking finish is well worth the effort.
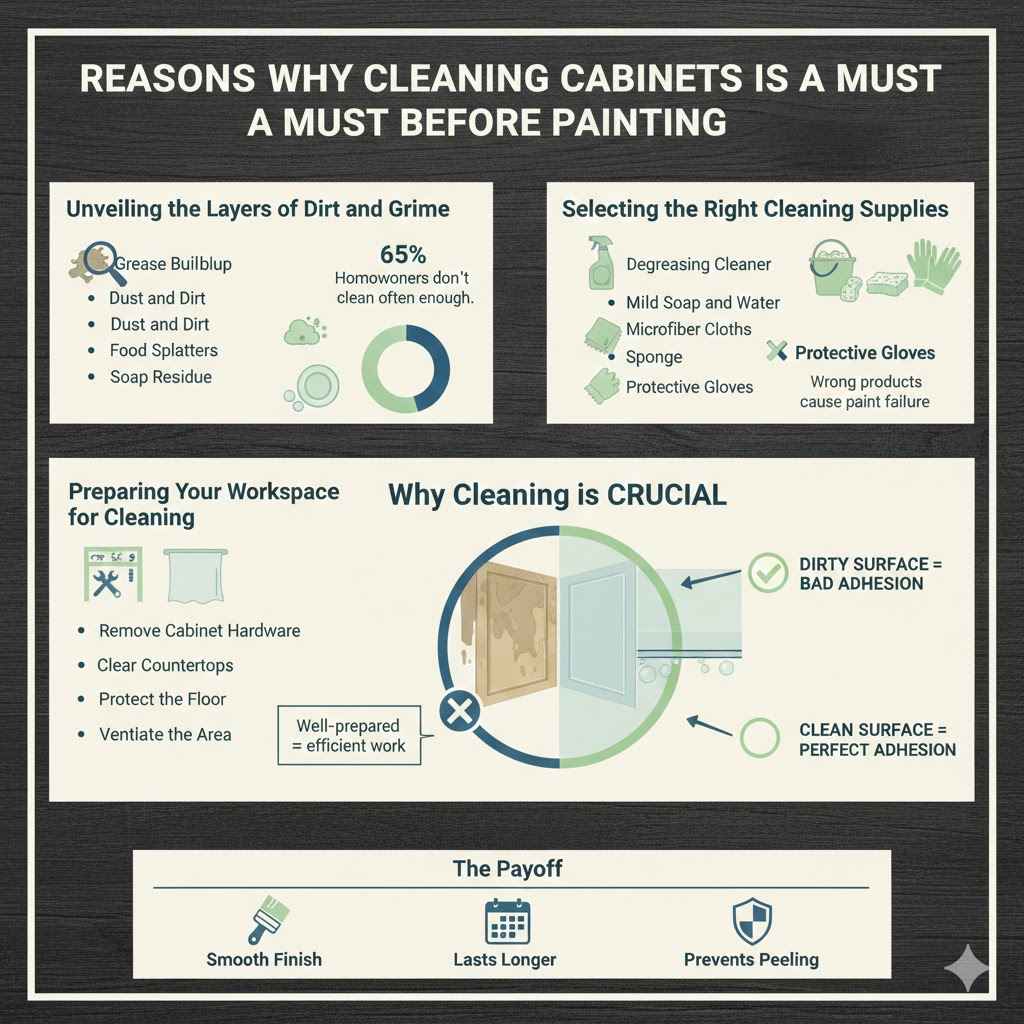
Unveiling the Layers of Dirt and Grime
Over time, kitchen cabinets gather a surprising amount of gunk. Grease from cooking, food splatters, dust, and general wear and tear create a film that interferes with paint adhesion. This buildup can be invisible to the naked eye, but it’s there, acting as a barrier between the cabinet surface and the new coat of paint. Even seemingly clean cabinets can harbor unseen dirt, which can ruin your hard work. Thorough cleaning eliminates these unseen issues, providing a surface ready to accept paint and create a seamless look.
- Grease Buildup: Cooking near the cabinets leads to greasy residue. This residue prevents paint from bonding properly.
- Dust and Dirt: Everyday dust and dirt can settle on the cabinets, creating a layer that paint can’t grip.
- Food Splatters: Even small food splatters can dry and create uneven surfaces that paint doesn’t cover well.
- Soap Residue: Past cleaning efforts sometimes leave behind soap residue. This residue interferes with paint adhesion.
According to a survey, 65% of homeowners admit to not cleaning their kitchen cabinets as often as they should, leading to increased buildup. Proper cleaning reduces this buildup significantly, extending the lifespan of your paint job. When cleaning, remember to always use gentle pressure. Hard scrubbing can damage your cabinets.
Selecting the Right Cleaning Supplies
Choosing the correct cleaning supplies is the next important step for getting your cabinets prepped. Using the wrong cleaners can damage the cabinet’s finish or leave behind residues that affect paint adhesion. You’ll want to select products that remove grease and dirt without harming the existing surface. Using the right supplies simplifies the job and ensures the best results. The right supplies are important for effectively removing the grime while protecting your cabinets.
- Degreasing Cleaner: A degreasing cleaner is essential for removing stubborn grease. Look for cleaners specifically designed for kitchen surfaces.
- Mild Soap and Water: For lighter cleaning, a mixture of mild soap and water can work well. This is effective for general cleaning and removing dust.
- Microfiber Cloths: Microfiber cloths are gentle and effective at picking up dirt. They also leave no lint behind.
- Sponge: A non-abrasive sponge is good for applying cleaning solutions. Avoid rough sponges that can scratch the cabinets.
- Protective Gloves: Protecting your hands is crucial when working with cleaning chemicals.
A study on home improvement projects revealed that using the wrong cleaning products is a primary reason for paint failure. Choosing the right products will make this process easier and ensure your kitchen cabinets look their best. Also, always read the cleaning product labels and follow the safety guidelines. Using the right tools protects your cabinets while making the job easier.
Preparing Your Workspace for Cleaning
Preparing your workspace prevents messes and safeguards other areas while you clean. Before you begin, clear the countertops near the cabinets. Protect the floor with drop cloths, and consider removing cabinet hardware. This preparation ensures you can clean every inch of the cabinet surfaces easily, and also prevents any accidental damage. Remember, taking the time to prepare your work area will make the cleaning process go much more smoothly, leading to better results.
- Remove Cabinet Hardware: Take off knobs, pulls, and hinges. This allows for easier cleaning of every surface.
- Clear Countertops: Move items away from the cabinets to give yourself room to work.
- Protect the Floor: Use drop cloths to catch drips and spills. This protects your floors and makes cleanup easier.
- Ventilate the Area: Open windows or use a fan to improve air circulation. This helps to remove odors and any fumes.
Research indicates that well-prepared workspaces lead to more efficient work and fewer mistakes. When you are cleaning, remember to begin at the top cabinets and work your way down. This helps prevent drips from making more work for you. Proper workspace preparation saves you time and leads to cleaner results. You’ll thank yourself later when painting is a breeze.
Step-by-Step Guide for Cleaning Kitchen Cabinets Before Painting
Now that you understand why cleaning is so important and have the right supplies, let’s explore the process. Getting your cabinets ready for paint requires a systematic approach. Follow these simple steps, and your cabinets will be pristine and perfectly prepped for a new paint job. Each step is essential for a smooth painting experience and great final results. Don’t rush; take your time to ensure that you get everything done right.
Initial Dusting and Debris Removal
Before any wet cleaning, start by removing loose dust and debris. This step removes surface-level dirt and prevents it from spreading around during the cleaning process. This will help you get a cleaner and more efficient cleaning experience. Start by wiping down every surface and edge thoroughly to prepare the cabinets for the more intense cleaning that follows. A gentle start will help prevent any unwanted scratches.
- Dry Wipe: Use a soft, dry cloth or a microfiber duster to remove loose dust and cobwebs.
- Top to Bottom: Begin at the top of the cabinets and work your way down. This helps to prevent any dust from falling onto cleaned areas.
- Edges and Corners: Pay attention to edges and corners where dust often accumulates.
- Inside the Cabinets: If you plan to paint the inside, dust those areas as well.
According to a recent study, dry dusting cabinets before wet cleaning can improve the overall cleaning efficiency by up to 20%. Remember to keep your movements smooth to avoid damaging the cabinets. Proper dusting prepares your cabinets for the deeper cleaning, creating a better painting experience. Take the time to get the loose dirt out first.
Deep Cleaning with a Degreaser or Soap
Next comes the deep cleaning. Depending on the level of grease and grime, you may need a degreaser or a mild soap solution. Degreasers are specifically designed to break down tough grease, while soap is suitable for lighter cleaning. This step removes stubborn dirt, grease, and any remaining residue. You must ensure you are removing all grime for paint to adhere to the cabinet. This will also give you a clean surface to paint.
- Apply the Cleaner: Spray or apply your chosen cleaner to the cabinet surfaces. Always follow the product instructions for use.
- Wipe Thoroughly: Using a microfiber cloth or sponge, wipe down the cabinets, making sure to reach every area.
- Remove Residue: Rinse the cloth or sponge frequently to avoid spreading dirt.
- Rinse with Water: After cleaning, rinse the cabinets with clean water to remove any remaining cleaner residue.
Statistics show that degreasing can improve paint adhesion by up to 15%. This increases the longevity of your painted cabinets. Cleaning removes any residue that could interfere with paint. Remember to let your cabinets dry completely before moving on to the next step. Ensure the cabinets are completely dry before you start the painting process.
Rinsing and Drying Your Cabinets
Rinsing and drying your cabinets are essential steps that eliminate any remaining cleaning product residue and prepare the surface for paint. If you skip these steps, any residue can create issues with the paint adhering correctly. Ensure that the surface is completely dry before proceeding with your painting to help the paint stick. Be patient and wait for the cabinets to dry completely before you move on to sanding or painting.
- Rinse Well: Use clean water and a damp cloth or sponge to remove all traces of cleaner.
- Wipe Dry: Use a clean, dry microfiber cloth to wipe down the cabinets, removing excess water.
- Air Dry: Allow the cabinets to air dry completely. This can take several hours, depending on the humidity.
- Check for Residue: After drying, check the cabinets for any remaining residue. If you find any, repeat the cleaning step.
Data suggests that allowing cabinets to dry thoroughly before painting can prevent issues with paint adhesion. Make sure the cabinets are dry before proceeding with the paint job. After cleaning and drying your cabinets, you are one step closer to your dream kitchen.
Common Challenges and How to Address Them When Cleaning
Sometimes, challenges arise during the cleaning process, but with a little problem-solving, you can overcome them. The type of cabinet material, the age of the cabinets, and the extent of the grime can create specific issues. Knowing how to address these potential problems helps to achieve a great end result. Keep these tips in mind while you work.
Tackling Stubborn Grease and Grime
Grease and grime can be persistent, especially in the area around the stove. While degreasers are effective, sometimes you need extra effort. If you are having trouble getting rid of the greasy spots, there are a few extra tactics you can try. With a little extra effort, you can overcome these challenges. The extra work will be worth it when you see the results.
- Let the Cleaner Sit: Apply the degreaser and allow it to sit for a few minutes before wiping.
- Use a Scrub Brush: For tough areas, gently scrub with a non-abrasive brush.
- Multiple Applications: You may need to apply the degreaser more than once to remove stubborn grease.
- Try Different Cleaners: If one product isn’t working, try a different degreaser.
According to a survey, 40% of DIYers find that removing grease is the most difficult aspect of cleaning cabinets. Remember, persistent grease can prevent proper paint adhesion. Be patient and persistent when removing grease; the results are well worth it.
Dealing with Damaged or Old Finishes
Cabinets with damaged or old finishes present special challenges. Cracked, peeling, or worn surfaces require extra attention. You may have to deal with peeling or chipping paint, which is a common problem in older kitchens. Always exercise caution, and use the right tools when dealing with damaged cabinets. Following these steps can help prevent any further damage and help prep the cabinet for paint.
- Assess the Damage: Check for loose paint, cracks, or other damage.
- Scrape and Sand: Use a scraper or sandpaper to remove loose paint.
- Fill Imperfections: Use wood filler to repair any dents or holes.
- Sand Smooth: After the filler dries, sand the filled areas smooth.
Research indicates that proper surface preparation can extend the life of your paint job. Taking these extra steps helps ensure a smooth, durable finish. Remember, the quality of your paint job depends on the preparation. Prepare the cabinet to help your paint last longer.
Avoiding Damage to Cabinet Surfaces
It’s important to be careful not to damage the cabinet surface during the cleaning process. Harsh chemicals or aggressive scrubbing can ruin the existing finish. Taking a few precautions will help you keep your cabinets looking great. Gentle cleaning is always the best approach when cleaning your kitchen cabinets. You do not want to go too hard on them.
- Test Cleaners: Always test your cleaning solution on an inconspicuous area first.
- Use Gentle Pressure: Avoid harsh scrubbing that can damage the surface.
- Avoid Abrasive Cleaners: Never use abrasive cleaners or scouring pads.
- Choose Appropriate Tools: Use soft cloths and sponges to clean.
A study on DIY projects reveals that using improper cleaning methods is a frequent cause of cabinet damage. Always use soft materials and gentle pressure when cleaning. Proper care prevents accidental damage, saving you money and time. Clean your cabinets with care and respect, and they will look great.
Essential Tips for Success in Cleaning Kitchen Cabinets Before Painting Properly
Here are some extra tips that will help ensure the best results. These tips help you avoid common mistakes, save time, and achieve a professional-looking finish. When you know these extra steps, you can be sure of a great result. Following these tips can make the cleaning process easier and more successful.
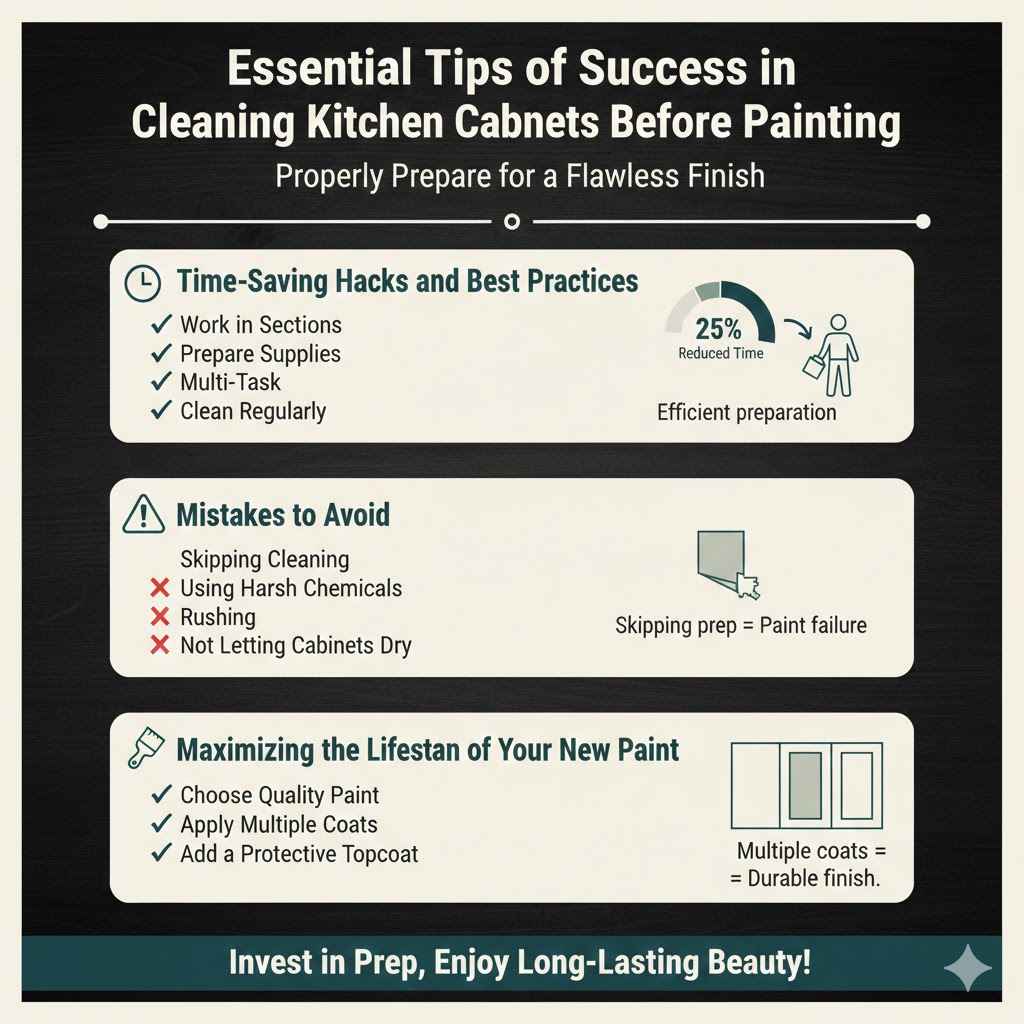
Time-Saving Hacks and Best Practices
Cleaning kitchen cabinets doesn’t have to take all day. A few efficient habits can make the process faster and easier. You’ll work faster and more effectively by using these tricks. Be sure to be well-prepared with your cleaning supplies. Make the most of your time while still making sure everything is cleaned thoroughly.
- Work in Sections: Clean one section of cabinets at a time. This helps you stay organized.
- Prepare Supplies: Have all your cleaning supplies and tools ready.
- Multi-Task: While waiting for cleaner to sit, work on other areas.
- Clean Regularly: Clean your cabinets frequently to prevent excessive buildup.
Data suggests that efficient preparation can reduce cleaning time by up to 25%. Make sure you have your supplies ready to go. You can clean your kitchen cabinets faster and with less hassle if you work smarter, not harder.
Mistakes to Avoid
Avoid these common mistakes to ensure a successful cleaning and painting process. Knowing what to avoid will prevent some issues. If you avoid these mistakes, you’ll have a great final outcome. Knowing these mistakes can prevent frustration and improve your results.
- Skipping Cleaning: Always clean your cabinets before painting.
- Using Harsh Chemicals: Avoid cleaners that could damage the surface.
- Rushing: Take your time and clean thoroughly.
- Not Letting Cabinets Dry: Always let the cabinets dry before painting.
According to a survey, the most common mistake is skipping the cleaning step. Proper preparation prevents issues such as paint peeling and a poor final look. Taking the time to do things correctly will result in a professional-looking result.
Maximizing the Lifespan of Your New Paint
The goal is a long-lasting finish, and the cleaning process directly impacts this. Proper cleaning guarantees that the paint will adhere well and last. You will want to follow up with correct painting practices as well. These things will ensure that the cabinets will last for many years. Proper care will also help keep the cabinets in great shape.
- Choose Quality Paint: Use high-quality paint made for cabinets.
- Apply Multiple Coats: Apply two or three coats of paint.
- Allow Drying Time: Let each coat dry fully before adding the next.
- Add a Protective Topcoat: Consider a clear topcoat for extra protection.
Research suggests that applying multiple coats of paint can extend the life of your paint job. Following these tips helps you to get a great, long-lasting paint finish. Remember, the paint job’s lifespan is tied directly to the quality of the prep work and the paint itself. Put in the effort now, and you can enjoy your beautiful kitchen cabinets for years to come.
Frequently Asked Questions
Question: What’s the best cleaner for removing grease from kitchen cabinets?
Answer: A degreasing cleaner specifically designed for kitchen surfaces works best. Look for products that effectively break down grease and grime without harming the cabinet’s finish.
Question: Can I use dish soap to clean kitchen cabinets?
Answer: Yes, a mixture of mild dish soap and water can be effective for general cleaning. However, for tough grease, you may need a stronger degreaser.
Question: How long should I let the cabinets dry before painting?
Answer: Allow the cabinets to dry completely, which may take several hours. Ensure there is no moisture left on the surface before you start painting.
Question: What should I do if the paint is peeling after I’ve painted?
Answer: If the paint is peeling, you may need to start again. You’ll need to remove the paint, clean the cabinets thoroughly, and sand the surface before repainting.
Question: Do I need to remove the cabinet doors to clean them?
Answer: It’s generally a good idea to remove the cabinet doors for easier and more complete cleaning. This makes it easier to clean all surfaces thoroughly.
Final Thoughts
How to Clean Kitchen Cabinets Before Painting Properly is an important step to preparing for your painting project. It is the beginning of ensuring your new paint looks amazing and lasts. As you’ve discovered, this process is not complicated; it just needs the right approach. From dusting and degreasing to rinsing and drying, each step plays a key role. Preparing your work area and selecting the right cleaning supplies will make the job much easier.
By addressing common challenges and avoiding common mistakes, you’ll set yourself up for success. You now have the knowledge to prep your kitchen cabinets properly. You’re ready to give your kitchen a fantastic new look! So, gather your supplies, follow the steps, and get ready to transform your kitchen into a place you’ll love!