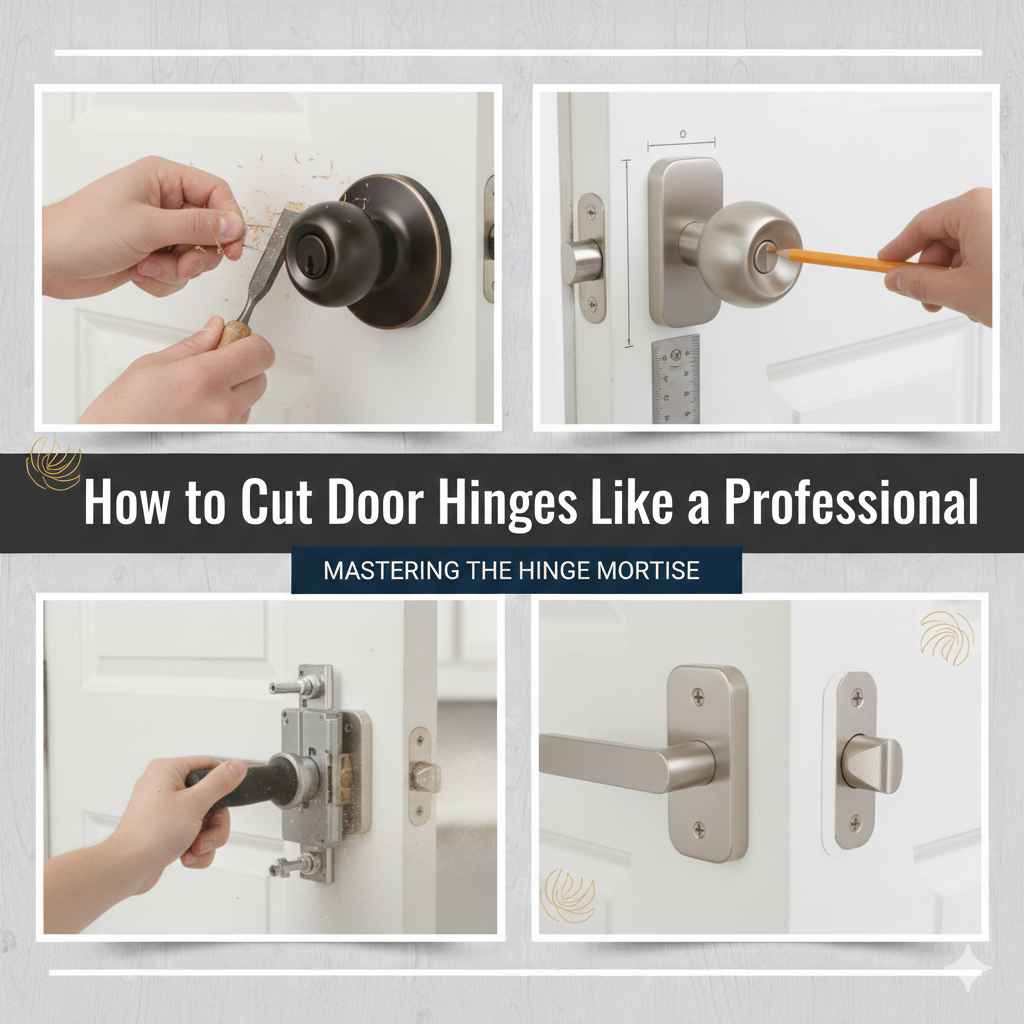
How to Cut Door Hinges Like a Professional
Learning How to Notch Out a Door for Hinges Like a Pro can seem tricky at first. Many people struggle with getting the hinge cutouts perfectly aligned and the right depth. But don’t worry, it’s easier than you think! This guide will break down the process step-by-step, making it simple to achieve professional-looking results. We’ll explore everything you need to know to get started.
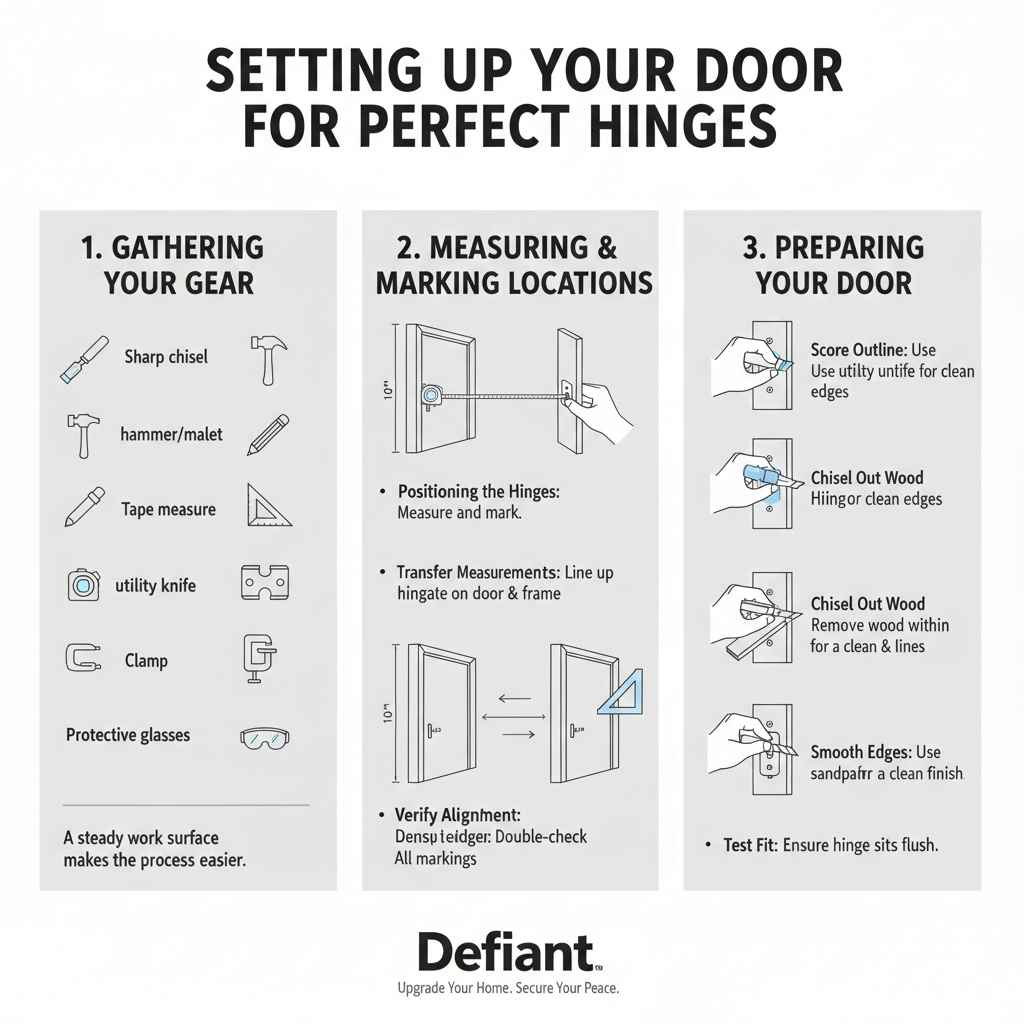
Setting Up Your Door for Perfect Hinges
Before you even touch a chisel, getting ready is key. You’ll need some basic tools and a plan. This means measuring carefully, marking the spots for your hinges, and preparing your door. A little prep work saves a lot of headaches later. It also helps prevent mistakes that can damage the door or make it difficult to hang. Taking the time to do it correctly from the start is worth the effort.
Gathering Your Gear
You will need a few essential items to ensure a clean hinge cut. This includes: a sharp chisel (1/2 inch is a good size for most hinges), a hammer or mallet, a pencil for marking, a tape measure, a square, and a utility knife. A hinge template is helpful, especially for beginners. Also, protective glasses are vital to keep your eyes safe from debris. A steady work surface like a workbench makes the process easier and safer. Don’t forget sandpaper to smooth out rough edges if necessary. Finally, a clamp will keep the door steady while you’re working.
- Chisel: A sharp chisel is the most important tool. It’s used to remove the wood, so it needs to be keen. Regular sharpening will keep it working effectively.
- Hammer/Mallet: A hammer or mallet provides the force needed to drive the chisel into the wood. The type you choose depends on your preference. A mallet is easier on the chisel’s handle.
- Pencil: Use a pencil to mark the exact locations of the hinges on the door and the door frame. Precise markings are crucial for accurate cuts.
- Tape Measure: Measure the hinge placement accurately on both the door and the frame. Getting the measurement right helps avoid misalignment.
- Square: A square ensures your lines are perfectly straight and your hinge cutouts are aligned correctly.
Measuring and Marking Hinge Locations
Accurate measurement is the foundation of this project. Use your tape measure to determine where the hinges should be placed on both the door and the door frame. Standard placement usually involves one hinge about 10 inches from the top, another about 10 inches from the bottom, and a third in the middle. Carefully mark these spots with your pencil. Make sure your lines are neat and straight. Use your square to ensure the hinge positions are perpendicular to the door’s edge. This attention to detail will help you with an easy alignment later.
- Positioning the Hinges: Measure and mark the hinge positions on both the door and the frame. Use a square to make sure the lines are straight.
- Hinge Template (Optional): If you have a hinge template, position it on the door edge and use a pencil to mark the outline. This helps with consistent results.
- Transfer Measurements: Transfer the measurements from the door to the door frame, making sure the hinges line up correctly when the door is closed.
- Verify Alignment: Double-check all measurements and markings before cutting. A slight error now can cause problems later.
How to Notch Out a Door for Hinges Like a Pro: The Cutting Process
Now, let’s get to the cutting itself. This stage is where you’ll use your chisel to remove the wood and create the recess for the hinge. Take your time, work carefully, and take off only small amounts of wood at a time. The goal is to achieve a tight fit so the door swings smoothly. This stage requires patience and precision.
Chiseling Out the Hinge Mortise
Position your door on your work surface. Place the hinge on the marked outline on the door. Using a utility knife, score around the hinge outline to prevent the wood from splitting. Then, place your chisel on the marked line and use your mallet to gently tap the chisel. Remove only small amounts of wood. Keep checking the hinge’s fit to ensure you are not cutting too deep. A snug fit is ideal; the hinge should sit flush with the door’s surface. Remove small amounts of wood at a time for control.
- Scoring the Outline: Use a utility knife to score around the hinge outline. This helps prevent the wood from splintering when you start chiseling.
- Initial Chiseling: Place the chisel along the edge of the marked area and gently tap with a mallet. Work around the perimeter first, then remove the wood within.
- Depth Control: Check the hinge fit frequently to ensure you’re removing the correct amount of wood. The hinge should sit flush with the door’s surface.
- Fine Tuning: If the hinge doesn’t sit flush, make small adjustments with the chisel until the fit is perfect. Avoid forcing the hinge.
Checking and Adjusting the Fit
As you carve out the mortise, keep checking how the hinge fits. Place the hinge in the recess to see how it’s fitting. It needs to be flush with the door’s surface. If it’s too tight, remove a little more wood. If it’s too loose, you might need to try a shim. The key is to get a snug, precise fit. Test the fit frequently throughout the cutting process. This will guarantee a good-looking and functional outcome.
- Test Fit: Place the hinge in the mortise to check the fit regularly. It should sit flush with the door’s surface, not protruding or sunken.
- Adjusting the Cut: If the hinge is too tight, carefully remove more wood with the chisel. Go slowly and make small adjustments.
- Hinge Movement: The hinge should move freely in the mortise. If it binds, the mortise might need to be widened.
- Shim Options: In case the mortise is slightly oversized, shims (thin pieces of wood or cardboard) can be used for a snug fit.
Installing the Door and Final Adjustments
With the hinges now cut, it’s time to hang the door. Attach the hinges to the door and the frame. It’s important to align everything correctly and test the door’s swing. Make any final adjustments necessary to ensure it opens and closes smoothly. Once this is done, you’re ready to enjoy the finished product.
Attaching the Hinges
Once you’ve cut the hinge mortises, the next step is to attach the hinges to both the door and the door frame. Place the hinges into their respective mortises. Use the correct screws (usually provided with the hinges) to attach the hinges securely. Make sure the hinges are straight and aligned. Over-tightening can cause the screws to strip the wood. Check for any wobble after you install the screws. This process helps ensure a functional and pleasing outcome.
- Align Hinges: Ensure that the hinges on the door and the frame align perfectly when the door is closed.
- Screw Installation: Use the right screws for the job and install them carefully. Don’t over-tighten, which can split the wood or strip the screw holes.
- Check Fit: After installing the screws, check the hinges again. They should sit flush and be securely attached.
- Pilot Holes: If the wood is hard, pre-drill pilot holes to prevent splitting when inserting the screws.
Adjustments and Final Touches
Once the door is hung, check how it swings. Does it open and close smoothly, or does it rub against the frame? Are there any gaps? If you notice problems, some adjustments may be needed. You can try adjusting the screws in the hinges or, if the problem is more significant, you may need to re-cut the mortises slightly. After the door swings freely, give the whole thing a final inspection. Touch up any imperfections with sandpaper and consider adding a coat of paint. These final steps are what gives the door its fine look.
- Swing Test: Open and close the door several times to check for any binding or rubbing against the frame.
- Screw Adjustment: Try adjusting the screws in the hinges to correct any minor alignment issues.
- Mortise Adjustment: If major adjustments are needed, you might have to slightly deepen or widen the hinge mortises.
- Aesthetic Finishing: Sand any rough areas and repaint the door and frame to give it a polished, finished look.
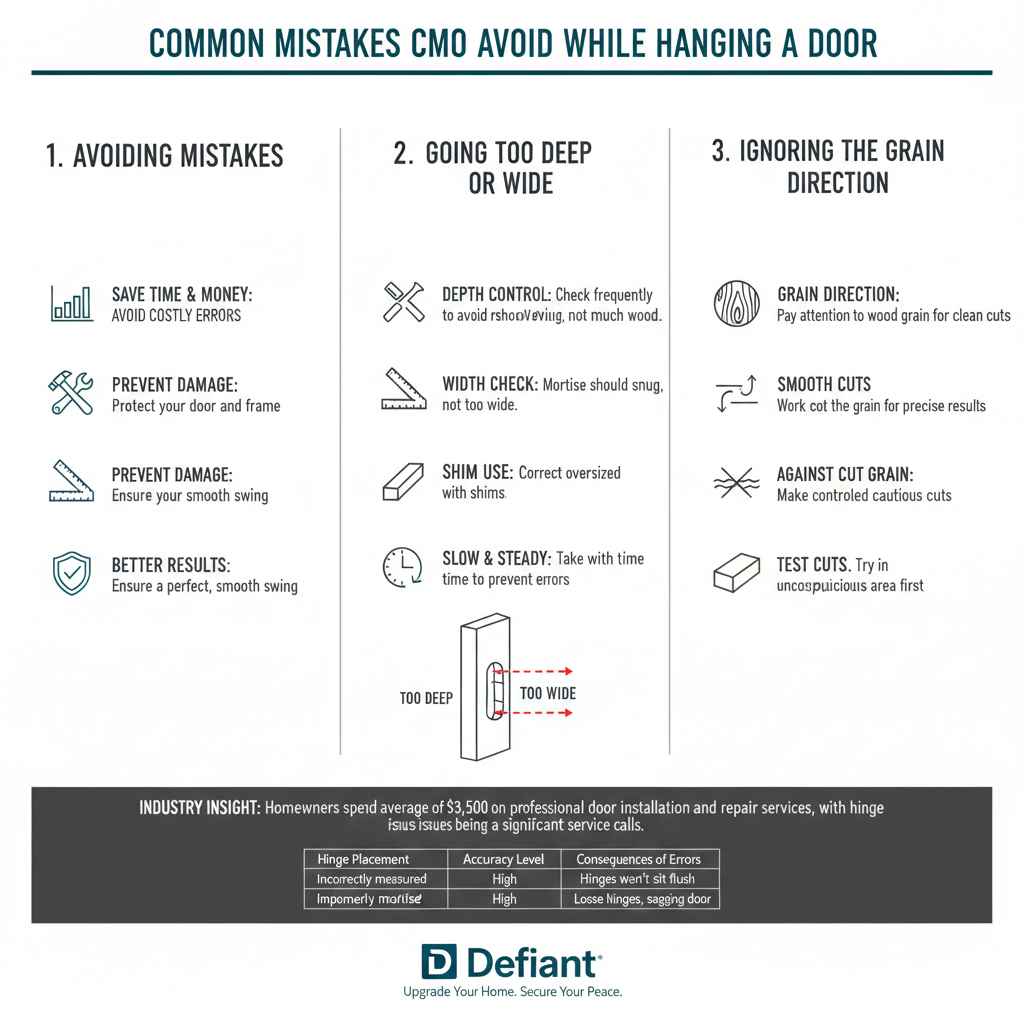
Common Mistakes to Avoid While Working
As you do this, you want to avoid some common errors. These mistakes can add extra work or even damage your door. Knowing what to watch out for will help you prevent problems. By carefully avoiding these pitfalls, you’ll save time and get a better final result.
Going Too Deep or Wide
One of the most common mistakes is cutting the hinge mortise too deep or too wide. If you remove too much wood, the hinge won’t sit flush, and the door might not close correctly. Always remove wood gradually and check the fit frequently. Taking off too much at once will make it difficult to get a good result. If you accidentally cut too deep, you might need to use shims to make the hinge fit properly.
- Depth Control: Check the depth of your mortise frequently to avoid removing too much wood.
- Width Check: Ensure the mortise is wide enough for the hinge but not too wide.
- Shim Use: If you accidentally make the mortise too big, use shims to make the hinge fit correctly.
- Slow and Steady: Avoid rushing the process. Take your time to avoid mistakes.
Ignoring the Grain Direction
The grain of the wood affects how the chisel cuts. Ignoring the grain can lead to splintering and uneven cuts. When chiseling, work in the direction of the grain whenever possible. This will make the cut smoother and less likely to tear the wood. If you must cut against the grain, do so cautiously. Make small, controlled cuts to minimize the risk of damage. Always know how the grain of the wood impacts how you’re cutting it.
- Grain Direction: Always pay attention to the direction of the wood grain. This affects how the chisel will cut the wood.
- Smooth Cuts: Work in the direction of the grain for cleaner, more precise cuts.
- Against the Grain: When cutting against the grain, make careful, controlled cuts to prevent splitting.
- Test Cuts: If in doubt, make test cuts in an inconspicuous area of the door to see how the wood responds.
According to a report by the Home Improvement Research Institute, homeowners spend an average of $3,500 on professional door installation and repair services, with hinge issues being a significant cause of service calls. This highlights how critical it is to correctly set the hinges.
| Hinge Placement | Accuracy Level | Consequences of Errors |
|---|---|---|
| Incorrectly measured | High | Door will be misaligned, won’t close, or scrape against frame |
| Improperly cut mortise | High | Hinges won’t sit flush, door won’t swing smoothly |
| Poor installation | Medium | Loose hinges, sagging door, and potential for wood damage |
Frequently Asked Questions
Question: What’s the best tool for cutting hinge mortises?
Answer: A sharp chisel is the best tool for this job. It allows for precision and control to remove the wood smoothly.
Question: How can I prevent the wood from splitting when I’m chiseling?
Answer: Use a utility knife to score around the hinge outline before you start chiseling. Also, cut in the direction of the wood grain.
Question: What if my mortise is too deep?
Answer: You can use shims (thin pieces of wood or cardboard) to help raise the hinge to the right height.
Question: How do I know if my door is hung correctly?
Answer: Your door should swing freely, open and close smoothly, and not rub against the frame or have any gaps.
Question: What if the door doesn’t close completely?
Answer: You may need to adjust the hinges or slightly deepen the mortise to allow the door to close.
Final Thoughts
Successfully learning How to Notch Out a Door for Hinges Like a Pro comes down to preparation, careful measurement, and a steady hand. Start by marking the hinge locations precisely, then use your chisel to carefully cut out the mortises, checking the fit as you go. Remember to take it slow and steady, taking only small amounts of wood with each cut. The effort you put into the preparation, cutting, and installing, will yield you a good result. So, grab your tools, plan your steps, and get started! You’ll be hanging doors like a pro in no time.