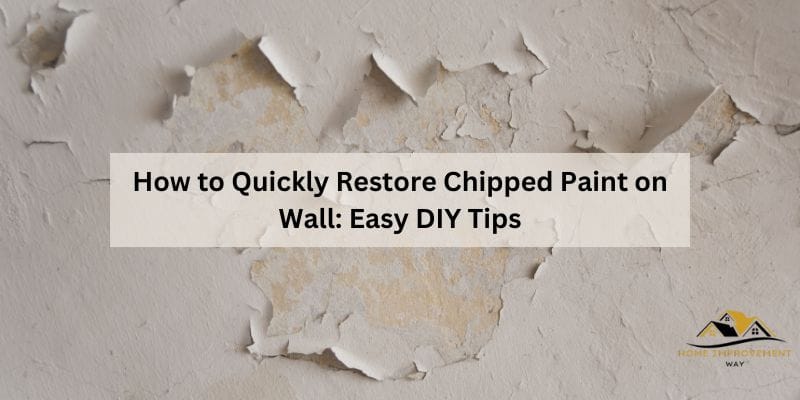
How to Fix Chipped Wall Paint: Low-Cost DIY Fix ($20-$55)
Fixing chipped wall paint costs $20-$55 in materials (spackle, primer, touch-up paint) versus $400-$800 for a professional patch job – but the real challenge isn’t the repair, it’s making the patch invisible. Sheen mismatch, different application tools, and aged paint color are why a “perfect” color match still shows a visible patch. This guide covers the clean-fill-sand-paint process, how to actually avoid a visible touch-up, and a lead-paint safety check for homes built before 1978.
Next, apply a suitable filler to fill in the chipped portion of the wall, ensuring it is smooth and level with the surrounding surface. Once the filler is dry, sand it down gently to create a smooth finish. Finally, repaint the patched area to match the rest of the wall, and enjoy a beautifully restored space.
Understanding Chipped Paint On Walls
Chipped paint on walls can be easily fixed using simple techniques. Learn how to mend chipped paint on your walls with these easy steps.
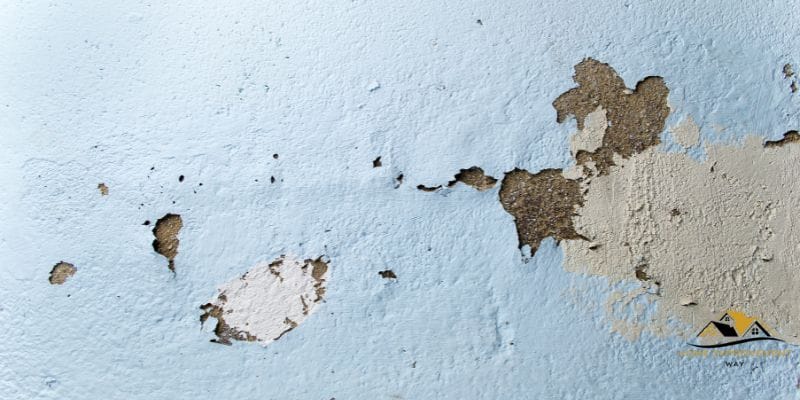
Chipped paint on walls is not only unsightly but can also be a sign of underlying issues with your paint job. Understanding the causes of paint chipping, the major types of paint chips, and the common areas where paint tends to chip can help you efficiently tackle the problem and restore the beauty of your walls.
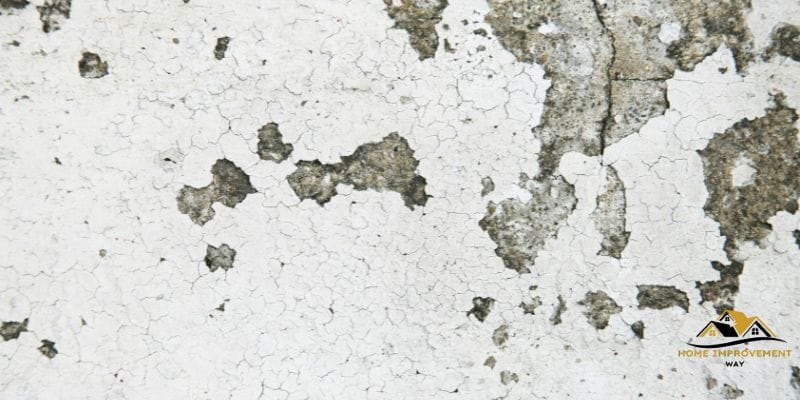
What Causes Paint To Chip?
Paint chipping can occur due to several reasons, including:
- Poor Adhesion: When paint fails to adhere properly to the wall surface, it becomes prone to chipping.
- Moisture and Humidity: High levels of moisture and humidity can cause the paint to blister, crack, and eventually chip.
- Impact or Physical Damage: Accidental bumps, scratches, or other physical damage can lead to paint chips.
- Age and Wear: Over time, paint naturally deteriorates with age, resulting in chipping or peeling.
Major Types Of Paint Chips
Paint chips can be categorized into the following major types:
| Type | Description |
|---|---|
| Small Chips | These are tiny chips typically caused by minor impacts or wear and tear. |
| Large Chips | Large chips occur when a significant area of paint peels off, often due to poor adhesion or extensive damage. |
| Blistering Chips | Blistering chips manifest as swollen or bubbled areas, usually resulting from moisture issues behind the paint layers. |
| Peeling Chips | Peeling chips involve paint layers separating from the wall surface, often due to moisture intrusion or subpar application techniques. |
Common Areas Of Paint Chipping
Paint chips tend to occur more frequently in specific areas. Some of the common areas where you may notice paint chipping include:
- High-traffic areas such as hallways, entryways, and stairwells, which are prone to accidental impacts.
- Bathrooms and kitchens, where moisture and humidity levels are generally higher.
- Exterior walls are exposed to harsh weather conditions, including direct sunlight, rain, or extreme temperature fluctuations.
- Walls near windows or doors that experience frequent opening and closing, leading to increased wear and tear.
By understanding the causes, types, and common areas of paint chipping, you can take appropriate measures to fix the issue effectively and prevent it from recurring. Proper maintenance, regular inspections, and careful consideration of paint products will help you maintain beautiful, chip-free walls for years to come.
How Much Does It Cost to Fix Chipped Wall Paint?
A small chipped-paint patch runs about $20-$55 in materials: spackle or joint compound ($4-$25 depending on tub size), sandpaper and a putty knife (a few dollars), a small can of primer, painter’s tape, and a quart of touch-up paint ($15-$25). Hiring a professional for the same job typically costs $75-$800, with most jobs landing $400-$800 once labor is included ($60-$130/hour depending on whether it’s a handyman, contractor, or dedicated painter).
The cost gap isn’t really about materials – spackle is cheap either way. It’s the skill to blend texture, sheen, and color invisibly, which is exactly what the rest of this guide walks through.
Best Spackling Compound Pick
DAP Lightweight Spackling Compound
Ready to use straight from the tub – no mixing, dries fast, and sands smooth for exactly the small-chip patches this guide covers.
- Best for: small to medium chips and dents
- Why we picked it: lightweight formula sands easily without leaving a hard ridge
- Main drawback: a 1-quart tub is more than one small chip needs – good for multiple repairs
Compare more chipped-paint repair essentials
 Option 1 Primer/Sealer
|
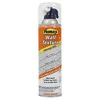 Option 2 Texture Spray
|
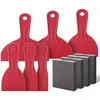 Option 3 Putty Knife + Sanding Set
|
As an Amazon Associate we earn from qualifying purchases.
Preparing The Wall For Restoration
Before you can start fixing chipped paint on your wall, it’s essential to properly prepare the surface for restoration. This will help ensure that the paint adheres well and the repairs last longer. In this section, we will guide you through the necessary steps to prepare your wall for a successful restoration. So let’s get started!
Gathering The Necessary Tools And Materials
Before diving into the restoration process, gather the following tools and materials:
- Putty knife
- Sanding block or sandpaper
- Drop cloth or plastic sheeting
- Painter’s tape
- Interior primer
- Paintbrushes or rollers
- Paint in the desired color and finish
📊 An estimated 34.6 million U.S. homes (29.4% of all housing units) still contain lead-based paint applied before it was banned in 1978. Sanding or scraping old paint in a pre-1978 home can create hazardous lead dust. Mist the area with water before sanding, test with an EPA-recognized kit if the home’s age is unknown, and consider a certified inspector for larger jobs. Source: EPA, Lead-Safe Renovations for DIYers
Cleaning And Removing Loose Paint Chips
The next step is to clean and remove any loose paint chips from the wall. This will provide a clean and smooth surface for the restoration process. Follow these steps:
- Cover the floor and any nearby furniture with a drop cloth or plastic sheeting to protect them from debris and paint.
- Secure the drop cloth or plastic sheeting using painter’s tape to keep it in place.
- Use a putty knife to scrape off any loose or peeling paint chips from the wall.
- Sand the chipped areas and the surrounding paint using a sanding block or the right grit sandpaper to create a smooth surface.
- Wipe the wall clean with a damp cloth to remove any dust or debris.
Repairing Damaged Surfaces
Once you have cleaned and removed the loose paint chips, it’s time to repair any damaged surfaces. Here’s how you can do it:
- Inspect the wall for any holes, dents, or cracks that need repair.
- Use a putty knife to apply a thin layer of spackling compound to fill in small holes and cracks.
- For larger holes or damaged areas, use a patching compound or joint compound, following the manufacturer’s instructions.
- Allow the repair compound to dry completely, and then sand it down until it is smooth and level with the surrounding wall.
Now that your wall is properly prepared, you’re ready to move on to the next step: restoring the chipped paint with primer and paint.
Restoring Chipped Paint On Walls
Restoring chipped paint on walls is an essential part of home maintenance that helps to maintain the aesthetic appeal of your living space. Whether it’s due to accidental bumps, aging, or any other reason, chipped paint can be both unsightly and affect the overall integrity of your walls. Fortunately, with the right tools and techniques, fixing chipped paint is a straightforward process that can be done by anyone. In this section, we will guide you step-by-step on how to restore chipped paint on walls, ensuring a seamless finish.
Priming The Surface
Before you begin repairing chipped paint on your walls, it is crucial to prime the surface properly. Priming helps ensure that the paint adheres firmly to the repaired area and provides a smooth and even finish. To prime the surface:
- Clean the chipped area with a mild detergent and wipe it dry with a clean cloth.
- Apply a coat of primer specifically designed for the surface you are repairing, such as latex primer for drywall or wood primer for wooden surfaces.
- Use a paintbrush or a roller to apply the primer evenly over the chipped area, extending slightly beyond the edges of the repair site.
- Allow the primer to dry according to the manufacturer’s instructions, typically around 1 to 2 hours.
Applying Spackling Compound Or Wood Filler
Once the primer is dry, you’re ready to fill the chipped area with spackling compound or wood filler, depending on the material of your walls. Follow these steps:
- Choose a spackling compound or wood filler that matches the color of your existing wall.
- Apply a small amount of the compound or filler to a putty knife.
- Spread the compound or filler evenly over the chipped area, filling it completely.
- Smooth the surface using the putty knife, ensuring it is level with the surrounding wall.
- Allow the compound or filler to dry for the specified time mentioned on the product’s packaging.
Sanding And Smoothing The Surface
To achieve a flawless finish, sanding and smoothing the repaired area is crucial. Follow these steps to sand and smooth the surface:
- Once the compound or filler is fully dry, gently sand the repaired area using fine-grit sandpaper. This will smooth out any rough edges and ensure an even surface.
- Wipe away any dust or debris using a clean cloth.
Painting And Sealing The Restored Area
Finally, it’s time to repaint and seal the restored area to seamlessly blend it with the rest of the wall. Here’s what you need to do:
- Choose a paint color that matches the existing wall, or consider repainting the entire wall for a consistent finish.
- Using a paintbrush or roller, apply a thin and even coat of paint over the repaired area. Extend the paint slightly beyond the edges of the repaired site.
- Allow the paint to dry completely before applying a second coat if needed.
- To seal the restored area and protect the paint, apply a clear coat sealer according to the manufacturer’s instructions.
By following these step-by-step instructions, you can easily restore chipped paint on your walls, giving your living space a refreshed and polished look. Remember to take your time with each step for the best results, and don’t hesitate to seek professional help if the damage is extensive or beyond your expertise.
Why Your Touch-Up Paint Still Looks Different
A roller-painted wall touched up with a brushed-in edge shows a visible rectangle once the two dry at different sheens and film thicknesses – painters call it “picture framing.” Keeping a wet edge, rather than letting the cut-in line dry before rolling into it, is what prevents it.
— adapted from Sherwin-Williams’ technical guidance on uneven paint color
A “perfect” color match can still leave a visible patch for reasons that have nothing to do with the paint color itself. Flat and matte paint hide blending lines best – satin, eggshell, and semi-gloss reflect light differently at the edges and show a patch more. The tool matters too: a wall originally rolled, then touched up with a brush, creates a different micro-texture that catches light differently even with the exact same paint. And paint on the wall has already aged and faded slightly from years of UV exposure and cleaning, so brand-new paint next to it reads as different by default.
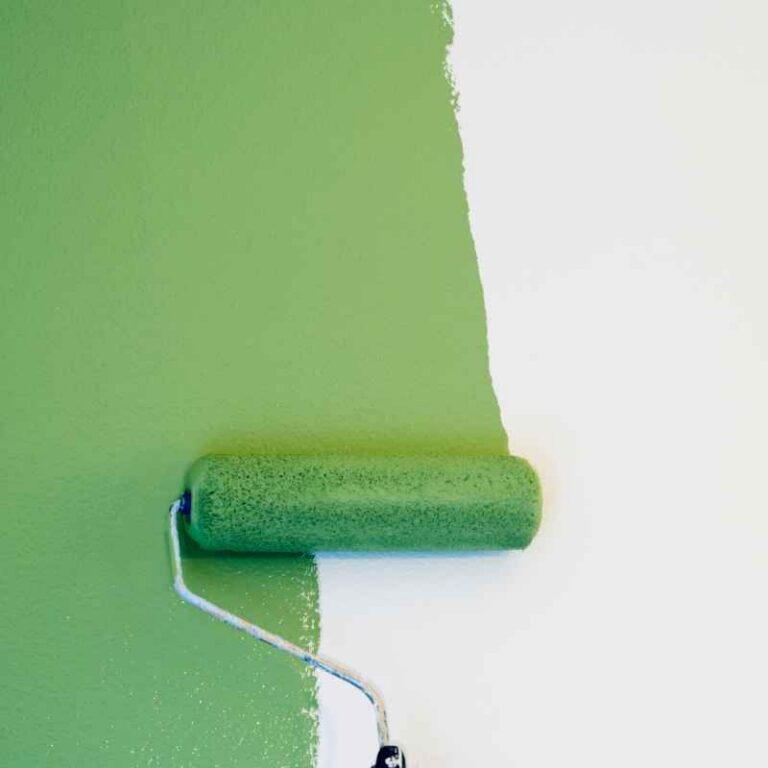
The fix is a technique called feathering: load the brush or roller lightly (almost dry), start in the center of the repair, and work outward with progressively less pressure and paint, extending several inches beyond the actual patch so there’s no hard edge. Painters call the opposite mistake “picture framing” – a visible rectangle left when a roller and a brushed-in edge dry at different times. Keep a wet edge by rolling into the still-wet cut-in line right away, rather than letting it dry and trying to blend later.
If your wall has orange peel, knockdown, or popcorn texture, matching that texture is a separate step from matching color – skipping it is the #1 reason a patch stays visible even after a perfect paint match. Aerosol texture cans handle small areas (roughly up to 10-15 sq ft): hold the can 12-24 inches from the wall, spray in light layers rather than one heavy coat, and feather into the surrounding texture. For knockdown texture specifically, let the spray set for 30-60 seconds, then lightly flatten the peaks with a wide putty knife dampened with water. See our full guide on smoothing textured walls without sanding for a deeper dive, or browse more painting tips and guides.
Frequently Asked Questions
How Much Does It Cost to Fix a Small Paint Chip?
A small chip typically costs $20-$55 in materials – spackle, sandpaper, primer, and a quart of touch-up paint. Hiring a professional for the same job runs $75-$800, with most jobs landing $400-$800 once labor is included.
Why Does My Touch-Up Paint Still Look Different From the Rest of the Wall?
Usually it’s sheen, tool, or aging, not color. Satin and semi-gloss paint reflect light differently at a patch edge than flat paint does. A brushed touch-up on a rolled wall creates a different micro-texture. And existing wall paint has already faded slightly, so brand-new paint reads as different even when technically matched. Feathering the edges fixes most of this.
Do I Need to Match the Wall Texture, Not Just the Color?
Yes, if your wall has orange peel, knockdown, or popcorn texture. Skipping texture-matching is the #1 reason a patch stays visible even after a perfect color match. Aerosol texture cans handle small areas well – test on a scrap piece first, since texture varies wall to wall.
Is It Safe to Sand Chipped Paint in an Older Home?
Check the home’s age first. An estimated 29.4% of U.S. homes still contain lead-based paint applied before the 1978 ban. Sanding or scraping it can create hazardous lead dust. Mist the area with water before sanding, and test with an EPA-recognized kit if you’re not sure of the home’s paint history.
What’s the Difference Between a Paint Chip and Peeling Paint?
A chip is a small, isolated spot where paint has broken off, usually from an impact. Peeling is paint lifting away from the wall in larger sheets, often from moisture or poor adhesion across a wider area. Peeling usually needs the loose paint fully scraped back before patching, not just a spot fix.
How Long Should Spackle Dry Before Sanding and Painting?
Most ready-to-use spackling compounds dry in about 30 minutes to 2 hours for a small patch, though deeper fills take longer. Check the product label – painting over spackle that hasn’t fully cured can trap moisture and cause the patch to fail later.
Conclusion
Fixing chipped paint on walls is a common problem homeowners face. By following the steps mentioned you can easily restore your walls to their former glory. From assessing the damage to selecting the right materials, the process can be straightforward and rewarding.
Remember, taking the necessary precautions and applying the proper techniques will ensure a seamless finish. Don’t hesitate, get started on fixing those chipped paint walls today!
Sponsored / affiliate links. As an Amazon Associate I earn from qualifying purchases. I may earn additional commission from eligible campaigns.