How to Fix Low Water Pressure in a Bathroom Faucet
Low water pressure in a bathroom faucet is usually caused by a clogged aerator, a partly closed shutoff valve, a blocked supply line, or a worn cartridge. Start with the simple checks before replacing the faucet. This guide explains how to isolate the restriction safely and when the problem points to the wider plumbing system.
A weak stream is frustrating, but it is also useful information. If only one faucet is affected, the fault is often local. If every fixture has weak flow, the cause may be the main shutoff, pressure regulator, plumbing scale, or the water supply itself.
Check whether the problem affects one faucet or the whole home
Turn on a nearby bathroom faucet, the kitchen faucet, and the shower for a few seconds. Compare the stream rather than judging one fixture in isolation. A single weak faucet points toward its aerator, hose, valve, or cartridge. Weak flow throughout the home needs a different diagnosis and may require a licensed plumber, especially when pressure changed suddenly.
Clean the bathroom faucet aerator
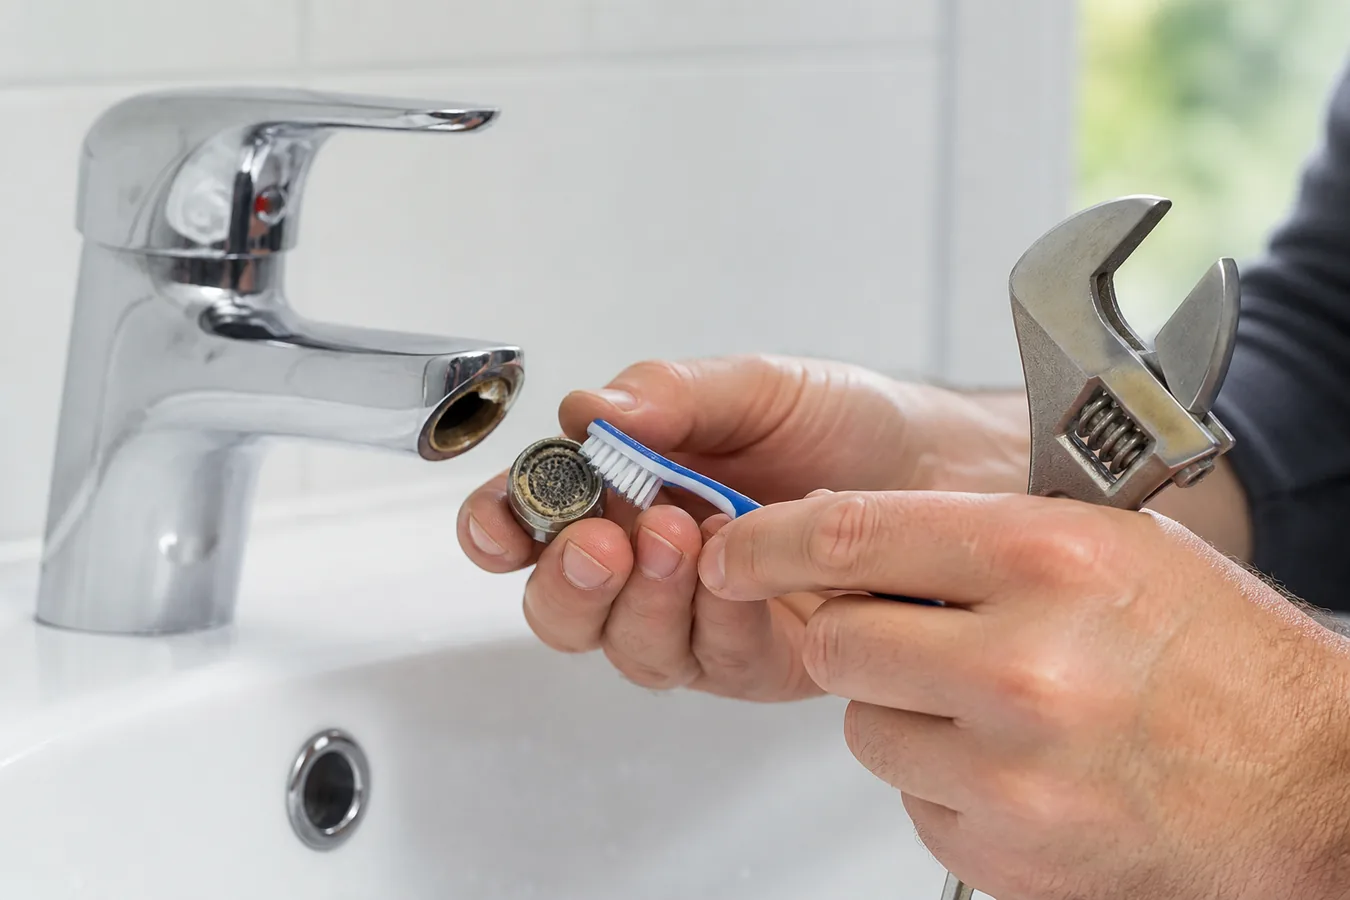
The aerator is the small screen threaded into the faucet tip. Mineral particles and scale can block its openings while the rest of the plumbing remains normal. Protect the finish with a cloth, unscrew the aerator by hand if possible, and place small parts in a dish. Rinse the screen, brush away deposits, and soak stubborn mineral buildup in diluted white vinegar before rinsing thoroughly.
- Close the drain or cover it so the small screen and gasket cannot fall into the pipe.
- Keep the parts in order; some aerators have a flow restrictor, washer, or insert.
- Reinstall it by hand first so the threads do not cross; tighten only enough to stop leaking.
Confirm the shutoff valves are fully open
Look beneath the sink for the hot and cold shutoff valves. A valve may be partly closed after earlier plumbing work or cabinet cleaning. Turn each handle slowly toward the open position, without forcing a corroded valve. Test the faucet after each change. If a valve will not turn, leaks around the stem, or fails to stop the water, do not force it; that is a repair issue of its own.
Test hot and cold water separately
Open the cold side, then the hot side, and compare the streams. Weak flow on one side can point to one shutoff valve, one supply hose, or a blockage near the cartridge. Weak flow on both sides makes an aerator, shared hose, faucet cartridge, or broader supply problem more likely. This simple comparison prevents replacing a cartridge before the fault is narrowed down.
Inspect the supply hoses for kinks or blockage
Flexible supply lines can bend sharply inside a crowded vanity cabinet. A kink reduces the opening even when the shutoff valve is open. Straighten the hose gently and look for crushing, corrosion, or a damaged connector. Do not disconnect a pressurized line casually. If the hose is old or visibly damaged, shut off the water and replace it with the correct connection size, or have a plumber do the work.
When the faucet cartridge may be restricted
If the aerator is clean, valves are open, hoses are clear, and only this faucet has low flow, the cartridge becomes a reasonable suspect. Sediment can lodge in the inlet screens, while mineral deposits can limit the internal passage. Cartridge removal varies by faucet brand. Photograph the handle and retaining parts before disassembly, shut off both supplies, and use the manufacturer model number to identify the correct replacement.
When low water pressure needs professional help
Call a qualified plumber when pressure drops across several fixtures, the change is sudden, a pipe is leaking, the shutoff valve will not operate, or the home has older galvanized plumbing that may be restricted internally. A pressure test can separate a faucet problem from a supply problem. Avoid repeatedly replacing parts when the evidence points upstream.
Common mistakes to avoid
- Do not poke the aerator with a sharp object that can damage the screen.
- Do not force a seized shutoff valve or overtighten a plastic fitting.
- Do not replace a cartridge before checking the aerator and valves.
- Do not ignore a sudden whole-home pressure change or visible leak.
Compare the bathroom faucet with the rest of the home
Before taking the faucet apart, compare its flow with another bathroom faucet and with the cold and hot sides of the same fixture. Low flow at one faucet usually points to an aerator, cartridge, supply stop, or local debris. Low flow at several fixtures can point to a pressure-regulator setting, a main supply issue, or plumbing scale elsewhere. That comparison prevents a homeowner from opening a good faucet when the real problem is not local.
Check the aerator first
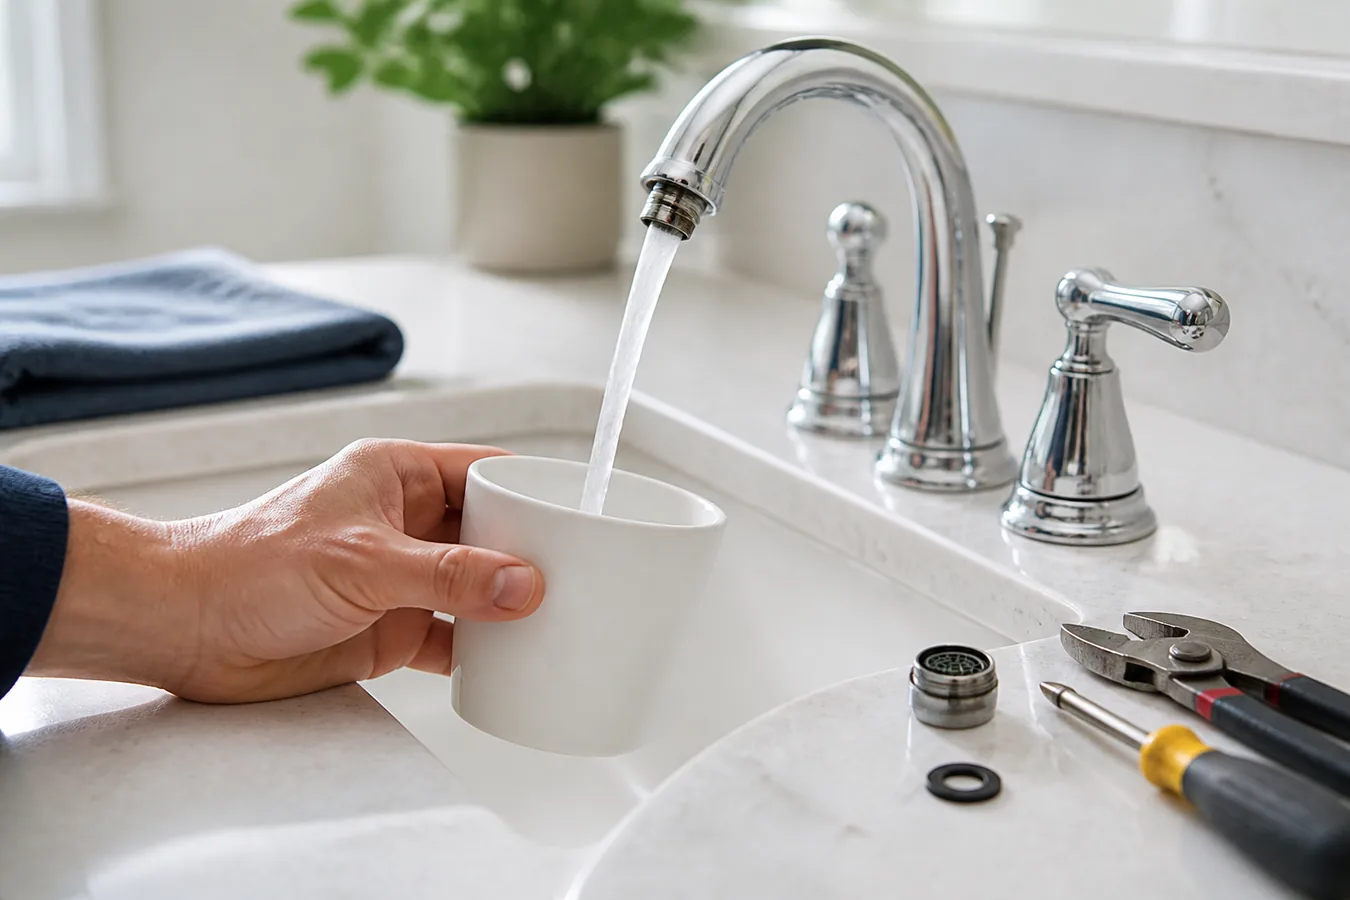
The aerator is the screened tip at the end of the spout. It is a common catch point for mineral particles, sediment, and small pieces of worn washer material. Cover the drain, unscrew the aerator carefully, and keep its screen, housing, and gasket in order. Rinse loose debris and use a soft brush where needed. Test the faucet briefly with the aerator removed while keeping the stream directed into the basin. Strong flow without the aerator makes the next step clear: clean or replace the correctly matched aerator rather than opening the valve body.
Separate a hot-side problem from a cold-side problem
If only hot or only cold water is weak, the restriction may be at that side’s stop valve, supply hose, or portion of the cartridge. Confirm both stop valves are fully open without forcing an old corroded handle. Look for a sharply bent flexible supply hose or visible leak. Do not loosen a supply connection until the valve has been tested and the area is protected. A pressure difference between sides is useful evidence; it narrows the check and reduces unnecessary disassembly.
Inspect the cartridge only after the simple checks
A cartridge can restrict water when mineral buildup or debris blocks its internal passages, but it should not be the first part replaced on every low-flow faucet. Shut off both supplies, photograph the handle and trim arrangement, and identify the faucet model before removing retaining clips or nuts. Compare the old cartridge with an exact replacement and clean the accessible valve body only as the manufacturer allows. A nearly matching cartridge can create handle alignment problems or a new leak, so fit matters as much as the symptom.
Look for supply-side warning signs
Stop DIY work when low pressure is paired with discolored water, repeated debris after cleaning, a leaking shutoff, damaged flexible hose, or a sudden pressure drop throughout the home. Those conditions can be beyond the faucet. A plumber can test pressure at the appropriate point and identify a restriction without damaging old valves or connections. Do not try to compensate by forcing a valve open or removing a corroded fitting under pressure.
Test the repair in a useful order
Restore water slowly, run cold and hot water separately, and then operate the faucet through its normal range. Check the aerator, handle base, supply connections, and cabinet floor with a dry tissue. Note whether the flow is steady and whether the repair changed both sides equally. A good repair improves the original symptom without creating a drip, spray, or handle problem. Recheck later after the faucet has been unused so a slow leak is not missed.
Avoid shortcuts that can create a new leak
Do not force a stuck aerator with pliers directly on its finished surface, and do not use a chemical drain cleaner to solve weak faucet flow. Both can damage parts without removing the restriction. Skip thread tape on an aerator unless the manufacturer calls for it; an aerator usually seals with its own gasket. If a retaining nut or old shutoff valve resists normal hand-tool pressure, stop rather than turning a simple flow problem into a broken fitting inside the wall or cabinet.
Keep a simple before-and-after record
Take one photo of the aerator parts and one of the supply connections before reassembly. Then note whether the weak stream affects cold water, hot water, or both. That small record makes it easier to put the screens and gaskets back in the correct order and helps identify whether a later change came from the repair or from a broader household pressure issue.
Frequently asked questions
Why is only one bathroom faucet low pressure?
A practical order for troubleshooting the faucet
Work from the outside in. First observe whether the stream is weak at the spout, then remove the aerator, check both shutoff valves, and test hot and cold water independently. Only after those steps should you disconnect a hose or open the faucet body. This order matters because the easiest obstruction is also the most common, and opening a cartridge adds the chance of losing a small clip, spring, or gasket.
Before starting, clear the cabinet and place a towel underneath the plumbing. Keep a small container nearby for the aerator parts and a flashlight for the rear of the valve. If the bathroom has a flexible vanity connection, make sure the cabinet door will not press on the supply lines when it closes. A kink created by the cabinet door can mimic a plumbing restriction.
How to tell a faucet restriction from low house pressure
Compare the faucet with a fixture on the same floor and note whether the weak flow changes when another tap opens. A local faucet restriction normally stays limited to one outlet. A supply pressure problem may affect multiple rooms, change at different times of day, or appear after work on the municipal line. If the property uses a well, a pressure tank or filter can also affect flow and should be checked by someone familiar with that system.
Do not rely only on the visual size of the stream. A modern aerator can create a controlled, aerated flow that looks different from an older faucet. The useful comparison is whether the flow changed from its normal behavior and whether hot and cold sides behave differently. If the faucet has an integrated flow limiter, replace it only with the manufacturer-approved part rather than removing it permanently.
What to record before buying replacement parts
Take photos of the faucet from above and below, the handle, the spout, and any brand marking. Note whether it is single-handle or two-handle, whether the spray head pulls out, and whether the supply connections are threaded or push-fit. Record the cartridge shape only after the water is off and the retaining hardware is removed. These details reduce the risk of buying a visually similar part that does not seal correctly.
- Keep the faucet brand and model number with the removed part or photograph it before visiting a hardware store.
- Replace damaged rubber seals rather than reusing a flattened gasket that can leak after reassembly.
- Flush a disconnected supply line into a bucket briefly only when the water is safely isolated and the connection is secure.
- Open the faucet slowly after repair and inspect every connection with a dry tissue for several minutes.
A clogged aerator, partly closed shutoff valve, kinked hose, or restricted cartridge is more likely when the rest of the home has normal flow.
Can a dirty aerator reduce water pressure?
Yes. Scale and sediment can block the small openings and make the stream look weak even when the supply pressure is normal.
Should I replace the faucet if cleaning does not help?
Not immediately. Check the shutoff valves, hoses, and cartridge first. Replace the faucet when the body is corroded, parts are unavailable, or repair cost is close to a suitable replacement.
Conclusion
Start with the aerator, then verify the valves, hot-and-cold flow, and supply hoses. Those checks solve many single-faucet flow problems without unnecessary replacement. When several fixtures are weak or the change is sudden, investigate the home supply instead of treating one faucet as the cause.
Sponsored / affiliate links. As an Amazon Associate I earn from qualifying purchases. I may earn additional commission from eligible campaigns.
 Water Flow Control Shut Off Valve with Brass Adjustable Hand Level Water Pressure Regulator for Hand Held Shower Head & Bidet Sprayer, Brushed Nickel Water Saver G1/2
 Faucet Hose Connector, 39 Inch Length Faucet Water Supply Lines 2 PCS Braided Stainless Steel 3/8" Comp x 1/2" Comp for Bathroom Kitchen Sink Faucet (1 Pair)