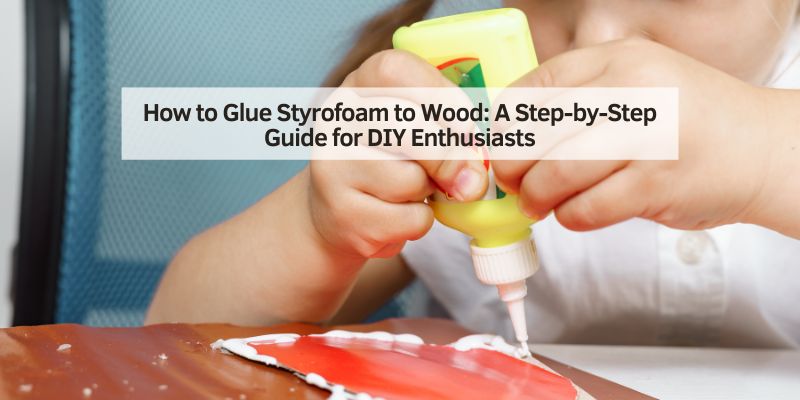
How to Glue Styrofoam to Wood: A Step-by-Step Guide for DIY Enthusiasts
Hey there, friend! I’m so excited to sit down with you today and dive into a fun, hands-on topic I’ve explored myself: how to glue Styrofoam to wood. If you’re in the USA and love DIY projects—maybe for your car, home, or a craft—this is a skill you’ll find super useful! I’ve tinkered with this for various projects, from insulating a garage for my automotive workspace to creating custom props. Gluing Styrofoam to wood can be tricky, but I’ve got the tricks to make it easy and strong. So, grab a seat, and let’s get started on this creative journey together!
Why Glue Styrofoam to Wood?
Let’s start with the why. I first tried this when I wanted to insulate a wooden toolbox for my car gear. Styrofoam is lightweight, affordable, and great for insulation—perfect for keeping tools cool or building models. Wood, on the other hand, is sturdy and reliable, like the frame of a classic car.
Combining them gives you the best of both! It’s awesome for crafts, home repairs, or even car-related projects like soundproofing a trunk. But here’s the catch: Styrofoam is delicate, and not all glues work. I learned this the hard way when my first attempt melted the foam! Don’t worry—I’ll guide you to success. Ready? Let’s move on!
Understanding Styrofoam and Wood
Before we glue, let’s get to know our materials. I was curious about this too. Styrofoam is a type of polystyrene foam—light, porous, and a bit fragile. It’s great for insulation or padding, but some glues dissolve it. I found that out when I grabbed the wrong adhesive once!
Wood comes in many types—pine, plywood, oak, and more. I used plywood for a project because it’s smooth and strong. The surface matters—rough wood needs more prep than smooth. Moisture and finish on the wood can affect the bond, too. Knowing this helped me pick the right glue and method. It’s like tuning a car—you need to understand the parts!
Choosing the Right Glue
Picking the right glue is super important. I tried a few before I got it right. Not all adhesives work with Styrofoam—it’s sensitive to solvents in some glues, like super glue or spray paint, which melt it.
I found these winners: white craft glue, like Elmer’s, is safe and easy. It’s water-based and gentle. Hot glue works fast—my go-to for quick projects—but use a low-temp gun to avoid melting. Construction adhesive, like Liquid Nails for foam, is strong for big jobs. I also tried PVA glue—great for a solid bond. Avoid solvent-based glues like epoxy or crazy glue unless they’re labeled “foam-safe.” I learned to check labels—saved me a mess! Pick one that fits your project. What are you making?
Tools and Materials You’ll Need
Let’s gather our stuff! I like being prepared—it makes the job smooth. Here’s what I used.
You’ll need your glue—white craft glue or hot glue worked for me. Grab Styrofoam sheets or pieces and your wood, cut to size. A utility knife or saw cuts Styrofoam cleanly. I used sandpaper to smooth the wood. Clamps or heavy books hold things while drying. A clean cloth and water are handy for spills. I also had a measuring tape, a pencil, and a drop cloth to protect my table. Safety gear—gloves and glasses—keeps you safe. I was ready to roll! Got your supplies? Let’s prep!
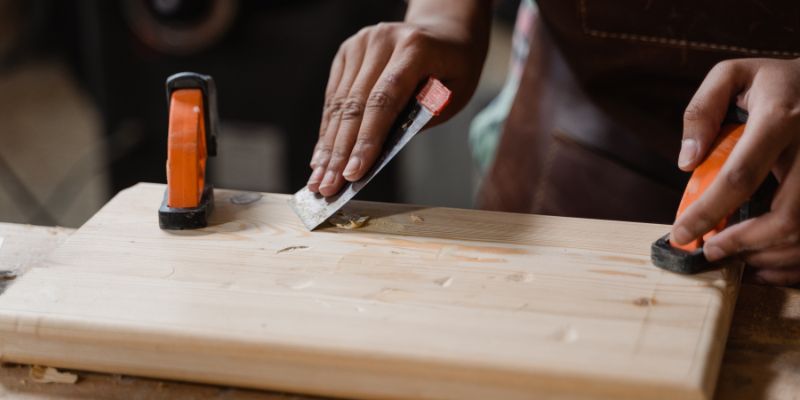
Preparing the Surfaces
Prep is key, friend! I skipped this once, and my bond was weak. Let’s do it right.
Start with the wood. I sanded mine with medium-grit sandpaper—about 120-grit—to make it smooth. Rough spots can weaken the glue. Wipe off dust with a damp cloth—mine was clean and dry after. Check for paint or varnish. If it’s coated, sand lightly to help the glue stick.
For Styrofoam, be gentle. I cut mine to size with a utility knife—slow and steady avoids crumbling. Don’t sand it—it breaks easily. Just brush off any loose bits. I made sure both pieces fit together well. A good fit means a strong bond. Looks good? You’re ready!
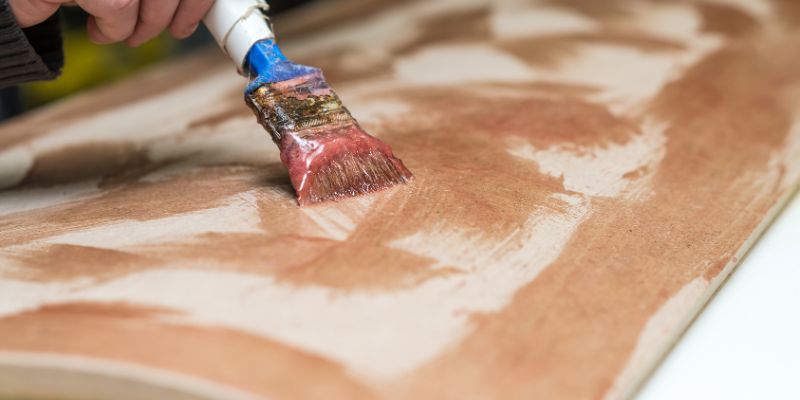
Applying the Glue Properly
Now, the fun part—gluing! I was excited to see this come together. Here’s how I did it.
If using white craft glue, spread a thin, even layer on the wood. I used a brush or my finger—kept it light to avoid soaking the foam. For hot glue, I used a low-temp gun. I dabbed small dots or lines—too much heat melts Styrofoam, so I worked fast. Construction adhesive needs a caulk gun—apply a thin bead.
Put glue on the wood, not the foam—it’s stronger that way. I learned to cover the whole surface but not drown it. Press the Styrofoam to the wood gently. Line it up right—once it sticks, it’s tough to move. I got a solid start! You try it!
Securing the Bond
Holding it together is next. I had to be patient here—rushing can ruin it.
Press the Styrofoam to the wood firmly but gently. Don’t squash the foam—I did that once, and it cracked! If using white glue, I clamped it lightly with clamps or stacked books on top. Hot glue sets fast—in 30 seconds—so I held it by hand. Construction adhesive takes longer—check the label, maybe 24 hours.
I let mine sit on a flat surface. Keep it steady—no wiggling! I checked for gaps and pressed again if needed. Patience pays off here. Your bond is forming—nice job!
Drying Time and Conditions
Drying is crucial. I learned this affects the strength big time.
White craft glue takes 24 hours to fully dry. I let mine sit overnight—kept it cool and dry. Hot glue sets in minutes but gets stronger in a few hours. I didn’t touch it right away. Construction adhesive can take 24-48 hours—check the tube.
Keep it away from heat or humidity. I set mine in my garage—good airflow, no direct sun. Don’t move it while drying—mine shifted once, and I had to redo it. A steady, dry spot is best. How’s yours looking?
A Handy Table for Glue Options
I made a table to help you choose and plan. It saved me time—hope it helps you!
| Glue Type | Best For | Dry Time | Strength | Tip |
|---|---|---|---|---|
| White Craft Glue | Small crafts | 24 hours | Moderate | Spread thin, clamp |
| Hot Glue (Low-Temp) | Quick projects | 30 sec to 2 hrs | Good | Use low heat, work fast |
| Construction Adhesive | Big, heavy projects | 24-48 hours | Very strong | Apply with caulk gun |
| PVA Glue | General use | 24 hours | Strong | Apply with a caulk gun |
This table guided my choice. Pick what fits your needs!
Testing the Bond
Time to check your work! I was nervous but excited to test mine.
After drying, gently tug the Styrofoam. I tried lifting it—did it stick? If it’s loose, the glue might not have set. I checked edges for gaps—mine was solid. Press lightly—Styrofoam shouldn’t crack or peel off.
If it’s weak, don’t panic. I added more glue to a spot once and let it dry again. A strong bond holds firm without breaking the foam. Mine passed the test! Yours should too. Looks good, right?
Safety Tips to Keep in Mind
Safety matters, friend! I learned a few tricks to stay safe.
Work in a well-ventilated area—glue fumes can be strong. I opened my garage door. Wear gloves—glue on hands is messy. I got some on mine once—sticky! Safety glasses protect your eyes from splashes.
Keep glue away from kids and pets. I stored mine high up. If using hot glue, watch the heat; low-temp is safer. I burned my finger once—ouch! Clean spills with a damp cloth right away. Stay safe, and you’ll be fine!
Uses for Your Styrofoam-Wood Project
I love how versatile this is! Here are ideas from my experience.
I insulated a wooden box for car tools—Styrofoam kept them cool. It’s great for soundproofing too. I lined my car trunk with it—less noise! Crafts are fun—think model cars or signs. I made a display for a car show—looked awesome.
Home projects work too—insulate a shed or build a float for a parade. It’s lightweight and strong. I even padded a workbench. What will you make? The possibilities are endless!
Maintenance and Longevity
Keeping your project lasting is easy. I’ve got tips from my tries.
Check the bond over time. Mine held up, but humidity can weaken it. Keep it dry—water softens some glues. I store mine in a dry garage. Dust it with a soft cloth—don’t scrub the foam.
If it loosens, add a little glue. I fixed a corner once—good as new! Avoid heavyweight—Styrofoam isn’t super tough. Mine’s lasted years with care. A little love keeps it strong!
My Personal Tips for Success
I’ve learned a lot, and I’d love to share my tricks. Test your glue first—dab a bit on scrap foam. I did, and it saved me! Work slowly—rushing messes things up. Use light pressure—Styrofoam cracks easily.
Buy quality glue—cheap stuff failed me. Measure twice, cut once—my fit was perfect that way. Clean your space—I tripped over tools once! Be patient with drying. I got better each time. You’ll nail this, friend!
Conclusion
Well, friend, we’ve had a blast together! I’ve walked you through how to glue Styrofoam to wood—from picking the right glue to testing the bond. I shared my journey, like sanding wood, using hot glue, and fixing mistakes. We even looked at a table for glue options and fun uses for car and home projects. I love this skill—it’s helped me insulate, craft, and soundproof, all with a DIY spirit like tuning a car. You can do this! Grab your tools, follow my steps, and create something amazing. I’m proud of you—let’s make your project stick and shine!
FAQ
Why glue Styrofoam to wood?
It’s great for insulation, crafts, or soundproofing. I used it for a car toolbox—worked perfectly!
What glue works best?
White craft glue, low-temp hot glue, or construction adhesive. I like hot glue for quick jobs.
Can any glue work?
No! Some melt Styrofoam. I avoid solvent-based ones—check for “foam-safe” on the label.
What tools do I need?
Glue, sandpaper, a knife, clamps, and a cloth. I used a measuring tape too—kept me on track.
How do I prep the surfaces?
Sand the wood smooth, wipe it clean. I brush off loose bits from Styrofoam—gently does it!
How much glue should I use?
A thin layer works. I spread it lightly on the wood—too much can weaken it.
How long does it take to dry?
White glue takes 24 hours. Hot glue sets fast—30 seconds. I let mine sit to be sure.
Is it safe to do this?
Yes, with care! I wear gloves, open windows, and keep glue away from kids. Stay safe!
What can I make with this?
Insulate a box, soundproof a car, or craft models. I made a car show display—loved it!
How do I keep the bond strong?
Keep it dry, dust it gently. I check mine and add glue if needed—lasts years!