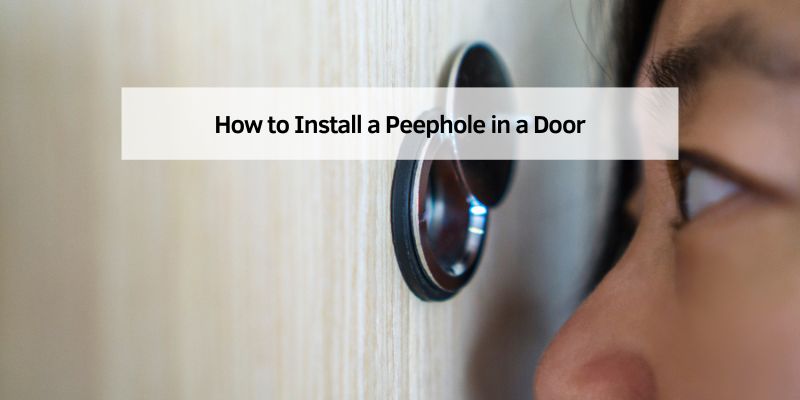
How to Install a Peephole in a Door
sHey there! If you’ve ever wanted to boost your home’s security without breaking the bank, installing a peephole in your door is a fantastic place to start. I remember the first time I installed one in my own front door—it felt like such a small change, but it made me feel so much safer knowing I could see who was outside before opening the door. A peephole is simple, affordable, and something you can totally tackle yourself, even if you’re not a DIY pro. In this guide, I’m going to walk you through every step of the process, share some tips from my own experience, and make sure you feel confident to get this done. Let’s dive in and make your home a little safer, one peephole at a time!
Why Install a Peephole?
A peephole might seem like a small addition, but it’s a game-changer for home security. When I moved into my first apartment, I didn’t have one, and I hated not knowing who was knocking. A peephole lets you see who’s at your door without opening it, which is especially helpful if you live alone or have kids. It’s also great for avoiding unwanted visitors or deliveries you’re not expecting. Plus, it’s a low-cost project—most peepholes cost between $10 and $30, and you can install one in under an hour. It’s a quick win for peace of mind.
Beyond security, a peephole adds convenience. I’ve used mine to check if a package was left outside or to see if my neighbor was dropping by for a quick chat. It’s a small feature that makes a big difference in how you interact with the world outside your door.
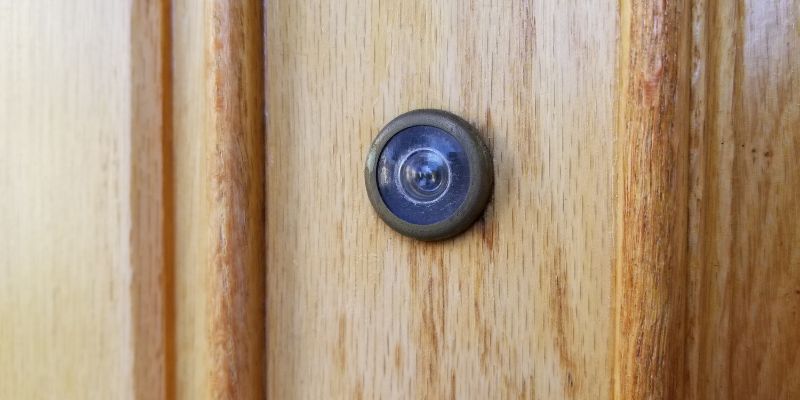
Choosing the Right Peephole for Your Door
Picking the right peephole is key to making sure it works well and looks good. I learned this the hard way when I bought a cheap one that fogged up in cold weather. Here’s what you need to know to choose the perfect peephole.
First, consider your door’s material. Most peepholes work with wood, fiberglass, or metal doors, but you’ll need to check the thickness. Standard doors are about 1-3/8 to 1-3/4 inches thick, so most peepholes are designed to fit that range. If you have a thicker or custom door, look for an adjustable peephole.
Next, think about the viewing angle. A good peephole offers a wide-angle view—usually 180 to 200 degrees—so you can see more of what’s outside. I went with a 200-degree peephole for my front door, and it lets me see from the ground up to about head height, which is perfect.
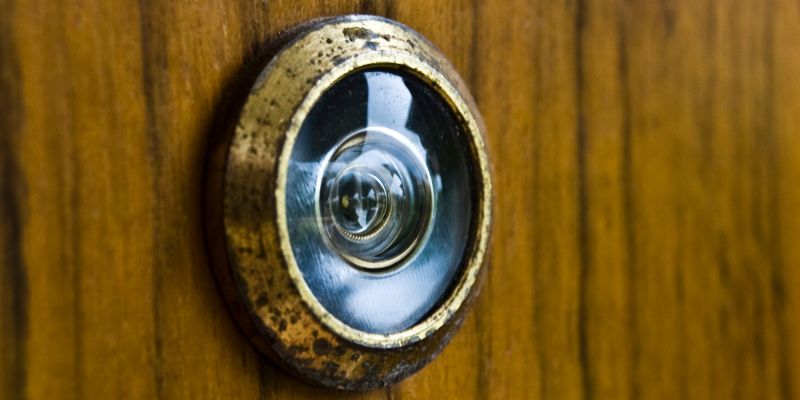
You’ll also want to decide on the finish. Peepholes come in brass, chrome, nickel, or black, so pick one that matches your door’s hardware. I chose a brushed nickel one to blend with my doorknob, and it looks seamless. Lastly, check for features like a privacy cover, which prevents people outside from looking in. It’s a small detail, but it adds an extra layer of security.
Here’s a quick table to help you compare some popular peephole options:
| Brand/Model | Viewing Angle | Door Thickness | Finish Options | Privacy Cover | Price Range |
|---|---|---|---|---|---|
| Defiant Standard Peephole | 180° | 1-3/8″ to 1-3/4″ | Brass, Chrome | No | $10-$15 |
| Schlage Wide-Angle Peephole | 200° | 1-3/8″ to 2-1/2″ | Nickel, Black | Yes | $15-$25 |
| Prime-Line Adjustable Peephole | 160° | 1-3/8″ to 2-1/4″ | Brass, Chrome | Yes | $12-$20 |
Tools and Materials You’ll Need
Before you start, gather your tools and materials. I like to have everything ready so I’m not running to the hardware store mid-project. Here’s what I used when I installed my peephole:
- Peephole kit (includes the viewer and lens)
- Drill with a 3/8-inch or 1/2-inch spade bit (check your peephole’s instructions for the exact size)
- Measuring tape
- Pencil or marker
- Screwdriver (usually Phillips)
- Painter’s tape (optional, but helpful)
- Safety glasses
- Dust cloth or vacuum for cleanup
Most peephole kits come with everything you need except the tools. Double-check the box to make sure your kit includes both the interior and exterior pieces. If you don’t have a spade bit, you can pick one up for about $5 at any hardware store. I already had a drill, but if you don’t, a basic cordless one will do the job and come in handy for other projects.
Step-by-Step Guide to Installing a Peephole
Now, let’s get to the fun part—installing the peephole! I’ll break it down into simple steps so you can follow along easily. This is exactly how I did it, and it worked like a charm.
Step 1: Choose the Peephole Height
The first thing you need to do is decide where to place the peephole. I stood on both sides of my door to figure out a height that felt comfortable. For most people, 60 inches from the floor is a good spot—it’s about eye level for the average adult. If you have kids or shorter family members, you might go a bit lower, around 54 to 58 inches. Use a measuring tape to mark the spot with a pencil. I put a small piece of painter’s tape on the door first and marked on that to avoid scratching the finish.
Step 2: Check for Obstructions
Before you drill, make sure there’s nothing in the way inside the door. Some doors have insulation, wiring, or structural supports that could complicate things. I tapped on my door and listened for hollow spots to confirm it was clear. If you have a solid-core door, drilling might take a bit more effort, but it’s still doable. If you’re unsure, check with your door’s manufacturer or tap around to find a hollow area.
Step 3: Drill the Hole
This is the part that might feel a bit nerve-wracking, but don’t worry—it’s easier than it seems. Put on your safety glasses, grab your drill, and attach the spade bit recommended by your peephole’s instructions (usually 3/8 or 1/2 inch). Start on the interior side of the door. Hold the drill steady and drill straight through at your marked spot. Go slowly to avoid splintering the wood or damaging the door’s finish. I found it helpful to drill halfway from the inside, then switch to the outside to finish the hole. This keeps the edges clean.
Once the hole is drilled, wipe away any sawdust with a dust cloth or vacuum it up. I was surprised how little mess it made, but it’s good to keep things tidy.
Step 4: Install the Peephole
Your peephole kit should have two main parts: the lens (which goes on the outside) and the viewer (which goes on the inside). Take the lens piece and insert it into the hole from the outside of the door. Then, from the inside, screw the viewer piece into the lens. Most peepholes are designed to thread together easily, but you might need a screwdriver to tighten them. I used a Phillips screwdriver to snug mine up, but I was careful not to overtighten and strip the threads.
Step 5: Test and Adjust
Once it’s installed, look through the peephole to make sure it’s clear and gives you a good view. I walked outside and had my partner look through to test the angle. If it’s blurry or misaligned, loosen the viewer and adjust the lens slightly. Tighten everything back up when you’re happy with the view. My first try wasn’t perfect, so I tweaked it a bit, and it made a big difference.
Tips for a Professional-Looking Installation
When I installed my peephole, I picked up a few tricks that made the process smoother and the result look polished. First, use painter’s tape around the drill area to protect your door’s finish. It’s a lifesaver if your drill slips. Second, if your door is metal, go extra slow with the drill to avoid overheating the bit. I also recommend testing the peephole’s view before fully tightening it—you might need to adjust the angle slightly for the best view.
If your door has a textured surface, like mine did, make sure the peephole sits flush. Some kits come with a small rubber gasket to help with this. Lastly, clean the lens with a soft cloth after installation to remove any fingerprints or dust. It sounds minor, but it makes the view crystal clear.
Common Mistakes to Avoid
I’ll be honest—I made a couple of rookie mistakes when I first tried this. One was not checking the door’s thickness before buying the peephole. I almost ended up with one that was too short for my door. Always measure first! Another mistake was drilling too fast, which caused a bit of splintering on the inside edge. Go slow and steady to keep things clean.
Also, don’t skip the safety glasses. A tiny piece of wood or metal can fly up, and it’s not worth the risk. Finally, make sure you’re drilling straight. If the hole is angled, the peephole won’t sit right, and you’ll have a hard time seeing through it.
Maintaining Your Peephole
Once your peephole is installed, it doesn’t need much upkeep, but a little care goes a long way. I clean mine every few months with a soft cloth and some glass cleaner to keep the lens clear. If you live in a humid or cold area, check for fogging or condensation. My first peephole fogged up in winter, so I replaced it with a higher-quality one with better sealing.
If you notice the peephole loosening over time, just tighten it with a screwdriver. It’s rare, but it can happen with frequent door slamming. Also, if you have a privacy cover, make sure it moves smoothly and doesn’t get stuck.
Benefits of a Peephole Beyond Security
Sure, a peephole is great for safety, but it’s also super practical. I love that I can check for packages without opening the door, especially during bad weather. It’s also handy for avoiding those unexpected salespeople or visitors when you’re just not in the mood. For families with kids, it’s a great way to teach them about stranger danger—they can look through the peephole before calling for an adult.
I’ve also found it helpful for accessibility. My elderly neighbor struggles to get to the door quickly, so her peephole lets her see who’s there without rushing. It’s a small thing that makes daily life easier for a lot of people.
When to Call a Professional
Most people can handle this project themselves, but there are times when a professional might be the better choice. If your door is unusually thick, has complex wiring (like for a smart doorbell), or is made of a material like glass or heavy steel, a locksmith or handyman can ensure it’s done right. I called a pro once for a rental property with a custom door, and it saved me a lot of hassle.
If you’re not comfortable using a drill or don’t have the right tools, it’s worth spending $50-$100 to have someone install it for you. It’s still a small price to pay for the added security.
Conclusion
Installing a peephole in my door was one of the easiest home improvement projects I’ve ever tackled, and it’s made such a big difference in how safe and confident I feel at home. It’s amazing how something so small can give you so much peace of mind. From picking the right peephole to drilling the hole and testing the view, this is a project anyone with a drill and a little patience can handle. I hope this guide has given you the confidence to try it yourself. Grab your tools, pick a peephole that matches your style, and enjoy the extra security and convenience it brings. You’ve got this!
Frequently Asked Questions
Can I Install a Peephole in Any Type of Door?
Yes, you can install a peephole in most doors, including wood, fiberglass, and metal. Just make sure the peephole is designed for your door’s thickness. For glass or very thick doors, you might need a special kit or a professional’s help.
How Long Does It Take to Install a Peephole?
It usually takes about 30 to 60 minutes, depending on your experience. My first time took closer to an hour because I was being extra careful, but now I could probably do it in half that time.
Do I Need Special Tools to Install a Peephole?
You’ll need a drill with the right-sized spade bit, a measuring tape, a pencil, and a screwdriver. Most households have these already, but you can get a spade bit for cheap if you don’t have one.
Can I Install a Peephole in a Rental Property?
Check with your landlord first, as some don’t allow permanent changes. If you get the green light, a peephole is easy to install and remove without damaging the door. I’ve done this in rentals with no issues.
What’s the Best Height for a Peephole?
Around 60 inches from the floor works for most adults. If you have shorter family members or kids, you might lower it to 54-58 inches. Test the height by standing on both sides of the door to make sure it feels right.