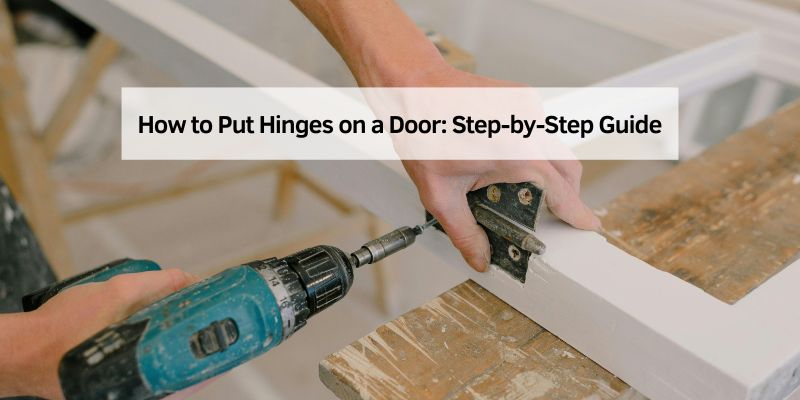
How to Put Hinges on a Door (Sizes, Placement & Mortising)
What Size Hinges Do I Need for My Door?
Standard 3.5-inch hinges suit most hollow-core interior doors, but solid-core interior doors and exterior doors need 4-inch, heavy-weight hinges rated for more load per ANSI/BHMA A156.1. Matching hinge size to door weight prevents sagging over time.
Why Does My Hinge Sit Proud Instead of Flush?
The mortise wasn’t cut as deep as the hinge leaf is thick. Check with a straightedge across the joint – if the hinge barrel sticks up, chisel a bit deeper rather than forcing the screws, which can crack the wood.
Mortise the door first, then use the hung door as a template to mark the frame – most 2-hinge hollow-core doors are fine, but solid-core or exterior doors need 3 hinges (4-inch, heavy-duty) per ANSI/BHMA A156.1 load ratings. Skipping this sequence is why frame mortises so often come out misaligned. This guide covers hinge sizing, positioning, fitting (mortising), and full installation.
Tools And Materials Needed
Essential tools include a screwdriver, drill, and measuring tape. Materials needed are hinges, screws, and a pencil for marking. Accurate measuring ensures proper alignment and smooth door operation.
Essential Tools
A screwdriver, drill, tape measure, pencil, level, chisel, and hammer cover the job – add safety glasses since chiseling throws small chips.
Required Materials
Beyond the hinges and screws themselves, keep wood filler and sandpaper on hand for any gaps or rough spots, plus protective gloves while handling the door.
Preparing The Door And Frame
Measure the door carefully. Begin with its height. Use a tape measure for accuracy. Next, measure the width. Ensure the door is level. This helps it fit right. If the door is uneven, trim it. A straight door is important. Check the thickness too. This affects hinge size.
See our guide on preparing a door for hinges for surface-prep details. Mark where hinges will go. Typically, three hinges are needed. One near the top. Another near the bottom. The third in the middle. Use a pencil for marking. Ensure marks are clear. Keep them straight. Measure from the top down. Place each mark evenly. This ensures the door opens well.
Choosing The Right Hinges
📊 Hinge gauge matters as much as size: a 4.5-inch heavy-weight hinge (7-gauge, 0.180″) rates around 60 lbs of door weight per hinge, versus roughly 40 lbs/hinge for a standard-weight 3.5-inch hinge. Butt-hinge grading itself is governed by ANSI/BHMA A156.1. Source: Waterson USA, Hinge Sizing Guide
There are many types of hinges for doors. Butt hinges are common for homes. They are strong and easy to use. Concealed hinges hide inside the door. These give a clean look. Piano hinges run the full length of the door. They are best for heavy doors.
Hinges come in different sizes. Check the door weight. Heavy doors need larger hinges. Choose the right material too. Metal hinges are very strong. Brass and stainless steel are popular. They resist rust. Wood doors often use brass hinges. Always match the hinge size to the door size. For a deeper look at orientation, see our guide on which side of the hinge goes on the door, or browse our full door hardware and locks hub.
Best Door Hinge Pick
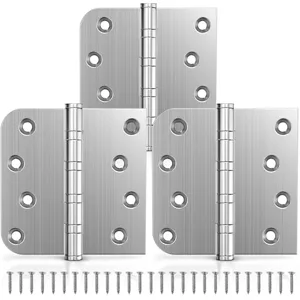
KOLET Ball Bearing 4×4 Inch Door Hinges
Ball-bearing 4-inch hinges sized for solid-core interior and exterior doors, per this guide’s sizing rule.
- Best for: Solid-core interior doors and exterior doors needing 4-inch heavy-duty hinges
- Why we picked it: Ball-bearing action holds up under the higher door weight this guide’s sizing rule calls for
- Main drawback: Costs more than plain-bearing 3.5-inch hinges most hollow-core doors don’t need
Compare more hinge and mortising options
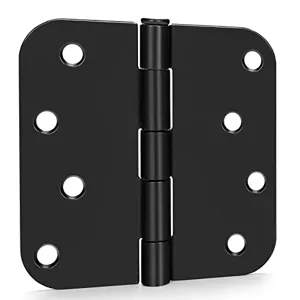 Option 1 goldenwarm 4×4 Inch Heavy Duty Hinges (3-Pack)
|
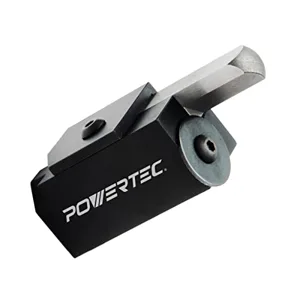 Option 2 POWERTEC Spring-Loaded Square Corner Mortise Chisel
|
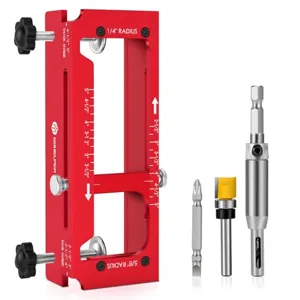 Option 3 Aluminum Door Hinge Jig Template Kit for Router
|
As an Amazon Associate we earn from qualifying purchases.

Positioning The Hinges
First, hold the hinge against the door edge. Make sure the hinge is straight. The hinge should not tilt or lean. Use a pencil to mark the holes. These marks will guide you when drilling. Align the hinge with the door frame too. Both sides need to match. This ensures the door swings well.
Keep the top hinge 5 inches from the door top. The bottom hinge should be 10 inches from the bottom. This spacing helps balance the door. If the door is heavy, use three hinges. The middle hinge goes in the center. Even spacing is key. It makes the door sturdy and stable.
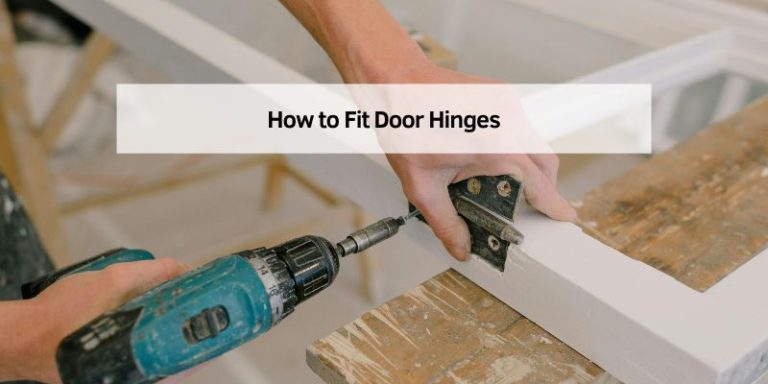
How to Fit Door Hinges (Marking, Scoring & Mortising)
Fitting is the marking-and-cutting stage, distinct from screwing the hinge down – it’s what determines whether the leaf sits flush or proud. The sequence that avoids a misaligned frame mortise: mortise the door first while it’s flat and easy to clamp, then prop the door in the opening and use the door’s own cut mortises as the template for marking the frame – rather than measuring the frame independently.
- Trace the outline: Hold the hinge leaf against the door edge and score around it with a utility knife. This prevents the wood grain from tearing out when you chisel.
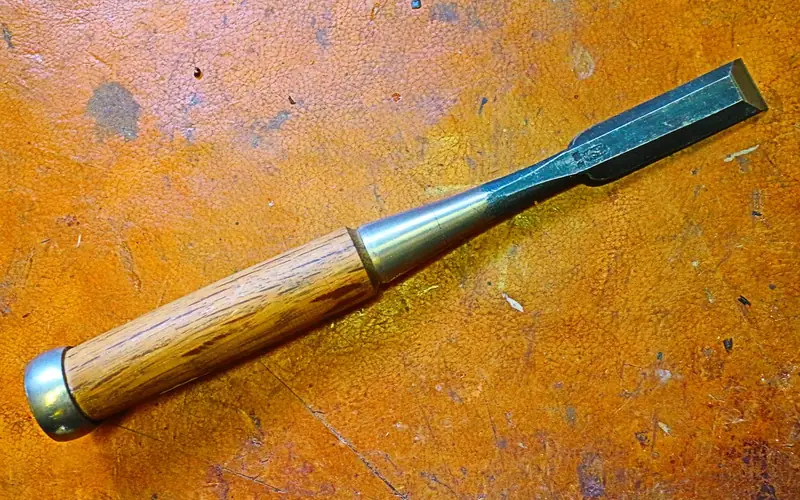
- Chisel in shallow passes: Work the chisel at a slight angle in 1/4-inch increments rather than trying to remove the full depth in one pass – this keeps the cut controlled and flat.
- Match depth to leaf thickness: The mortise should be exactly as deep as the hinge leaf is thick (typically 1/8 to 1/4 inch), checked by laying a straightedge across the joint – a hinge sitting proud is one of the most common fitting mistakes.
- Dry-fit before screwing: Set the leaf in the mortise without screws first and confirm it sits flush and doesn’t bind, then move on to the frame side using the same technique.
How Many Hinges Does a Door Need?
A hollow-core interior door can usually get by on 2 hinges, but a solid-core interior door or any exterior door needs 3 – the general rule of thumb is one hinge per 30 inches of door height, with a third hinge required above roughly 200 lbs or 84 inches tall. Exterior doors also benefit from the extra hinge simply for added security against forced entry.
Installing The Hinges
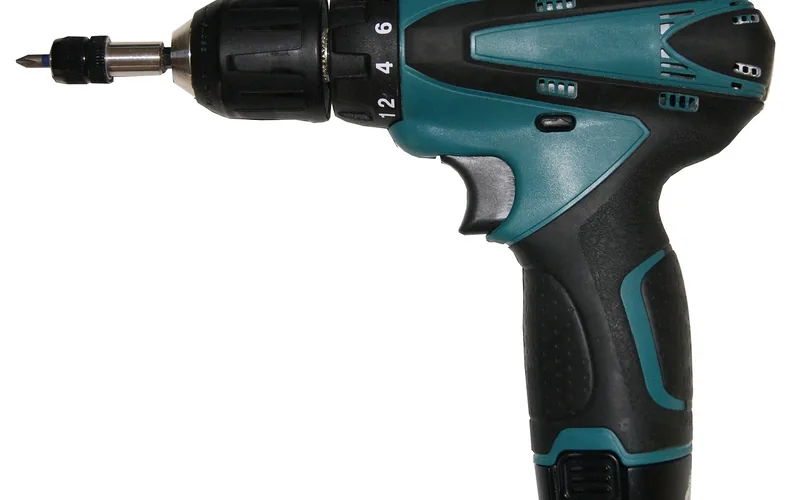
Start by marking where the hinges will go on the door. Use a pencil to make small dots. These dots show where to drill. Next, take a small drill bit and create pilot holes on the marks. Pilot holes help the screws go in straight. This keeps the wood from splitting. Always hold the drill steady. Keep your hands away from the drill bit.
Place the hinge on the door. Line it up with the pilot holes. Get the screws ready. Use a screwdriver to insert the screws into the holes. Tighten them well so the hinge stays in place. Do this for all the hinges. Check that the hinge can move easily. If not, loosen the screw a bit.
Mounting The Door
Start by holding the door in place. Use a level to ensure it is straight. Next, align the hinges with the frame. Mark the spots with a pencil. Carefully drill holes at these marks. Insert screws into the hinge holes. Tighten each screw firmly. Check the door’s alignment again. Ensure that it swings freely without sticking. Adjust if needed. Make sure each hinge is secure.
Open and close the door. Check for smooth movement. Listen for any unusual sounds. Ensure the door stays in place when open. If it swings shut, adjust the hinges. Tighten any loose screws. Repeat the test. The door should move easily. Confirm the door shuts properly. It should not catch or scrape. If it does, adjust the frame or hinges again.
Adjusting The Door
Doors should fit the frame well. A well-aligned door makes closing easy. First, see if the door is straight. It should not be tilted. Look for gaps between the door and frame. Gaps mean the door is not right. Check the top and bottom edges too.
For a full walkthrough, see our guide on aligning door hinges for a perfect fit. To fix a tilted door, adjust the hinges. Sometimes, you may need to tighten the screws. Use a screwdriver for this task. Check again if the door fits. If not, try adjusting the hinge position. Move it slightly up or down. Keep checking until it looks straight.
Maintenance Tips
Properly installing door hinges ensures smooth operation. Start by marking the hinge positions on the door and frame. Secure them with screws, ensuring alignment for seamless door movement. Regular checks for looseness keep doors functioning well.
Regular Checks
Check the door hinges every few months. Make sure they are tight and secure. Loose hinges can cause the door to sag. This might lead to difficulty in opening and closing. If you notice any loose screws, tighten them immediately. This ensures the door stays aligned and functions well. It’s also wise to inspect for rust or wear. Replace damaged parts if needed.
Lubrication Advice
Apply lubricant to the hinges to keep them moving smoothly. Use oil or spray made for doors. This prevents squeaking and reduces friction. Add lubricant once a year or when you hear noise. Wipe away extra oil to avoid mess. Be careful not to apply too much. A little goes a long way in ensuring the door works well.

Frequently Asked Questions
Do You Put The Hinges On The Door Or Frame First?
Attach hinges to the door first for easier alignment. This method ensures precise placement and simplifies installation. After securing the hinges on the door, align and attach them to the frame for a perfect fit. This approach streamlines the process and reduces installation errors.
How Do You Attach Hinges To A Door?
Place hinges on the door edge and mark holes. Drill pilot holes, then secure hinges with screws using a screwdriver. Ensure hinges are aligned properly for smooth movement.
Where Should Door Hinges Be Positioned?
Door hinges should be positioned 5 inches from the top and 10 inches from the bottom. For additional hinges, evenly space them between the top and bottom hinges to ensure balanced support. Proper placement ensures smooth door operation and prevents sagging or misalignment over time.
What Are The Two Types Of Hinge Installation?
There are two types of hinge installation: surface-mounted and concealed. Surface-mounted hinges attach directly to the door’s surface. Concealed hinges are hidden within the door and frame, offering a cleaner look. Both types serve unique purposes based on aesthetic preference and functionality requirements.
Conclusion
Putting hinges on a door comes down to sizing them to the door’s weight, mortising the door before the frame, and spacing them 5 inches from the top and 10 from the bottom. Get those three right and the rest is just patience with a screwdriver.
Sponsored / affiliate links. As an Amazon Associate I earn from qualifying purchases. I may earn additional commission from eligible campaigns.