What Size Hole for a Door Knob? (2⅛” Standard + Backset Sizes)
Most U.S. residential door knobs need a 2⅛-inch bore hole and a 1-inch latch hole — except older or commercial doors, which sometimes use 1½-inch or 2¾-inch knobs. Drilling the wrong size means a loose knob, a latch that won’t seat, or a security gap where the lock doesn’t fully engage. This guide covers the exact standard sizes, the backset measurement people usually get wrong, and how to drill both holes cleanly.
Affiliate disclosure: This post contains Amazon affiliate links. We may earn a commission at no extra cost to you. [Insert your Affiliate Disclosure reusable block here]
Quick Answer
Drill a 2⅛-inch bore hole for the knob body and a 1-inch hole for the latch, per Kwikset and Schlage specs. The backset — distance from the door edge to the center of the bore hole — is 2⅜ inches on most homes, or 2¾ inches on some newer doors. Measure your existing hardware first if you’re replacing rather than installing new.
Why Door Knob Hole Size Matters
The wrong hole size doesn’t just look bad — it makes the knob loose, prevents the latch from seating in the strike plate, or leaves a gap the lock can’t fully close over. Getting it right the first time also avoids costly repairs: a hole cut too large means patching the door or replacing it, since a bore hole can only get bigger, not smaller.
Standard Door Knob Hole Sizes
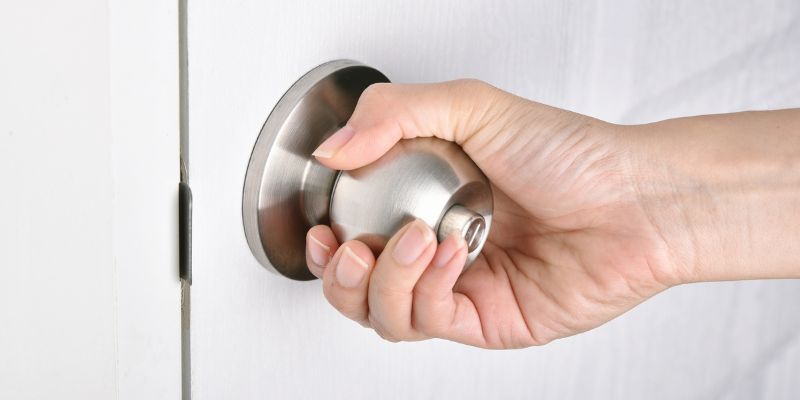
Most residential door knobs in the U.S. need a bore hole that’s 2⅛ inches (54mm) in diameter — a little larger than a golf ball (1.68 in) and a little smaller than a tennis ball (2.6–2.7 in), closer in size to a standard billiard ball. Both Kwikset and Schlage specify this exact measurement for their residential knobs, levers, and deadbolts, so it’s a genuine cross-brand standard, not just one manufacturer’s preference.
Commercial or specialty knobs sometimes use different sizes — 1½ inches for some older or lighter-duty hardware, or 2¾ inches for heavy-use commercial sets — but 2⅛ inches is the residential standard you’ll need for nearly every home doorknob, deadbolt, or lever set. There’s also a smaller hole for the latch, called the cross bore’s companion hole, covered next.
Understanding Backset and Cross Bore
Backset is the distance from the door’s edge to the center of the bore hole — it determines how far the latch mechanism sits inside the door, and it’s the single most common measurement people get wrong when ordering replacement hardware. The main 2⅛-inch hole itself is called the cross bore; the separate hole drilled into the door’s edge for the latch is the latch bore.
Nearly all residential doors use one of two backset sizes: 2⅜ inches, the more common of the two on standard interior and exterior doors, or 2¾ inches, used on some doors for a bit more clearance from the frame. The latch bore itself is typically 1 inch in diameter. Most replacement knob kits include an adjustable latch that works with either 2⅜” or 2¾” backset — check the packaging before you drill to confirm which your kit supports.
Types of Door Knobs and Their Hole Sizes
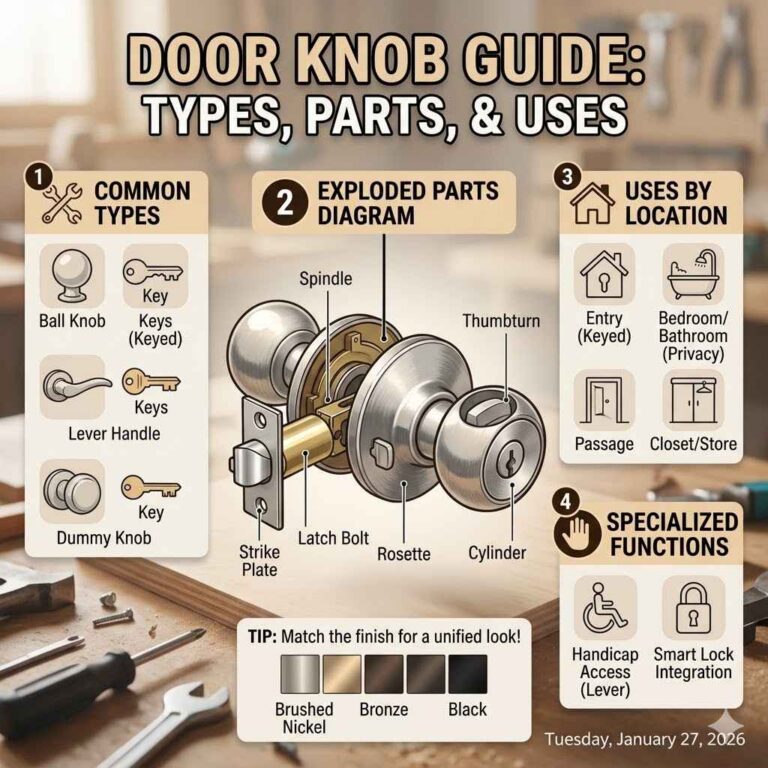
Nearly every knob type uses the same 2⅛-inch bore hole — the differences are in function, not hole size:
- Passage knobs: No lock, used for closets and hallways. Standard 2⅛-inch hole.
- Privacy knobs: Lock from the inside only, used for bedrooms and bathrooms. Same 2⅛-inch hole.
- Keyed entry knobs: Locked with a key from outside, used on exterior doors. Same 2⅛-inch hole.
- Deadbolts: Installed as a second, separate 2⅛-inch hole, typically 5–6 inches above or below the main knob.
- Dummy knobs: Non-functional, decorative only. No bore hole needed — they surface-mount directly to the door face.
- Commercial-grade knobs: Heavier-duty hardware that sometimes uses a 2¾-inch hole instead — check the spec sheet before drilling.
Check your specific knob’s packaging or manual before drilling — while 2⅛ inches covers the vast majority of residential hardware, confirming your exact model avoids a wasted hole.
Tools and Supplies You’ll Need
A dedicated door lock installation kit is the easiest route — most combine the 2⅛-inch hole saw and 1-inch spade bit with a drilling guide/template that keeps both holes aligned. Here’s the full list:
- 2⅛-inch hole saw: For the main bore hole.
- 1-inch spade bit: For the latch hole.
- Drill: A standard cordless drill handles both bits.
- Tape measure: For marking backset and knob height.
- Pencil: For marking drill points.
- Screwdriver: For securing the knob and latch plate.
- Chisel: For squaring off the latch plate mortise.
- Safety glasses and gloves: For drilling and sawdust protection.
- Replacement knob kit: Includes the knob, latch, strike plate, and screws.
A combined hole-saw installation kit with guide template typically runs $10–$20 and is reusable for every future door in the house — cheaper than buying the hole saw and spade bit separately in most cases.
Best Door Lock Installation Kit Pick
RKK Door Lock Installation Kit – $9.95
This kit includes exactly the 2⅛” and 1″ hole saws this guide’s Standard Sizes section calls for, plus a guide template that keeps both holes aligned with the backset.
- Best for: A single door knob or deadbolt replacement on a wood door
- Why we picked it: Includes both hole saw sizes this guide specifies, plus alignment guide
- Main drawback: Guide template needs to be clamped carefully — rushing it causes off-center holes
Compare more installation kit options
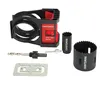 Option 1 Craftsman Bi-Metal Hole Saw Kit – $30.98
|
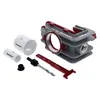 Option 2 Milescraft Lock Mate PLUS Jig – $39.99
|
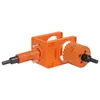 Option 3 Vikiton Installation Kit – $15.99
|
As an Amazon Associate we earn from qualifying purchases.
Measuring Your Door for the Hole
Measure carefully before drilling — a misplaced hole can’t be undone:
- Check door thickness: Most residential doors are 1⅜ to 1¾ inches thick — confirm yours before buying hardware, since some kits are sized for a specific thickness.
- Confirm the backset: 2⅜ inches is the more common residential backset; measure your existing hardware or check your new kit’s spec if you’re unsure.
- Mark knob height: 36 inches from the floor to the center of the knob is the standard, comfortable height.
- Locate the center point: Mark the center of the 2⅛-inch bore hole on both faces of the door, directly across from each other.
- Mark the latch hole: Mark a 1-inch hole on the door’s edge, aligned with the backset distance and centered on the bore hole.
How to Drill the Hole for a Door Knob
Once your marks are set, drilling both holes takes about 20–30 minutes:
- Tape the door: Apply painter’s tape over your marks to reduce splintering as the bit exits the wood.
- Drill the cross bore: Use the 2⅛-inch hole saw, drilling halfway through from one face, then finish from the opposite face to prevent tear-out.
- Drill the latch hole: Use the 1-inch spade bit at the door’s edge, aligned with the center of the cross bore.
- Clean the edges: Smooth both holes with sandpaper to remove splinters and burrs.
- Test fit: Place the latch into the 1-inch hole to confirm it seats flush before installing the knob.
Drilling from both sides of the door — rather than pushing straight through from one face — is the single biggest thing that prevents splintering on the exit side. For a longer, more detailed walkthrough of this exact process, see our dedicated guide to drilling a door knob hole.
Here’s a quick reference table for all the measurements above:
| Component | Size Needed | Tool Required | Notes |
|---|---|---|---|
| Cross Bore | 2⅛ inches | 2⅛-inch hole saw | Drill from both sides |
| Latch Hole | 1 inch | 1-inch spade bit | Align with backset |
| Backset | 2⅜ or 2¾ inches | Tape measure | Measure from door edge |
| Door Thickness | 1⅜ to 1¾ inches | Tape measure | Check knob compatibility |
| Knob Height | 36 inches from floor | Tape measure, pencil | Standard for comfort |
Installing the Door Knob
With both holes drilled, installation is straightforward:
- Insert the latch: Slide the latch into the 1-inch hole, making sure the beveled edge faces the direction the door closes.
- Secure the latch plate: Screw the latch faceplate to the door edge.
- Align the exterior knob: Insert it through the 2⅛-inch hole, threading the spindle through the latch mechanism.
- Attach the interior knob: Line it up on the opposite face and screw it to the exterior half.
- Tighten evenly: Secure both sides’ screws evenly to avoid a crooked or wobbly knob.
- Test the knob: Turn and lock it a few times to confirm smooth operation before calling it done.
Troubleshooting Drilling and Installation Issues
- Splintered wood: Usually caused by drilling too fast or from one side only. Sand it smooth, and drill from both sides next time.
- Misaligned holes: A chisel can help square off a slightly off latch mortise so the plate seats flush.
- Loose knob: Usually over-tightened screws pulling the mechanism out of round — back them off slightly.
- Latch sticks: Light sanding of the latch hole usually fixes a snug fit; see our lock lubrication guide if it’s the lock mechanism itself sticking, not the wood.
- Wrong size hole drilled: A hole cut too large can be corrected with an adapter/filler plate (a few dollars at any hardware store) rather than replacing the whole door — see our guide to filling a door knob hole for the exact method.
Take your time and double-check marks before committing to the hole saw — a bore hole can be widened but never made smaller.
Maintaining Your Door Knob
- Lubricate the lock: Use a dry PTFE or graphite lubricant yearly, not an oil-based spray, which attracts dust over time.
- Clean the knob: Wipe with a damp cloth to remove dirt and skin oils.
- Check screws: Tighten every six months to prevent the knob from loosening from daily use.
- Test the lock: Try the key monthly on keyed entry knobs to catch a sticking lock early.
- Polish the finish: A metal-specific cleaner keeps brass or nickel finishes from dulling.
Costs of Installing a Door Knob
A DIY install is inexpensive if you already own a drill: a replacement knob kit runs roughly $20–$50, and a combined hole-saw installation kit with guide template runs about $10–$20 — both reusable for future doors. Hiring a professional costs considerably more once labor is factored in.
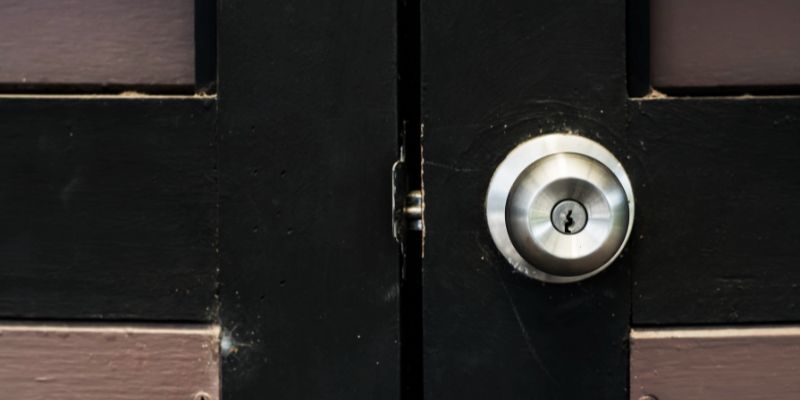
📊 Professional door knob installation averages $152–$363 per door (materials + labor combined) — Source: Homewyse Door Knob Installation Cost Guide, 2026
Safety Tips for Drilling and Installation
- Wear safety glasses: Protects your eyes from sawdust and wood chips.
- Use gloves: Guards against sharp hole saw teeth and metal burrs.
- Secure the door: Prop it open or remove it from the hinges so it doesn’t shift while drilling.
- Drill steadily: Let the bit do the work — forcing it increases the chance of the bit walking off-mark.
When to Call a Professional
A locksmith or carpenter is worth calling when:
- The door is glass, metal, or fiberglass: These need specialized bits and techniques a standard wood-boring hole saw can’t handle.
- You’re installing multiple doors: A pro completes several doors faster than a first-timer working through one at a time.
- A previous hole was drilled wrong: A pro can properly patch and re-bore a damaged door rather than risk making it worse.
- You don’t have or want to buy the tools: A one-time job may not justify buying a hole saw kit if you won’t reuse it.
“2-1/8 inch (54mm)” hole size with a “2-3/8 or 2-3/4 inch (60 or 70mm)” backset is the specification Kwikset builds its residential locksets to — the same standard nearly every other major U.S. lock brand follows, which is exactly why one hole saw size works across brands.”
Frequently Asked Questions
What size hole do most door knobs need?
Most U.S. residential door knobs need a 2⅛-inch bore hole for the knob body and a separate 1-inch hole for the latch, per standard Kwikset and Schlage specifications.
What is a door backset, and how do I measure it?
Backset is the distance from the door’s edge to the center of the bore hole. Measure with a tape measure from the edge to the center of your existing hole, or check your new hardware’s packaging — 2⅜ inches and 2¾ inches are the two standard sizes.
Can I drill a door knob hole without a hole saw?
It’s difficult and prone to splintering — a spade bit alone tends to tear out the wood at that diameter. A dedicated 2⅛-inch hole saw, sold in most installation kits for $10–$20, gives a cleaner result.
What if I drill the wrong size hole?
A hole drilled too large can be corrected with an adapter or filler plate rather than replacing the door. Measuring your existing hardware or the new kit’s spec sheet before drilling avoids this entirely.
How much does it cost to install a door knob?
A DIY install runs roughly $30–$70 total for a knob kit and hole-saw installation kit. Hiring a professional averages $152–$363 per door including labor and materials.
Do all door knob brands use the same hole size?
Yes, for residential hardware. Schlage, Kwikset, Baldwin, and most other major brands build to the same 2⅛-inch bore and 1-inch latch hole standard, which is why one hole saw kit works across brands.
Conclusion
A 2⅛-inch bore hole and a 1-inch latch hole cover nearly every residential door knob, with a 2⅜-inch or 2¾-inch backset depending on your door. Measuring your existing hardware (or your new kit’s spec sheet) before drilling, and cutting from both sides of the door to prevent splintering, are what separate a clean install from a patched-over mistake. For the detailed step-by-step drilling process, see our full guide to drilling a door knob hole.
Sponsored / affiliate links. As an Amazon Associate I earn from qualifying purchases. I may earn additional commission from eligible campaigns.