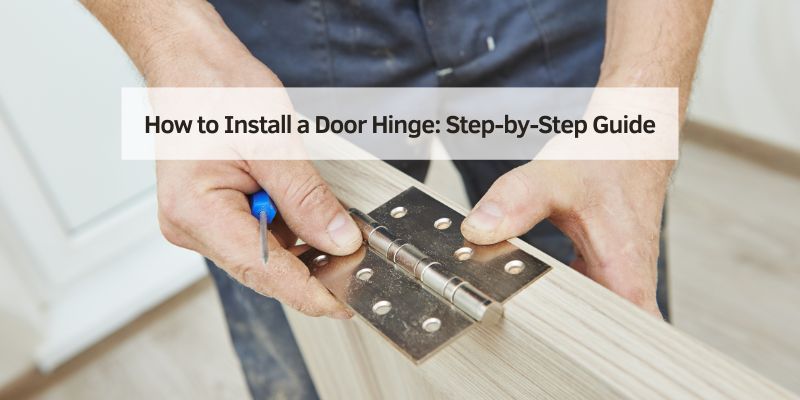
How to Install a Door Hinge (Mortising + BHMA Grade Guide)
Install a door hinge by mortising the door edge (chisel or router), screwing the leaf on flush, then repeating on the frame – use Grade 1 or 2 hinges (BHMA A156.1) on any fire-rated or high-traffic door. A hinge that’s proud of the surface or a stripped screw hole are the two most common installs gone wrong. This guide covers mortising method, hinge grading, and both fixes.
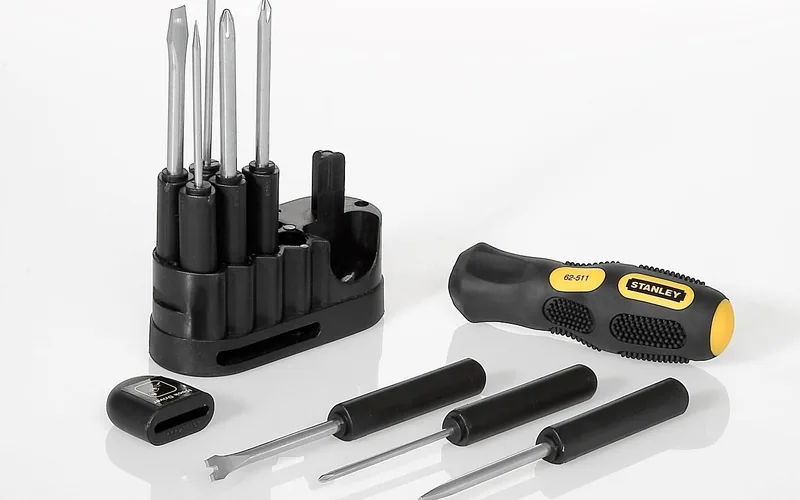
Tools And Materials Needed
Screwdriver is important for fitting door hinges. Drill helps make holes for screws. Screws hold the hinge to the door. Pencil marks where to place the hinge. Tape measure makes sure everything fits right. Hammer can be used for tapping. Chisel helps carve space for the hinge. Hinge connects the door to the frame.
Check you have all the materials before starting. Having the right tools makes the job easier. Safety goggles protect your eyes. Always wear them while using the drill. Gloves keep your hands safe from sharp tools. Cloth can wipe dust away. Level checks if the door is straight. The job will be perfect with these tools.
Choosing The Right Hinge
Selecting the correct hinge is important. Different doors need different hinges. Consider the door’s weight. Heavier doors require stronger hinges. Look at the material of the hinge. Metal hinges last longer. Check the size of the hinge. It must fit your door. Think about the finish. Choose a finish that matches your door. Check the hinge type. There are butt, flush, and pivot hinges. Butt hinges are common. Flush hinges are easy to install. Pivot hinges are for heavy doors. Choose wisely for the best result.
Best Door Hinge Install Pick
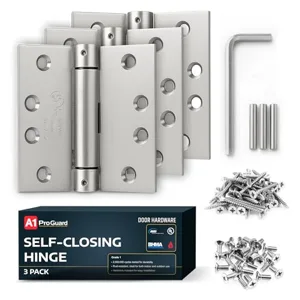
A1 ProGuard 4.5-Inch Self-Closing Door Hinge
Adjustable-spring, self-closing hinge built for heavier, high-traffic doors.
- Best for: Heavier or high-traffic doors that need a durable, self-closing hinge
- Why we picked it: Adjustable-spring, satin-finish hinge built for the kind of heavy-use door this guide’s BHMA grading section covers
- Main drawback: Overkill for a lightweight closet or interior door
Compare more hinge and mortising tools
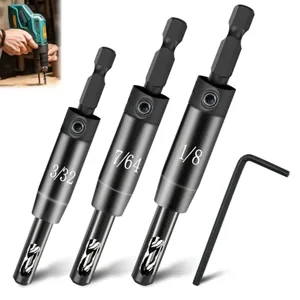 Option 1 Self-Centering Hinge Drill Bit (VIX Bit Set)
|
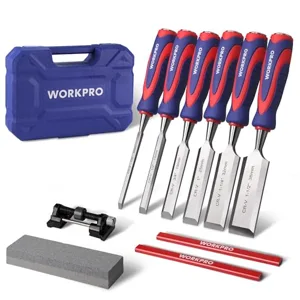 Option 2 WORKPRO 10-Piece Wood Chisel Set
|
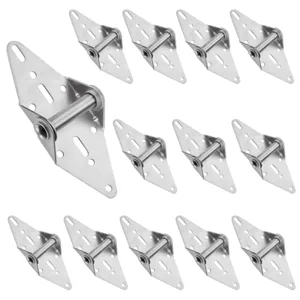 Option 3 AKOLAFE 12-Pack Heavy Duty Door Hinges
|
As an Amazon Associate we earn from qualifying purchases.
📊 Hinges are graded by BHMA A156.1 cycle testing: Grade 1 (2.5 million cycles, required on fire-rated doors) for hospitals/schools, Grade 2 (1.5 million cycles) for standard commercial use, and Grade 3 (350,000 cycles) for typical residential doors. Source: Construction Specifier, ANSI/BHMA Standards
Preparing The Door And Frame
Marking the Position is a crucial step. Start by holding the hinge against the door edge. Make sure it is at the correct height. Use a pencil to mark around the hinge. These marks will guide your cutting. Place the hinge on the door frame next. Again, mark around it. This ensures the door will fit well.
Measuring for Accuracy is important. Use a ruler to check your marks. Each mark must be the same distance from the top. The hinge should be straight. This prevents the door from being crooked. Double-check your marks before cutting. Accurate measuring helps the door swing smoothly.
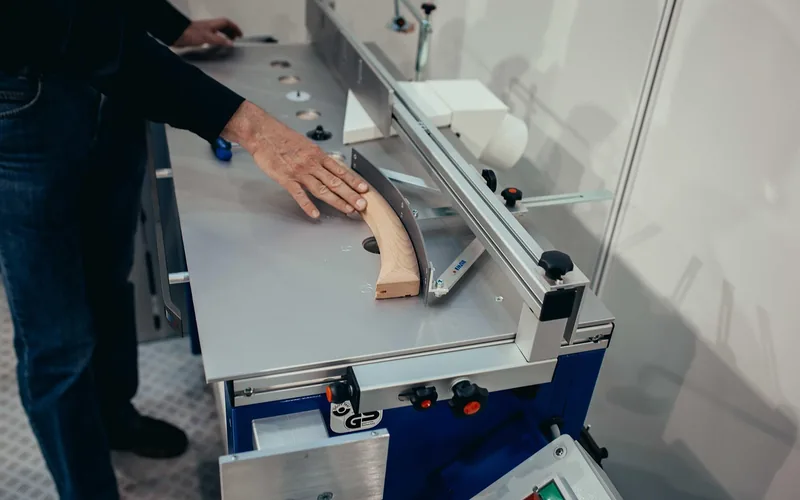
Cutting The Hinge Mortise
Creating a hinge mortise involves cutting a shallow recess in the door edge. This ensures the hinge fits snugly for smooth movement. Using a chisel, carefully carve out the marked area for an accurate fit.
Using A Chisel
A chisel is handy for cutting a hinge mortise. First, mark the hinge area on the door edge. Use a pencil for this. Hold the chisel with the bevel side down. Gently tap it with a hammer. Start from the marked line, moving inward. Cut small, careful bits of wood. This helps keep the mortise neat. Be patient and work slowly. Check the depth often. It should match the hinge thickness.
Using A Router
A router can make the job faster. Start by setting the router bit to the hinge depth. Place the router base on the door edge. Follow the marked line with steady hands. Move the router slowly for a clean cut. Safety is important. Wear goggles to protect your eyes. Check the mortise depth with the hinge. It should sit flush with the door surface.
Router vs. Chisel: Which Should You Use?
| Factor | Chisel | Router |
|---|---|---|
| Speed | Slower – one mortise at a time by hand | Faster – can cut multiple mortises quickly with a depth stop |
| Consistency | Varies with skill and practice | Very consistent depth across every hinge |
| Cost | Just a chisel and hammer | Requires a router plus a hinge template/jig |
| Corners | Naturally square | Rounded – needs a chisel to square them off after |
Attaching The Hinge To The Door
Securely attaching the hinge requires aligning it properly with the door’s edge. Mark the screw holes and drill carefully – see our guide to hinge screw sizing if you’re unsure which length to use. Ensure the hinge fits snugly before tightening screws for a smooth operation.
Aligning The Hinge
Place the hinge on the door edge. Ensure the knuckle faces outward. Use a pencil to mark drill holes. Make sure the marks are clear and accurate. Double-check the alignment by closing the door.
Securing With Screws
Drill holes at the marked spots. Insert screws into the hinge holes. Tighten each screw firmly. Use a screwdriver for better grip. Check if the hinge moves smoothly. Adjust screws if needed for proper function.
Should the Top Hinge Get a Longer Screw?
Yes, on doors that get heavy use or need extra security. Swapping one or two of the short factory screws in the top hinge for a 2.5 to 3-inch screw lets it reach past the jamb and bite into the framing stud behind it, holding far more weight than the jamb wood alone can.
Installing The Hinge On The Frame
Place the hinge at the desired spot on the door frame. Use a pencil to mark the holes. This helps in correct drilling. Make sure the hinge is straight. This ensures the door will not tilt. Use a level tool if needed.
Double-check the hinge alignment with the door. Both parts should be flush. This means they must touch evenly. Misaligned hinges cause the door to stick. Use shims to adjust if needed. Tighten the screws firmly. This keeps the hinge in place.
Testing The Door Swing
Check the door swing before installing hinges. Open and close the door to ensure smooth movement. Adjust as needed for proper alignment.
Checking Movement
Open and close the door slowly. Check if it moves smoothly. Listen for any noises. Creaking sounds can mean trouble. Make sure the door doesn’t stick. It should swing freely. Observe the door’s alignment. Is it even with the frame?
Adjusting If Necessary
If the door sticks, it may need adjusting. Tighten the screws on the hinges. Use a screwdriver for this task. Adjust the door by loosening screws. Move the door up or down. Retighten the screws once aligned. Test the door again. Repeat if necessary.
Final Touches
Ensure the hinges align perfectly with the door and frame. Use a screwdriver to securely fasten the screws. Test the door’s movement for smooth operation.
Tightening Screws
Make sure all screws are tight. Use a screwdriver to check them. If screws are loose, the door might not stay in place. Tight screws keep the door strong and steady. Check each screw one by one. This will make sure they are all tight. A loose screw can make the door wobbly. Double-check the screws after a few days. Sometimes they loosen over time.
Inspecting For Smooth Operation
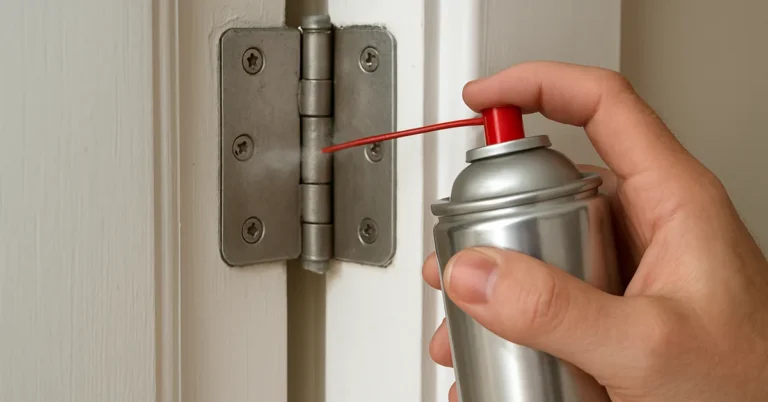
For more on locks, strikes, and hardware, see our full door hardware and locks hub. Open and close the door slowly. Look for any sticking points. The door should move smoothly. If it catches, check the hinge. Sometimes a small adjustment helps. Make sure the door swings easily. It should not squeak or grind. Oil the hinge if needed. This will help the door move quietly. A smooth door makes life easier.

Frequently Asked Questions
Do You Attach Hinges To Door Or Frame First?
Attach hinges to the door first. This ensures proper alignment and simplifies installation. Once secured, mount the door to the frame. Proper hinge placement is crucial for smooth operation. This method helps achieve optimal door functionality and appearance. Follow manufacturer’s guidelines for best results.
What Is The Correct Way To Put On Door Hinges?
To install door hinges correctly, align the hinge plates with the door and frame. Mark screw holes. Pre-drill holes for screws. Secure the hinges with screws, ensuring they are flush. Check door alignment and adjust if necessary for smooth operation.
What Is The Rule For Door Hinges?
Door hinges should be placed 5 inches from the top and 10 inches from the bottom. Ensure they align vertically and support the door’s weight evenly. Proper installation prevents sagging and ensures smooth door operation.
Do Door Hinges Go Both Ways?
Some door hinges, like double-action hinges, allow doors to swing both ways. Traditional hinges typically allow one-way opening. Always check the hinge type for specific functionality to ensure it meets your door requirements.
Conclusion
Mortise the door edge (chisel or router, squaring the corners either way), screw the leaf on flush, then repeat on the frame. Use Grade 1 or 2 hinges on any fire-rated or heavy-use door, and if a screw hole ever strips, a glue-and-toothpick fix beats reaching for a bigger screw first.
Sponsored / affiliate links. As an Amazon Associate I earn from qualifying purchases. I may earn additional commission from eligible campaigns.