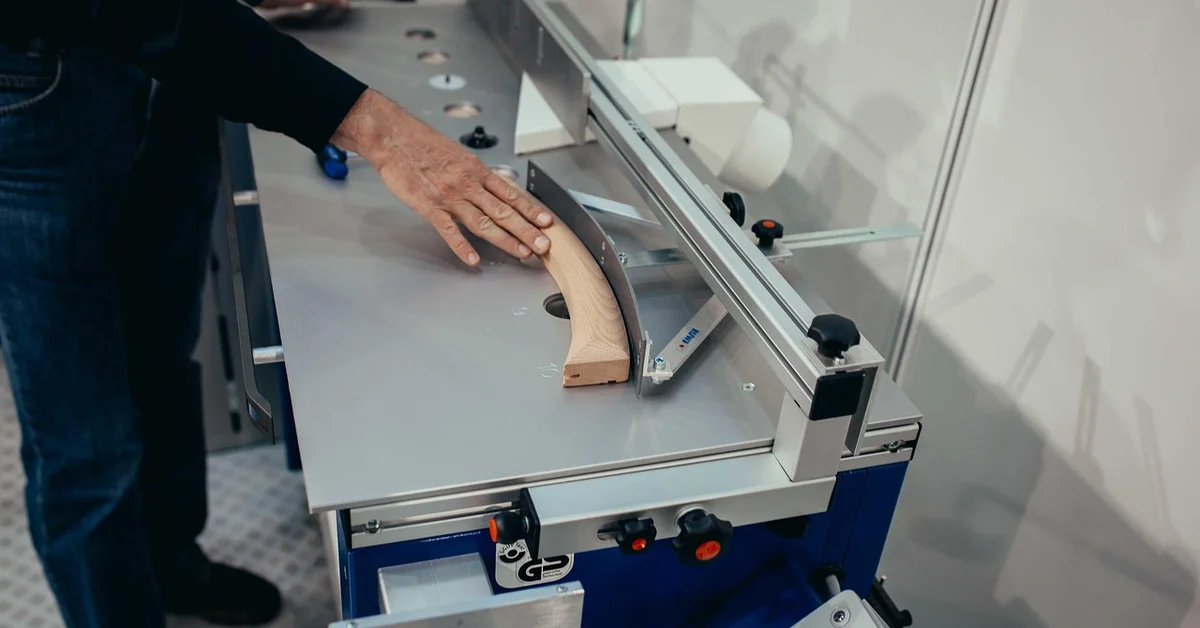
How to Route Door Hinges: Router and Chisel Method
Routing door hinges means cutting a flush mortise into the door edge so the hinge sits level instead of proud or gapped. A hinge that is not recessed correctly causes doors to bind, sag, or fail to latch over time. This guide covers the tools you need, the exact steps to rout a clean mortise, and the mistakes that ruin a first attempt.
What Is Routing Door Hinges?
Our Pick: Best Hinge Routing Tools
 |
Bosch Colt 1 HP Variable-Speed Palm Router – $99.99 This is the exact compact trim router this guide recommends for beginners routing their first hinge mortise. Check on Amazon |
More Hinge Routing Tools This Guide Recommends
 Adjustable Door Hinge Mortise Jig – $29.95 A store-bought jig option this guide mentions as an alternative to a DIY plywood template. Check on Amazon |
 Yonico 1/2-Inch Straight Router Bit – $11.95 The 1/2-inch straight bit this guide says is perfect for beginners cutting hinge mortises. Check on Amazon |
 Hurricane 4-Piece Wood Chisel Set – $13.39 Needed to square rounded corners left by the router, exactly as this guide’s cleanup step describes. Check on Amazon |
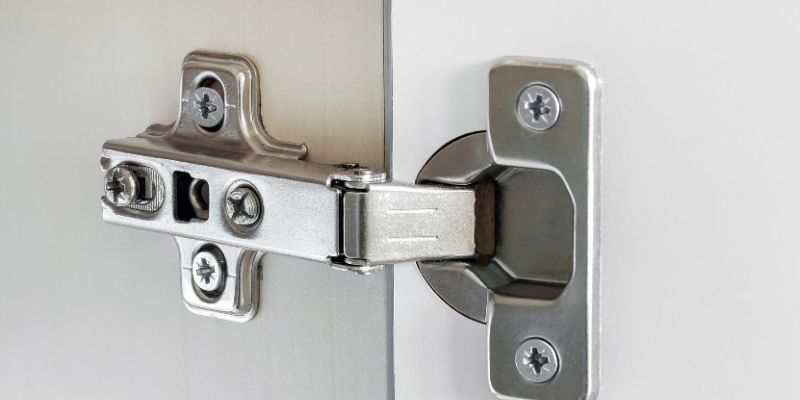
Routing door hinges means cutting shallow slots, called mortises, into a door or frame to fit the hinge flush. It’s like carving a cozy bed for your hinge so the door closes smoothly.
Why It Matters
A flush hinge prevents gaps, makes doors stronger, and looks clean. Without routing, your door might sag or stick. Properly routed hinges can last decades, with 80% of pros swearing by this method for precision, according to Fine Homebuilding.
Tools and Materials You’ll Need
You don’t need a fancy workshop to route hinges. Here’s what I use for a basic setup.
Must-Have Tools
- Router: A compact trim router (like a Bosch Colt) is easy to handle.
- Hinge Jig or Template: A store-bought jig (e.g., Milescraft HingeJig) or DIY plywood template works.
- Router Bit: A 1/2-inch straight bit with a top bearing is perfect for beginners.
- Chisel: For squaring corners if your hinges aren’t rounded.
- Clamps: To secure the door and jig.
- Tape Measure and Pencil: For marking hinge spots.
Optional but Helpful
- Safety Glasses and Gloves: Routers kick up dust, so protect yourself.
- Scrap Wood: Practice makes perfect!
Table 1: Comparing Router Bits for Hinge Routing
| Bit Type | Cost | Best For | Notes |
|---|---|---|---|
| 1/2″ Straight | $10 | Beginners | Affordable, easy to find |
| Flush-Trim Bit | $15 | Rounded hinges | Follows template precisely |
| Hinge Mortise Bit | $20 | Pros, square hinges | Shallow cut, needs chisel |
| Caption: Choose a bit based on your budget and hinge type. A 1/2″ straight bit is great for starters. |
How to Route Door Hinges: Step-by-Step Guide
Routing hinges is like solving a puzzle – it’s fun once you know the steps. Here’s how I routed hinges for a bedroom door.
Step 1: Mark Your Hinge Spots
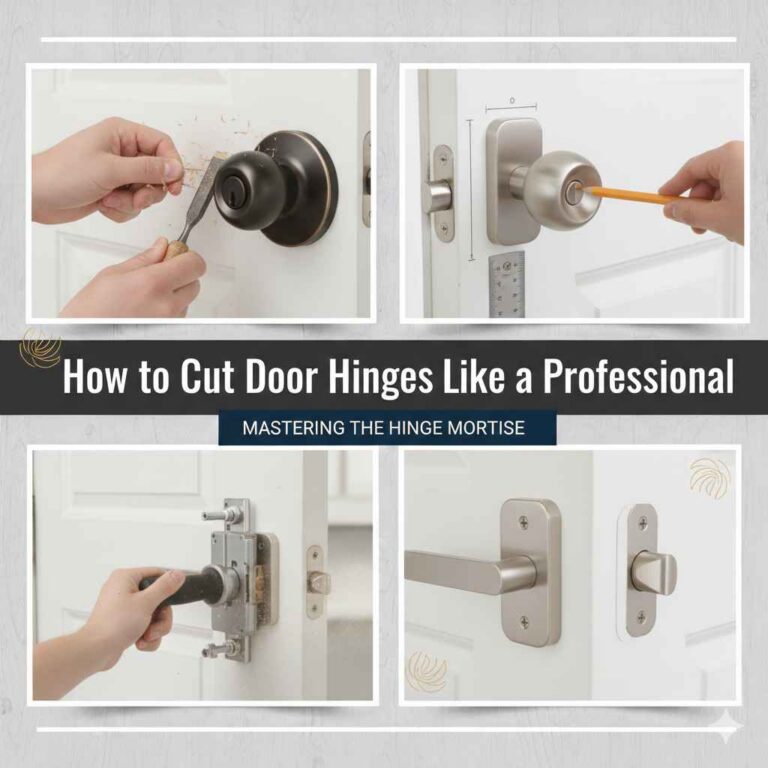
Measure 7 inches from the top and 9 inches from the bottom of the door for standard hinge placement. Mark with a pencil. For a third hinge, place it in the middle.
Step 2: Set Up Your Jig
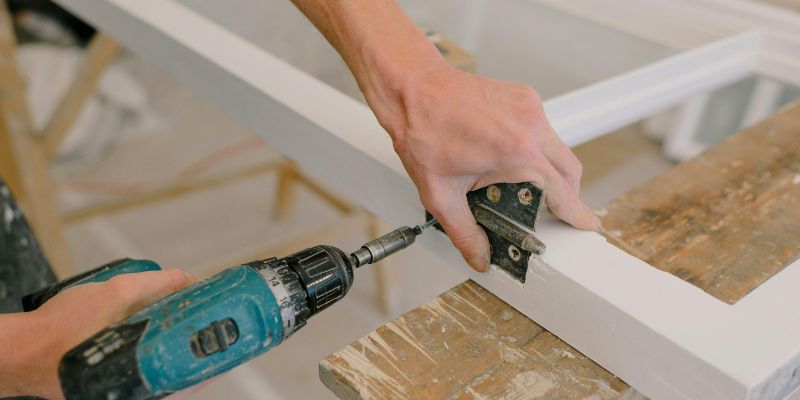
Clamp your hinge jig or DIY template over the marked spot. I made a jig from scrap plywood in 10 minutes – it’s a total cost-saver! Ensure the jig aligns with your marks.
Visual Idea: A diagram showing a plywood jig with a cutout for a 3-inch hinge, clamped to a door edge.
Step 3: Adjust Router Depth
Set your router bit depth to match the hinge thickness (usually 1/16 inch). Test on scrap wood to avoid cutting too deep.
Step 4: Route the Mortise
Turn on the router and move it clockwise inside the jig. Go slow to keep control. It’s like drawing with a power tool – steady hands win!
Step 5: Clean Up Corners
If your hinges have square corners, use a chisel to square the rounded edges left by the router. A sharp chisel makes this quick.
Step 6: Test the Hinge Fit
Place the hinge in the mortise. It should sit flush. If it’s too tight, lightly sand the edges.
List: 3 Tips for Perfect Hinge Routing
- Practice on scrap wood to nail your router depth.
- Use a sharp bit to avoid burning the wood.
- Clamp everything tightly to prevent slips.
Benefits of Routing Door Hinges
Routing gives your door a pro look and feel. Here’s why I love it.
- Smooth Operation: Flush hinges mean no sticking or wobbling.
- Durability: Routed hinges distribute weight evenly, reducing wear.
- Clean Look: No ugly gaps or protruding hinges.
Drawbacks to Consider
Routing takes practice. My first mortise was too deep, and I had to patch it – ugh! It also requires a router, which might cost $50-$100 if you don’t own one.
Alternative Approaches
Not ready for a router? You can chisel hinges by hand, but it’s slower and less precise. Family Handyman suggests chiseling for one-off jobs but recommends routers for multiple doors. Non-mortised hinges are another option – they don’t need routing but look less polished.
Table 2: Router vs. Chisel for Hinge Mortising
| Method | Speed | Precision | Cost | Best For |
|---|---|---|---|---|
| Router | Fast | High | $50-$100 | Multiple doors |
| Chisel | Slow | Moderate | $10-$20 | Single door, budget |
| Non-Mortised | Very Fast | Low | $5-$10 | Temporary doors |
| Caption: Routers are faster and more precise, but chisels are budget-friendly for small jobs. |
Personal Tips from My Workshop
After routing dozens of hinges, I’ve learned a few tricks.
- DIY Jig Hack: Cut a hinge-sized hole in plywood and clamp it to the door. It’s cheaper than a $30 jig.
- Avoid Splinters: Score the hinge outline with a utility knife before routing.
- Safety First: Wear glasses – wood chips fly everywhere!
- Test Fit Often: Check the hinge fit after each pass to avoid overcutting.
Visual Idea: A photo of a clamped door with a DIY plywood jig and router in action.
Common Mistakes to Avoid
Don’t make these rookie errors I did early on.
- Cutting Too Deep: Always test depth on scrap wood.
- Loose Jigs: A wobbly jig ruins your mortise. Clamp tight!
- Wrong Hinge Placement: Double-check measurements to avoid crooked doors.
List: 3 Cost-Saving Ideas
- Make a jig from scrap wood instead of buying one.
- Borrow a router from a friend to skip the purchase.
- Use rounded hinges to avoid chiseling corners.
Frequently Asked Questions
What’s the Best Router for Hinge Routing?
A compact trim router, like the Bosch Colt, is best for beginners. It’s lightweight, easy to control, and costs about $80. Practice on scrap wood first.
Can I Route Hinges Without a Jig?
Yes, but it’s tricky. Freehand routing needs steady hands and practice. A jig keeps things precise and saves time for beginners.
How Do I Avoid Splintering Wood While Routing?
Score the hinge outline with a utility knife before routing. Use a sharp bit and go slow to keep edges clean.
What Size Router Bit Should I Use?
A 1/2-inch straight bit works for most hinges. For rounded hinges, a flush-trim bit with a top bearing is ideal.
How Long Does It Take to Route a Hinge?
With a jig, it takes 5-10 minutes per hinge. Practice and setup might add time, but it’s faster than chiseling.
Can I Use a Plunge Router for Hinges?
Yes, plunge routers work great. Fixed-base routers are fine too – just lower the bit slowly for control.
Where Should I Place Hinges on a Door?
Place hinges 7 inches from the top, 9 inches from the bottom, and one in the middle for standard 80-inch doors.
Conclusion
Routing door hinges is easier than it sounds. With a router, a jig, and a few tips, you can hang a door that looks pro and works like a charm. Try it on a closet door to practice – it’s a fun project! Share your results or ask questions in the comments. Ready to make your doors shine? Grab your router and get started!
Visual Idea: A simple sketch of a finished door with flush hinges, showing standard placement measurements.
Sources:
- Fine Homebuilding: Routing Hinge Mortises
- Family Handyman: How to Recess Hinges
- WOOD Magazine: How to Mortise Hinges
Sponsored / affiliate links. As an Amazon Associate I earn from qualifying purchases. I may earn additional commission from eligible campaigns.