How to Clean Exterior Door Hardware Safely
Clean exterior door hardware with the mildest method that works: dust first, wash with mild dish soap and water if needed, dry fully, and use finish-specific cleaners only when the grime stays put. Wrong cleaners can strip plating, dull paint, leave spots, or start corrosion. This guide covers brushed nickel, chrome, brass, stainless steel, oil-rubbed bronze, matte black, and painted hardware, with safe steps for each finish.
What is the safest way to clean exterior door hardware?


The safest default is a soft microfiber cloth lightly dampened with warm water, followed by a mild dish soap and water pass if needed, then immediate drying. Microfiber is preferred because it does not shed lint on the hardware. Use light pressure only, especially on plated or painted finishes.
Start with the least aggressive step
Dry dust first. Loose grit acts like sand when you wipe a handle or knob. A microfiber cloth is better than paper towels or rough rags because it is soft, lint-free, and less likely to leave scratches or fibers behind.
For the first wet pass, use a damp cloth with a few drops of dish soap in water. Wipe the door handle or door knob in small sections. Do not scrub hard. On exterior hardware, grime often sits in seams, screw heads, and around the rose or base plate.
Dry every seam and edge
Drying matters as much as cleaning. Wipe the hardware with a clean microfiber cloth right away, then dry screw heads, edges, and the area around keyholes or lock cylinders. If moisture stays in those spots, it can leave spots or feed corrosion.
Picture a painted front-door lever with pollen and fingerprints on the grip. A damp microfiber cloth and a mild soap mix can clear the film without changing the finish. If the black or painted surface starts to brighten or streak, stop and switch to a gentler dry wipe.
Finish-safe cleaning matrix
Use the table below to match the cleaner to the finish before you touch the hardware. Finish guidance should come first when available. If a finish shows haze, lifting, color change, or transfer on the cloth, stop and move to a milder method.
| Hardware finish | Safest cleaner | Contact time | Tool choice | What to avoid | Red-flag symptom |
|---|---|---|---|---|---|
| Brushed nickel | Warm water with a small amount of dish soap | Wipe and dry right away | Soft microfiber cloth | Abrasive pads, hard scrubbing, strong acids | Persistent haze or dull spots |
| Chrome | Warm water first; mild soap if needed | Short wipe only | Microfiber cloth | Scouring sponges, aggressive rubbing, long wet contact | Clouding, spotting, or lifted shine |
| Stainless steel | Dish soap and water, then dry buffing | Brief contact | Microfiber cloth | Steel wool, chlorine cleaners, harsh acids | Streaks that do not buff out |
| Brass | Mild soap and water; vinegar only with caution on unfinished metal | Keep it short | Microfiber cloth | Abrasives, soaking, strong acids on plated brass | Color shift or coating lift |
| Oil-rubbed bronze | Dry microfiber first; then lightly damp cloth if needed | Minimal | Soft microfiber cloth | Acidic cleaners, harsh polishing, aggressive buffing | Brightening or finish change |
| Matte black | Water and mild dish soap only, used sparingly | Wipe and dry immediately | Microfiber cloth | Vinegar, lemon, heavy rubbing, oily residue | Streaking, brightening, or color loss |
| Painted hardware | Warm water with mild dish soap | Very short | Microfiber cloth | Solvents, acids, abrasives, long dwell times | Softened paint or color transfer |
Brushed nickel, chrome, and stainless steel
These finishes usually tolerate mild soap and water best. Stainless steel can handle cleaning, but it still needs quick drying to avoid water spotting. Chrome and brushed nickel can show haze if you press too hard or leave cleaner on too long. Keep the cloth damp, not wet.
Brass, oil-rubbed bronze, matte black, and painted hardware
These finishes are more likely to change appearance if you use the wrong cleaner. Matte black is especially finish-sensitive and may streak or show brightening. Painted hardware can lose color or soften if you use a harsh solution. For these finishes, start dry, then use the mildest wet method only if needed.
Can you use vinegar on door hardware?
Vinegar can help with grime or light corrosion, but only in a limited way. Use a diluted mix of vinegar and water, apply it to a cloth rather than pouring it on the hardware, and keep contact brief. White vinegar may be unsuitable for black door handles and other finish-sensitive surfaces.
Use it only when soap is not enough
If dish soap and water remove the dirt, stop there. Vinegar is acidic, so it can help cut corrosion and mineral grime, but it is not a first-choice cleaner for every finish. Keep it away from finishes that already look thin, cloudy, or altered.
Apply the diluted mix to the cloth, not directly to the handle or knob. Wipe once, then follow with a clean damp cloth and dry. Do not let vinegar sit on plated brass, painted hardware, or black finishes.
Where vinegar belongs and where it does not
Vinegar is more reasonable on sturdy metal surfaces with light grime, especially when the finish is sound and you need a quick cleanup. It is a poor match for matte black hardware and any surface that already shows streaking, flaking, or a brightened patch.
How to clean rusty door hardware without scratching it
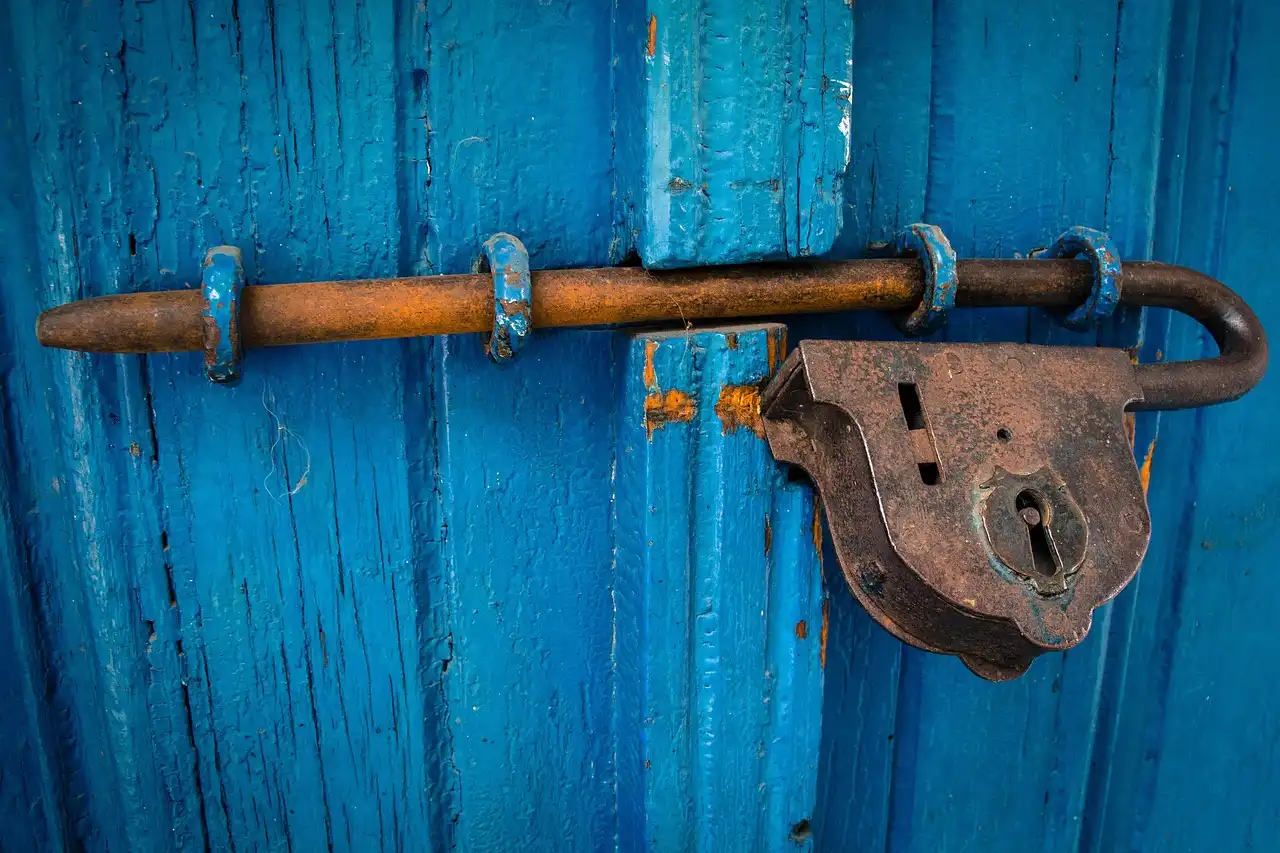
Use the gentlest rust-removal method that fits the finish. For light surface rust on durable metal, a damp cloth with diluted vinegar may help. For stubborn rust on unfinished or less delicate metal, lemon and coarse salt can loosen buildup, but the method can scratch or etch plated and painted surfaces.
Use lemon and salt only with caution
The lemon-and-salt method uses a whole lemon and coarse salt. Use it only for limited, finish-safe situations on sturdy metal. It is not a broad rust fix for all exterior hardware.
Rub lightly and check the result early. If the surface is plated, painted, or black, stop at the first sign of dulling, color change, or a roughened patch. Those symptoms mean the finish may be failing, not just dirty.
Rust, tarnish, and corrosion are different
Rust is common on iron or steel parts. Tarnish is a surface change on metals like brass. Corrosion can include finish breakdown, pitting, or base-metal exposure. Do not treat them as the same problem. A cleaner that helps one can damage another.
A common first-timer mistake is scrubbing a brass-look lever with a rough sponge because the spot seems “rusty.” If the hardware is actually plated brass, that scrubbing can cut through the coating and reveal a different color underneath.
How do you clean exterior door hardware that has salt buildup?
Salt buildup should usually be removed with water first, then mild soap if needed. Salt is abrasive when dry and corrosive when it stays wet against metal. Wipe it away with a damp microfiber cloth, rinse the cloth often, and dry every seam so residue does not sit in crevices.
Protect nearby surfaces while you clean
Cover or work carefully around adjacent paint, glass, weatherstripping, and door seals. Drips can stain paint, leave mineral marks on glass, or leave residue on seals. If the hardware sits near a keyhole or lock cylinder, keep liquids out of the opening.
Keep moisture out of joints and fasteners
Moisture that lingers around screw heads, seam lines, and latch openings can leave spotting and may work its way into moving parts. Wipe those spots with the corner of a dry microfiber cloth. If liquid pools there, blot it before it dries on its own.
Is olive oil safe for polishing door hardware?
Olive oil can be used as a polish, but only on clean, dry metal and only in small drops. It is not a cleaner. Buff it lightly after the hardware is already clean. Too much oil can hold dust and pollen, which leaves the surface dirtier faster.
Use it as a finish step, not a cleaning step
Wipe the hardware clean first with mild soap and water, then dry it completely. Add a few small drops of olive oil to a microfiber cloth, not directly to the hardware. Buff the surface and wipe away any excess so the finish does not feel greasy.
Oil can make a well-cleaned brass knob look smoother for a short time, but it is not standard care for every exterior finish. On matte black hardware, oil residue can show streaks or collect dust at the edges, so it is better skipped unless a specific finish tolerates it.
Do you need to remove the hardware before cleaning it?
Usually no. Clean the hardware in place unless removal is easy, safe, and clearly needed for access. Removal makes sense when buildup sits behind the lever, around the base plate, or under the latch, but taking apart exterior hardware can risk misalignment or damage.
Clean in place when the finish is sound
Most routine cleaning can be done with the hardware installed. That keeps screws, strike plates, and the latch aligned. It also avoids extra wear on painted or plated parts that can happen during disassembly and reinstallation.
Remove only when access justifies it
If corrosion has built up under the trim ring or around a removable knob set, removing the part may help you reach trapped grime. Only do that when you can reinstall it correctly and when the finish will not be damaged by handling. If the hardware feels loose already, stop and inspect it instead of forcing it apart.
When should you stop cleaning and replace hardware instead?
Stop cleaning when the finish starts to fail, not when the dirt is finally gone. Lifted coating, persistent haze, brightened black hardware, flaking paint, pitting, or color transfer on the cloth are commonly treated as signs that cleaning is no longer the right fix. At that point, replacement or refinishing usually makes more sense.
Signs the finish is past cleaning
Look for spots that stay cloudy after drying, areas that turn a different color, or edges where coating lifts away from the metal. Pitting means corrosion has reached the surface itself. Once that happens, more scrubbing usually makes the damage more visible, not less.
When refinishing is the better answer
If the hardware still works but the surface is worn, refinishing can be a better path than repeated cleaning. If the lock or lever also feels sticky, loose, or damaged, replacement may be the more practical fix. Cleaners cannot restore missing coating or repair a failing mechanism.
Frequently asked questions
Can I use vinegar on door hardware without damaging the finish?
Sometimes, but only with caution. Use a diluted mix of vinegar and water on a cloth, keep the contact brief, and test a small spot first. Avoid it on black hardware and on finishes that already show haze, flaking, or color change.
How do I dry door hardware so it doesn’t streak or spot?
Use a clean microfiber cloth right after wiping, then dry screw heads, seams, edges, and keyholes by hand. Do not let water air-dry on plated or polished finishes. Immediate drying is the best way to avoid spotting and trapped moisture around the hardware.
What should I avoid when cleaning black door hardware?
Avoid vinegar, lemon, coarse salt, harsh scrubbing, and oily residue. Black door hardware can streak, brighten, or show color change quickly. Use the mildest cleaner first, keep contact short, and stop at the first sign of finish change.
Sponsored / affiliate links. As an Amazon Associate I earn from qualifying purchases. I may earn additional commission from eligible campaigns.