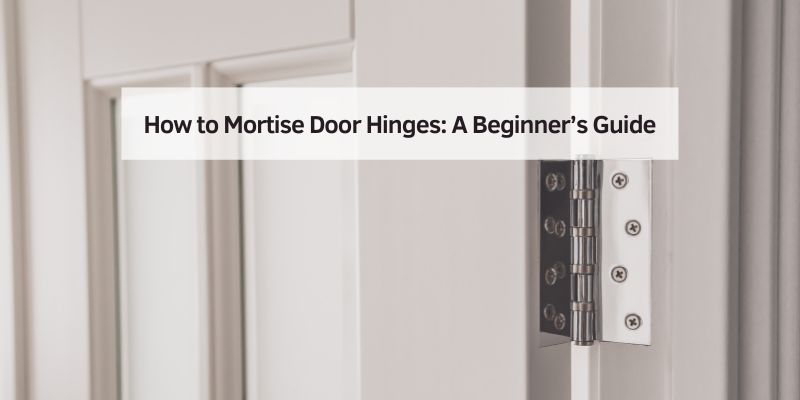
How to Mortise Door Hinges (Chisel vs Router Method)
Mortising a door hinge means cutting a shallow slot – matching the hinge’s exact thickness, usually 1/16 inch – so the leaf sits flush with the door edge instead of standing proud. Skip it and the door won’t close flush, or the hinge leaves visible gaps that let in drafts. This guide covers both the chisel method and the faster router-with-jig method, the real placement spec for hinge positions, and how to fix a mortise cut too deep.
What Is Mortising Door Hinges?
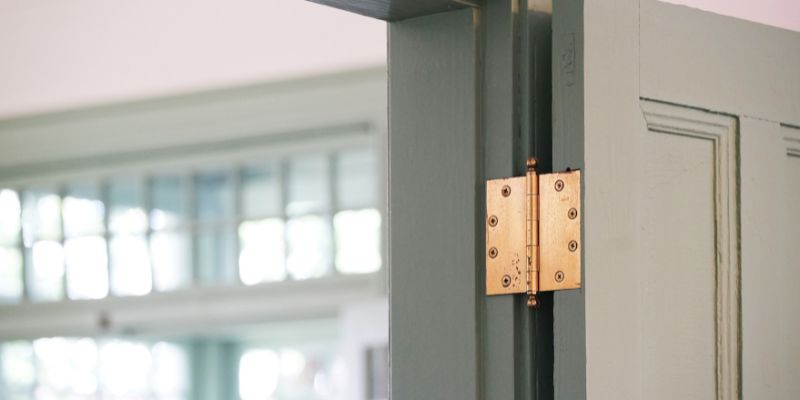
Mortising means cutting a shallow slot, or “mortise,” into a door and its frame to fit a hinge flush. This keeps your door strong, reduces gaps, and makes it look neat. Without a mortise, hinges stick out, leaving ugly gaps that let in drafts or noise. Think of it like carving a perfect pocket for your hinge to sit snugly.
Why Mortising Matters
A good mortise makes your door sturdy and secure. It stops hinges from sagging and keeps the door aligned. It’s a must for heavy doors, like solid wood ones – a skipped mortise on a heavier door tends to cause wobble within weeks as the surface-mounted hinge works loose.
Tools and Materials You Need
You don’t need a fancy workshop to mortise hinges. Here’s what I use for a basic bedroom door project:
- Chisel: A 1-inch or ¾-inch sharp wood chisel (about $10-$20 at The Home Depot).
- Hammer or Mallet: A small one for gentle tapping ($5-$15).
- Utility Knife: For scoring wood ($3-$10).
- Router (Optional): A trim router with a ¼-inch bit for faster work ($50-$100).
- Hinges: Standard 3-inch butt hinges ($5-$10 each).
- Screwdriver or Drill: For securing hinges ($20-$50 for a basic drill).
- Pencil and Tape Measure: For marking ($2-$5).
- Safety Gear: Safety glasses and gloves ($5-$10).
Tool Cost Comparison – budget vs. mid-range options for mortising hinges:
| Tool | Budget Option | Mid-Range Option | Notes |
|---|---|---|---|
| Chisel | $10 (Stanley) | $20 (Irwin) | Sharp, wide chisels work best. |
| Router | $50 (Ryobi) | $100 (Bosch) | Optional for faster mortising. |
| Drill | $20 (Black+Decker) | $50 (DeWalt) | Self-centering bits save time. |
Best Hinge Marking Tool
Swanson Hinge Butt Marker (4″) – $10.99
The exact tool this guide’s “Top Tips” section calls a game-changer – it marks a perfect hinge outline in one press, replacing the trace-with-a-pencil step entirely.
- Best for: marking a crisp, accurate hinge outline before scoring or chiseling
- Why we picked it: aluminum construction holds its shape better than cheaper plastic markers
- Main drawback: only marks the outline – still need a chisel or router for the actual cut
Compare more mortising essentials
 Option 1 Self-Centering Drill Bit Set (17pc) – $19.99
|
 Option 2 DEWALT 3-Piece Wood Chisel Set – $19.70
|
As an Amazon Associate we earn from qualifying purchases.
Step-by-Step Guide to Mortising Door Hinges
You can mortise hinges with a chisel or a router. I’ll cover both methods so you can pick what’s easiest. Always wear safety glasses—wood chips fly!
Method 1: Mortising with a Chisel
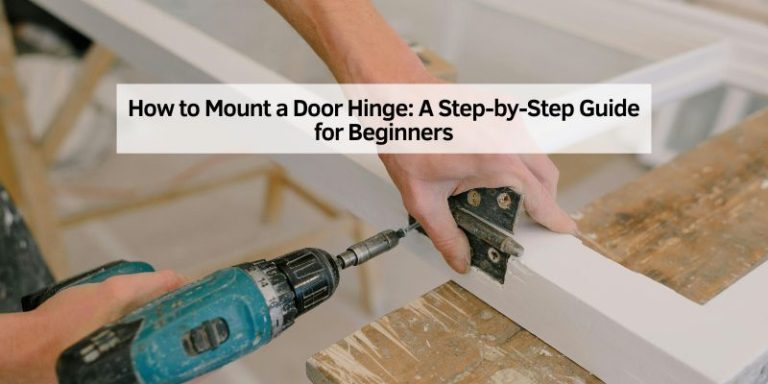
This is the classic way, perfect for beginners with basic tools – no router or jig required, just patience.
- Mark the Hinge Spots: Standard placement runs 5-7 inches from the top of the door and 10-11 inches from the bottom. For heavy doors, add a third hinge in the middle. Use a pencil to mark these spots.
- Trace the Hinge: Place the hinge on the door’s edge, pin side facing the door’s opening direction. Trace around it with a pencil.
- Score the Outline: Use a utility knife to lightly cut along the pencil lines. This prevents wood from splintering.
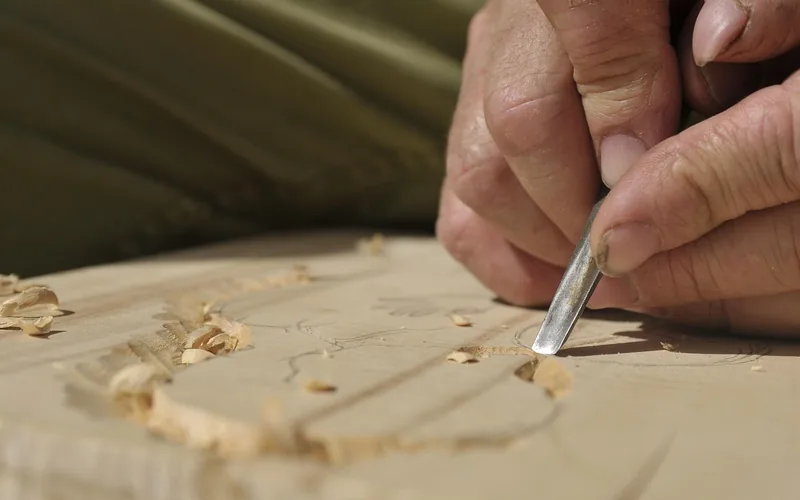
- Chisel the Outline: Hold a sharp chisel vertically along the scored lines. Tap gently with a hammer to cut about 1/16 inch deep (the thickness of your hinge).
- Remove Wood: Angle the chisel at 45 degrees and make small cuts across the mortise area, about ¼ inch apart. Tap gently to remove wood chips until you reach the hinge’s depth.
- Smooth the Mortise: Scrape the chisel flat to even out the bottom. Test-fit the hinge—it should sit flush.
- Drill Pilot Holes: Place the hinge in the mortise and mark screw holes. Use a small drill bit (thinner than your screws) to make pilot holes.
- Secure the Hinge: Screw the hinge into place with a screwdriver or drill. Don’t overtighten—it can strip the wood.
Tip: If your mortise is too deep, glue a thin piece of cardboard under the hinge to raise it.
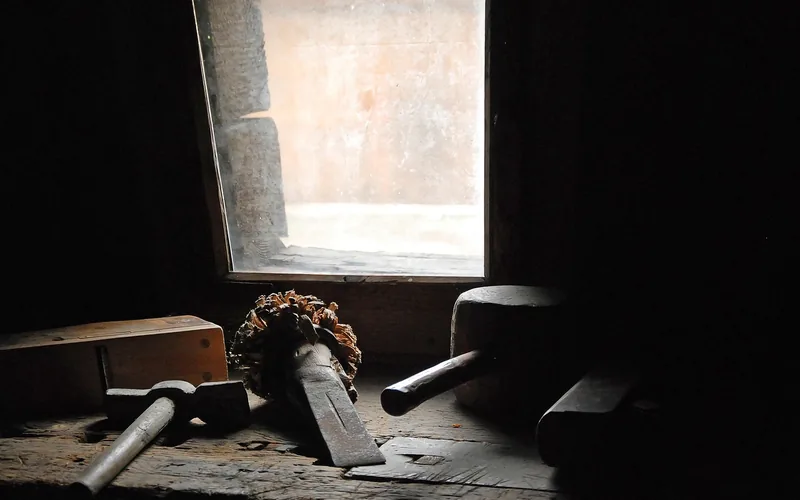
Method 2: Mortising with a Router
A router is faster but needs a steady hand – worth the setup time if you’re hanging more than one or two doors.
- Set Up a Jig: Buy a hinge template (like Milescraft HingeMate, $20) or make one from plywood. Clamp it to the door at your marked spots.
- Adjust Router Depth: Set the router bit to the hinge’s thickness (usually 1/16 inch). Test on scrap wood first.
- Route the Mortise: Move the router clockwise inside the jig to cut the mortise. Go slow to avoid burning the wood.
- Square the Corners: Routers leave rounded corners, so use a chisel to square them for standard hinges.
- Test and Secure: Fit the hinge in the mortise. Drill pilot holes and screw it in.
Chisel vs. Router Comparison for mortising door hinges:
| Method | Time per Hinge | Cost (Tools) | Skill Level | Notes |
|---|---|---|---|---|
| Chisel | 10-15 min | $15-$30 | Beginner | Slow but precise, affordable. |
| Router | 5-7 min | $70-$120 | Intermediate | Fast, needs jig for accuracy. |
Benefits and Drawbacks of Mortising
Mortising makes hinges flush, reducing gaps for better insulation and security. It also strengthens the door, especially for heavy ones. The downside? It takes time and patience – rush it and you’ll chip the wood or cut too deep. Non-mortise hinges are an alternative – they screw directly onto the door – but they leave gaps, look less polished, and give a heavier door less to grip, which can lead to rattling over time.

“Hold a 1-1/4-in. (or wider) chisel at about a 45° angle, chop across the grain in increments of about 1/4 in., gently tapping the chisel with a hammer until the edge of the blade reaches the scored depth line.”
My Top Tips for Mortising Success
Here are some tricks I’ve learned from years of carpentry:
- Sharpen Your Chisel: A dull chisel tears wood. Sharpen it on a whetstone before starting.
- Use a Butt Marker: This roughly $5 tool marks hinge outlines perfectly and is available at most hardware stores.
- Test on Scrap Wood: Practice your chisel or router cuts on a spare board to avoid ruining your door.
- Check Alignment: Double-check hinge placement with a level. Crooked hinges make doors stick.
Common Mistakes to Avoid:
- Cutting too deep (test-fit often).
- Skipping pilot holes (screws can split wood).
- Using a dull chisel (it makes a mess).
Cost-Saving Ideas
Mortising doesn’t have to break the bank. Buy a basic chisel set for $10-$15 instead of a single fancy one. Rent a router from a hardware store for around $10/day if you don’t own one. Check thrift stores and garage sales for used hinges – clean them up with sandpaper for a like-new look, often for a fraction of retail price.
Cost Breakdown for a Mortising Project – estimated costs for the whole job:
| Item | Cost Range | Where to Find |
|---|---|---|
| Hinges (3) | $15-$30 | Home Depot, Lowe’s |
| Chisel Set | $10-$20 | Amazon, hardware stores |
| Router (Rent) | $10/day | Local hardware stores |
Safety First
Always wear safety glasses – wood chips can sting. Keep your hands behind the chisel’s sharp edge. If using a router, always unplug it when changing bits – a bit that spins loose while still powered is a real injury risk. Work slowly and stay focused, since rushing is how most mortising mistakes happen.
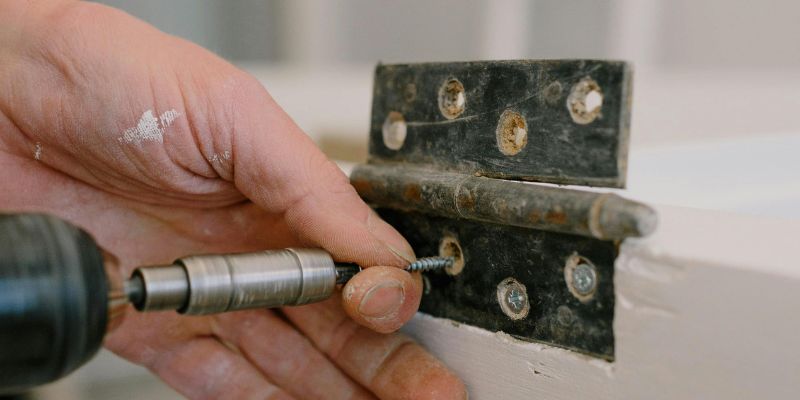
Frequently Asked Questions
What Does Mortising a Hinge Mean?
Mortising a hinge means cutting a shallow slot in the door and frame so the hinge sits flush. This makes the door strong and reduces gaps for better insulation.
Can I Mortise Hinges Without a Router?
Yes, you can use a chisel and hammer. It’s slower but works great for beginners. Just score the outline first and cut carefully.
How Deep Should a Hinge Mortise Be?
The mortise should match the hinge’s thickness, usually 1/16 inch. Test-fit the hinge to ensure it sits flush with the door’s edge.
What If I Cut the Mortise Too Deep?
Glue a thin piece of cardboard or wood shim in the mortise to raise the hinge. Sand it smooth for a perfect fit.
Do I Need to Mortise Both Door and Frame?
Yes, mortise both for a flush fit. Matching mortises on the door and frame ensure the door swings smoothly without gaps.
How Long Does Mortising Take?
With a chisel, expect 10-15 minutes per hinge. A router cuts it down to 5-7 minutes with a jig. Practice speeds things up!
Can I Use Non-Mortise Hinges Instead?
Yes, non-mortise hinges screw directly on, but they leave gaps and look less neat. Mortising is better for heavy doors or a polished look.
Conclusion
Mortising door hinges is easier than it sounds. With a chisel or router and a bit of patience, a sturdy, professional-looking door is well within reach. Practicing on a scrap board first builds confidence before working on the real door.
For more carpentry tips, check out Fine Homebuilding, The Home Depot, and WOOD Magazine.
Sponsored / affiliate links. As an Amazon Associate I earn from qualifying purchases. I may earn additional commission from eligible campaigns.
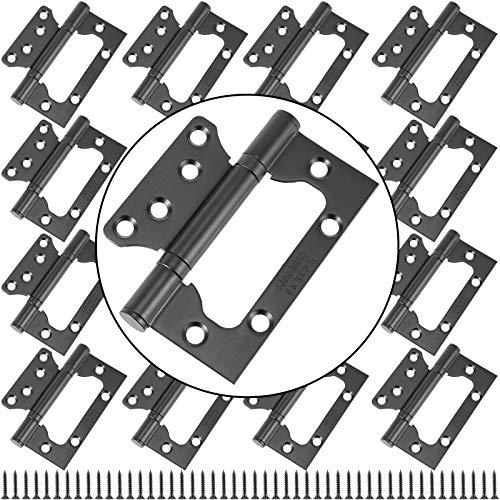 ZEONHAK 16 Pack 4 x 3 Inch Black Non Mortise Door Hinges, Heavy Duty Door Hinges, Stainless Steel Door Hinge with Mounting Screws, 8 Pairs
 ZOENHOU 16 Pack 4 x 3 Inch Non Mortise Door Hinges, Stainless Steel Mobile Home Door Hinges, Smooth Silent Movement with 128 PCS Mounting Screws and Upgraded Ball Bearing, Black