How to Make a Door Latch Hole (1-Inch Bit, 2-1/8-Inch Deep)
A door latch hole takes a 1-inch spade bit or hole saw drilled 2-1/8 inches deep into the door’s edge — centered 36 to 38 inches from the floor to match standard hardware. Drill off-center or too shallow and the latch won’t seat, so the door rattles or won’t lock at all. This guide covers drilling the hole freehand, using a lock installation kit for a foolproof result, and cutting one by hand with just a chisel.
Whether you’re hanging a new door, replacing a lock, or just fixing a latch that doesn’t catch, this guide will walk you through how to make a door latch hole like a pro. See our full door hardware and locks hub for related projects once this one’s done.
Why Making a Door Latch Hole Matters
Let’s start with why this little hole is such a big deal. When I hung my first door, I didn’t realize how important the latch hole was until the door wouldn’t close properly. The latch hole is where the latch bolt slides into the door’s edge, letting it catch in the strike plate on the frame. If the hole isn’t deep enough, too shallow, or off-center, your door won’t close smoothly, or worse, it won’t lock at all.
Getting it right means your door will shut securely, look professional, and work like a charm. I messed up my first attempt and had to patch it, but once I got it right, the door clicked shut so satisfyingly. Plus, doing it yourself saves money—pros can charge $50 or more just for this step. Ready to dive in? Let’s figure out what you need first.
“I was nervous about cutting that first latch hole — one wrong move and you can ruin a perfectly good door. After a few tries, some practice, and a lot of sawdust, the process became simple.”
Assessing Your Door and Latch
Before you start drilling, you need to know what you’re working with. I learned this the hard way when I used the wrong size drill bit and made a mess. Here’s how I assess things now:
- Check the door: Is it wood, hollow-core, or metal? Most home doors are wood or hollow-core. Mine was a solid wood door, which is easier to work with.
- Measure the latch: Look at the latch or lockset you’re installing. My standard latch needed a 1-inch hole for the bolt. Check the packaging for exact sizes.
- Locate the latch position: Standard latch height is about 36-38 inches from the floor, but I measured my existing doors to match. Mark the spot with a pencil.
- Inspect the door edge: Make sure the edge is smooth and free of old hardware. I sanded mine lightly to prep it.
Taking these steps helps you choose the right tools and avoid mistakes. It’s like planning a road trip—you need to know where you’re going before you start driving!
📊 Cylindrical door locksets are made in just two standard backset sizes — 2-3/8 inch and 2-3/4 inch — measuring your existing backset before buying a replacement lockset avoids drilling a mismatched hole. — Source: ANSI/BHMA A156.2 door hardware standard
Tools and Materials You’ll Need
Having the right tools makes this job so much easier. I tried cutting a latch hole with just a screwdriver once—big mistake! Here’s what I use now:
- Drill and bits: A power drill with a 1-inch spade bit or hole saw for the latch hole. I got a drill bit set for $15.
- Chisel: A ¾-inch or 1-inch chisel to carve out the latch plate recess. Mine cost $10.
- Screwdriver: A Phillips screwdriver for securing the latch. I already had one.
- Measuring tape and pencil: To mark the hole’s position. These are household staples.
- Combination square: To keep your lines straight. I borrowed one, but they’re about $8.
- Sandpaper: To smooth the hole and edges. I used the 120-grit sandpaper I had.
- Lockset or latch kit: Includes the latch and strike plate. My kit was $20.
- Optional: Door lock installation kit: This has templates for drilling. I used one for $15, and it saved time.
My total cost was about $40 since I owned some tools. Check your lockset’s instructions for specific bit sizes before buying.

Best Door Lock Installation Kit Pick
Milescraft 1338 Lock Mate PLUS – $39.99
Self-clamps to the door edge instead of relying on screws, which matches the Method 2 approach in this guide but keeps the template from shifting mid-drill — the main cause of an off-center latch hole.
- Best for: Getting a precise, professional-looking hole on the first try
- Why we picked it: No hardware or screws needed to hold the jig steady while drilling
- Main drawback: Costs more than a basic template kit like the ones below
Compare more door lock installation kit options
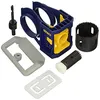 Option 1 IRWIN Installation Kit – $16.05
|
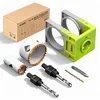 Option 2 KATA Bi-Metal Kit – $26.99
|
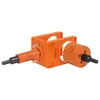 Option 3 VIKITON Installation Kit – $15.99
|
As an Amazon Associate we earn from qualifying purchases.
Method 1: Drilling a Latch Hole for a Standard Lockset
This is the most common way to make a latch hole, and it’s what I used for my bedroom door. It’s straightforward if you take it slow. Here’s how I do it:
- Mark the latch position: I measured 36 inches from the floor and marked the center of the door’s edge with a pencil. I used a combination square to draw a straight line across the edge.
- Mark the latch plate: Place the latch against the door edge and trace its outline. Mine was about 2-1/4 inches long and 1 inch wide.
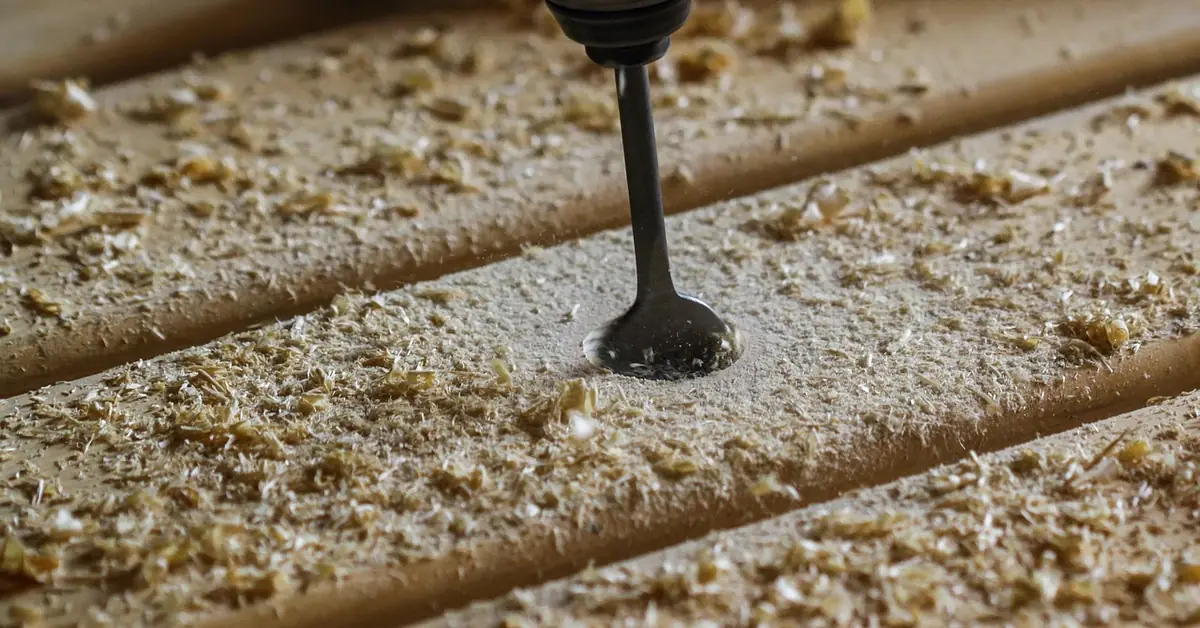
- Drill the latch hole: Using a 1-inch spade bit, I drilled into the door’s edge at the marked center point. I went slow to avoid splintering and stopped at about 2-1/8 inches deep (check your latch’s length).
- Chisel the latch plate recess: I scored the latch plate outline with a chisel, then carved out a 1/8-inch deep recess so the plate would sit flush. This took some patience.
- Test the latch: Slide the latch into the hole and check the fit. Mine was snug, but I sanded the hole slightly for a perfect fit.
- Secure the latch: Screw the latch plate into place with the provided screws. I used a screwdriver and made sure it was flush.
This took me about 30 minutes, and the door closed with a solid click. It’s a great method for most home doors. If you’re installing a full new lockset rather than just cutting the hole, our complete door lock installation guide covers the knob and deadbolt steps too.
Method 2: Using a Door Lock Installation Kit
If you want a foolproof way, a lock installation kit is a game-changer. I used one for my front door, and it made the job so easy. Here’s how it works:
- Attach the template: The kit comes with a plastic or paper template. I clamped mine to the door at 36 inches from the floor, aligning it with the edge.
- Mark the holes: The template shows where to drill for the latch and lock. I marked the latch hole center with a pencil.
- Drill the latch hole: Using a 1-inch hole saw (included in some kits), I drilled into the door’s edge. The template kept my drill straight, and I stopped at 2-1/8 inches deep.
- Drill the lock hole: For the lockset, I used a 2-1/8-inch hole saw to cut through the door’s face, following the template. I did this from both sides to avoid splintering.
- Chisel the latch plate: I traced the latch plate and chiseled a shallow recess, just like in Method 1. The template made the outline perfect.
- Install the latch and lock: I slid the latch in, screwed it down, and added the lockset. I tested it before tightening everything. If you’re putting in a deadbolt at the same time, our deadbolt installation guide walks through that second hole.
This method took 20 minutes and felt like cheating—it was so precise! It’s perfect for beginners or anyone who wants a professional look.
Method 3: Making a Latch Hole Without Power Tools
If you don’t have a drill, you can still make a latch hole with hand tools. I tried this on a shed door when my drill battery died. Here’s how:
- Mark the latch position: I measured 36 inches up and marked the center of the door’s edge, using a combination square for a straight line.
- Outline the latch plate: I traced the latch plate on the edge with a pencil.
- Chisel the latch hole: Using a 1-inch chisel, I carefully carved out a 1-inch wide, 2-1/8-inch deep hole. I worked slowly, removing small bits of wood at a time.
- Chisel the plate recess: I scored the latch plate outline and chiseled a 1/8-inch deep recess for a flush fit.
- Smooth the hole: I used sandpaper to smooth the hole’s edges. It took some elbow grease, but it looked clean.
- Install the latch: I screwed the latch into place and tested it. The door closed, but it wasn’t as perfect as a drilled hole.
This took about an hour and was harder work, but it’s a good option if you don’t have power tools. My shed door still works fine!
Installing the Strike Plate on the Door Frame
The latch hole is only half the job—you need a strike plate hole on the frame for the bolt to catch. I messed this up once, and my door wouldn’t lock. Here’s how I do it now:
- Mark the strike plate position: Close the door and mark where the latch hits the frame. I used a pencil to trace the latch’s top and bottom.
- Align the strike plate: Hold the strike plate against the frame, centering it over the latch mark. I traced its outline with a pencil.
- Drill the bolt hole: Using a 1-inch spade bit, I drilled a 1-inch deep hole in the frame’s center. This lets the bolt slide in.
- Chisel the recess: I scored the strike plate outline and chiseled a 1/8-inch deep recess so it sits flush.
- Screw it in: I secured the strike plate with the provided screws, testing the door to ensure it latched smoothly.
- Adjust if needed: My first strike plate was off by a hair, so I filed the hole slightly to align it. If your door frame itself is cracked or split near the strike plate, our frame repair guide covers fixing that before you re-drill.
This took 15 minutes and made my door lock securely. It’s a crucial step for a working latch.
Troubleshooting Common Issues
Sometimes, things don’t go perfectly. Here’s how I fixed some problems I ran into:
- Hole too shallow: If the latch doesn’t fit, drill deeper. I had to go back and deepen my first hole by 1/4 inch.
- Splintered wood: If the hole splinters, sand it smooth or fill it with wood filler. I used filler on a messy edge and sanded it down.
- Misaligned latch: If the door won’t close, check if the latch and strike plate align. I adjusted my strike plate up slightly to fix this.
- Loose latch plate: If screws won’t hold, use longer ones or add wood glue. I swapped out short screws for 1-1/2-inch ones.
These fixes are quick and keep your door working perfectly. Don’t stress if you hit a snag—it’s part of the process!
Comparing Methods for Making a Latch Hole
To help you choose the best method, here’s a table based on my experience with each one:
| Method | Best For | Cost | Time Needed | Tools Needed |
|---|---|---|---|---|
| Drilling for a Standard Lockset | Most interior doors with a standard lockset | ~$25 (drill bits + chisel) | 30 minutes | Power drill, 1-inch spade bit, chisel |
| Lock Installation Kit | Beginners who want a precise, foolproof result | ~$15 kit + lockset | 20 minutes | Drill, template kit, hole saws |
| Hand Tools (No Power Drill) | Shed doors or when a drill isn’t available | ~$10 (chisel only) | About 1 hour | Chisel, sandpaper, combination square |
Frequently Asked Questions
What Size Hole Do You Drill for a Door Latch?
Most residential locksets need a 1-inch hole bored into the door’s edge for the latch bolt, plus a 2-1/8-inch hole through the door’s face for the lockset itself. Check your specific lockset’s packaging, since sizes vary slightly by manufacturer.
How Deep Should a Door Latch Hole Be?
Drill the edge hole about 2-1/8 inches deep to fully seat a standard latch bolt. Stop and test-fit the latch before drilling any deeper — going too far weakens the door’s structure near the edge.
What Is a Door Backset and How Do I Measure It?
The backset is the distance from the door’s edge to the center of the bolt hole — almost always 2-3/8 inches or 2-3/4 inches on residential doors. Measure from the edge to the center of your existing knob hole, or check the new lockset’s packaging before buying a hole saw.
Can You Use a Spade Bit Instead of a Hole Saw for a Latch Hole?
Yes. A 1-inch spade bit works fine for the latch hole on the door’s edge. A hole saw is really only needed for the larger 2-1/8-inch hole through the door’s face, where a spade bit’s short shank can’t reach all the way through.
Why Won’t My Door Latch Catch After Drilling the Hole?
This is usually a misalignment between the latch hole and the strike plate hole on the frame. Close the door, mark exactly where the latch bolt hits the frame, and re-center the strike plate — filing the strike plate hole slightly, if needed, fixes minor misalignment.
Conclusion
Making a door latch hole comes down to three choices: drill it freehand with a spade bit for the most control, use an installation kit template for the most precise result, or chisel it by hand when there’s no power available. Whichever method you pick, match the backset to your lockset (2-3/8 inch or 2-3/4 inch) and test-fit the latch before you commit to the final depth.
Take it slow, measure twice, and don’t be afraid to sand or file for a perfect fit — a door that clicks shut securely is worth the extra few minutes of care.
Sponsored / affiliate links. As an Amazon Associate I earn from qualifying purchases. I may earn additional commission from eligible campaigns.