How to Drill a Deadbolt in 7 Steps (15 to 30 Minutes)
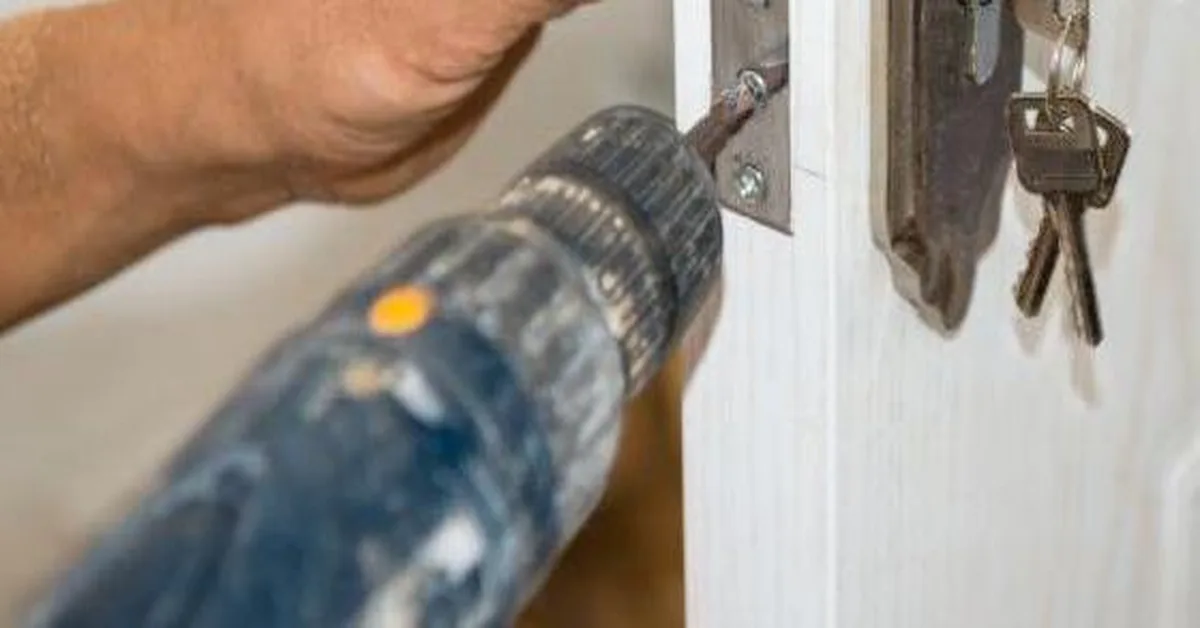
You drill a deadbolt by cutting a 2-1/8 inch main hole with a hole saw, then a 1-inch edge hole with a spade bit, unless your door already has an old bore to reuse. Rush the pilot hole and the hole saw will wander, cracking the door face. This guide covers the 7-step drilling process, the tool list, and the most common mistakes that ruin a first attempt.
What Is Drilling a Deadbolt and Why Does It Matter?
Drilling a deadbolt means making a hole in your door to fit a deadbolt lock. A deadbolt is a strong lock that slides a metal bolt into the door frame, keeping your home safe. Unlike regular locks, deadbolts are tough for intruders to break. You might need to drill one to install a new lock, replace an old one, or get into a locked door if you lose your keys. It’s a handy skill that saves money and boosts your home’s security.
Tools and Materials You’ll Need
Before you start, grab these tools. They’re easy to find at any hardware store, and I’ve kept the list simple for beginners.
- Cordless Drill: A basic drill works fine. I use a 12V one for small jobs like this.
- Hole Saw (2-1/8 inch): This cuts the big hole for the deadbolt.
- Spade Bit (1 inch): For the smaller hole on the door’s edge.
- Drill Bits (1/8 inch and 1/4 inch): For pilot holes or drilling out a lock.
- Screwdriver: A Phillips head is usually enough.
- Measuring Tape and Pencil: To mark where to drill.
- Safety Glasses and Gloves: Keep your eyes and hands safe!
- Chisel: For carving out space for the lock’s faceplate.
- Masking Tape: Helps prevent splintering and marks your drill depth.
Table 1: Tool Cost Comparison
| Tool | Budget Option | Mid-Range Option | High-End Option |
|---|---|---|---|
| Cordless Drill | $30 | $60 | $100+ |
| Hole Saw (2-1/8″) | $10 | $20 | $40 |
| Spade Bit (1″) | $5 | $10 | $15 |
Caption: Compare tool costs to fit your budget. Budget options work for one-time projects, while mid-range is great for regular DIYers.
Best Deadbolt Installation Kit Pick
KATA Hole Saw Kit with Adjustable Door Jig – $26.99
Includes an adjustable door jig for marking, replacing the paper template this guide uses in step 1, plus a bi-metal hole saw for the main bore.
- Best for: Getting the main hole and edge hole aligned on the first try
- Why we picked it: The jig replaces guesswork on the marking step this guide walks through
- Main drawback: Pricier than a basic hole saw only kit
Compare more installation kit options
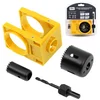 Option 1 RKK Deadbolt Hole Saw Kit – $8.99
|
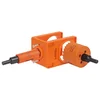 Option 2 VIKITON All-in-One Install Kit – $15.99
|
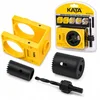 Option 3 KATA Wood Door Install Kit – $9.99
|
As an Amazon Associate we earn from qualifying purchases.
Step-by-Step Guide to Drilling a Deadbolt
Here’s how to drill a deadbolt hole in your door. Follow these steps, and it’ll be a piece of cake!
- Mark the Spot: Use the template that comes with your deadbolt kit. Tape it to the door, about 6 inches above the doorknob. Mark the center of the big hole and the edge hole with a pencil.
- Drill the Pilot Hole: Use a 1/8-inch drill bit to make a small hole at the marked center. This guides your hole saw. Go slow to keep it straight.
- Cut the Main Hole: Attach the 2-1/8-inch hole saw to your drill. Start drilling on one side of the door, going halfway. Then, finish from the other side to avoid splintering.
- Drill the Edge Hole: Use a 1-inch spade bit to drill a hole from the door’s edge to meet the main hole. This is for the bolt.
- Chisel the Faceplate: Slide the deadbolt into the edge hole. Trace around the faceplate with a pencil. Use a chisel to carve out a shallow slot so the faceplate sits flush.
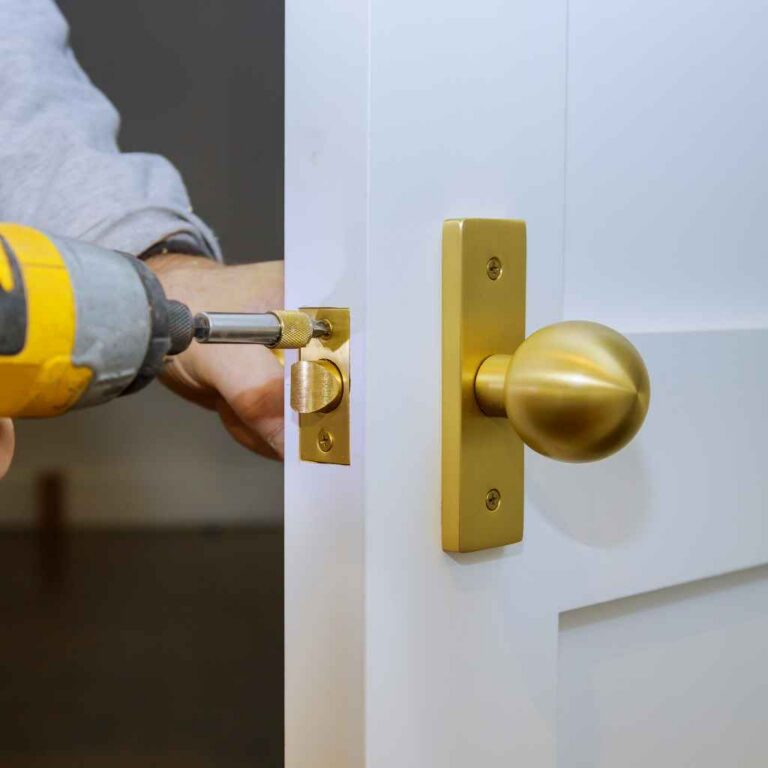
- Install the Deadbolt: Put the deadbolt in the edge hole and screw the faceplate in place. Add the lock cylinder and thumb turn, following the kit’s instructions.
- Mark and Drill the Strike Plate: Close the door and mark where the bolt hits the door frame. Drill a 1-inch hole in the frame, then chisel a slot for the strike plate. Screw it in.
Visual Idea: A simple diagram showing the door with marked spots for the main hole and edge hole would help beginners visualize placement. Another diagram could show the faceplate slot after chiseling.
Benefits and Drawbacks of Drilling a Deadbolt
Drilling a deadbolt is a great way to boost security, but it has pros and cons.
-
Benefits:
- Adds strong protection against break-ins.
- Saves money compared to hiring a locksmith ($100–$250).
- Fun DIY project that builds confidence.
-
Drawbacks:
- Can damage the door if you drill wrong.
- Takes 15–30 minutes if you’re new.
- High-security deadbolts are harder to drill.
Tip: If you’re nervous about messing up, practice on a scrap piece of wood first. It’s how I got the hang of it!
Common Mistakes to Avoid
My first deadbolt install was a flop because I rushed. Here are mistakes to skip:
- Wrong Measurements: Double-check your template placement. A misaligned hole ruins the lock’s fit.
- Drilling Too Deep: Use masking tape on your drill bit to mark the depth. This stops you from going too far.
- Skipping Safety Gear: Metal or wood bits can fly. Wear glasses and gloves every time.
- Using Dull Bits: Dull bits tear the wood. Buy sharp, carbide-tipped bits for clean cuts.
Table 2: Common Mistakes and Fixes
| Mistake | Fix |
|---|---|
| Misaligned Holes | Use a template and measure twice |
| Splintered Wood | Drill from both sides |
| Wrong Bit Size | Check kit instructions |
Caption: Avoid these errors for a smooth deadbolt installation.
Personal Tips from My Experience
After installing a few deadbolts, I’ve learned some tricks. First, always tape the door before drilling—it keeps the wood from splitting. Second, if you’re drilling out an old lock (like I did when I was locked out), start with a small 1/8-inch bit to break the pins, then switch to a 1/4-inch bit. It’s less messy. Lastly, keep a vacuum nearby to clean up metal or wood shavings. It makes the job look pro!
Visual Idea: A photo of a taped-up door with pencil marks would show beginners how to prep. A second image could show the vacuum trick for cleanup.
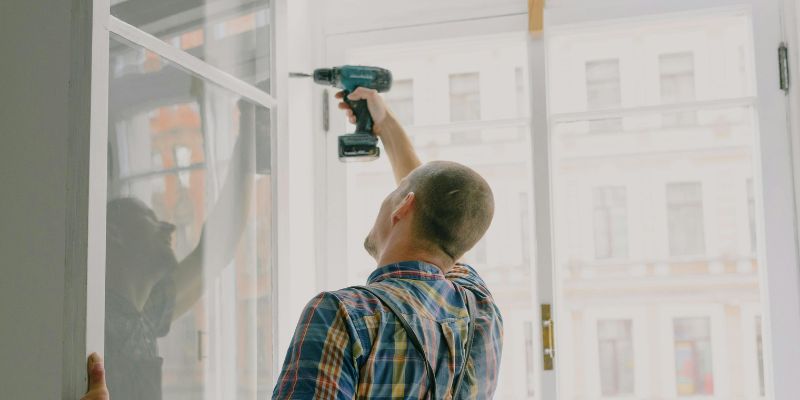
Alternative Approaches
Not ready to drill? Try these options:
- Keyless Deadbolts: Use a keypad or smart lock. No key needed, but they cost more ($50–$150).
- Call a Locksmith: Pros can install it for $100–$250, saving you time but not money.
- Pick the Lock: If you’re locked out, a lock-picking kit is cheaper ($20) but takes practice.
For more on lock-picking, check out Locksmith Ledger for tips.
Frequently Asked Questions
What Size Hole Do I Need for a Deadbolt?
A standard deadbolt needs a 2-1/8-inch hole for the lock and a 1-inch hole for the bolt. Check your kit’s instructions, as some brands vary slightly.
Can I Drill a Deadbolt Without a Hole Saw?
Yes, but it’s tricky. You can use a spade bit or Forstner bit, but a hole saw is faster and cleaner. Practice on scrap wood first.
How Long Does It Take to Drill a Deadbolt?
About 15–30 minutes for beginners. It depends on your tools and skill. High-security locks may take longer due to tough materials.
Will Drilling Damage My Door?
Not if you’re careful. Use tape to prevent splintering, drill slowly, and measure twice. Fix small splinters with wood filler.
What If My Deadbolt Hole Is Too Shallow?
Deepen it with a 1-inch spade bit. Mark the bit with tape to avoid going too far. Check the bolt’s fit before finishing.
Can I Reuse an Old Deadbolt Hole?
Yes, if it matches the new lock’s size. Clean out debris and test the fit. If it’s too big, use a filler plate.
Is Drilling a Deadbolt Safe?
Yes, with safety gear. Wear glasses and gloves to avoid flying debris. Keep your drill steady to prevent slips.
Conclusion
Drilling a deadbolt is a fun, money-saving way to make your home safer. With a few tools and these simple steps, you can do it like a pro. My first try wasn’t perfect, but now I love tackling these projects! Give it a shot, and don’t be afraid to mess up a little—it’s how you learn. Share your deadbolt story or ask me a question in the comments. Ready to secure your door? Grab your drill and go for it!
Sponsored / affiliate links. As an Amazon Associate I earn from qualifying purchases. I may earn additional commission from eligible campaigns.