How to Build an Exterior Door Frame with a Threshold
An exterior door frame needs pressure-treated or cedar jambs, a beveled aluminum threshold, and a rough opening cut about 2 1/4 inches larger than the door — except IRC caps threshold height at 3/4 inch for swinging exterior doors. Skipping the bevel or drainage slope lets water and drafts under the door. This guide covers measuring the rough opening, assembling the jamb and header, and installing a threshold that sheds water instead of trapping it.
Affiliate disclosure: This post contains Amazon affiliate links. We earn a commission from qualifying purchases at no extra cost to you.
Why Build Your Own Exterior Door Frame?
Building your own frame instead of buying a prehung unit lets you match an odd rough opening exactly and choose your own jamb depth and threshold material. I’ve built a few door frames myself, and a custom-built frame ensures the door seals tightly against drafts, water, and insects — something a stock prehung unit can’t always guarantee if your rough opening is out of square. It also gives you full control over the threshold height and bevel, which matters once you check the IRC limits covered below.
Planning Your Door Frame Project
A little prep goes a long way — I learned this the hard way once, cutting jamb stock without measuring twice, and the frame didn’t fit. Start by measuring the rough opening width and height, plus the door slab itself, and write both sets of numbers down before you cut anything.
Climate matters too. Heavy-rain regions should prioritize threshold slope and flashing; cold regions should prioritize insulation and a thermal-break threshold. Check your local building department for any additional frame-dimension or material rules before you buy lumber — a quick call can save a failed inspection later.
How Wide Should the Rough Opening Be for an Exterior Door Frame?
Size the rough opening at the door slab’s width and height plus about 2 1/4 inches on each dimension — roughly 2 inches for the jambs and header material plus 1/4 to 1/2 inch of shim clearance. For a standard 36 x 80 inch exterior door, that works out to a rough opening close to 38 1/2 x 82 1/4 inches. Confirm the opening is plumb within 1/8 to 1/4 inch before framing; more deviation than that makes shimming unreliable.
Materials You’ll Need
Here’s what a durable exterior frame actually requires — no filler items:
- Lumber: Pressure-treated pine or cedar for the jambs (vertical sides) and header (top piece) — both resist rot and insects. 2×6 or 2×4 stock is standard.
- Threshold: Aluminum, hardwood, or composite. Aluminum is low-maintenance and durable; hardwood looks better but needs periodic sealing; composite resists rot without the upkeep hardwood needs.
- Weatherstripping: Foam or self-adhesive rubber strips seal the jamb-to-door gap.
- Shims: Wood or composite shims plumb and level the frame in the opening.
- Fasteners: Corrosion-resistant (galvanized or stainless) screws, 2.5–3 inches long, for outdoor exposure.
- Caulk and Sealant: Exterior-grade silicone seals gaps against water intrusion.
- Flashing: Aluminum or vinyl flashing under the threshold blocks water from seeping into the subfloor.
- Exterior Paint or Stain: Protects exposed wood and matches your entry’s finish.
Threshold material comparison:
| Material | Maintenance | Best For |
|---|---|---|
| Aluminum | Low — wipe clean, no sealing | High-traffic entries, wet climates |
| Hardwood (oak) | High — reseal every 1–2 years | Matching a stained wood entry |
| Composite | Low — resists rot without sealing | Budget builds needing low upkeep |
Full materials reference:
| Item | Purpose | Recommended Type |
|---|---|---|
| Lumber | Forms jambs and header | Pressure-treated pine or cedar |
| Threshold | Supports door and seals bottom | Aluminum, hardwood, or composite |
| Weatherstripping | Seals gaps | Foam or rubber, self-adhesive |
| Shims | Levels frame | Wooden or composite |
| Fasteners | Secures frame | Corrosion-resistant screws/nails |
| Caulk and Sealant | Waterproofs gaps | Silicone |
| Flashing | Prevents water seepage | Aluminum or vinyl |
| Paint or Stain | Protects and beautifies | Exterior-grade |
Tools You’ll Need
You don’t need a full workshop for this — a garage and sawhorses are enough:
- Tape Measure: For precise measurements.
- Level: Ensures the frame is plumb and square.
- Circular Saw or Miter Saw: For cutting lumber to size.
- Drill and Bits: For screwing and pre-drilling holes.
- Hammer or Nail Gun: For securing the frame.
- Chisel: Helps with fitting the threshold or hinges.
- Framing Square: Checks right angles for a perfect fit.
- Caulk Gun: For applying sealant.
- Safety Gear: Gloves, safety glasses, and ear protection.
Once you’ve got the door hardware picked out — see our guide to installing an entry door knob — you’re ready for the build itself.
📊 IRC 2021 caps threshold height at 3/4 inch above the finished floor for side-hinged exterior doors (up to 7 3/4 inches only for non-egress doors in R-2/R-3 occupancies) — Source: 2021 International Building Code §1010.1.6, ICC
Step-by-Step Guide to Building the Frame
Now the build itself — I’ll break it into the same six steps I used building my own front door frame.
Step 1: Measure and Cut the Jambs
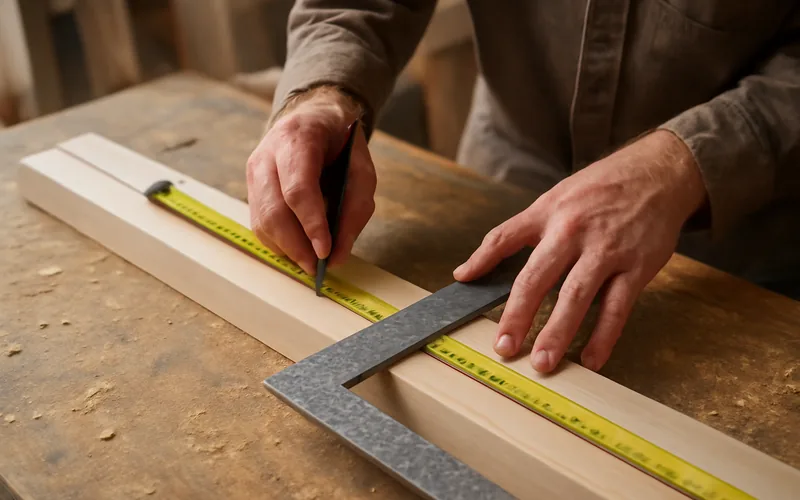
Measure the rough opening height and subtract about 1/4 inch for shim clearance. Cut two jamb pieces to this length — for a standard 80-inch door, that’s about 79.75 inches. Use a miter saw for straight cuts, and check each piece with a square to confirm it isn’t warped before moving on.
Step 2: Cut the Header
Measure the rough opening width and add the thickness of both jambs (usually 1.5 inches each for 2×4 stock). For a 36-inch-wide door with 1.5-inch jambs, the header comes out to about 39 inches. Double-check with a tape measure before cutting.
Step 3: Assemble the Frame
Lay the jambs and header on a flat surface — a garage floor works fine. Attach the header to the tops of the jambs with screws or nails, pre-drilling to prevent splitting. Check the corners with a square before fastening; clamping the pieces first keeps everything aligned while you work.
Step 4: Install the Threshold
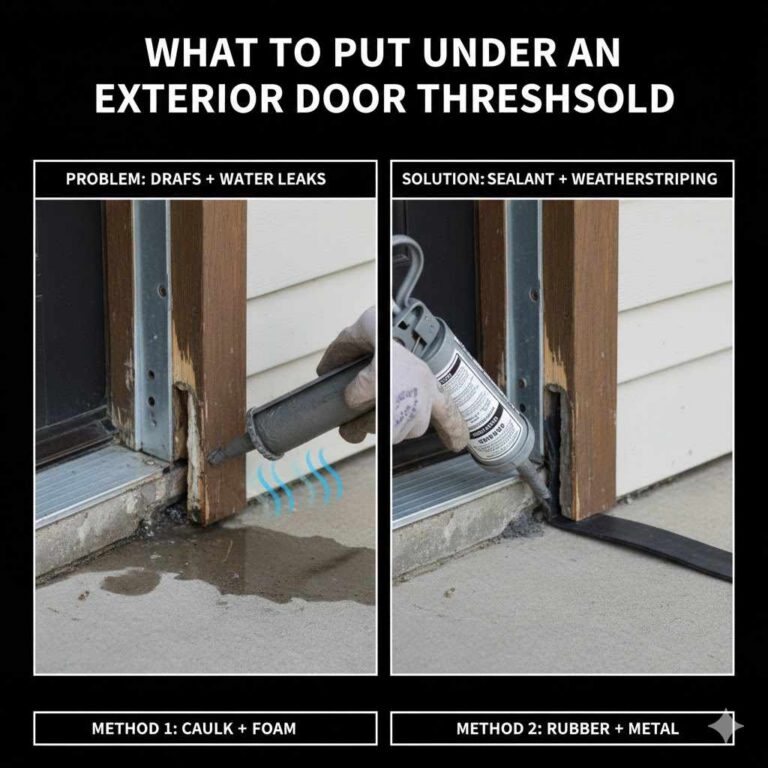
The threshold seals the bottom of the door opening. Measure the width between the jambs and cut the threshold to fit snugly — aluminum thresholds often come pre-notched for the jambs, so check the manufacturer instructions first. Bevel the top edge where it exceeds a 1/4-inch rise (IRC requires a slope no steeper than 1-in-2, i.e. 50%) and set a slight slope, at least 5 degrees, away from the interior so water drains outward instead of pooling against the door. Secure the threshold with corrosion-resistant screws spaced every 8–12 inches, and run flashing underneath before final fastening.
Best Door Threshold Pick
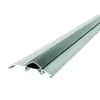
M-D Building Threshold, 3-3/4in x 3/4in x 36in – $25.67
Fits the standard 36-inch rough opening this guide walks through, and its 3/4-inch height matches the IRC swinging-door maximum discussed in Step 4 — no site-built shim needed to stay code-legal.
- Best for: standard 36″ prehung or site-built exterior door openings
- Why we picked it: pre-cut to code-height, vinyl insert seals without extra caulking
- Main drawback: vinyl insert wears faster than solid aluminum on high-traffic entries
Compare more threshold options
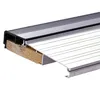 Option 1 Frost King Heavy-Gauge Aluminum Sill – $34.99
|
 Option 2 MD Commercial Flat-Profile Threshold – $30.37
|
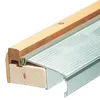 Option 3 Frost King Adjustable Aluminum & Oak Sill – $39.99
|
As an Amazon Associate we earn from qualifying purchases.
Step 5: Fit the Frame in the Opening
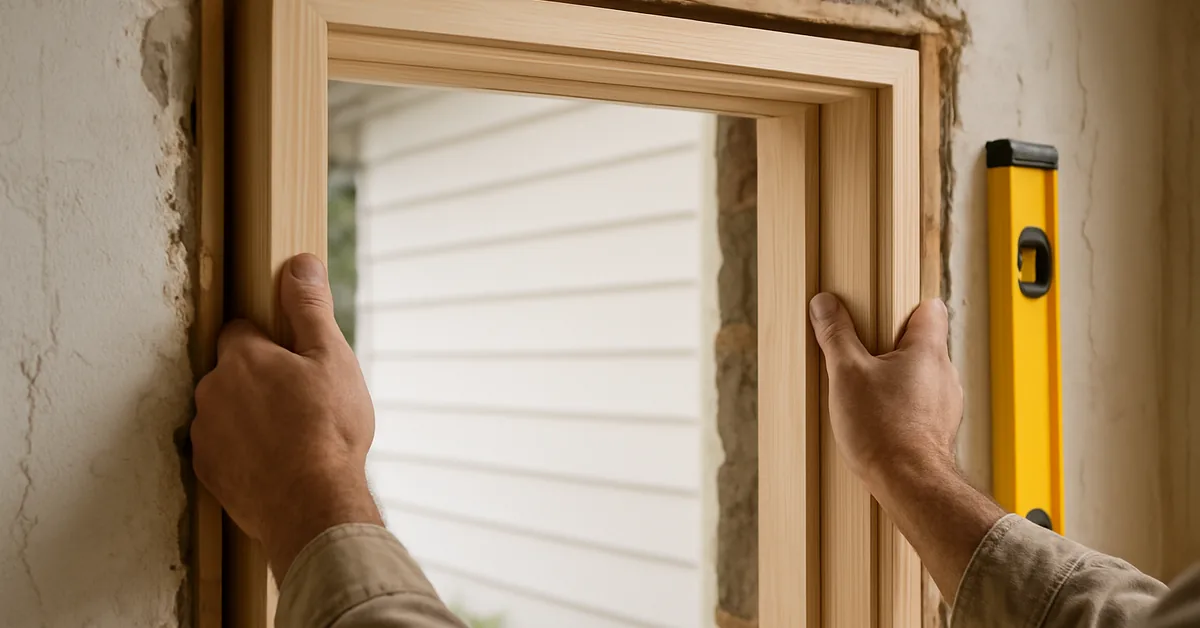
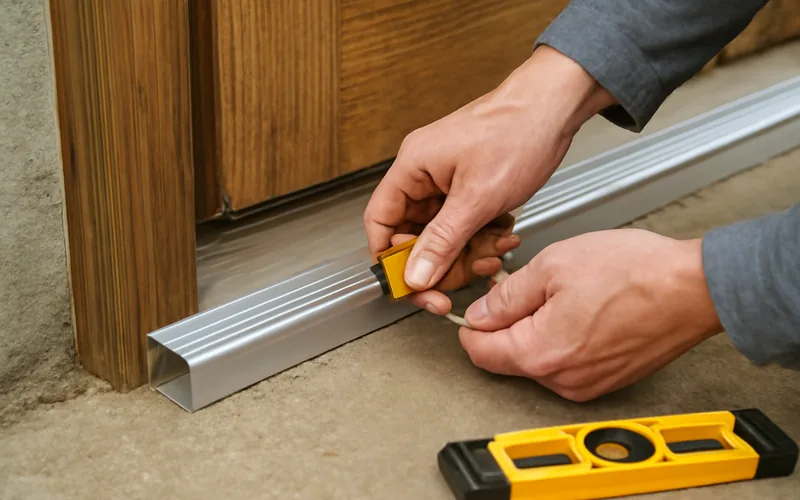
Lift the assembled frame into the rough opening — this step goes much faster with a helper; mine saved the day the first time I did this alone and the frame started to tip. Check that the jambs are plumb and the header is level, then slide shims between the frame and the wall at the top, bottom, and middle of each jamb until everything reads true on the level.
Step 6: Secure the Frame and Finish the Weatherproofing
Once the frame reads plumb and level, drive screws or nails through the jambs and header into the framing at each shim location, then trim the shims flush with a utility knife. Apply self-adhesive weatherstripping along the jamb stops, run a bead of exterior-grade silicone caulk where the frame meets the siding or brick, and finish exposed wood with exterior paint or stain before hanging the door. Skipping the caulk bead is the single most common reason a newly built frame still lets in a draft after everything else was done correctly.
“The first frame I built, I skipped the bevel on a hardwood threshold to save time — water pooled against the door by the first winter rain. Cutting even a slight slope and beveling the top edge on the rebuild solved it completely.”
Common Mistakes to Avoid
- Skipping the bevel: A flat-topped threshold with more than a 1/4-inch rise traps water against the door instead of shedding it.
- No drainage slope: A threshold installed dead level (instead of sloped away from the interior) lets water back up under the door during hard rain.
- Ignoring the IRC height limit: Building a threshold taller than 3/4 inch on a standard swinging exterior door can fail inspection — check the exception in the data callout above before you cut.
- Under-shimming: Fastening the frame before it’s fully plumb and level locks in a door that binds or won’t latch.
- Forgetting flashing: Skipping flashing under the threshold is a leading cause of subfloor rot at exterior entries.
FAQ: Building an Exterior Door Frame with a Threshold
How wide should the rough opening be for an exterior door frame?
Size the rough opening about 2 1/4 inches wider and taller than the door slab itself — roughly 2 inches for the jamb and header material, plus 1/4 to 1/2 inch of shim clearance. A standard 36 x 80 inch door needs a rough opening close to 38 1/2 x 82 1/4 inches.
Do you need to bevel an exterior door threshold?
Yes, whenever the threshold rises more than 1/4 inch above the floor. IRC requires the bevel slope no steeper than 1 unit vertical in 2 units horizontal (a 50% slope), so the raised edge doesn’t become a trip hazard and water sheds instead of pooling.
What is the maximum height for an exterior door threshold?
For most side-hinged exterior doors, IRC/IBC caps threshold height at 3/4 inch above the finished floor. An exception allows up to 7 3/4 inches in R-2/R-3 occupancies only when the door is not part of a required egress route or accessible route.
Should the threshold attach to the frame before or after you set the frame in the opening?
Install the threshold into the assembled jamb-and-header frame on your workbench first (Step 4), then lift the whole unit — frame plus threshold — into the rough opening as one piece (Step 5). Attaching the threshold after the frame is already fastened in the wall makes it much harder to get a consistent, level fit.
Can you use wood instead of aluminum for an exterior threshold?
Yes — hardwood thresholds like oak are common and look more traditional than aluminum, but they need resealing every 1 to 2 years to resist moisture damage. Aluminum and composite thresholds need little to no maintenance by comparison.
Conclusion
A solid exterior door frame comes down to three things done right: a rough opening sized about 2 1/4 inches larger than the door, a frame set plumb and level with shims before fastening, and a threshold beveled and sloped to shed water instead of trapping it against the code-capped 3/4-inch height. Get those three right and the rest — weatherstripping, caulk, paint — just protects the work you’ve already done.
If you’re replacing just the threshold on an existing frame rather than building the whole unit from scratch, see our guides on installing a door threshold and sealing a door threshold for drafts.
Sponsored / affiliate links. As an Amazon Associate I earn from qualifying purchases. I may earn additional commission from eligible campaigns.