How to Install a Door Threshold: A Step-by-Step Guide for 2026
A door threshold seals the gap where a door meets the floor, height should run 1/4 to 1/2 inch, with rubber or aluminum recommended for garages and wood for interior doors. Get it wrong and drafts, water, and energy loss follow: the Department of Energy says sealing gaps like this can cut 5-30% off home energy use. This guide covers choosing the right material, cutting it to fit, and installing it on wood or concrete floors. Working with laminate flooring specifically? See how to install a laminate flooring door threshold.
What Is a Door Threshold, and Why Does It Matter?
A door threshold is that strip at the bottom of your doorway, sitting right where the door meets the floor. You might call it a sill or a saddle, but its job is the same: it seals the gap under the door, keeps out drafts, water, and bugs, and makes the transition between rooms or spaces look clean. It’s one of the simplest door hardware upgrades a homeowner can do without a contractor. I first realized how important thresholds are when I noticed cold air creeping into my garage during a chilly winter. My car was fine, but my workspace was freezing!
Thresholds come in various materials—wood, aluminum, vinyl, or even rubber—and each has its perks. In homes, they add a finished look while improving energy efficiency. In garages, where many of us car lovers spend hours tinkering, a good threshold can protect your space from dust and debris. Installing one properly ensures it does its job without becoming a tripping hazard or an eyesore.
📊 Sealing gaps like an unsealed or worn door threshold can cut 5-30% off a home’s annual heating and cooling energy use. — Source: U.S. Department of Energy, 2026
Tools and Materials You’ll Need
Before we dive into the how-to, let’s talk about what you’ll need. I learned the hard way that having the right tools makes all the difference. The first time I tried installing a threshold, I was scrambling for a screwdriver that fit, and it turned a quick job into a long afternoon. Here’s what I recommend having on hand:
- Tape Measure: To measure your doorway accurately.
- Hacksaw or Circular Saw: For cutting the threshold to size.
- Screwdriver or Drill: For securing the threshold.
- Utility Knife: To trim any caulk or old sealant.
- Pencil or Marker: For marking measurements.
- Level: To ensure the threshold sits flat.
- Hammer and Chisel: For removing an old threshold.
- Safety Gear: Gloves, safety glasses, and maybe a dust mask.
- Threshold: Choose one that matches your door’s width and style.
- Screws or Anchors: Usually included with the threshold.
- Caulk and Caulk Gun: For sealing gaps.
- Cleaning Supplies: A broom, vacuum, or rag to prep the area.
For garage doors, I suggest a heavy-duty rubber or aluminum threshold to handle the weight of cars rolling over it. I picked up a durable rubber one for my workshop, and it’s held up great against my truck’s tires.
Choosing the Right Threshold for Your Space
Picking the right threshold is key to a successful installation. I’ve made the mistake of grabbing the first one I saw at the hardware store, only to realize it didn’t fit my door’s vibe or function. Here’s what to consider:
- Material: Wood looks classic but needs maintenance. Aluminum is durable and low-maintenance, perfect for exterior doors. Vinyl or rubber works well for garages or high-traffic areas.
- Height: Measure the gap under your door. Too tall, and the door won’t close; too short, and it won’t seal properly. I aim for a threshold that’s about 1/4 to 1/2 inch high for most doors.
- Width: Measure your doorway’s width. Standard thresholds come in 36-inch or 48-inch lengths, but you can cut them to fit.
- Style: For home doors, choose a finish that matches your decor—brushed nickel or bronze for a sleek look. For garages, prioritize function over flash.
I recently helped a friend pick a threshold for his garage door. We went with a rubber one because it’s flexible and seals tightly against uneven floors. It’s been a game-changer for keeping his workspace clean.
Best Door Threshold Pick
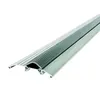
M-D Building Threshold, Silver, 36in – $25.67
A standard aluminum threshold sized for a 36-inch doorway, matching the 1/4 to 1/2 inch height range this guide recommends and cutting cleanly with the hacksaw method covered above.
- Best for: Standard interior and exterior doors up to 36 inches wide
- Why we picked it: Matches the height and material guidance in this guide’s Choosing the Right Threshold section
- Main drawback: Aluminum only, not the heavy-duty rubber option this guide recommends for garages
Compare more door threshold options
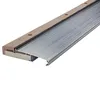 Option 1 MD Adjustable Aluminum & Hardwood Threshold – $39.86
|
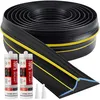 Option 2 Jin&Bao Garage Threshold Seal, 20ft – $37.99
|
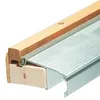 Option 3 Frost King Aluminum & Oak Sill Threshold – $39.99
|
As an Amazon Associate we earn from qualifying purchases.
Preparing Your Doorway for Installation
Before you start, you need to prep the area. Trust me, skipping this step can lead to headaches later. I once tried installing a threshold without cleaning the floor, and the adhesive didn’t stick properly. Here’s how to set yourself up for success:
- Clear the Area: Move any rugs, mats, or furniture near the door. In a garage, make sure no tools or car parts are in the way.
- Remove the Old Threshold: If there’s an existing threshold, pry it up with a hammer and chisel. Be gentle to avoid damaging the floor or doorframe. I found that wiggling the chisel under the threshold helps loosen it.
- Clean the Surface: Sweep or vacuum away dirt, dust, or old caulk. For garage floors, a damp rag works wonders to remove grease or oil.
- Check the Floor: Use a level to make sure the floor is even. If it’s uneven, you might need to add shims (thin pieces of wood or plastic) under the threshold.
When I redid my garage threshold, I spent extra time cleaning the concrete floor. It made the new threshold stick better and look sharper.
Measuring and Cutting the Threshold
Now comes the fun part—making sure your threshold fits perfectly. I love this step because it feels like you’re customizing something just for your space. Here’s how to do it:
- Measure the Doorway: Use a tape measure to find the exact width of your doorway. Measure at the top, middle, and bottom, as doorframes can be uneven. Take the smallest measurement to ensure a snug fit.
- Mark the Threshold: Lay the threshold across the doorway and mark where to cut with a pencil. I like to double-check my measurements here to avoid mistakes.
- Cut to Size: Use a hacksaw for metal thresholds or a circular saw for wood or vinyl. Cut slowly and steadily for a clean edge. I wear safety glasses to keep sawdust out of my eyes.
- Test the Fit: Place the cut threshold in the doorway to make sure it fits. It should sit flush against the doorframe without gaps.
For my garage, I had to trim an aluminum threshold to fit a slightly narrow doorway. It took a few minutes with a hacksaw, but the result was a perfect fit that looked professional.
Installing the Door Threshold
Alright, let’s get that threshold in place! This is where the project starts to come together, and it’s so satisfying to see. Follow these steps for a smooth installation:
- Position the Threshold: Place the threshold in the doorway, centering it so it aligns with the door. If it’s an exterior door, make sure the sloped side faces outward to direct water away.
- Check the Fit: Open and close the door to ensure it clears the threshold without scraping. Adjust the position if needed. I once had to nudge a threshold slightly forward to avoid rubbing against the door.
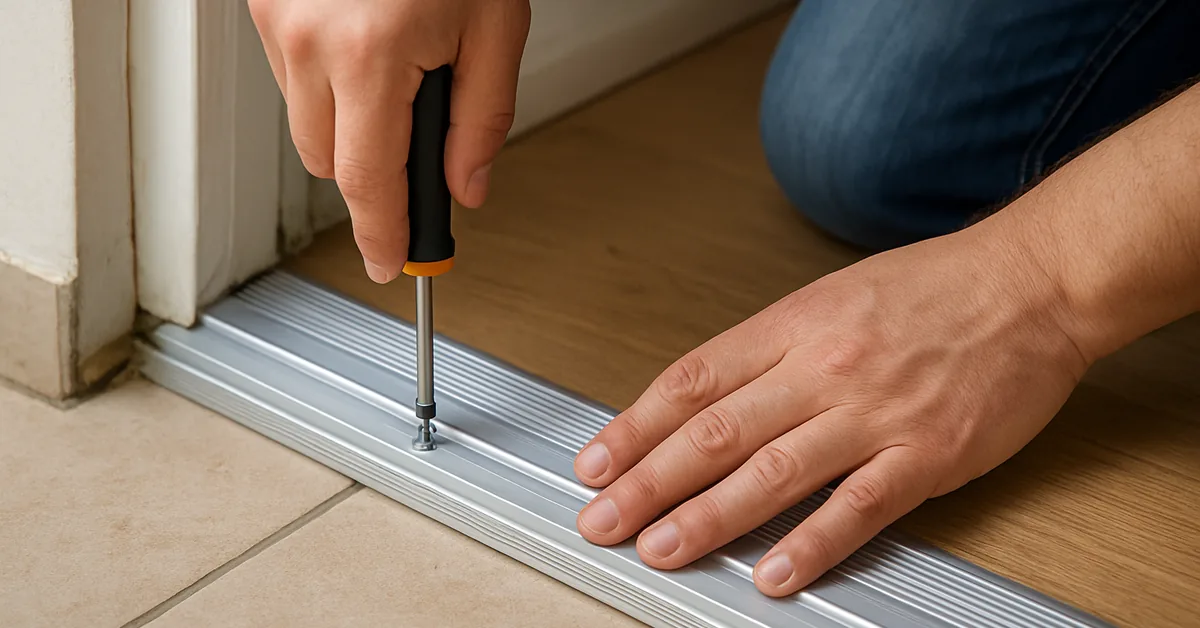
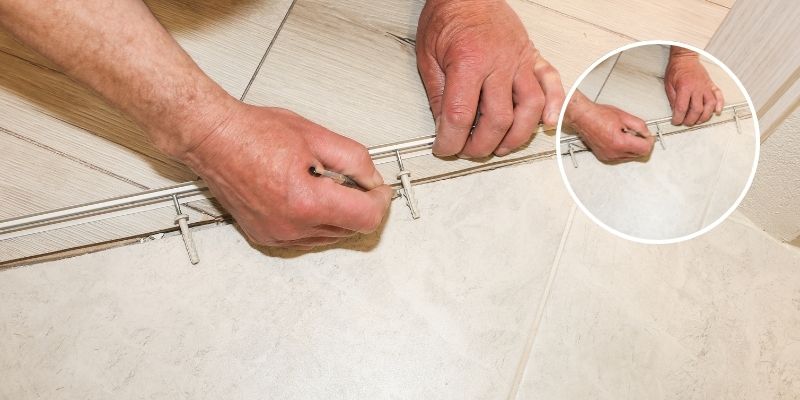
- Secure the Threshold: If your threshold has pre-drilled holes, mark their spots on the floor with a pencil. For wood floors, you can screw directly into the subfloor. For concrete (common in garages), use a drill with a masonry bit to create holes for anchors. Insert the anchors, then screw the threshold down tightly.
- Use Shims if Needed: If the floor is uneven, slide shims under the threshold to level it. I keep a pack of plastic shims handy for projects like this.
- Seal the Edges: Apply a bead of caulk along the edges of the threshold to seal gaps and prevent water or air leaks. Smooth the caulk with your finger or a caulk tool for a clean look.
When I installed a threshold in my home’s front door, I used silicone caulk for extra weatherproofing. It’s held up through rain and snow without a single leak.
Special Tips for Garage Door Thresholds
If you’re a car enthusiast like me, you’re probably installing a threshold in your garage to keep it clean and functional. Garage thresholds have unique needs because they handle more wear and tear. Here’s what I’ve learned:
- Choose a Heavy-Duty Material: Rubber or aluminum thresholds are best for garages. They can withstand the weight of cars and resist damage from oil or chemicals.
- Consider Adhesive: Many garage thresholds use adhesive backing instead of screws. I used an adhesive rubber threshold in my workshop, and it’s stayed in place even with daily use.
- Check for Drainage: If your garage floor slopes, make sure the threshold allows water to flow out. I cut small notches in my rubber threshold to prevent pooling during heavy rain.
- Test with Your Car: Roll your car over the threshold to ensure it’s not too high or loose. My truck barely notices the threshold, which is exactly what I wanted.
“Cleaning the concrete floor thoroughly before installing was the real difference-maker — the adhesive rubber threshold gripped the slab and never budged, even after months of daily car traffic rolling over it.”
Troubleshooting Common Installation Issues
Even with careful planning, things can go wrong. I’ve hit a few snags over the years, so here’s how to handle common problems:
- Door won’t close: If the threshold is too high, sand or trim it slightly. I had to shave down a wooden threshold once to get the door to swing smoothly.
- Gaps at the Edges: Use extra caulk or weatherstripping to fill gaps. In my garage, I added foam weatherstripping for a tighter seal.
- Uneven Floor: Shims are your friend. Stack them as needed to level the threshold.
- Loose Threshold: If screws or adhesive loosen, resecure with stronger anchors or heavier-duty adhesive. I switched to construction adhesive for my garage threshold, and it’s rock-solid now.
Maintaining Your New Threshold
Once your threshold is installed, a little care keeps it looking and working great. I’ve found that simple maintenance goes a long way:
- Clean Regularly: Sweep or wipe down the threshold to remove dirt and debris. In garages, watch for oil stains and clean them with a degreaser.
- Check the Seal: Inspect the caulk every few months and reapply if it cracks or peels. I do this twice a year to keep my home’s thresholds airtight.
- Protect Wood Thresholds: If you choose wood, apply a sealant or paint to protect against moisture. I used a clear sealant on my front door threshold, and it still looks brand-new.
- Inspect for Wear: In garages, check for cracks or wear from car tires. Replace the threshold if it starts to break down.
Why Thresholds Matter for Car Enthusiasts
As someone who spends hours in my garage working on cars, I can’t overstate how much a good threshold improves the space. It keeps out dust, which means less cleaning before I paint or polish my car. It also prevents water from seeping in, protecting my tools and floor coatings. Plus, a sleek threshold adds a professional touch to the garage, making it feel like a true enthusiast’s haven. I’ve even had friends comment on how sharp my garage looks, and I credit the threshold for part of that.
Comparing Threshold Materials
To help you choose the best threshold, here’s a table I put together based on my experience with different materials:
| Material | Durability | Maintenance | Cost | Best For |
|---|---|---|---|---|
| Wood | Moderate; can wear over time | High-resists rust and wear | Low to Moderate | Interior doors, classic home styles |
| Aluminum | High; resists rust and wear | Low; easy to clean | Moderate | Exterior doors, garages |
| Vinyl | Moderate; flexible but can crack | Low; wipe down occasionally | Low | Budget-friendly home or garage use |
| Rubber | High; withstands heavy traffic | Low; resists oil and chemicals | Moderate | Garages, high-traffic areas |
This table helped me decide on a rubber threshold for my garage—it’s tough, affordable, and perfect for a space where my car rolls in and out daily.
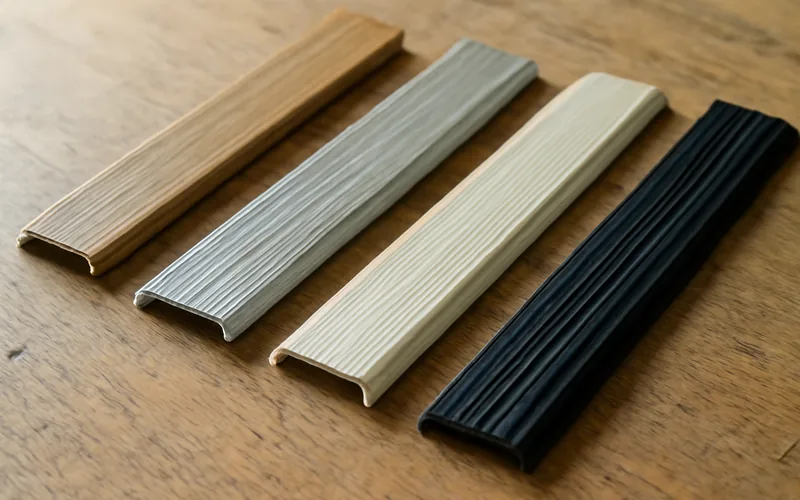
The Future of Door Thresholds in 2026
Looking ahead, I’m excited about where thresholds are headed. Manufacturers are getting creative with eco-friendly materials, like recycled rubber or aluminum, which appeal to environmentally conscious DIYers. I’ve also seen smart thresholds with built-in sensors to detect leaks or temperature changes—perfect for tech-savvy car enthusiasts who want a high-tech garage. Plus, customizable finishes like brushed nickel or matte black are making thresholds a style statement, not just a functional piece.
Frequently Asked Questions
What’s the easiest type of threshold to install?
Rubber or vinyl thresholds with adhesive backing are the easiest. They don’t require screws or drilling, just a clean surface and a steady hand.
Can I install a threshold on a concrete floor?
Yes, but you’ll need a masonry drill bit and concrete anchors. I used this method in my garage, and it’s held up perfectly.
How long does it take to install a door threshold?
For a straightforward installation, expect 1-2 hours. Prep and cutting take the most time, but it’s faster with experience.
Do I need to remove the door to install a threshold?
Usually, no. You can slide the threshold under the door if there’s enough clearance. If not, removing the door makes it easier.
Can a threshold stop drafts completely?
It helps a lot, but for total draft protection, pair it with weatherstripping around the doorframe. That’s what I did for my front door.
What’s the best threshold for a garage?
Rubber or aluminum thresholds are ideal. They’re durable, handle car traffic well, and resist oil or chemical spills.
How do I know if my threshold is installed correctly?
Check that the door closes smoothly, there are no gaps, and the threshold is level. Test by pouring water outside to ensure no leaks.
Conclusion
Installing a door threshold might seem like a small task, but it’s one of those projects that makes a huge difference. From keeping your home cozy to protecting your garage from the elements, a well-installed threshold is both practical and stylish. I’ve loved sharing my tips and tricks with you, learned from years of trial and error in my own home and workshop.
Whether you’re sealing a front door or upgrading your garage, this project is totally doable with the right tools and a bit of patience. So grab your tape measure, pick a threshold that suits your style, and get to work—you’ll be amazed at how such a simple upgrade can transform your space. Here’s to making your home and garage better, one threshold at a time!
Sponsored / affiliate links. As an Amazon Associate I earn from qualifying purchases. I may earn additional commission from eligible campaigns.