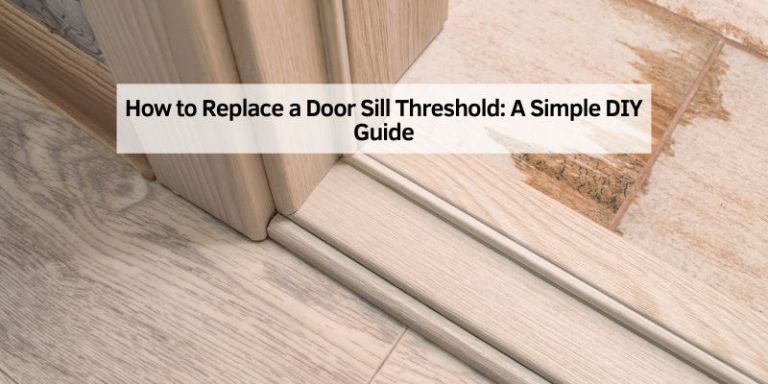
How to Change a Door Threshold: Easy DIY Guide
Changing a door threshold is a simple task. It enhances your home’s energy efficiency.
This guide will walk you through the process, step by step. A door threshold serves as a barrier against drafts, dust, and pests. Over time, it may wear out or get damaged. Replacing it can improve insulation and comfort in your home.
Many homeowners find the task intimidating, but with a bit of guidance, it’s manageable. You’ll need some basic tools and a little patience. This introduction will help set the stage for a successful project. Whether you’re a seasoned DIY enthusiast or a beginner, you’ll find the instructions clear and helpful. Let’s get ready to give your doorway a fresh, efficient update.
Tools And Materials Needed
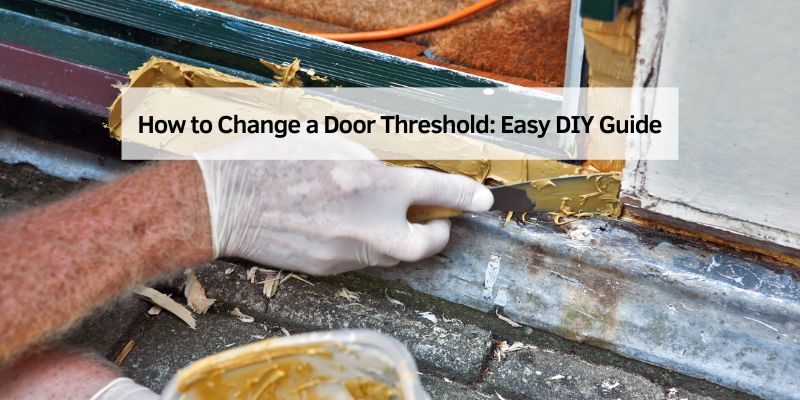
Credit: www.youtube.com
Preparing The Work Area
Move furniture away from the door. Sweep the floor clean. Remove any rugs or mats. Check for nails or screws on the floor. Ensure the area is safe to work.
First, loosen screws on the old threshold. Use a screwdriver or drill. Lift the threshold carefully. Avoid damaging the floor. Check for any remaining parts. Dispose of the old threshold responsibly.
Measuring For A New Threshold
Accurate measurements are crucial for a new door threshold. Measure the width of the door. Use a tape measure for precision. Measure from one side to the other. Write down the measurement. Measure the length of the threshold. Start from the inside edge. Stop at the outside edge. This ensures the correct size.
Choosing the right size is important. Look at the thickness of the old threshold. Compare with new options. Check the height too. The threshold must fit snugly. Avoid gaps and spaces. This keeps out drafts and dirt. Choose a material that suits the door. Metal, wood, or plastic are common choices. Each has its own benefits.
Cutting The New Threshold
Marking the Cut is an important step. First, measure the doorway carefully. Use a pencil to mark where you need to cut. Double-check your markings to avoid mistakes. Ensure the marks are clear and visible. This helps you cut correctly.
Using the Right Saw makes cutting easier. A hand saw can work, but a power saw is faster. Choose a saw that cuts through wood easily. Make sure the blade is sharp and clean. Always wear safety goggles when using a saw. Follow the markings closely while cutting.
Installing The New Threshold
Replacing a door threshold involves removing the old one and fitting the new piece into place. Ensure a snug fit by checking measurements and trimming as needed. Secure the threshold with screws, providing a sturdy transition between rooms.
Positioning The Threshold
First, place the new threshold on the door frame. Make sure it fits well. Mark the spots for the screws. This helps in aligning later. Keep it straight and even. Check if the door closes smoothly. Adjust if needed. Small tweaks might be necessary. Patience is key here.
Securing In Place
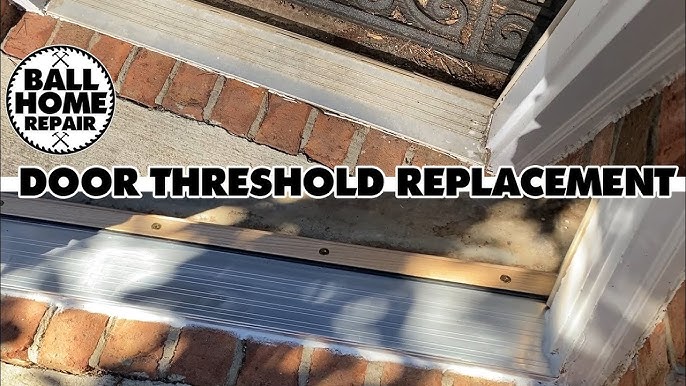
Use a drill to make holes where marked. Place the screws into these holes. Tighten them with a screwdriver. Ensure the threshold is secure. It should not move or wobble. Check the alignment again. The door should close without any issues. If it doesn’t, adjust a bit more. Safety comes first. Always wear gloves when working.
Credit: www.thisoldhouse.com
Sealing The Edges
Replacing a door threshold involves removing the old one and securing the new piece. This process ensures better insulation and prevents drafts. Proper installation protects against moisture and pests, enhancing the overall function of your door.
Applying Sealant
Sealant is key to stopping drafts. Use a silicone-based sealant. It works well. Start at one end of the threshold. Slowly squeeze the tube. Move along the edge. Fill gaps completely. Use a caulking gun for accuracy. Smooth the sealant with your finger. It should be even. Avoid lumps and bumps. Let it dry for 24 hours. Check the sealant after drying. It should be firm. Not tacky. A good seal keeps out cold air. And bugs.
Ensuring A Tight Fit
The threshold must fit snugly. Check the alignment carefully. Adjust if needed. Use a rubber mallet to tap it in place. It should sit flush. No gaps. Tight fit prevents air leaks. Inspect the edges closely. Make sure there’s no daylight. Proper fitting saves energy. And money. Test the door movement after fitting. It should open and close smoothly. If there’s resistance, adjust again. A tight threshold means a warm home.
Final Touches
Discover the art of adding the final touches to your home by changing a door threshold. This simple update can enhance both the look and functionality of your door entryway, creating a welcoming space.
Check Alignment
Ensure the new threshold aligns perfectly with the door frame. Look closely at the edges. Check for any gaps or uneven spots. Use a level to verify the straightness. Adjust the threshold if needed. Small changes can make a big difference.
Test Door Movement
Open and close the door several times. Listen for any strange sounds. Notice if the door sticks or scrapes the threshold. The door should glide smoothly. If it doesn’t, check for obstructions. Make sure hinges are tight. Adjust the threshold height if necessary. A smooth door movement means success.
Maintenance Tips
Switching out a worn door threshold can keep drafts out and improve home insulation. Start by removing the old threshold with a screwdriver and a hammer. Measure the space, cut a new threshold to fit, and secure it with screws to ensure it stays in place.
Regular Inspections
Checking the door threshold often is very important. Look for any signs of wear and tear. This helps you find problems early. Make sure there are no cracks or damages. Dust and dirt can build up over time. Keep it clean to avoid issues. Use a soft cloth for cleaning. A clean threshold lasts longer.
Handling Repairs
Small cracks need fixing right away. Use a sealant to close gaps. A quick fix can save time later. If the threshold is loose, tighten the screws. Use the right tools for each task. Follow instructions carefully. Seek help if the damage is big. A professional can help with big repairs.

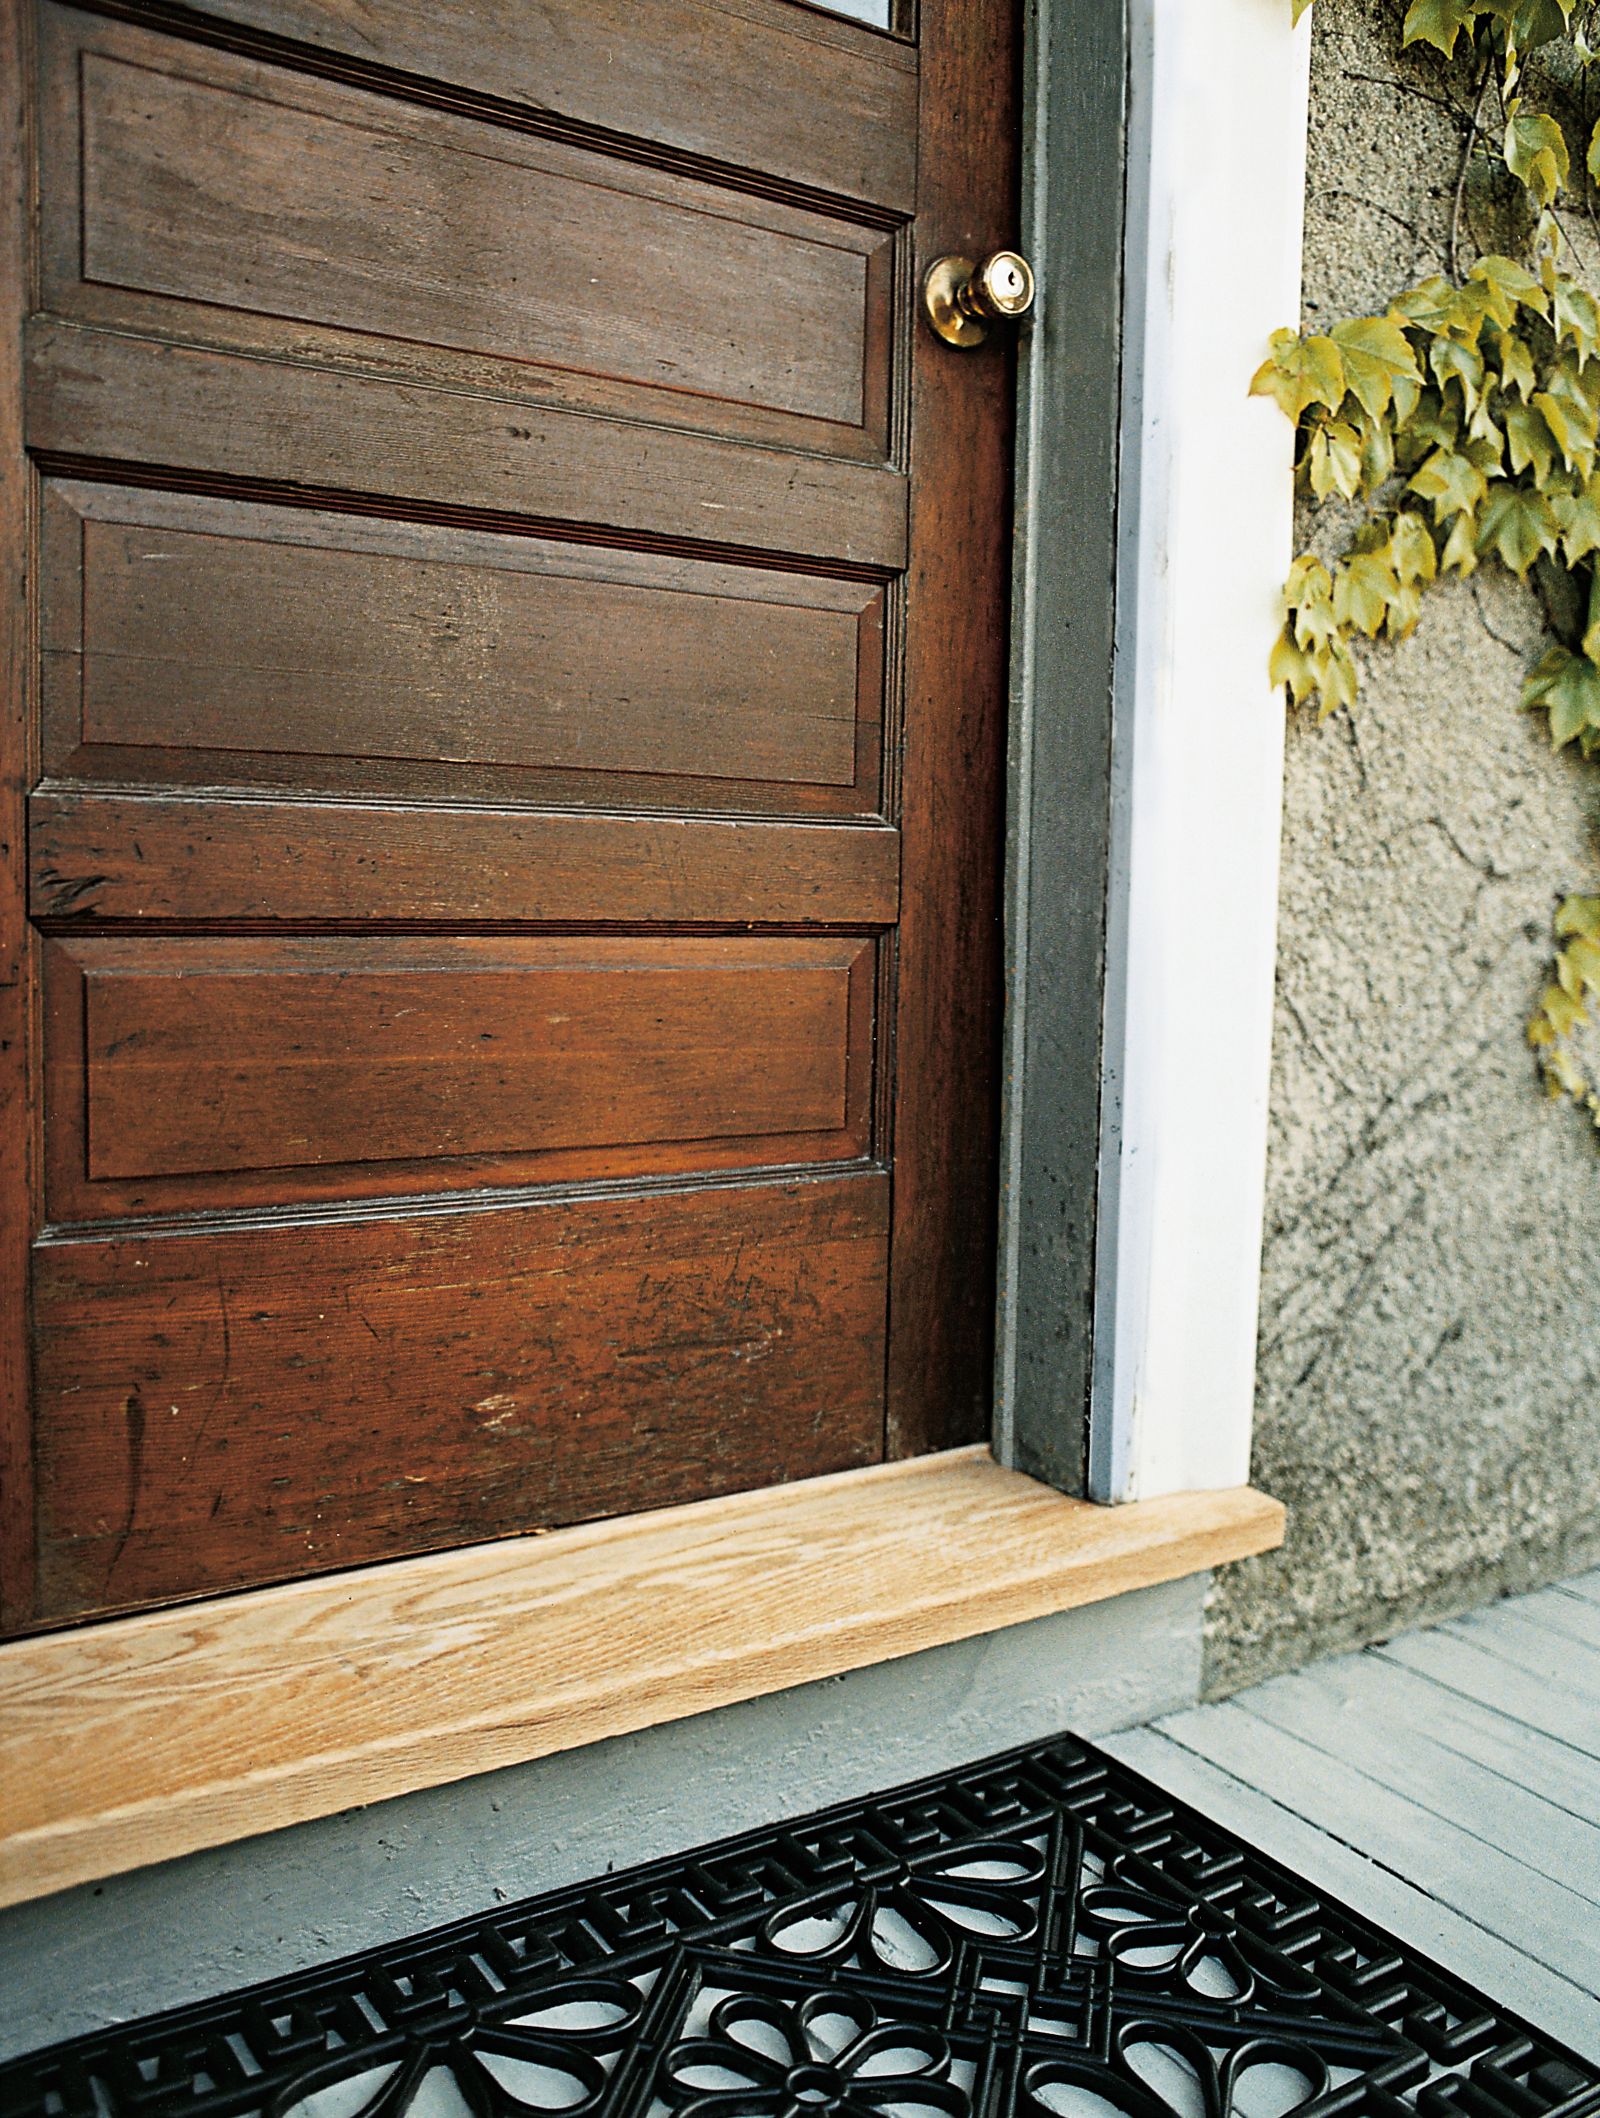
Credit: www.homedepot.com
Frequently Asked Questions
Can I Replace My Door Threshold?
Yes, you can replace your door threshold. Choose a suitable material and size, then follow installation instructions carefully. This improves energy efficiency, prevents drafts, and enhances appearance. Regular maintenance ensures durability and functionality. Seek professional help if unsure or for complex installations.
How Do You Replace A Rotted Exterior Door Threshold?
Remove the old threshold using a pry bar and hammer. Measure and cut the new threshold to fit. Install the new threshold using screws. Seal the edges with caulk to prevent moisture. Test the door to ensure it closes smoothly.
How To Replace A Wooden Door Threshold?
Remove the old threshold by unscrewing or prying it up. Measure and cut the new threshold. Fit and secure the new threshold with screws or adhesive. Ensure it’s level and flush with the floor. Seal edges with caulk for a tight fit.
How To Adjust Exterior Door Threshold?
To adjust an exterior door threshold, loosen the screws and raise or lower it to seal gaps. Tighten the screws after positioning. Ensure the door closes smoothly without drafts. Regularly check for wear and replace if necessary to maintain energy efficiency and security.
Conclusion
Changing a door threshold is simple with the right steps. Follow each step carefully. Use the correct tools for the job. Ensure measurements are accurate. Clean the area before installation. Proper installation prevents drafts and pests. Regular maintenance keeps your threshold looking great.
Check for wear often. Replace any damaged parts promptly. A well-installed threshold enhances your home’s comfort. It also boosts energy efficiency. Take pride in your handiwork. Enjoy a snug and secure home. You’ve got this project under control. Keep learning and improving your skills.
Your home deserves the best care.