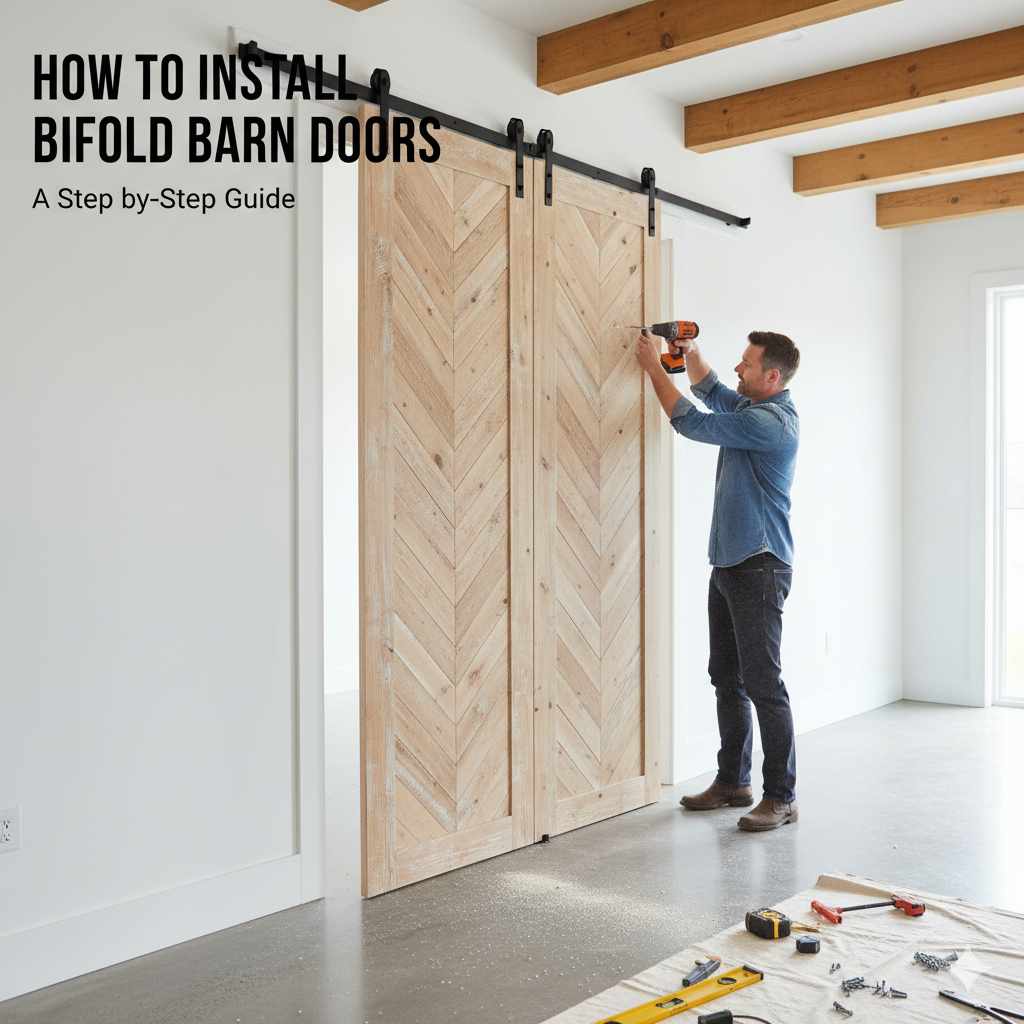
How to Install Bifold Barn Doors: Track Height Formula
Bifold barn doors mount on an exposed track above the doorway, not a recessed frame, so installation comes down to measuring the opening, leveling the track into wall studs, and hanging the panels on their pivots. Get the track height wrong and the doors scrape the floor or leave an oversized gap. This guide covers stud-mounting the track, panel sizing formulas, and the adjustments that fix sticking or uneven gaps.
Insert your Affiliate Disclosure reusable block here.
Quick Answer
Measure the opening, mount the track level into wall studs (or a header board), attach the hinges joining the two door panels, hang the assembled doors on the top pivots, then set the bottom pivot and floor guide. Most kits need 5½ to 6½″ of clearance above the doors and leave a 5/8″ to 1¼″ gap at the floor, adjustable at the pivot.
Why Choose Bifold Barn Doors?
Before the how-to, here’s why bifold barn doors are worth the project: they’re not just about looks, they’re incredibly practical — and if you’re weighing them against other door hardware options, here’s what sets this style apart:
- Space Saving: unlike swinging doors, bifold doors fold in half, needing only about 5 inches of stacking depth per two-panel fold — far less wall space than a full sliding barn door needs.
- Stylish Appeal: the exposed track and hardware bring a rustic or farmhouse look that a recessed bifold frame can’t match.
- Easy Access: a wide opening when folded back, useful for closets, laundry rooms, or room dividers.
- DIY Friendly: with a level, stud finder, and drill, a single opening is a weekend project. Curious whether the hardware locks? yes, they can, with the right add-on latch.
Essential Tools and Materials You’ll Need
Gathering tools first makes the install go faster. Most of these are common household tools you can borrow or rent if you don’t own them.
Tools Checklist
- Tape measure, for accurate measurements
- Pencil, to mark drilling points
- Level, to keep the track straight
- Stud finder, to locate wall studs for secure mounting
- Drill and drill bits, for pilot holes and driving screws
- Screwdriver set, to assemble hardware
- Safety glasses and gloves
- Optional: jigsaw or circular saw, if trimming door panels
Materials Checklist
- Bifold barn door hardware kit: includes the track, hinges, top and bottom pivots, and floor guide. Confirm what’s included in your specific kit before you start.
- Mounting screws: usually included, but keep extras on hand, sized for wood studs.
- 1×6 or 2×6 header board: needed if your studs don’t align with the track’s mounting holes.
- Wood shims: for leveling the track if the wall isn’t perfectly flat.
- Primer and paint or stain (optional), if finishing the doors yourself.
Step 1: Measure Your Doorway and Doors
Accurate measurements are the foundation of a successful install.
Measuring the Doorway
- Height: measure from the floor to the ceiling or the top of the trim at three points — left, center, and right. Use the smallest measurement.
- Width: measure the opening at the top, middle, and bottom. Use the smallest measurement.
Sizing the Panels to the Opening
For a standard two-door, one-way bifold configuration, a widely-used sizing formula is: total panel width = opening width + 10 inches, then split evenly between the two panels. Track length should match your total combined panel width, not the raw opening measurement. Leave a minimum of 1/2 inch of clearance on the pivot-side wall so the folded panels don’t bind against trim.
Pro Tip: If your doors are slightly too wide or tall, some panels can be trimmed. Check your kit’s manual first, and see this guide on cutting doors to size for the safe way to do it.
Step 2: Assemble the Bifold Door Panels
Most bifold barn doors ship as two panels joined by hinges. This is usually a simple bench job before anything goes on the wall.
- Lay out panels: place the two door panels side-by-side on a clean, flat surface like a drop cloth or the garage floor, finished sides down if they have a specific front and back.
- Attach hinges: align the hinges along the edge where the panels meet, using the pre-drilled hinge holes included in most kits, oriented so the doors fold the direction you want.
- Check alignment: bring the two panels together to confirm they sit flush before mounting anything permanently.
Important: some kits specify which panel is the “lead” panel and how the hinges should face — check your kit’s manual before drilling.
Step 3: Install the Track and Hardware
The track needs to be installed perfectly level for the doors to glide without binding.
Mounting the Track
- Locate studs: use a stud finder to mark the wall studs above the doorway. If they don’t align with the track’s mounting holes, install a 1×6 or 2×6 header board across the studs and mount the track to that instead.
- Position the track: hold the track against the wall and check it with a level. Most hardware needs 5½ to 6½ inches of clearance above the top of the door panels — heavier-duty track hardware needs the larger figure.
- Mark and drill pilot holes: once level, mark the drilling points, remove the track, and drill pilot holes slightly smaller than your mounting screws.
- Secure the track: re-position the track and drive the mounting screws into the studs (or header board) until it doesn’t wiggle.
📊 One published manufacturer formula for track height: set the center of the rail at door height plus 1 7/8 inches, which leaves about a 3/8-inch gap between the floor and the bottom of the door. Other kits specify door height plus 3 inches instead — always check your specific kit’s manual, since the exact offset depends on the roller and pivot hardware used. — Source: Lowe’s bifold barn door installation guide (PDF)
Installing Pivots and Guides
- Top pivot: attaches to the top of one door panel and fits into a socket on the track.
- Bottom pivot: attaches to the bottom of the same panel and fits into a bracket mounted on the floor or threshold; make sure this bracket is level and fastened securely.
- Floor guide: keeps the bottom of the doors from swinging out; position it so the doors glide through it without dragging.
Best Bifold Barn Door Hardware Pick
Roymelo 64″ Bifold Barn Door Hardware Kit – $79.99
A complete side-mounted track, hinge, and roller kit sized for two 15″ folding panels — the same top-pivot-and-floor-guide setup this guide walks through.
- Best for: a standard closet or pantry opening around 60–64″
- Why we picked it: includes every part in Step 3 above — track, rollers, hinges, and floor guide
- Main drawback: doors are sold separately, so budget for panels on top of the kit price
Compare more bifold barn door hardware kit sizes
 Option 1 BONIKLUBA 40″ Bifold Barn Door Hardware Kit – $26.99
|
 Option 2 SANKEYTEW 48″ Bifold Barn Door Hardware Kit – $55.99
|
 Option 3 Roymelo 76″ Bifold Barn Door Hardware Kit – $119.99
|
As an Amazon Associate we earn from qualifying purchases.
Step 4: Hang the Bifold Doors
Now for the part where it starts looking like a finished door.
- Attach top pivots to doors: if you haven’t already, attach the top pivot hardware to the designated door panel.
- Lift and insert: with a helper if the doors are heavy, lift the assembled panels and seat the top pivot into the track socket.
- Align the bottom pivot: once the top is seated, align the bottom pivot with its floor bracket and lower the doors into place.
- Test operation: slide the doors open and closed slowly. They should move without binding or sticking.
Step 5: Adjustments and Fine-Tuning
Even a careful install usually needs a few small adjustments.
- Check for sticking: if doors catch on the floor, frame, or each other, check track and pivot alignment; small adjustments to the pivot screws or brackets usually fix it.
- Ensure even gaps: the gap between the panels and the frame should be consistent; adjusting hinges slightly can fix an uneven reveal.
- Door clearance: confirm the panels fold without hitting each other or the wall.
- Floor guide alignment: adjust it so it stabilizes the doors without adding friction.
Safety first: if you’re unsure about an adjustment, consult your kit’s manual or a hardware-specific tutorial before forcing anything.
“Bifold doors only need about 5 inches of stacking depth per two-panel fold, which is exactly why they work in tight closets and laundry nooks where a full sliding barn door has nowhere to go.”
Troubleshooting Common Issues
Even careful installs run into small hiccups. Here are the most common problems and fixes:
| Problem | Possible Cause | Solution |
|---|---|---|
| Doors are not hanging straight | Track not level; pivots not seated correctly; uneven floor | Re-level the track; ensure pivots are fully inserted; shim the floor bracket |
| Doors stick or scrape the floor | Track is too low; bottom pivot too high; warped panel | Raise the track; adjust the bottom pivot; check panel flatness |
| Doors don’t fold smoothly | Hinges too tight; panels misaligned; floor guide too restrictive | Loosen hinges slightly; realign panels; widen floor guide clearance |
| Track makes noise | Loose mounting screws; debris in the track; worn hardware | Tighten screws; clean the track; inspect and replace worn parts |
Most residential bifold barn door hardware kits are rated for a combined 66 to 110 pounds across both panels — if your doors are solid wood rather than hollow-core, confirm your kit’s weight rating before hanging them, since an overloaded track is a common cause of sagging or sticking. For more general door troubleshooting, This Old House covers a wider range of door repair issues.
Maintaining Your Bifold Barn Doors
- Clean the track: wipe it down regularly to remove dust and debris.
- Lubricate hardware: a light silicone spray on the pivots and track keeps things quiet and smooth.
- Check screws: periodically confirm all mounting screws are tight.
- Inspect doors: address wear or damage promptly before it gets worse.
Frequently Asked Questions
Can I install bifold barn doors on any doorway?
Yes, bifold barn doors work in standard doorways, wide openings, and as closet doors or room dividers. The main requirements are enough wall space above the opening for the track and enough wall studs (or a header board) to mount it securely.
Do I need a helper to install bifold barn doors?
It’s highly recommended, especially when lifting the assembled panels onto the track. One person can manage most of the prep work, but a second pair of hands makes hanging the doors safer and easier.
How much space do bifold barn doors need to open?
Bifold doors fold in half, so they need only about 5 inches of stacking depth per two-panel fold — far less wall space than a full sliding barn door. Make sure there’s enough clear wall space beside the opening for the panels to fold back completely.
What’s the difference between bifold barn doors and regular bifold doors?
Regular bifold doors sit within a frame and slide on a top track, often with a bottom guide recessed into the floor. Bifold barn doors use the same folding hinge mechanism but mount on an exposed track system outside the doorway, giving a distinct rustic look and simpler track access for adjustments. If a fully trackless floor is your priority instead of the barn look, see this guide on installing bifold doors without a bottom track.
My track isn’t lining up with the wall studs. What should I do?
Install a 1×6 or 2×6 header board horizontally across the studs above the doorway, then mount the track to the header board instead of directly to the studs. Check the header board is level before attaching the track.
Can bifold barn doors go on a wall that isn’t perfectly flat?
Yes — use wood shims between the track and the wall at the stud locations to create a level mounting surface before driving in the mounting screws. This keeps the track straight even over minor wall imperfections.
Conclusion
Installing bifold barn doors is a doable weekend DIY project: measure carefully, mount the track dead level into studs or a header board, assemble the panels on the hinges, and hang them on the pivots before fine-tuning the gaps. Get the track height and floor gap right using your kit’s specific formula, and the doors will glide smoothly for years with just occasional cleaning and lubrication.
Sponsored / affiliate links. As an Amazon Associate I earn from qualifying purchases. I may earn additional commission from eligible campaigns.