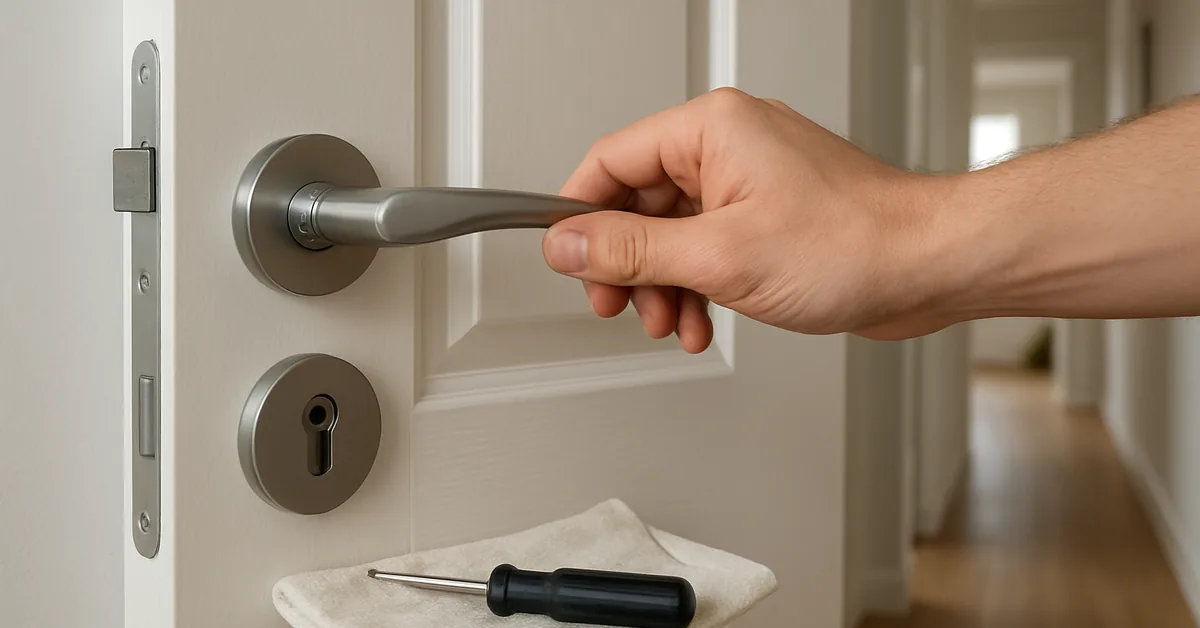
How to Remove a Door Handle With No Visible Screws (3 Fixes)
A door handle without visible screws hides its fastener behind a spring-clip pinhole, a snap-on rose cover, or a hex-driven grub screw. Forcing the wrong tool strips the screw head or cracks the rose plate, turning a two-minute job into a costly repair. This guide covers all three hidden-fastener types, the tool each needs — including the 3/32″ hex key many Kwikset and Schlage levers use — and how to reinstall the handle so it stays tight.
This post contains affiliate links. As an Amazon Associate we earn from qualifying purchases — see our Affiliate Disclosure for details.
Tools You’ll Need
Most hidden-screw handles only need three tools: a small flathead screwdriver to pry trim and press release pins, a Phillips screwdriver for the mounting screws once you reach them, and a set of SAE hex keys for the grub-screw type. That last one is the tool most guides skip — if your lever has no pinhole and no visible cover seam, it’s almost certainly held by a hex-driven set screw on the underside of the collar, and a Kwikset or Schlage lever typically takes a 3/32″ key specifically.
A small flashlight helps you spot thin seams and pinholes in low light, needle-nose pliers retrieve dropped pins from carpet, and a bit of masking tape over the door finish protects it if a tool slips. Keep a small container nearby for screws — the parts are small enough to lose in seconds.
Best Hex Key Set Pick
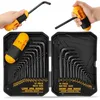
ELEAD 31-Piece SAE & Metric Hex Key Set – $13.99
Covers the 3/32″ size this guide identifies for most Kwikset and Schlage levers, plus every other common set-screw size you’ll run into on other handles.
- Best for: Any hidden-screw handle brand — covers 3/32″ and every other common SAE/metric set-screw size
- Why we picked it: Torque-handle design and heat-treated keys reduce the risk of rounding out the tiny grub screw
- Main drawback: Bulkier case than a single-size door key wrench
Compare more hidden-screw handle tools
 Option 1 ZDingTech 3/32″ Door Key Set (10-Pack) – $4.29
|
 Option 2 Amazon Basics 36-Piece Hex Key Set – $10.49
|
 Option 3 CTA Tools 2-Pc. Plastic Pry Bar Set – $16.95
|
As an Amazon Associate we earn from qualifying purchases.
Safety Precautions
Wear light gloves and safety glasses — small springs and clips can pop free under tension and fly further than expected. Work over a towel or shallow tray so dropped screws don’t roll under furniture, and never force a stuck handle with pliers or a screwdriver used as a lever; that’s how door finishes get gouged and plastic roses crack.
Identify Your Hidden-Screw Mechanism
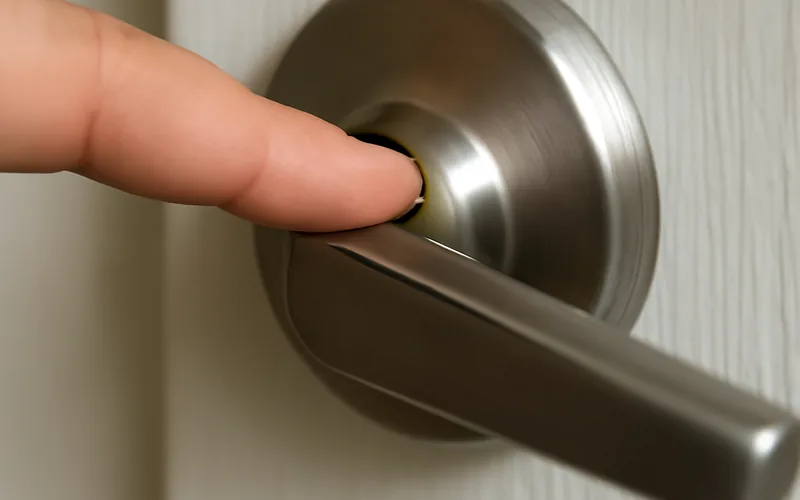
Before removing anything, figure out which of three mechanisms your handle uses — the removal method is different for each, and guessing wrong risks damaging the handle.
| Mechanism | How to Spot It | Tool Needed |
|---|---|---|
| Spring-clip pinhole | Tiny round hole on the underside or neck of the handle | Paperclip or thin pin |
| Snap-on rose cover | A thin seam around the circular base plate, no visible screws | Flathead screwdriver or plastic pry tool |
| Hex grub screw | No pinhole, no seam — a small hex-shaped hole on the collar underside | 3/32″ hex key (Kwikset/Schlage) or matching SAE/metric size |
Lever handles most often use the pinhole or grub-screw type, while older knob-style hardware more commonly hides its screws under a rose cover. If your door actually has a round knob rather than a lever, the removal sequence differs enough that it’s worth checking our dedicated door knob removal guide instead.
Removing Decorative Components
If your handle has a snap-on rose cover, look for a thin seam running around its edge. Slide a flathead screwdriver or plastic pry tool into the seam and gently work it around the circumference — most covers pop free with light, even pressure rather than one hard pry, which is what causes cracked plastic or scratched finishes.
Set each piece aside in the order you remove it. On a reassembly job, working out of order is the single biggest reason people end up with a leftover screw and a wobbly handle.
Releasing the Grub Screw (Hex Key) Mechanism
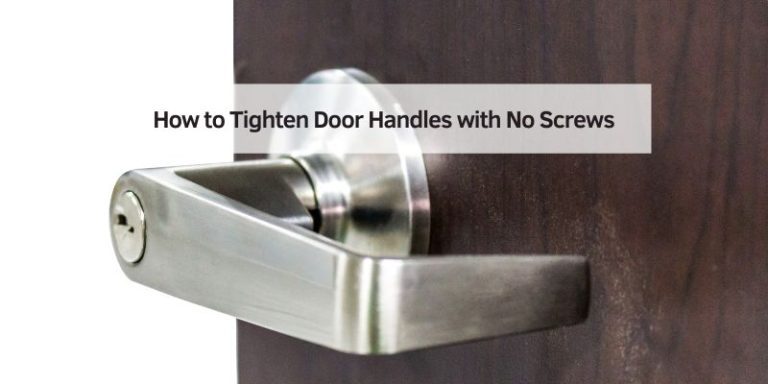
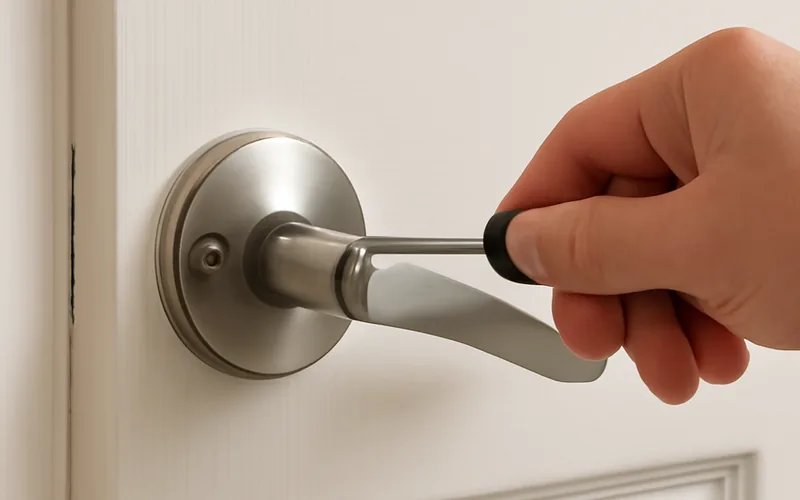
A grub screw, also called a set screw, sits flush inside a small hex-shaped hole on the underside of the handle’s collar — there’s no slot for a flathead or Phillips bit, which is exactly why this mechanism gets missed. Fit a hex key snugly into the hole and turn it counter-clockwise 2–3 full turns; you do not need to remove it completely, just loosen it enough for the lever to slide off the spindle.
Kwikset’s own support documentation confirms this is the standard mechanism on its lever handles: “This model is a lever and requires a 3/32 Allen wrench to remove the handle in order to pop the rose plate off and expose the screws.” The same 3/32″ size covers most Schlage and Quickset residential levers as well — if you need the fastener for a specific model number, our set screw size guide has the full chart.
“This model is a lever and requires a 3/32 Allen wrench to remove the handle in order to pop the rose plate off and expose the screws.”
📊 Most builder-grade residential lever handles are rated ANSI/BHMA Grade 3, which requires only 200,000 open-close cycles and a 150-lb strength test — roughly a quarter of the 800,000-cycle Grade 1 commercial standard. That’s part of why lower-grade hidden-screw handles feel flimsier and are more prone to a stripped grub screw than heavier hardware. — Source: BHMA, ANSI/BHMA A156.2-2017
Never force a hex key that doesn’t seat fully — a loose fit rounds off the corners of the screw head in one or two turns, and a rounded grub screw usually means drilling it out or replacing the whole handle.
Disassembling the Handle
With the release mechanism disengaged, pull the lever straight off the spindle — the square metal shaft running through the door. On most residential sets, the spindle and a small spring stay in the latch assembly, so don’t force the interior and exterior handles apart if you feel resistance; check for a second retaining screw on the latch faceplate first.
Once both handle halves are off, the two long mounting screws holding the assembly to the door are exposed. Remove them with a Phillips screwdriver, then slide the latch mechanism out of the door edge if you’re replacing it as well.
Troubleshooting Common Issues
If the handle won’t budge after you’ve released the pin, clip, or grub screw, check for a second fastener — some handlesets use both a pinhole clip and a set screw as a backup. Dirt or dried lubricant inside the collar can also cause a handle to bind even after release; a few drops of penetrating oil and a 10-minute wait usually frees it without extra force.
Missing the right size hex key is the most common holdup. Household hex-key sets sold for furniture assembly rarely include the SAE 3/32″ size residential levers use, which is why a dedicated SAE hex set (see above) is worth keeping in a junk drawer rather than borrowing a metric-only set from a bike toolbox.
Reinstallation Tips
Reinstall in reverse order: latch first, then the handle bases over the spindle, then the rose cover or hex screw last. Keeping the removal order reversed is the easiest way to avoid a leftover part.
Aligning the Handle Properly
Seat the lever fully onto the spindle before securing it — a handle that sits slightly off the spindle will bind when turned. Rotate it gently until it moves freely through its full range before tightening anything.
Securing the Grub Screw or Cover
Snug the hex key screw down until it stops turning freely, then add a quarter turn more — overtightening is what strips the head on reinstall, not removal. Snap-on rose covers should click or seat flush; if one still moves, the handle underneath isn’t seated all the way onto the spindle yet.
Frequently Asked Questions
How Do You Remove a Door Handle With No Visible Screws?
Locate the hidden release first: a small pinhole (press with a paperclip), a snap-on rose cover (pry gently at the seam), or a hex-shaped hole for a grub screw (turn a hex key 2–3 turns counter-clockwise). Once released, the handle slides off the spindle, exposing the mounting screws underneath.
What Size Hex Key Do I Need for a Kwikset Lever Handle?
Yes, most Kwikset lever handles use a 3/32″ hex (Allen) key for the set screw, per Kwikset’s own support documentation. Schlage and Quickset residential levers commonly use the same size, though it’s worth confirming against your specific model before buying a single-size key.
Why Won’t My Door Handle Come Off After Finding the Release Pin?
The handle may have a second fastener behind the first — some handlesets combine a pinhole clip with a grub screw as backup. Dried lubricant or dirt inside the collar can also cause binding; apply a few drops of penetrating oil, wait ten minutes, and try again with gentle, even pressure.
How Do You Remove a Door Handle With a Privacy Lock?
Release the hidden mechanism the same way as a standard lever, then check the faceplate on the door edge for two small screws holding the latch and privacy lock housing together. Remove those screws and slide the latch assembly out; keep the small trip lever and spring together for reassembly.
Do All Door Handles Have Hidden Screws?
No. Many residential handles still use two visible mounting screws on the interior side plate. Hidden-fastener designs (pinhole clip, snap-on rose, or grub screw) are more common on newer, sleeker lever sets where manufacturers hide hardware for a cleaner look.
Conclusion
Removing a door handle without visible screws comes down to identifying which of the three hidden mechanisms you have — pinhole clip, snap-on rose, or hex grub screw — and using the matching tool rather than forcing a flathead where a hex key belongs. Once the handle is off, keep the parts in removal order and reverse the steps to reinstall. If your hardware turns out to be a round knob rather than a lever, see our door knob removal guide for the knob-specific steps, and visit our Door Hardware & Locks hub for tightening and repair guides once the new handle is in place.
Sponsored / affiliate links. As an Amazon Associate I earn from qualifying purchases. I may earn additional commission from eligible campaigns.