How to Take Apart a Door Handle, Step by Step
A door handle comes apart one of two ways: a hidden set screw at the knob’s base, or a spring-loaded tab pressed through a small slot, and trying the wrong method first is why people get stuck. ANSI/BHMA A156.2 Grade 1 knobsets are tested for 1,000,000 open-close cycles, so a handle that will not budge is almost always a hidden screw, not a worn mechanism. This guide covers finding your release type, removing the rosette, and freeing the spindle.
What Is a Door Handle and Why Take It Apart?
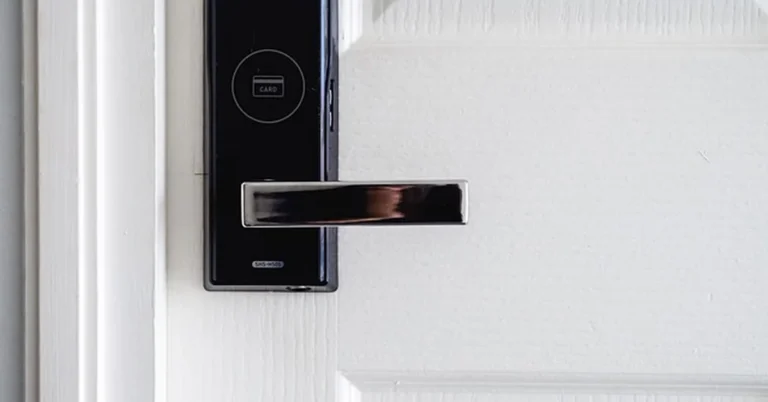
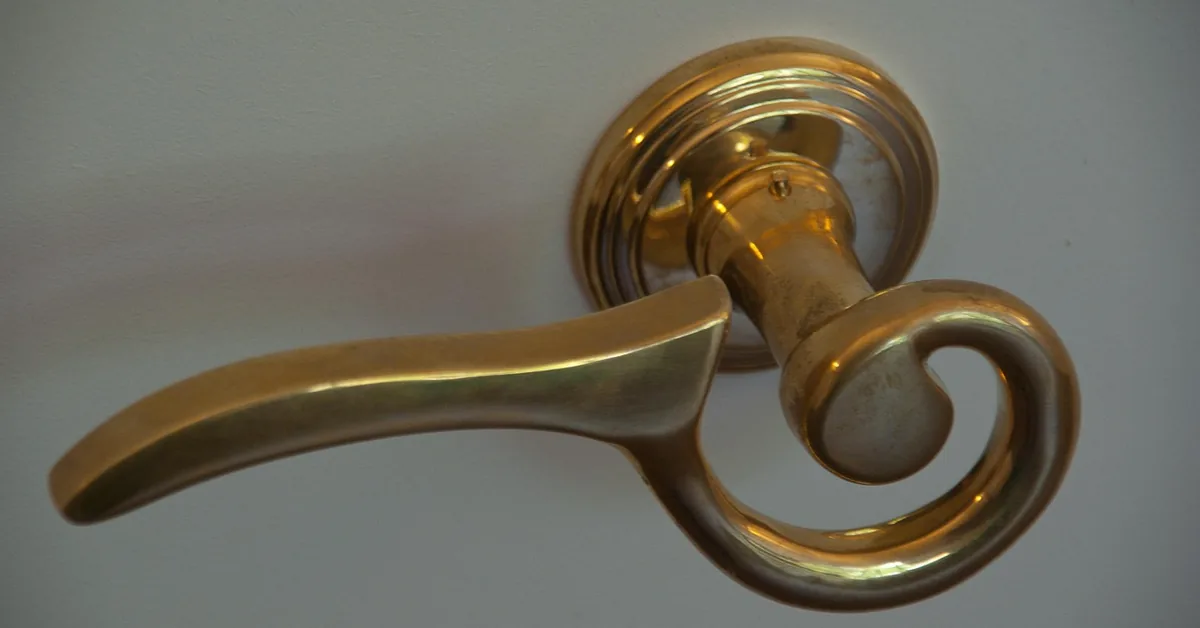
A door handle, or door knob, is the part you turn or push to open a door. Underneath the visible knob or lever, it’s built from a rosette (the round or square trim plate against the door), a spindle (the rod connecting both sides), and the mounting screws that hold it all together. You’d take it apart to fix a loose or wobbly handle, replace a broken one, or swap in a new style.
A rosette is the round or square plate that sits flush against the door under the knob or lever. It either snaps into place over a spring tab or is held by its own screws — knowing which type yours is determines how the whole handle comes apart.
Tools You Need to Take Apart a Door Handle
Most handles need nothing more than what’s already in a basic toolbox:
- A flathead or Phillips screwdriver (check your screws first).
- A small hex key (Allen wrench) for handles with a set screw.
- A small dish or container to keep loose screws from rolling away.
A basic screwdriver and hex key set runs well under $15 at any hardware store, and it’s the only investment most people need to make for this job.

Best Replacement Door Knob Pick
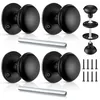
Saillong Interior Door Knob Set with Spindle (2-Pack, Matte Black) – $21.99
Comes complete with its own rosettes and spindle, so once you’ve taken the old handle apart using the steps below, this drops straight in as a like-for-like replacement.
- Best for: Replacing a worn or broken knob after teardown
- Why we picked it: Includes matching rosettes so nothing needs to be reused
- Main drawback: Matte black won’t match older polished-brass hardware
Compare more replacement door knob options
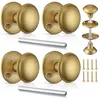
 Option 1 Saillong Silver Knob Set – $13.99
|
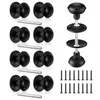
 Option 2 Saillong Old-Style Round Rosette Set – $15.99
|
 Option 3 Saillong 4-Pack Matte Black – $36.99
|
As an Amazon Associate we earn from qualifying purchases.
How to Take Apart a Door Handle: Step-by-Step
This works for most knobs and levers. Find your release type in Step 1 before forcing anything.
- Find your release type. Look for visible screws on the handle or plate. If you don’t see any, check the shaft of the knob for a small slot or push-tab, or check the rosette’s edge for a tiny set-screw hole.
- Release the knob. If there’s a set screw, loosen it with a hex key and pull the knob off the spindle. If there’s a spring tab, press it in with a small screwdriver while pulling the knob straight off.
- Remove the rosette. Snap-on rosettes pry off with a flathead screwdriver at a small notch on the edge; screwed-on rosettes just need their screws removed.
- Take out the spindle. With the rosette off, pull the spindle rod straight out — this is what connects the knob on one side of the door to the other.
- Remove the backing plate. Unscrew the latch backing plate on the door edge to fully separate the mechanism, if you’re replacing rather than just freeing the knob.
“Check for a small indentation on the rosette’s perimeter, then wedge a flat-head screwdriver into this slot to pry it off. For inexpensive passage doorknobs, look for a tab on the shaft of the inside handle and press it down with a screwdriver — the knob should then pull right off.”
📊 ANSI/BHMA A156.2 Grade 1 knob and lever locksets are tested to 1,000,000 open-close cycles and 360 lb. of force before certification — Grade 3, the typical residential minimum, is tested to a lower cycle count. A handle that’s hard to turn is almost always a mechanical jam, not normal wear. Source: The ANSI Blog, ANSI/BHMA grade level testing standards
Different Types of Door Handles
Not all handles come apart the same way. Knowing the type first saves time:
- Knob handles: Round, most common in homes, usually a set screw or spring tab.
- Lever handles: Long and push-down, common in offices and ADA-accessible doors, often a set screw under a snap-off collar.
- Dummy handles: Decorative only, don’t turn or latch, used on closets and French doors — check for this type before assuming a stuck handle is broken.
| Type | Typical Release | Common Use |
|---|---|---|
| Knob | Set screw or spring tab | Bedrooms, bathrooms |
| Lever | Set screw under a collar | Offices, ADA-accessible doors |
| Dummy | Mounting screws only, no spindle | Closets, French doors |
Common Mistakes to Avoid
- Forcing a stuck knob: If it won’t budge, you likely have the wrong release type — check for a hidden set screw before pulling harder.
- Stripping screws: Use a screwdriver that fully seats in the screw head; a partial fit strips it fast.
- Losing small parts: Keep screws and springs in a small dish from the start — the spring tab mechanism is easy to lose.
Tips for a Cleaner Job
Work slowly through each step rather than rushing — a stripped screw or a lost spring tab turns a five-minute job into a much longer one. Check both sides of the door before starting, since some handles only expose their mounting screws from the interior side. Wipe down the spindle with a cloth before reinstalling so it turns smoothly once reassembled.
Safety Tips to Keep in Mind
Wear light gloves if the handle has any sharp or worn edges. Keep small parts like screws and set screws away from young kids or pets, since they’re easy to swallow. Work in good light so you can actually see the tiny slot or set-screw hole you’re looking for — most of the time spent on this job is spent finding the release point, not removing it.
Alternative Ways to Fix a Door Handle
Full teardown isn’t always necessary. If the only issue is a wobbly handle, tightening the set screw or mounting screws with a screwdriver often fixes it in under two minutes. If the handle is broken but the spindle and backing plate are fine, you can usually swap just the knob or lever without removing the rest of the mechanism.
Frequently Asked Questions
How do I know what type of door handle I have?
Check the shape and function: round knobs turn, levers push down, and dummy handles don’t move at all. Look for visible screws, a small push-tab slot on the shaft, or a tiny hole for a hex key near the rosette’s edge — whichever you find determines your release method.
What if I can’t find the screws?
Many handles hide their screws under the rosette. Pry the rosette off with a flathead screwdriver at its small edge notch, or press in the spring tab on the knob’s shaft if there’s no notch. Once the rosette or knob is off, the mounting screws are underneath.
Can I take apart a door handle without tools?
No — you need at least a screwdriver, and many handles need a hex key for the set screw. Forcing a handle apart without the right tool usually strips the screw or cracks the rosette instead of releasing it.
What if the handle won’t come off?
Check for a hidden set screw or spring tab you may have missed first — a stuck handle is almost always the wrong release method, not a broken one. If it’s genuinely seized from rust or old paint, a penetrating lubricant and a few minutes of wait time usually frees it.
How long does it take to take apart a door handle?
Most knobs take 5 to 10 minutes once you’ve identified the release type. Handles with hidden screws or a stuck spring tab can take longer — most of that time goes into finding the release point, not the actual disassembly.
Can I reuse a door handle after taking it apart?
Yes, as long as the spindle isn’t bent and the knob or lever isn’t cracked. Clean the parts, then reinstall and re-tighten the mounting or set screws. Replace it instead if the latch mechanism itself feels loose or doesn’t retract smoothly.
Conclusion
Taking apart a door handle comes down to identifying the release type first — a hidden set screw or a spring tab — then working through the rosette and spindle in order. With a screwdriver and a hex key, it’s a five-to-ten-minute job whether you’re fixing a wobble or swapping in new hardware. See also: more door hardware guides and how to take apart a Kwikset door handle specifically.
Sponsored / affiliate links. As an Amazon Associate I earn from qualifying purchases. I may earn additional commission from eligible campaigns.