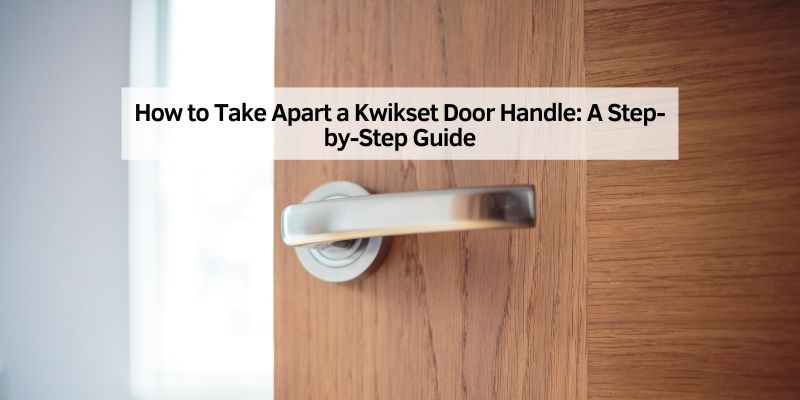
How to Take Apart a Kwikset Door Handle (Lever, Knob, SmartKey)
Hey there! So, you’re trying to figure out how to take apart a Kwikset door handle, maybe for your car, RV, or even a garage door. I totally get it—those handles can be tricky, and it’s easy to feel stuck. A while back, I had to remove a Kwikset door handle from my camper’s entry door to replace it with a newer model. I also helped a friend fix a sticky handle on their van’s sliding door. Let me tell you, it was a learning experience! After some trial and error, a few scratched knuckles, and a call to a hardware store buddy, I got the hang of it.
In this article, I’m going to walk you through everything I’ve learned about taking apart a Kwikset door handle, step by step. Whether it’s for a vehicle or a garage, I’ll share clear instructions, practical tips, and mistakes to avoid. Grab a cup of coffee, and let’s get that handle off without a hitch!
Why You Might Need to Take Apart a Kwikset Door Handle
Let’s start with why you’d want to do this. Kwikset door handles are popular in homes, RVs, and even some vehicles like vans or trailers. They’re sturdy, reliable, and often have a lock built in. But sometimes, things go wrong. Maybe the handle is sticking, the lock won’t turn, or you’re upgrading to a smart lock. I had to take mine apart because the key wouldn’t turn smoothly anymore—it was driving me nuts!
Other times, you might need to clean the mechanism, replace a broken part, or repaint the door. When I helped my friend with their van, the handle was loose, and we needed to tighten the screws inside. Knowing why you’re taking it apart helps you prepare, so let’s talk about the types of Kwikset handles you might encounter.
Types of Kwikset Door Handles
Kwikset makes a bunch of door handles, and the way you take them apart depends on the type. Here’s a quick table to help you identify yours:
| Handle Type | Features | Common Use |
|---|---|---|
| Lever Handle | Long, straight handle, often with a lock | RVs, vans, home entry doors |
| Knob Handle | Round knob, usually with a keyhole or button | Garage doors, interior vehicle doors |
| SmartKey Lock | Keyed handle with SmartKey rekeying feature | High-security vehicles, RVs |
| Deadbolt Combo | Handle with a separate deadbolt lock | Exterior camper or trailer doors |
My camper had a lever handle with a SmartKey lock, which made disassembly a bit trickier because of the lock cylinder. My friend’s van had a knob handle, which was simpler but still had hidden screws. Knowing your handle type is key, so let’s move on to what you’ll need.
Tools You’ll Need to Take Apart a Kwikset Door Handle
You don’t need a fancy toolbox, but having the right tools makes this job easier. Here’s what I used when I took apart my camper’s handle:
- Screwdriver Set: A Phillips and a flathead screwdriver. Kwikset handles often use Phillips screws, but a flathead helps with prying.
- Allen Wrench: Some handles have a small set screw that needs an Allen wrench. Mine was a 2mm size.
- Paperclip or Pin: For SmartKey locks, you’ll need something thin to press into the reset hole.
- Lubricant (like WD-40): Handy for loosening stuck parts. I used it on my friend’s van handle.
- Rag or Cloth: To clean parts or wipe off grease.
- Small Container: For keeping screws safe. I lost one once, and it was a pain to replace.
When I started, I didn’t have an Allen wrench and had to run to the hardware store. Save yourself the trip and check your tools first. Now, let’s get to the main event: taking apart the handle.
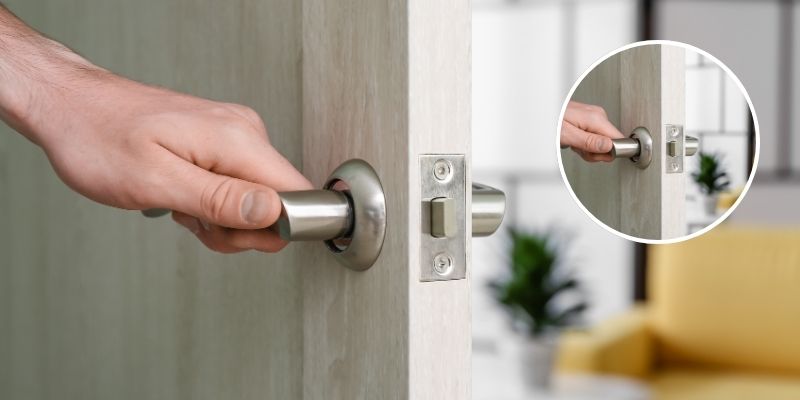
Best Replacement Lever Pick
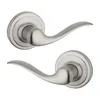
Kwikset Tustin Interior Passage Lever – $29.30
A genuine Kwikset replacement lever, for when disassembly reveals a worn or broken handle rather than just a stuck one.
- Best for: upgrading or replacing after disassembly
- Why we picked it: same-brand fit, no adapter guesswork
- Main drawback: passage (non-locking) only – check your door’s needs
Compare more disassembly essentials
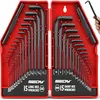 Option 1 SEDY 32-Pc Hex Key Set – $12.99
|
 Option 2 Houdini Lock Lube – $14.45
|
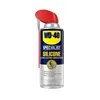 Option 3 WD-40 Specialist Silicone – $7.42
|
As an Amazon Associate we earn from qualifying purchases.
Step-by-Step Guide to Taking Apart a Kwikset Lever Handle
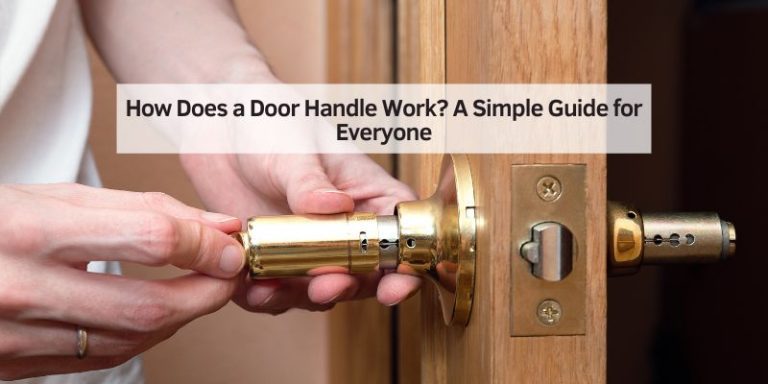
Lever handles are common on RVs and some vehicle doors. Here’s how I took apart the lever handle on my camper:
- Locate the Set Screw: Look for a small screw on the underside or side of the lever. Mine was hidden near the base, under the handle.
- Remove the Set Screw: Use an Allen wrench to loosen it. I turned it counterclockwise until it came out. Put it in your container.
- Pull Off the Lever: Gently wiggle the lever to slide it off the spindle. Mine was stuck, so I sprayed a bit of WD-40 and wiggled harder.
- Remove the Rose Cover: The rose is the round plate behind the handle. It often snaps off. I used a flathead screwdriver to pry it gently.
- Unscrew the Mounting Plate: You’ll see screws holding the plate to the door. I used a Phillips screwdriver to remove two screws on each side.
- Take Off the Exterior Handle: Once the screws are out, pull the exterior handle and lock assembly off. Mine came off with a little tug.
- Remove the Interior Handle: Repeat the process on the inside of the door. I had to hold the door steady to avoid stressing the hinges.
- Detach the Lock Cylinder (if Needed): If you’re replacing the lock, the cylinder comes out through the front of the housing after exposing a small retainer clip – this is a separate step from the SmartKey hole, which is only for rekeying, not removal.
This process took me about 15 minutes once I got the hang of it. The first time, I struggled with the set screw because I didn’t have the right Allen wrench. Let’s talk about knob handles next.
Taking Apart a Kwikset Knob Handle
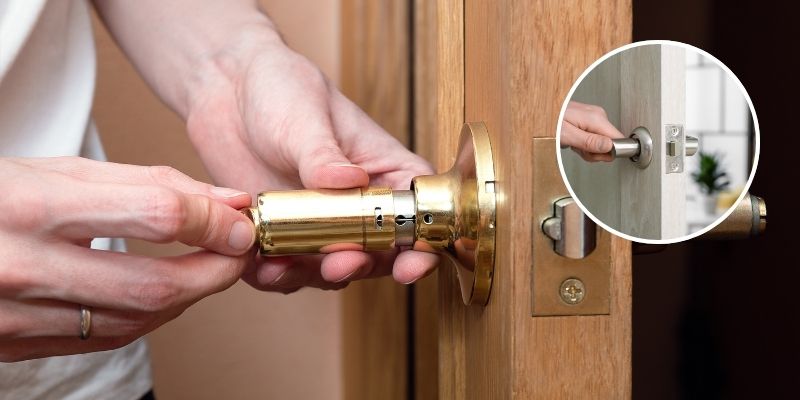
Knob handles, like the one on my friend’s van, are a bit different. Here’s how we did it:
- Find the Release Slot: Look for a small slot or hole on the base of the knob. My friend was on the side, barely visible.
- Insert a Paperclip: Push a straightened paperclip or pin into the slot to release the knob. I had to press hard while pulling the knob.
- Remove the Knob: Pull the knob off the spindle. It came off easily once the clip released it.
- Pry Off the Rose Cover: Like the lever, the rose cover snaps off. I used my flathead screwdriver to pop it off gently.
- Unscrew the Mounting Screws: There were two screws on the interior side. I used a Phillips screwdriver to remove them.
- Pull Off Both Handles: The exterior and interior parts should come off together. We had to wiggle them a bit because of rust.
- Remove the Latch Assembly: Slide the latch (the part that goes into the door frame) out. Ours was stuck, so I sprayed WD-40 to loosen it.
Knob handles are simpler than levers, but the release slot can be hard to find. We almost gave up until I spotted it under good light. Next, let’s cover SmartKey locks, which have an extra step.
Handling a Kwikset SmartKey Lock
SmartKey locks, like the one on my camper, let you rekey the lock without a locksmith. Taking them apart is similar but has a unique step. Here’s what I did:
- Remove the Lever or Knob: Follow the steps above for your handle type. I removed my lever first.
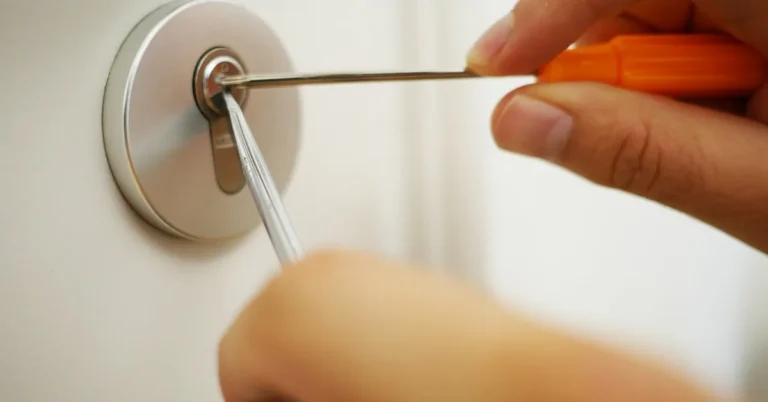
- Locate the SmartKey Hole: There’s a small hole on the lock cylinder, usually near the keyhole. Mine was tiny and hard to see.
- Insert the SmartKey Tool: Kwikset includes a small tool, but a paperclip works too. I pushed it in until I felt a click.
- Remove the Cylinder: While pressing the tool, pull the key out with the cylinder. It slid out smoothly for me.
- Continue Disassembly: Finish removing the rose cover and mounting screws as described earlier.
The SmartKey part tripped me up the first time because I didn’t press hard enough with the paperclip. Be patient—it’s worth it. Let’s talk about removing the latch assembly, which applies to all handles.
Removing the Latch Assembly
The latch is the part that catches the door frame to keep it closed. Here’s how I remove it:
- Locate the Latch: It’s in the edge of the door, where the handle meets the frame. Mine was held by two screws.
- Unscrew the Latch Plate: Use a Phillips screwdriver to remove the screws. I put them in my container to keep track.
- Pull Out the Latch: Slide the latch assembly out of the door. If it’s stuck, wiggle it gently or use WD-40. My friend’s van latch needed a good tug.
- Inspect the Latch: Check for damage or wear. My camper’s latch was gummed up with dirt, so I cleaned it with a rag.
Removing the latch is usually the last step. It’s straightforward but can be tight, especially on older doors. Now, let’s cover common mistakes I made.
Mistakes I Made (So You Don’t Have To)
I messed up a few times taking apart Kwikset handles. Here’s what to avoid:
- Poor Lighting: Squinting to find a screw that small is a losing battle – my camper’s set screw was so tiny I almost missed it entirely. Use good lighting.
- Forcing the Handle: I tried yanking the lever off too hard and scratched the door. Be gentle and use lubricant if it’s stuck.
- Losing Screws: I dropped a screw into the grass once. Always use a container to hold them.
- Not Checking the Lock Type: I assumed my friend’s van had a SmartKey lock, but it didn’t. Check the manual or packaging first.
- Prying Too Hard: I chipped the rose cover by prying too forcefully. Use light pressure with the screwdriver.
These mistakes cost me time and frustration. Learn from me and take it slow. Next, let’s talk about troubleshooting problems.
Troubleshooting Common Issues
Sometimes, things don’t go smoothly. Here’s how I handle common issues:
- Stuck Screws: If screws won’t budge, spray WD-40 and let it sit for a minute. I had to do this on my camper’s rusty screws.
- Handle Won’t Come Off: If the handle is stuck, check for hidden set screws or clips. I missed one on my friend’s van at first.
- SmartKey Tool won’t Work: Press harder or try a thinner paperclip. I had to wiggle mine to get the cylinder out.
- Latch won’t move: Use lubricant and gently wiggle it. My van latch was stuck due to old grease buildup.
If you’re still stuck, a hardware store or locksmith can help. I called one once when my camper’s latch wouldn’t budge. Let’s talk about what to do with the parts once they’re off.
What to Do After Taking It Apart
Once the handle is apart, you’ve got options depending on why you removed it:
- Clean the Parts: I wiped down my camper’s latch and cylinder with a rag and WD-40 to remove dirt. It worked like new after.
- Replace Broken Parts: If the handle or latch is damaged, take it to the store for an exact match. I replaced my camper’s latch because it was worn out.
- Rekey the Lock: For SmartKey locks, use the SmartKey tool to change the key. I did this to match my new house key.
- Upgrade the Handle: I swapped my old handle for a newer Kwikset model with a smoother lock. It was worth the upgrade.
When reassembling, reverse the steps carefully. Make sure everything aligns properly to avoid a loose handle. Let’s cover some safety tips to keep in mind.
Safety and Maintenance Tips
Taking apart a door handle is safe, but here’s how I keep things smooth and secure:
- Work in a Safe Space: I did this in my garage to avoid losing parts. A clean, well-lit area helps.
- Keep Parts Organized: Use a container for screws and small parts. I learned this after losing a screw in my driveway.
- Lubricate Moving Parts: After cleaning, add a drop of lock lubricant to the latch and cylinder. It prevents sticking.
- Check Alignment: When reassembling, ensure the handle sits flush. My camper’s handle was loose until I tightened it evenly.
- Test the Lock: After reassembly, test the key and handle. I caught a loose screw this way once.
These tips keep your handle working smoothly for years. Let’s wrap up with my biggest takeaways.
My Biggest Takeaway
Taking apart a Kwikset door handle isn’t as scary as it looks. With the right tools and a little patience, you can do it in under 20 minutes. I’ve done it on my camper, my friend’s van, and even a garage door. The key is knowing your handle type, checking for hidden screws, and staying organized. It’s like a puzzle—once you figure it out, it’s satisfying to put it back together.
Conclusion
There you go—everything I’ve learned about how to take apart a Kwikset door handle! From my camper’s sticky lever to my friend’s loose van knob, I’ve tackled these handles and come out on top. It’s all about having the right tools, taking your time, and avoiding my mistakes. Whether you’re fixing a lock, upgrading, or just curious, this guide should make the process smooth and stress-free. Now, you can handle that Kwikset like a pro and get your door working perfectly. Got another handle to fix? You’re ready for it!
FAQs
What tools do I need to take apart a Kwikset door handle?
You need a Phillips and flathead screwdriver, an Allen wrench, a paperclip for SmartKey locks, WD-40, a rag, and a container for screws.
Can I take apart a Kwikset SmartKey lock without the tool?
Yes, a paperclip works for rekeying – Kwikset’s SmartKey tool and the paperclip trick both go into the same small hole near the keyway. That said, rekeying and removing the cylinder are different steps: rekeying reprograms the pins for a new key, while removing the cylinder means exposing a retainer clip and pushing it out through the housing front.
Why won’t my Kwikset handle come off?
Check for a hidden set screw or release slot. Use WD-40 if it’s stuck, and wiggle gently to avoid damage.
Will taking apart the handle void the warranty?
It might, so check the warranty terms. I contacted Kwikset before disassembling my camper’s lock to be safe.
What do I do if I lose a screw?
Take the handle to a hardware store to find a matching screw. I did this once and found an exact replacement.
Sponsored / affiliate links. As an Amazon Associate I earn from qualifying purchases. I may earn additional commission from eligible campaigns.