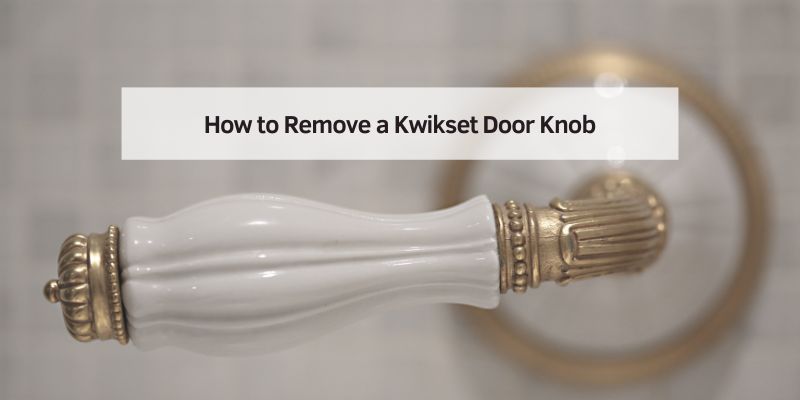
How to Remove a Kwikset Door Knob
Removing a Kwikset door knob takes 10 to 15 minutes and needs only a Phillips screwdriver, plus an Allen wrench or paperclip for hidden-screw and SmartKey models. Skip the built-in release-hole trick and you’ll strip screws or crack the trim trying to force it off. This guide covers every Kwikset knob type — visible-screw, hidden-screw, SmartKey, and lever — plus how to remove just the lock cylinder or spindle, and what to do if the knob won’t budge.
This post contains affiliate links. We may earn a commission at no extra cost to you — see our affiliate disclosure.
Why You Might Need to Remove a Kwikset Door Knob
I’ve found myself needing to remove a Kwikset door knob for all sorts of reasons. Maybe the knob is wobbly, or the lock isn’t working right. Sometimes, it’s just about upgrading to a smarter, more stylish model. Kwikset door knobs are popular in American homes for their durability and design, but like anything, they wear out. Knowing how to take one off can save you time and money. You might be replacing it, cleaning it, or even troubleshooting a lock issue. Whatever your reason, understanding the process makes it less intimidating.
Tools You’ll Need to Get Started
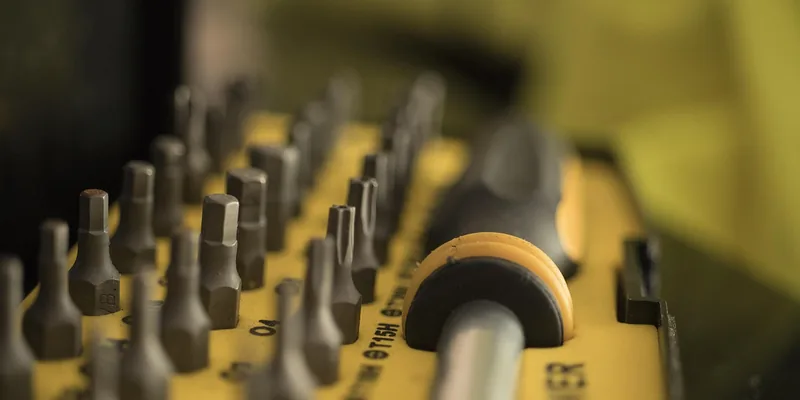
Before we start, let’s talk tools. I learned the hard way that having the right tools makes all the difference. You don’t need a fancy toolbox, but a few basics will help you remove a Kwikset door knob without frustration. Here’s what I recommend:
| Tool | Purpose |
|---|---|
| Flathead screwdriver | To pry off the cover plate or trim |
| Phillips screwdriver | To remove screws holding the knob in place |
| Allen wrench (if applicable) | For specific Kwikset models with set screws |
| Paperclip or pin | To release the knob in some models |
| Rag or cloth | To keep things clean and protect surfaces |
I always keep these handy in a small toolbox. If you’re missing something, a quick trip to the hardware store will set you right. Trust me, it’s worth it to avoid struggling with the wrong tools.
Understanding Your Kwikset Door Knob
Not all Kwikset door knobs are the same, and I’ve learned this through trial and error. Some have visible screws, while others hide them under a decorative cover. Newer models might use a SmartKey system, which can affect how you remove the knob. Before you start, take a close look at your door knob. Is it a standard knob, a lever, or an electronic smart lock? Does it have a keyhole on one side or both? Knowing this helps you approach the job with confidence. I once spent 20 minutes trying to find screws that were hidden under a cover plate — don’t make my mistake!
Step-by-Step Guide to Removing a Kwikset Door Knob
Alright, let’s get to the good stuff. I’m going to break this down into clear steps based on my own experience. Follow along, and you’ll have that Kwikset door knob off in no time.
Step 1: Prepare Your Workspace
First things first, clear the area around the door. I like to lay down a rag to catch any screws that might roll away. Make sure you have good lighting — I’ve dropped tiny screws in dim light and spent ages searching for them. If the door is a high-traffic area, maybe let your family know you’re working so they don’t bump into you.
Step 2: Identify the Knob Type
Check if your Kwikset door knob has visible screws on the interior side (usually the side facing inside the room). If you see screws, you’re in luck — it’s likely a straightforward removal. If not, you’re dealing with a hidden-screw model. Some Kwikset knobs have a small slot or hole where you’ll insert a paperclip or pin to release the knob. I had a model once that threw me off because the slot was tiny, so look closely!
Step 3: Remove the Trim or Cover Plate
For hidden-screw models, you’ll need to pop off the decorative cover or trim. I use a flathead screwdriver to gently pry it loose. Slide it into the small slot or seam around the base of the knob and wiggle it carefully. Don’t force it — you don’t want to scratch the door or knob. Once the cover is off, you’ll see the screws holding the knob in place.
Step 4: Unscrew the Knob
Grab your Phillips screwdriver and remove the screws on the interior side. There are usually two, one on each side of the knob. I’ve found that turning the screws counterclockwise slowly prevents stripping them. Keep the screws in a safe spot — I use a small bowl or even my pocket. If your model has a set screw (common in some lever-style Kwikset knobs), use an Allen wrench to loosen it.
Step 5: Release the Knob
Now, here’s where things get fun. For some Kwikset models, you’ll need to press a release mechanism. Look for a small hole or slot on the base of the knob. I’ve used a straightened paperclip or a thin pin for this. Insert it into the hole and push gently while pulling the knob off. It might take a little wiggle, but don’t yank too hard — I once pulled too eagerly and ended up with a stuck latch. Patience is key.
Step 6: Remove the Latch and Strike Plate
With the knob off, you’ll see the latch mechanism in the edge of the door. Use your Phillips screwdriver to remove the two screws holding the latch in place. Pull the latch out gently. If you’re replacing the knob, you might also want to remove the strike plate on the door frame. It’s usually held by two screws. I always check the latch for wear — it can tell you if the knob was misaligned.
Step 7: Inspect and Clean
Now that everything’s off, take a moment to inspect the parts. I like to clean the area with a rag to remove dust or grime. If you’re reusing the knob, check for damage like worn springs or bent parts. I’ve found that a quick wipe-down can make reinstallation smoother and keep things looking sharp.
“The first time I tried this, I spent 20 minutes hunting for screws that turned out to be hidden under the decorative cover plate. Now I check for a pry-off trim first, every single time — it saves more frustration than any tool in the kit.”
How to Remove the Lock Cylinder From a Kwikset Knob (Not Just the Knob)
Removing the whole knob is different from removing just the key cylinder — a common mix-up. You’d pull just the cylinder to rekey it, replace a damaged plug, or swap SmartKey internals without buying an entirely new knob.
- Remove the knob first: Follow Steps 1–5 above to get the knob off the door.
- Find the driver bar: On the back of the knob, locate the hollow cylindrical post (the driver bar) behind the keyway.
- Rotate and depress the tab: With the keyway facing down, insert a cylinder removal tool (or small flathead) into the driver bar, rotate until the tab lines up, then depress it while pulling the driver bar out by hand.
- Dislodge the cylinder: Insert the forked end of the tool into the back of the lock and push gently to free the cylinder from the housing.
- Remove the C-clip: Use the forked end of the tool to pry the small C-clip off the back of the plug.
- Push the plug out: Insert the current key, rotate the plug 90° without pulling the key out, then use a plug follower to push the plug out from the back — this keeps the pins and springs from scattering everywhere.
Kwikset sells a dedicated cylinder removal tool that makes this much easier than improvising with a screwdriver. If you’re doing this to rekey the lock rather than replace it, see our full guide to rekeying a Kwikset door knob once the cylinder is out.
How to Remove the Spindle From a Kwikset Lock
The spindle is the square metal rod that connects the inside and outside knobs and turns the latch when you twist the handle. If your knob spins freely without retracting the latch, the spindle has usually slipped out of its socket rather than broken. With the knob off, you’ll see the spindle sitting in the latch mechanism — lift it straight out, check both ends for worn or rounded corners (the most common reason it stops engaging the latch), and seat it fully back into the latch hub before reinstalling the knob. A spindle that looks twisted or has a rounded, no-longer-square end should be replaced rather than reused.
Troubleshooting Common Issues
Sometimes, things don’t go as planned. I’ve hit a few snags when removing Kwikset door knobs, so here are some tips to keep you on track:
- Stuck Screws: If screws won’t budge, try applying a bit of lubricant like WD-40. Let it sit for a minute before trying again. I’ve saved many a screw this way.
- No Release Hole: If you can’t find the release hole, double-check the trim. Some models hide it under a small cap that pops off.
- Knob Won’t Come Off: If the knob feels stuck even after pressing the release, wiggle it gently while pulling. Sometimes, years of use can make it sticky.
- SmartKey Models: If you’re dealing with a SmartKey lock, you might need to disengage the lock mechanism first. Check the Kwikset manual for your model, or see how to reset the code on a Kwikset door lock if it’s an electronic model.
📊 Kwikset knobs are built for a standard 2-1/8-inch door bore with a 2-3/8-inch or 2-3/4-inch backset — if you’re buying a replacement, measure your existing bore and backset first so the new knob’s latch lines up without redrilling. Source: Kwikset official support, “What hole size and backset are required?”
Tips for a Smooth Removal Process
Over the years, I’ve picked up a few tricks that make removing a Kwikset door knob easier:
- Work in good light. Trust me, you’ll thank yourself when you’re not squinting at tiny screws.
- Keep a small container for screws. I’ve lost count of how many I’ve dropped on the floor.
- Take photos as you go. It’s a lifesaver if you’re reinstalling or replacing parts.
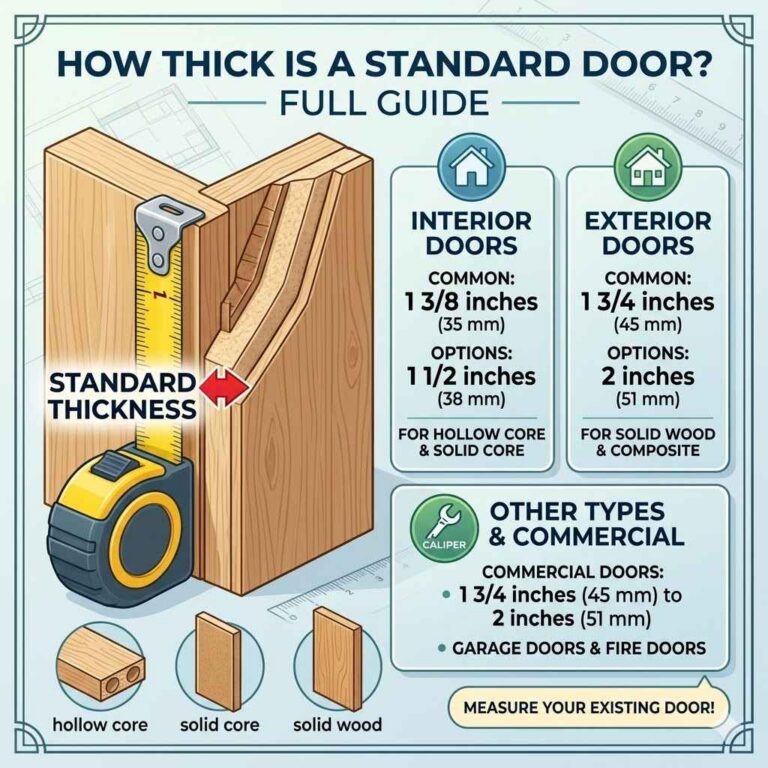
- If you’re upgrading, measure the door thickness and latch size before buying a new knob. Not all Kwikset models fit every door.
Reinstalling or Replacing Your Kwikset Door Knob
Once you’ve removed the knob, you might be reinstalling it or swapping it for a new one. If you’re reinstalling, just reverse the steps: slide the latch back in, secure it with screws, and reattach the knob. For a new knob, make sure it’s compatible with your door — see our full step-by-step Kwikset installation guide once you’re ready. I once bought a fancy new knob only to realize it didn’t fit my door’s bore hole — measure twice, buy once!
If you’re upgrading to a SmartKey model or a different Kwikset knob, follow the new knob’s instructions carefully. Most Kwikset knobs are designed for easy installation, but double-check the alignment to avoid wobbly handles.
Best Replacement Knob Pick
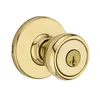
Kwikset Tylo Entry Knob with SmartKey – $15.80
A direct swap once you’ve pulled the old knob off with the steps above — same 2-1/8″ bore and standard backset this guide covers, no redrilling needed.
- Best for: Exterior entry doors needing a keyed replacement
- Why we picked it: SmartKey lets you re-key it yourself in seconds, no locksmith
- Main drawback: Exterior-grade only — not for closets or interior privacy doors
Compare more Kwikset replacement knobs
 Option 1 Kwikset 94002-870 Tylo SmartKey – $17.01
|
 Option 2 Kwikset Tylo Interior Passage Knob – $11.86
|
 Option 3 Kwikset Polo Entry Door Knob – $18.98
|
As an Amazon Associate we earn from qualifying purchases.
Frequently Asked Questions
Look at the interior side of the knob. If you don’t see screws, check for a small slot or hole. That’s where the release mechanism usually hides. You might need to pop off a decorative cover to find the screws.
Can I remove a Kwikset door knob without tools?
You’ll need at least a screwdriver for most models. Some knobs with a release hole might only need a paperclip, but screws usually hold the latch in place, so a Phillips screwdriver is a must.
What if my Kwikset door knob is stuck?
If it’s stuck, try wiggling it gently while pressing the release pin. If screws are tight, a bit of lubricant can help. Don’t force it — patience prevents damage.
Do all Kwikset door knobs use the same removal process?
Not quite. Most follow a similar process, but SmartKey models or levers might have extra steps. Check your model’s manual if you’re unsure.
How long does it take to remove a Kwikset door knob?
For most people, it takes about 10 to 15 minutes if everything goes smoothly. Hidden screws or stuck parts can add a few minutes, but it’s usually quick.
How do you remove just the lock cylinder from a Kwikset knob?
After removing the whole knob, locate the driver bar on the back, depress its release tab with a cylinder removal tool, and pull the cylinder free. Then pry off the C-clip and use a plug follower to push the plug out from the back without scattering the pins.
What size hole does a Kwikset door knob need?
Kwikset knobs are designed for a standard 2-1/8-inch door bore with a 2-3/8-inch or 2-3/4-inch backset, per Kwikset’s own installation specs. Measure your existing bore before buying a replacement.
Conclusion
There you go! Removing a Kwikset door knob isn’t as tricky as it might seem. With a few tools and a bit of patience, you can handle this like a pro — whether you’re fixing a wobbly knob, pulling just the cylinder to rekey it, or upgrading to a sleek new SmartKey model. Grab your screwdriver, take your time, and enjoy the process. You’ve got this!
Sponsored / affiliate links. As an Amazon Associate I earn from qualifying purchases. I may earn additional commission from eligible campaigns.