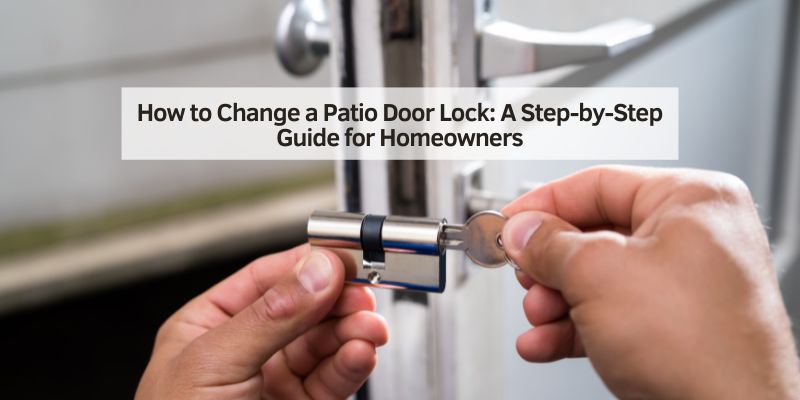
How to Change a Patio Door Lock: A Step-by-Step Guide for Homeowners
Hey there! If you’re like me, a car enthusiast who loves a good DIY project, you probably take pride in keeping everything in top shape, whether it’s your classic car or your home. One day, I noticed my patio door lock was sticky, and it hit me: a faulty lock could make my home less secure, just like a bad car lock could risk my ride. Changing a patio door lock might sound tricky, but I’ve done it a few times and learned the ropes.
In this article, I’ll walk you through every step to replace your patio door lock, share tips from my own experience, and tie it to our automotive lifestyle. Whether you’re securing your home for peace of mind or protecting your garage full of car tools, this guide is for you. Let’s get started and lock it down!
Why You Might Need to Change a Patio Door Lock
Patio door locks take a beating. Weather, frequent use, or just age can make them stick, jam, or stop working. I first noticed this when my sliding glass door wouldn’t lock smoothly after a rainy season. A broken lock is a security risk—nobody wants their home vulnerable, especially if you keep car parts or tools in a nearby garage.
You might also want to upgrade to a stronger lock, like a double-bolt for extra protection. I did this to feel safer about my vintage car parked outside. Other times, you lose a key or move into a new place and want fresh locks. It’s like changing your car’s spark plugs—sometimes, a refresh keeps things running right.
Types of Patio Door Locks
Before diving in, let’s talk about patio door lock types. I’ve worked on a few, and knowing your lock makes the job easier. Sliding glass doors, common in the USA, often have mortise locks (a metal piece in the door’s edge) or surface-mounted locks (a latch on the door’s face). French patio doors might use a multi-point lock, which secures at multiple spots along the frame.
My sliding door had a mortise lock, but I’ve also replaced a surface-mounted one on a friend’s door. Check your door to identify the lock—look for screws, a keyhole, or how it engages with the frame. It’s like checking your car’s make and model before ordering parts.
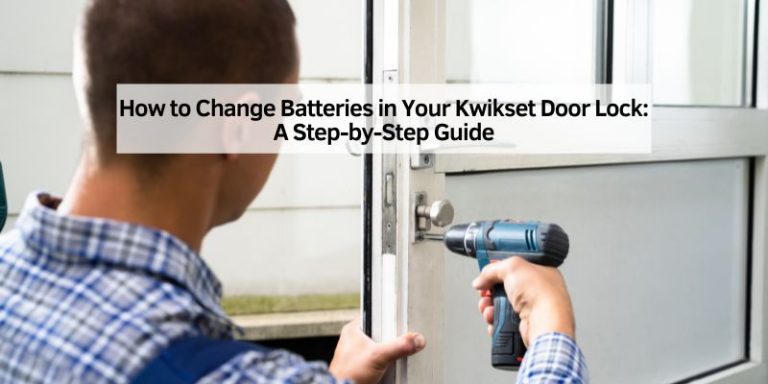
Gathering Tools and Materials
You don’t need a huge toolbox, but the right gear saves time. I used a Phillips screwdriver, a flathead screwdriver, a tape measure, and a new lock kit. A putty knife helps pry off old parts, and WD-40 loosens stuck screws. I keep these tools in my garage for car projects, so I was ready to go.
Buy a replacement lock that matches your door. I took my old lock to the hardware store to ensure a perfect fit. Lock kits cost $20-$50, depending on quality. If you’re upgrading, look for brands like Schlage or Kwikset—they’re reliable, like choosing NGK spark plugs for your car.
Safety First: Preparing for the Job
Safety is key, just like when you’re under the hood of a car. Make sure the patio door is closed and secure so it doesn’t slide while you work. I learned this after my door shifted mid-repair, nearly pinching my fingers! If the lock uses a key, remove it to avoid accidents.
Work in good light—use a flashlight or set up a work lamp. I keep a lamp in my garage for late-night car fixes, and it’s perfect for this. Wear gloves to protect your hands from sharp edges. If you’re working on a glass door, be gentle to avoid cracks, like handling a car’s windshield.
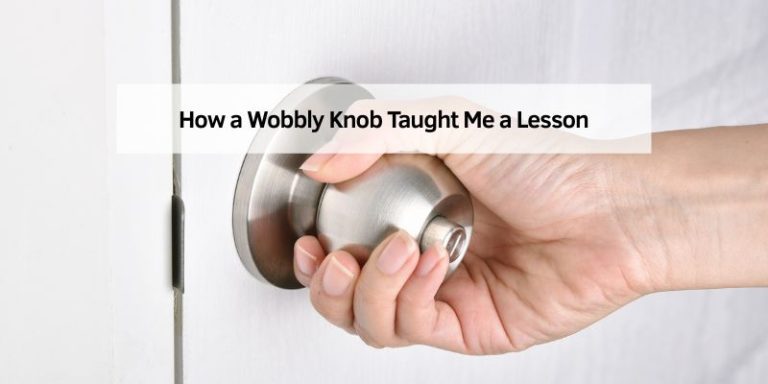
Assessing the Old Lock
Before you start unscrewing, check what’s wrong with the lock. I tugged on my patio door handle to see if it was loose or stuck. If the lock turns but doesn’t catch, the mechanism might be worn. If it’s jammed, screws or parts could be rusty. My lock was hard to turn, and I found a bent piece inside.
Open and close the door a few times to test it. Look for visible damage, like cracks or rust. This step is like diagnosing a car’s engine noise—knowing the problem guides your fix. If the lock is completely broken, you’ll replace the whole thing, but sometimes tightening screws does the trick.
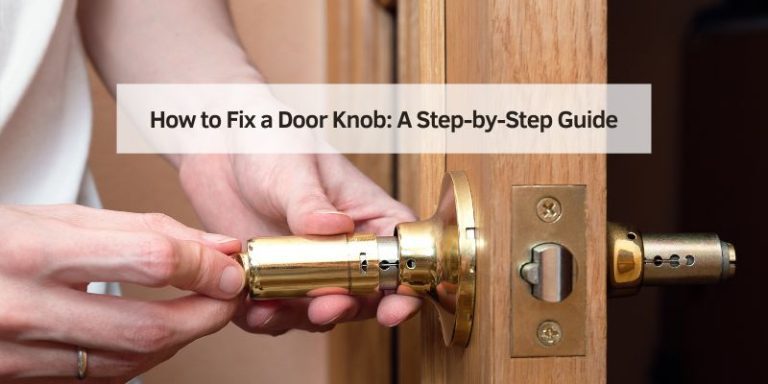
Removing the Old Lock
Let’s get to the fun part—taking out the old lock. For a sliding door mortise lock, like mine, start by removing the handle. I unscrewed two Phillips screws on the inside handle. Hold the outside handle so it doesn’t fall when you pull the inside one off. Set the handles on a towel to avoid scratching them.
Next, find the mortise lock in the door’s edge. Mine had two screws holding it in place. Unscrew them and gently pull the lock out. If it’s stuck, spray WD-40 and wiggle it with a putty knife. For surface-mounted locks, remove screws from the latch on the door’s face. I had to pry gently to free a rusty latch once. Keep all parts in a small container, like I do with car bolts, so nothing gets lost.
Choosing the Right Replacement Lock
Picking a new lock is like choosing the right tires for your car—fit matters. I measured my old lock’s dimensions (length, width, and screw hole spacing) to ensure the new one matched. Most sliding door locks are standard, but French doors or older models might need specific sizes. I took a photo of my old lock to show the store clerk.
Look for a lock with good security features, like a double-bolt or anti-lift mechanism. I upgraded to a double-bolt lock for extra peace of mind, like adding a performance chip to my car. Check the lock’s finish (brushed nickel, bronze, etc.) to match your door’s style. A good lock feels sturdy, not flimsy.
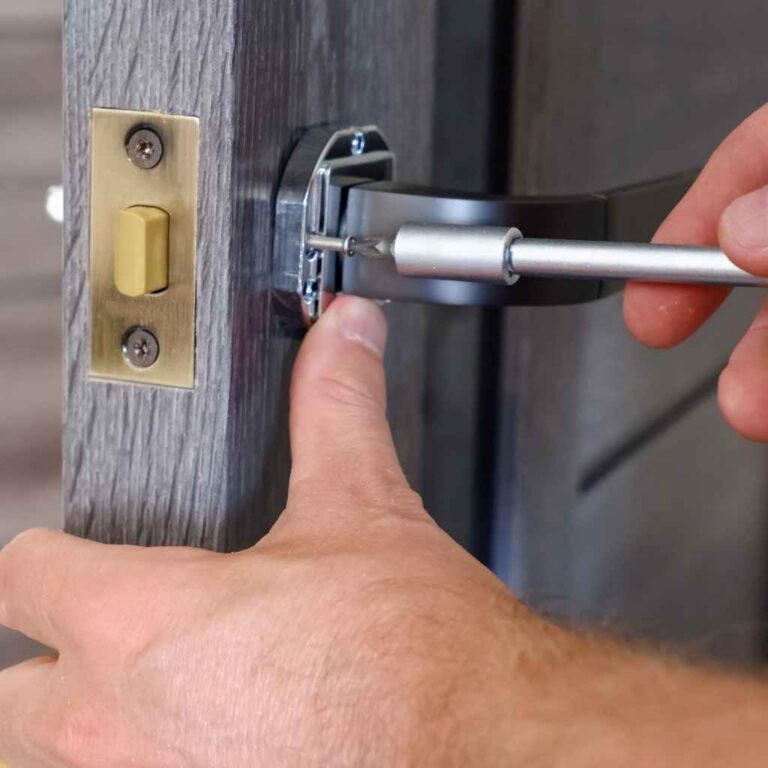
Installing the New Lock
Now it’s time to install the new lock. For a mortise lock, slide the new unit into the slot where the old one was. I lined up the screw holes and tightened them with my screwdriver. Don’t overtighten—you could strip the screws, like over-torquing a car’s lug nuts.
For the handle, thread the connecting screws through the inside handle, into the door, and attach the outside handle. I had to wiggle mine to align the holes properly. Tighten the screws until snug. For surface-mounted locks, attach the new latch to the door’s face and secure it with screws. I tested the lock by turning the key and sliding the door to make sure it caught smoothly.
Adjusting the Lock for a Perfect Fit
Sometimes, the new lock needs tweaking, like aligning a car’s wheels. My new lock was a bit stiff at first. Check if the lock catches the strike plate (the metal piece on the frame). If it doesn’t align, loosen the strike plate screws and shift it slightly. I used a flathead screwdriver to nudge mine into place.
Test the door by locking and unlocking it several times. Open and close the door to ensure it slides smoothly. If it’s still sticky, check for loose screws or debris in the track. I cleaned my door’s track with a vacuum, and it made a big difference, like clearing dirt from a car’s suspension.
Lubricating the Lock and Track
To keep the lock smooth, I add a bit of lubricant, just like oiling a car’s hinges. Spray a small amount of WD-40 or graphite lubricant into the lock’s keyhole and mechanism. Wipe away excess to avoid drips. I also lubricate the door’s track with silicone spray to help it slide better.
Work the key and handle a few times to spread the lubricant. I did this after installing my new lock, and it felt like a brand-new system. Reapply every few months, especially if your patio door gets a lot of weather exposure, like a car parked outside.
Testing the New Lock
Before you call it a day, test everything. I locked and unlocked my door, checking both the key and thumb-turn (if your lock has one). Slide the door open and closed to ensure the lock engages fully. Try it from both sides—inside and outside.
If the lock feels loose or doesn’t catch, double-check the screws and alignment. I had a screw come loose once, and tightening it fixed the issue. It’s like test-driving a car after a repair—you want to be sure it’s perfect before you trust it.
Maintaining Your Patio Door Lock
A new lock needs care to last, like regular maintenance for your car. I clean my patio door lock every few months with a damp cloth to remove dust or grime. Spray lubricant into the mechanism twice a year, especially in harsh climates like rainy Seattle or dry Arizona.
Check the screws regularly to ensure they’re tight. I had a loose handle screw once that made the lock wobbly—tightening it took 2 minutes. Keep the door’s track clean by vacuuming debris and wiping it down. It’s like keeping your car’s air filter clean for smooth performance.
Troubleshooting Common Issues
I’ve hit a few snags changing locks, so let’s cover common problems. If the new lock doesn’t catch, the strike plate might be misaligned—adjust it slightly. If the key won’t turn, check for debris in the lock or try more lubricant. I had a sticky key once, and a quick spray fixed it.
If the door itself is hard to slide, the track might need cleaning or the rollers might be worn. I cleaned my track with a brush and vacuum, like detailing a car’s interior. If the lock still doesn’t work, ensure you bought the right size. Taking the old lock to the store prevents this headache.
Connecting to the Automotive Lifestyle
As a car enthusiast, I see changing a patio door lock as part of the same DIY spirit. Securing your home is like securing your car—you want peace of mind. My patio door leads to my garage, where I store tools and car parts, so a strong lock is a must. A smooth, reliable lock feels like a well-tuned engine—everything just clicks.
This project also uses skills we car folks already have: working with tools, troubleshooting, and paying attention to detail. I felt the same satisfaction installing my new lock as I did swapping out my car’s alternator. Plus, a secure patio door means I can focus on car shows or late-night wrenching without worrying about my home.

Upgrading for Extra Security
While changing the lock, you might want to level up. I added a patio door bar—a metal rod that blocks the door from sliding—for extra security. It’s like adding an alarm to your car. You can also install a pin lock, which goes through the door and frame, or a foot-operated lock for easy use.
Smart locks are another option, letting you control the door with your phone. I’m considering one for my patio door, like upgrading my car with a keyless entry system. Just make sure any upgrade fits your door type and doesn’t void warranties, like checking mods for your car.
Common Mistakes to Avoid
I’ve made mistakes, so let me help you dodge them. Don’t skip measuring the old lock—buying the wrong size wastes time, like ordering the wrong car part. Don’t overtighten screws; you could strip them or crack the door. I did this once and had to replace a screw.
Don’t work with the door open—it could slide and pinch you. I learned this after a close call. Finally, don’t forget to test the lock thoroughly before finishing. It’s like test-driving a car after a repair—make sure it’s good to go. Here’s a table to summarize:
| Mistake | Why It’s a Problem | How to Avoid |
|---|---|---|
| Working with the door open | Won’t fit, wastes time | Keep the door closed and secure |
| Overtightening screws | Strips screws or damages door | Tighten until snug, not forceful |
| The door could slide, causing injury | The lock may not work properly | Measure the old lock, take it to the store |
| Skipping the test phase | Measure the old lock, take it to store | Test locking/unlocking from both sides |
This table kept me on track, like a checklist for a car tune-up.
Cost and Budget Considerations
Changing a patio door lock is budget-friendly. A basic lock kit costs $20-$50, and high-end ones with extra security run $50-$100. I spent $30 on my mortise lock and did the job myself, saving on labor. Hiring a locksmith costs $100-$200, like paying a mechanic for a simple car fix.
Shop at hardware stores or online for deals. I found my lock on sale at a local store, like snagging a discount on car parts. If you’re upgrading to a smart lock, expect $100-$300, but it’s a one-time investment for peace of mind.
Disposing of the Old Lock
Once the new lock is in, dispose of the old one responsibly. I took mine to a scrap metal recycling center, like recycling old car parts. Check local rules—some areas let you toss small metal locks in regular recycling. If the lock is still functional, donate it to a community repair shop, like giving spare car parts to a friend.
If the lock is broken, wrap it in a bag to avoid sharp edges. It’s a small step, but it keeps your space clean, like clearing out old oil cans from your garage.
Conclusion
Changing a patio door lock is a rewarding DIY project that any car enthusiast can tackle. From picking the right lock to testing it for smooth operation, I’ve shared my journey to help you secure your home with confidence. Just like tuning up your car, this task takes patience, the right tools, and a bit of know-how. A strong lock protects your home, garage, and maybe even your prized ride parked outside. With these steps, you’ll feel the same pride as when your car purrs after a repair. So grab your screwdriver, lock in some time, and make your patio door as secure as your car’s engine! Thanks for joining me—here’s to a safer home and happier drives!
FAQs
What tools do I need to change a patio door lock?
A Phillips and flathead screwdriver, a tape measure, WD-40, and a putty knife. A new lock kit and gloves are also helpful.
How do I know what lock to buy for my patio door?
Measure the old lock’s size and screw holes. Take it to the store or check the door’s brand for a matching replacement.
Can I change a patio door lock myself?
Yes, it’s a straightforward DIY job if you have basic tools. Follow the steps and test the lock to ensure it works.
Why is my patio door lock sticky?
Rust, debris, or wear can cause sticking. Spray WD-40 or clean the mechanism. If it’s still sticky, replace the lock.
How much does a new patio door lock cost?
Basic locks cost $20-$50, while high-security or smart locks run $50-$300. Shop around for deals to save money.