How to Tighten a Door Handle (Exposed & Hidden-Screw Fixes)
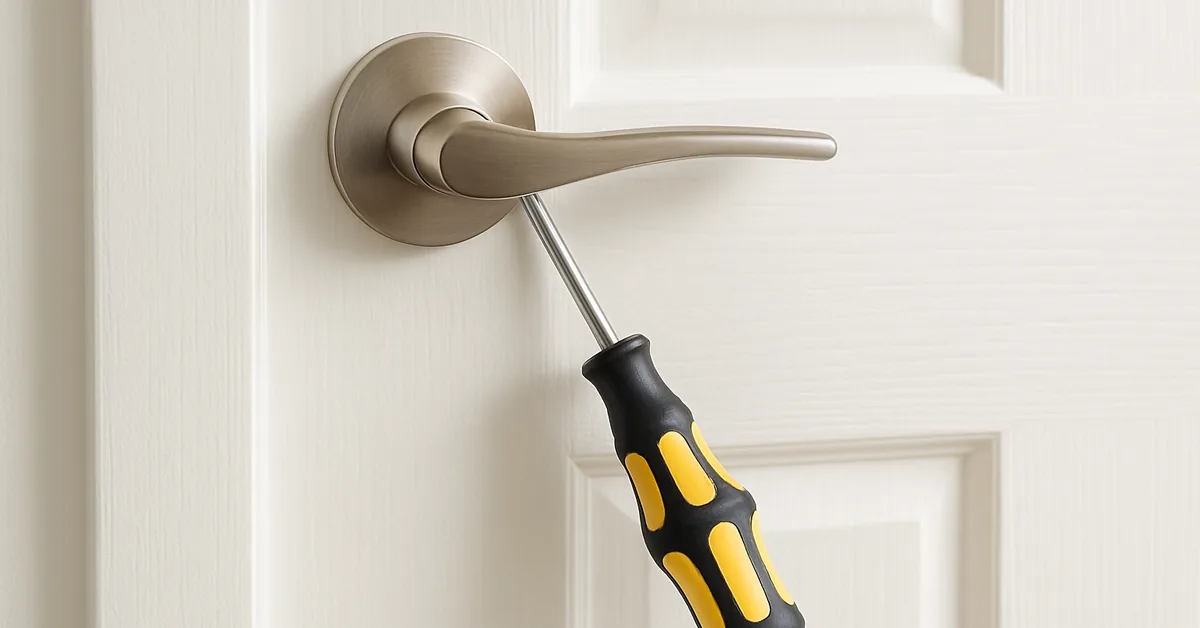
A loose door handle is almost always a backed-out mounting screw, not a broken mechanism — turn the visible screws clockwise with a Phillips or flathead screwdriver until snug, but stop the moment resistance builds. Over-tightening strips the screw threads or cracks the handle’s mounting plate, turning a two-minute fix into a full handle replacement. This guide covers exposed-screw handles, hidden-screw (cover-plate) handles, and what to do when a handle keeps loosening after tightening.
This post contains affiliate links. As an Amazon Associate we earn from qualifying purchases — see our Affiliate Disclosure for details.
Quick Steps: Tighten a Door Handle
Follow this sequence for the most common exposed-screw lever or knob handle. Each step is covered in more detail further down this guide.
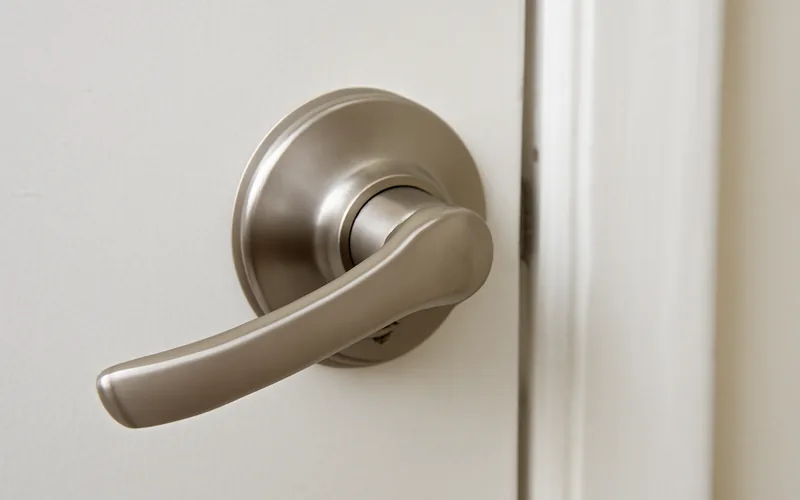
- Locate the mounting screws: Check the collar or rose plate at the base of the handle, on the edge of the door, or on the interior side of the handle itself.
- Turn each screw clockwise: Use a Phillips or flathead screwdriver sized to match the screw head exactly, so it doesn’t strip.
- Stop at snug, not tight: The handle should stop wobbling but still turn freely. Forcing it further can crack the mounting plate.
- Test the handle: Open and close the door several times, checking for wobble, sticking, or noise.
- Check for hidden screws: If no screws are visible, pop off the decorative cover plate (escutcheon) to access the set screw underneath.
Tools Needed
Most door handle tightening jobs need only a few basic tools — you likely already own them.
- Screwdriver set with both Phillips and flat-head tips in several sizes — hidden-screw handles often use hex or Torx bits instead
- Small hex/Allen key for lever handles with a set screw on the underside of the collar
- Lubricant spray (such as a silicone-based lubricant) to free a stuck or corroded screw
- Soft cloth or towel to protect the door finish while you work
Best Screwdriver Set Pick
Klein Tools 27-in-1 Precision Screwdriver Set – $20.98
Covers the Phillips, flathead, hex, and security Torx bits this guide mentions for both exposed-screw and hidden set-screw handle types — all stored in the handle so nothing gets lost.
- Best for: Handling both exposed and hidden-screw handle types with one kit
- Why we picked it: 26 precision bit sizes plus a nut driver cover nearly every residential handle screw
- Main drawback: Bits are precision-sized, not built for heavy demolition-grade torque
Compare more screwdriver set options
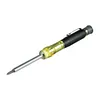 Option 1 Klein Tools 4-in-1 Pocket Screwdriver – $15.97
|
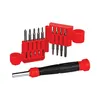 Option 2 Craftsman 18-Piece Precision Bit Set – $11.98
|
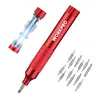 Option 3 WorkPro 24-in-1 Magnetic Set – $12.34
|
As an Amazon Associate we earn from qualifying purchases.
Identify The Problem
A door handle loosens gradually as normal daily use vibrates its mounting screws out of their threads. Signs to check for: the handle feels wobbly when you grip it, it doesn’t turn smoothly, or the door won’t latch or close properly. This is one of the most common issues covered in our door hardware & locks guides.
Grip the handle and gently jiggle it. Listen for rattling, and look at the collar or rose for screws that have visibly backed out. If the screws look snug but the handle still moves, the problem is more likely a worn spindle or a damaged internal spring rather than a simple loose screw.
Preparation Steps
Gather your screwdriver set and lubricant, then inspect the handle for loose screws or worn components before you start. Tighten screws carefully, snug but not overtightened, to avoid damaging the handle or stripping the threads.
Safety Measures
Wear protective gloves if the handle or hinge has any sharp or rusted edges. Use a screwdriver tip that fully matches the screw head so it doesn’t slip and scratch the door or your hand. Keep small screws in a shallow tray so they don’t roll away and get lost.
Workspace Setup
Work in good lighting so you can see the screw head clearly — a stripped screw is almost always caused by working in dim light with the wrong bit size. Lay tools on a small mat or towel within reach so you’re not searching for them mid-task.
Remove The Handle
Start by finding the screws on the door handle. Turn each one counterclockwise with a properly sized screwdriver. If a screw is stuck, apply a drop of lubricant, let it sit for a minute, and try again — don’t force it, or you risk stripping the head.
Once the screws are out, gently pull the handle away from the door. Some handles hide additional screws under a decorative cover; use a flat tool to lift the cover and check underneath before pulling further. If you’re working with a handle that has no visible screws at all, see our full guide on taking apart a door handle for the disassembly order. Set removed screws aside in a small bowl so you don’t lose them.
Inspect The Component
With the handle off, check the spindle (the square shaft that connects the two sides of the handle) for wear, and check the latch bolt for dirt or corrosion. Tighten any bolts you find underneath or on the side of the door frame — these hold the latch assembly and can loosen independently of the handle itself.
If the handle still feels loose after every visible screw is snug, open the mechanism cover if possible and look for a worn or broken internal spring. A damaged spring is the most common reason a handle stays wobbly even after correct tightening — replacing the handle’s latch cartridge is the fix at that point, not more tightening.
Exposed vs. Hidden-Screw Handles: What’s the Difference?
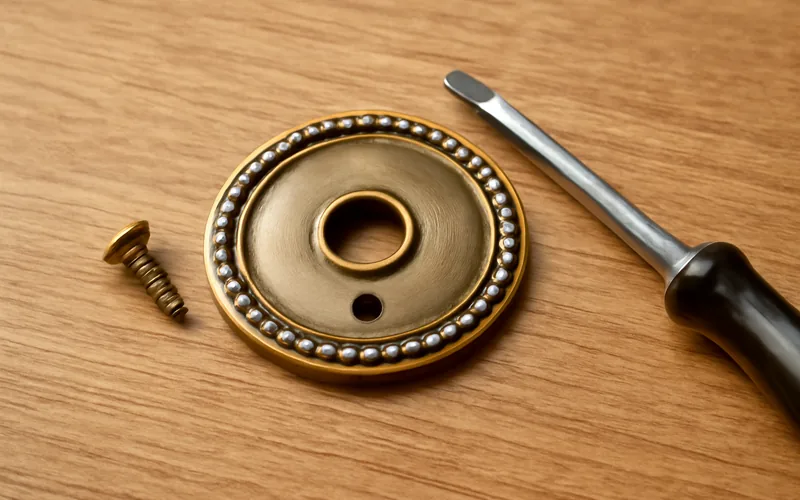
A hidden-screw door handle is a lever or knob design that conceals its mounting screw beneath a decorative cover plate (escutcheon) or inside the collar, rather than showing it on the visible face. This design looks cleaner but requires removing the cover before you can reach the fastener. Use it on formal or high-end interior doors; use exposed-screw handles anywhere quick field repairs matter more than appearance.
| Handle Type | Where the Screw Is | Best For |
|---|---|---|
| Exposed-screw | Visible on the handle face or collar | Fast repairs, rentals, utility doors |
| Hidden-screw (cover plate) | Under a snap-off decorative escutcheon | Formal interior doors, cleaner look |
| Threaded-collar / set-screw | Small hex set screw on the underside of the collar | Modern lever handles, see our set screw size guide |
Tighten The Handle
Turn each mounting screw clockwise with a screwdriver until the handle feels snug and no longer wobbles. Check alignment as you go — a crooked handle usually means one screw is tighter than the other, so back it off slightly and even out the pressure across both.
📊 Residential door hardware is graded 1–3 under the ANSI/BHMA A156.2 standard, with Grade 1 rated for the highest cycle-testing and strike-force durability — Source: PDQ Locks, ANSI/BHMA Grading Guide
Reinstall The Handle
Align the handle with the door’s spindle hole, keeping it level before you start driving screws. It should sit flush against the door with no visible gap. Turn the mounting screws clockwise until snug, checking that the handle doesn’t wobble or shift once both screws are set.
Final Checks
Shake the handle gently. It should stay still with no wobble; if it moves, give the screws another quarter turn and retest. Open and close the door several times, listening for squeaks — a dry latch or hinge is a common source of noise even after the handle itself is fully tightened. Apply a small amount of lubricant to the moving latch parts if you hear one.
“Squeeze both sides of the handle’s mounting chassis together while turning the screws — it keeps the assembly from binding so the screws seat fully snug instead of catching on a slightly separated chassis.”
Maintenance Tips
Check your door handles every few months for early looseness — catching a backed-out screw early prevents the stripped threads that come from tightening a badly worn screw hole repeatedly. Wipe the handle with a soft, dry cloth to keep dirt from working into the mechanism, and add a drop of lubricant to the latch twice a year to keep it moving smoothly. If a handle is crooked, straighten it before it works its way looser under regular use.
Common Mistakes When Tightening a Door Handle
These mistakes turn a two-minute fix into a bigger repair:
- Overtightening: Cranking the screw past snug strips the threads in the soft wood or the handle’s mounting plate, and the screw will no longer hold at all.
- Wrong screwdriver size: A tip that’s too small or the wrong type (flathead on a Phillips screw) rounds off the screw head, making it much harder to remove later.
- Forcing a stuck screw: Cranking on a corroded or paint-sealed screw without lubricant first is the most common cause of a snapped screw head.
- Ignoring an uneven handle: Tightening only one screw while leaving the other loose pulls the handle crooked and puts uneven stress on the spindle.
- Skipping the latch and spindle check: If the handle stays loose after every screw is tight, the problem is internal wear, not the screws.
Frequently Asked Questions
How To Tighten A Loose Door Handle?
Remove the handle’s cover plate using a screwdriver if screws aren’t visible. Tighten the visible screws clockwise until snug, then replace the cover plate securely. Test the handle for wobble before considering the job done.
How To Fix A Wobbly Handle?
Tighten the loose mounting screws with a properly sized screwdriver to fix a wobbly handle. If a screw is stripped, replace it with a slightly longer or thicker one of the same thread. Check for worn parts and replace them, and make sure both screws carry even pressure for stability.
How Do You Tighten A Door Knob Without Visible Screws?
To tighten a door knob without visible screws, twist and remove the knob to expose the shaft. Locate the hidden set screw on the shaft and tighten it with a small screwdriver or hex key. Reattach the knob by aligning it and turning clockwise until secure, then test that it no longer spins loosely.
How Do You Fix A Tight Door Handle?
Loosen the mounting screws slightly with a screwdriver, then apply a silicone-based lubricant to the moving parts and the latch. Retighten the screws to snug — not fully tight — and test the handle for smooth operation. Repeat the lubrication step if the handle still feels stiff.
Why Does A Door Handle Keep Getting Loose After Tightening?
Yes, a handle that keeps loosening even after correct tightening usually has a stripped screw hole, a worn spindle, or a damaged internal spring rather than a screw that simply needs another turn. If retightening stops holding within days, back the screw out and check whether the threads in the handle or door are worn — a slightly longer or thicker replacement screw often solves it permanently.
What Size Allen Key Do You Need For A Door Handle Set Screw?
Most lever handles with a hidden set screw use a 2.5mm or 3/32-inch hex key, though sizes vary by manufacturer. Check our door handle set screw size guide for exact measurements by handle type before buying a replacement key.
Can You Over-Tighten A Door Handle?
Yes, over-tightening a door handle strips the screw threads in the mounting plate or door, and on some models it can crack the plastic or pot-metal collar. Stop turning as soon as the handle stops wobbling — if it still moves at that point, the fix is a spindle or spring replacement, not more torque.
Conclusion
Tightening a door handle is a two-minute fix once you know whether you’re dealing with an exposed-screw or hidden-screw design. Turn the mounting screws clockwise until snug, never past it, and check the latch and spindle if the wobble comes back after tightening. Regular checks every few months keep small looseness from turning into stripped threads.
Sponsored / affiliate links. As an Amazon Associate I earn from qualifying purchases. I may earn additional commission from eligible campaigns.