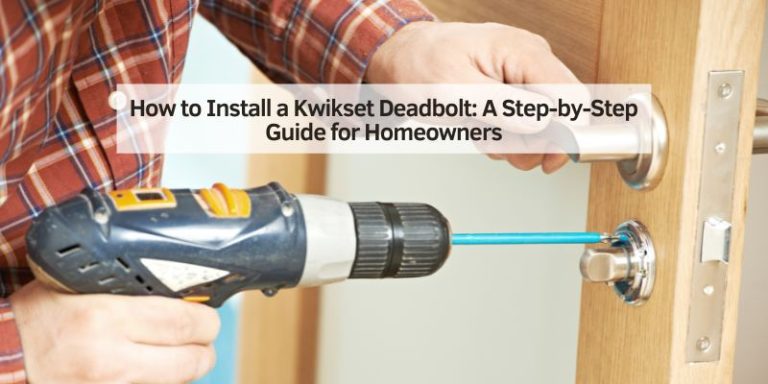
How to Install a Deadbolt: A Step-by-Step Guide for Homeowners
Hey there! If you’re looking to boost your home’s security, installing a deadbolt is one of the smartest moves you can make. I remember the first time I decided to tackle this project myself—it felt daunting, but once I got the hang of it, I realized it’s totally doable with the right tools and a bit of patience. A deadbolt adds an extra layer of protection to your door, making it harder for unwanted guests to get in. In this guide, I’m going to walk you through everything I’ve learned about installing a deadbolt, step by step, so you can feel confident doing it yourself.
Whether you’re a DIY newbie or a seasoned home improvement enthusiast, I’ve got you covered with clear instructions and practical tips. Let’s dive in and make your home safer!
Why Install a Deadbolt?
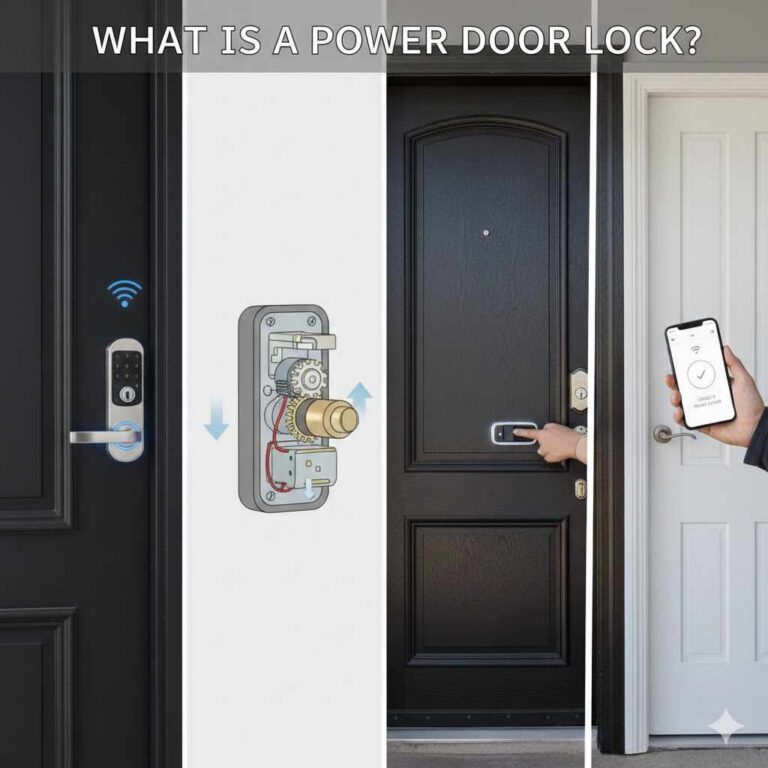
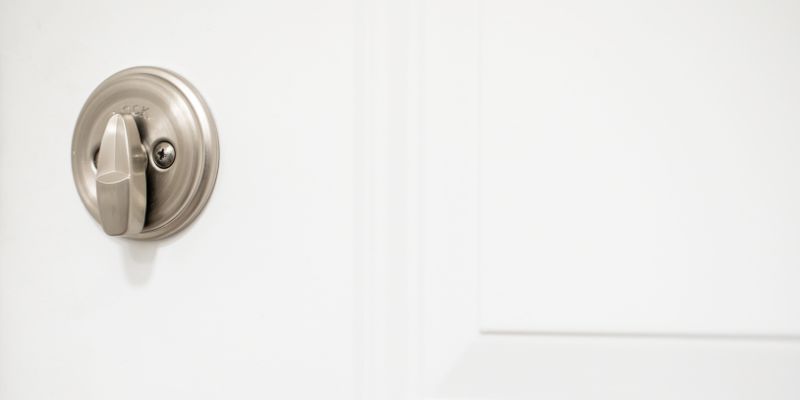
Let me tell you, a deadbolt is like a trusty guard dog for your door. Unlike a regular lock, a deadbolt extends deeper into the door frame, making it much tougher to force open. I installed one on my front door a couple of years ago, and it gave me such peace of mind knowing my family was safer. Deadbolts are great for front doors, back doors, or even garage entries—anywhere you want extra security. They come in single-cylinder (key on the outside, thumb-turn on the inside) and double-cylinder (key on both sides) options.
I went with a single-cylinder for convenience, but you might choose a double-cylinder if you have windows near your door to prevent someone from reaching in. Either way, a deadbolt is a simple upgrade that makes a big difference.
Tools and Materials You’ll Need
Before we get started, let’s gather everything you need. I learned the hard way that having the right tools makes this job so much easier. Here’s what I used when I installed my deadbolt:
| Item | Purpose |
|---|---|
| Deadbolt lock kit | The main component, includes the lock, screws, and strike plate. |
| Drill | For drilling holes for the deadbolt and latch. |
| 2 1/8-inch hole saw | To cut the hole for the deadbolt cylinder. |
| 1-inch spade bit | For the latch hole on the edge of the door. |
| Screwdriver (Phillips) | To secure screws in the lock and strike plate. |
| Tape measure | To measure and mark precise spots for drilling. |
| Pencil | For marking where to drill and cut. |
| Chisel | To carve out space for the latch and strike plate to sit flush. |
| Hammer | To tap the chisel when recessing the latch or strike plate. |
| Level | To ensure the deadbolt is aligned properly. |
| Safety glasses | To protect your eyes while drilling. |
| Wood putty (optional) | To fill any mistakes or gaps if you’re working on a painted door. |
Most deadbolt kits come with a template, which is a lifesaver for marking where to drill. If you don’t already have these tools, you can find them at any hardware store like Home Depot or Lowe’s. I spent about $30 on a decent deadbolt and borrowed a drill from a neighbor to keep costs down.
Choosing the Right Deadbolt
Picking the right deadbolt can feel overwhelming with all the options out there. When I was shopping, I focused on a few key things. First, look for a deadbolt with an ANSI Grade 1 or Grade 2 rating—these are the most secure. Grade 1 is the toughest, but Grade 2 is solid for most homes. I chose a Grade 2 single-cylinder deadbolt because it fit my budget and needs. You’ll also want to check the finish (like brushed nickel or bronze) to match your door’s hardware. Make sure the deadbolt fits your door’s thickness—most are adjustable for standard doors (1 3/8 to 1 3/4 inches thick).
If you have a glass panel near the door, consider a double-cylinder deadbolt for extra security. I also made sure my deadbolt had a reinforced strike plate with long screws to anchor it deeply into the door frame. Trust me, those extra-long screws make a huge difference in strength.
Preparing Your Door
Okay, let’s get to the fun part—prepping your door! I was nervous about drilling into my door at first, but following the template made it straightforward. Start by closing your door and checking its alignment. If it’s wobbly or sticks, fix that first, because a misaligned door can mess up your deadbolt installation. Next, measure about 40 to 45 inches from the floor (standard height for a deadbolt) and mark the spot with a pencil. Most deadbolt kits include a paper template, so tape it to the door at your marked height. The template shows exactly where to drill for the cylinder and latch.
Use a level to double-check that everything is straight—I learned this the hard way when my first mark was slightly off, and it threw everything out of whack. If your door already has a deadbolt, you might be able to reuse the existing holes, but check that they match your new lock’s specs.
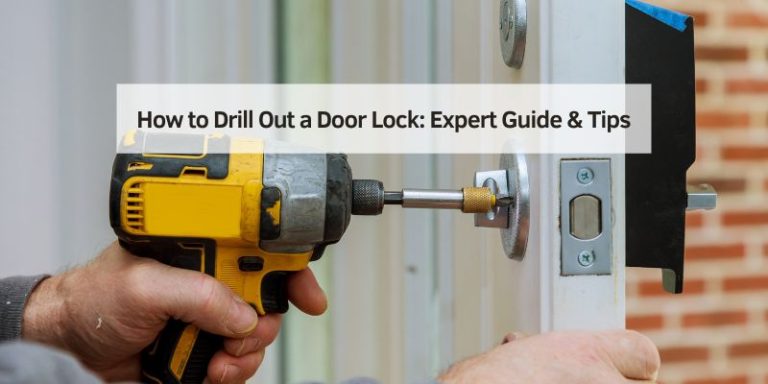
Drilling the Holes
Now, let’s talk about drilling. This part intimidated me at first, but it’s not as scary as it seems. Put on your safety glasses—wood chips can fly! Using the template, mark the center of the deadbolt hole on the door’s face (usually 2 1/8 inches in diameter). Attach the hole saw to your drill and go slow. I found it helpful to drill halfway through one side, then flip to the other side to finish the hole—this prevents splintering. Next, mark the latch hole on the edge of the door (usually 1 inch in diameter) and use the spade bit to drill straight through to meet the cylinder hole.
Take your time to keep the drill steady. I messed up my first try by rushing, and the hole was crooked, so I had to patch it with wood putty. If you’re nervous, practice on a piece of scrap wood first. Once the holes are done, test-fit the deadbolt and latch to make sure they slide in smoothly.
Installing the Latch and Deadbolt
With the holes drilled, it’s time to install the latch and deadbolt. This part feels rewarding because you start seeing it come together. Insert the latch into the hole on the edge of the door. The latch plate (the flat part) needs to sit flush with the door’s edge, so you may need to chisel out a shallow recess. I traced the latch plate with a pencil, then used a hammer and chisel to carefully carve out the wood. It took me a few tries to get it deep enough, but patience is key. Once the latch is flush, secure it with the provided screws.
Next, slide the deadbolt cylinder into the hole on the door’s face, making sure the bolt aligns with the latch. Attach the interior and exterior parts of the deadbolt (follow the kit’s instructions here, as each brand is slightly different). Use the screwdriver to tighten everything, but don’t overtighten—you don’t want to strip the screws. Test the bolt to ensure it moves smoothly when you turn the key or thumb-turn.
Installing the Strike Plate
The strike plate is what anchors the deadbolt into the door frame, and it’s super important for security. I learned that a weak strike plate can make even the best deadbolt useless, so don’t skip this step. Close the door and extend the deadbolt to mark where it hits the door frame. Use your spade bit to drill a 1-inch-deep hole at that spot for the bolt to slide into. Then, position the strike plate over the hole and trace around it with a pencil. Like with the latch, you’ll need to chisel out a shallow recess so the strike plate sits flush with the frame.
Secure the strike plate with the long screws provided—ideally, these should go deep into the wall’s studs for maximum strength. I used 3-inch screws, and they made the whole setup feel rock-solid. Test the deadbolt again to make sure it locks smoothly into the strike plate.
Testing and Adjusting
Once everything is installed, it’s time to test your work. I was so excited to try my new deadbolt, but I found it was a little sticky at first. Lock and unlock the deadbolt with both the key and thumb-turn to make sure it moves freely. If it’s stiff, check that all screws are tight but not overtightened. Sometimes the latch or strike plate isn’t perfectly aligned, so you may need to loosen and adjust them slightly. I had to tweak my strike plate a bit to get a smooth lock. Also, double-check that the door closes properly with the deadbolt engaged—any gaps could weaken security. If you notice any issues, take your time to fix them now. A properly installed deadbolt should feel secure and operate without much effort.
Tips for a Professional Finish
I wanted my deadbolt to look as good as it worked, so here are a few tricks I picked up. If your door is painted, touch up any scratches or splintered spots with matching paint or wood putty. Clean up any sawdust or debris to keep things tidy. If you’re installing a deadbolt on a metal door, you’ll need a metal-cutting hole saw, and the process is a bit trickier—consider practicing first or calling a pro if you’re unsure. For wooden doors, a quick sand around the drilled edges can make everything look polished. I also labeled my new keys and kept a spare in a safe place (not under the doormat!). Finally, check your deadbolt every few months to make sure the screws haven’t loosened over time.
Common Mistakes to Avoid
I made a few blunders when I first installed my deadbolt, so let me save you some trouble. Don’t skip the template—it’s there for a reason! Drilling freehand can lead to misaligned holes, which are a pain to fix. Also, avoid using short screws for the strike plate; those long screws are what make the deadbolt secure. Don’t rush the chiseling process—take small, careful cuts to avoid removing too much wood. And please, don’t forget to wear safety glasses. I got a tiny wood chip in my eye once, and it was not fun. Lastly, make sure your deadbolt matches your door’s backset (the distance from the edge of the door to the center of the lock, usually 2 3/8 or 2 3/4 inches). My first deadbolt didn’t fit because I didn’t check this, and I had to exchange it.
Maintaining Your Deadbolt
Once your deadbolt is installed, a little maintenance goes a long way. I check mine every six months or so to make sure it’s still working smoothly. Lubricate the lock with a graphite-based spray (avoid oil-based ones, as they can attract dirt). Tighten any loose screws, but be gentle to avoid stripping them. If you live in a humid area, watch for rust, especially on outdoor deadbolts. A quick wipe with a damp cloth keeps the exterior looking nice. If the lock starts sticking, it might be a sign of misalignment or wear, so revisit the strike plate or latch to see if anything needs adjusting. With minimal care, your deadbolt can last for years.
Conclusion
Installing a deadbolt was one of the most satisfying home improvement projects I’ve tackled. Not only did it make my home feel safer, but it also gave me a huge sense of accomplishment. By following these steps—choosing the right deadbolt, prepping your door carefully, and taking your time with the installation—you can add a layer of security to your home without breaking the bank. I love knowing that my family is better protected, and I’m confident you’ll feel the same once you’ve got your deadbolt installed.
So grab your tools, roll up your sleeves, and give it a go. You’ve got this! If you run into any hiccups, don’t hesitate to revisit these steps or ask a friend for help. Here’s to a safer, more secure home!
Frequently Asked Questions
What’s the difference between a single-cylinder and double-cylinder deadbolt?
A single-cylinder deadbolt uses a key on the outside and a thumb-turn on the inside, which is what I chose for my front door because it’s easy to use. A double-cylinder deadbolt requires a key on both sides, which is great for doors with nearby windows to prevent someone from reaching in to unlock it. However, double-cylinder locks can be tricky in an emergency since you need a key to get out.
Can I install a deadbolt on any door?
Most standard wooden or metal doors can handle a deadbolt, as long as they’re thick enough (usually 1 3/8 to 1 3/4 inches). I checked my door’s thickness before buying my lock to make sure it would fit. If you have a glass door or a very thin one, you might need a special lock or professional help.
How long does it take to install a deadbolt?
When I installed mine, it took about an hour, but it might take longer if it’s your first time. Prepping and drilling are the most time-consuming parts. If you’re replacing an old deadbolt and the holes already line up, it could take as little as 30 minutes.
Do I need a professional to install a deadbolt?
Not necessarily! I did it myself with no prior experience, and it turned out great. As long as you have the right tools and follow the instructions, it’s a manageable DIY project. But if you’re unsure or working with a tricky door, a locksmith can do it quickly and ensure it’s secure.
How much does a deadbolt cost?
Deadbolts can range from $20 to $100, depending on the brand and security grade. I spent about $30 on a solid Grade 2 deadbolt, which was perfect for my needs. Higher-end models with smart features or designer finishes can cost more, but a basic one works just fine for most homes.