How to Replace a Door Handle (Backset Size + Steps)
Replacing a door handle takes about 15 to 30 minutes with just a Phillips screwdriver, and the process is nearly identical for knobs and levers, but only after the new handle’s backset (2-3/8 inch or 2-3/4 inch) matches the holes already drilled in your door. Buying the wrong backset means the latch won’t reach the strike plate. This guide covers picking the correct backset, removing the old handle, installing the new one, and fixing common misalignment problems.
Whether you’re upgrading for style or fixing a broken handle, the steps below work for interior and exterior doors alike.
Tools Needed
Gather these before you start — everything here also applies to most other door hardware and lock projects:
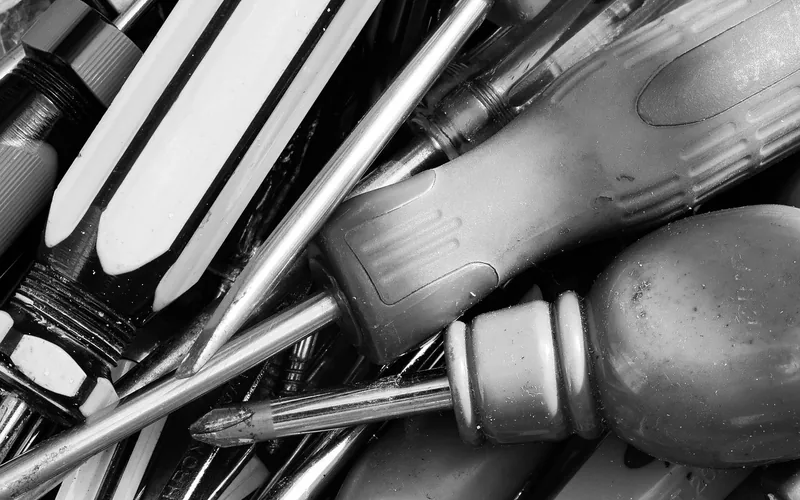
- Phillips and flathead screwdrivers — for removing and installing mounting screws
- Tape measure — to check backset and door thickness before buying a handle
- Pencil — for marking hole positions if you’re switching handle styles
- Drill — only needed if the new handle requires a different hole size than the old one
- Rubber mallet — for gently tapping a tight latch into place
Choosing the Right Door Handle
Door handles come in a few main styles. Levers are easiest to operate one-handed and are required by the ADA for commercial and many rental properties. Knobs are round and still common on interior doors. Pull handles and push plates are used mainly on doors that don’t latch. For a full rundown of parts and terminology, see our door knob guide to types, parts, and uses.
Material matters for durability: solid brass and stainless steel resist corrosion and wear the longest, especially on exterior doors exposed to weather. Zinc-alloy and plastic-bodied handles cost less but wear faster on high-traffic doors.
Best Entry Door Handle Pick
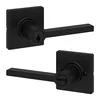
Kwikset Casey Keyed Entry Door Handle – $27.76
Its adjustable 2-3/8 to 2-3/4 inch latch backset covers both sizes explained above, so it fits nearly any prepped door without a second trip to the store.
- Best for: front and back entry doors needing keyed security
- Why we picked it: reversible lever, BHMA Grade 3 rated, adjustable backset matches this guide’s sizing step exactly
- Main drawback: matte black finish shows fingerprints more than satin nickel
Compare more door handle options
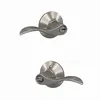 Option 1 Schlage Accent Keyed Entry Handle – $44.00
|
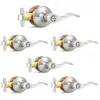 Option 2 Probrico Privacy Lever 6-Pack – $52.99
|
 Option 3 Amartisan 10-Piece Screwdriver Set – $9.99
|
As an Amazon Associate we earn from qualifying purchases.
What Backset Size Do You Need? (2-3/8″ vs 2-3/4″)
The backset is the distance from the edge of the door to the center of the hole the handle passes through. Get this measurement wrong and the new latch simply won’t reach the strike plate, no matter how well you install everything else.
Interior doors — bedrooms, bathrooms, hallway doors — almost always use a 2-3/8 inch backset. Exterior doors and many commercial doors use 2-3/4 inch. Most current locksets, including the picks above, ship with an adjustable latch that switches between both, which is why buying the wrong size is less common than it used to be — but it’s still worth checking first.
📊 The two standard North American door handle backsets are 2-3/8 inch (60mm) and 2-3/4 inch (70mm) — Source: ANSI/BHMA A156.2-2022, American National Standards Institute
To measure: open the door, then measure from the outer edge of the door to the center of the existing handle’s hole. A reading close to 2-3/8 inch means an interior-rated handle; close to 2-3/4 inch means an exterior-rated one.
Removing the Old Handle
- Locate and remove the handle screws: find the screws on the interior side of the handle, or under a small cover plate, and back them out fully with a Phillips or flathead screwdriver.
- Pull the handle free: slide the handle and its rose or plate off the spindle, then set the screws aside so they don’t get lost.
- Remove the latch: take out the two screws holding the latch faceplate in the door’s edge, then slide the entire latch mechanism out.
Preparing the Door for Installation
Wipe down the door edge and the area around the holes with a clean, dry cloth. Dust or old adhesive residue is one of the most common reasons a new latch feels loose or won’t sit flush once installed.
Installing the New Handle
If you picked up a Kwikset handle or knob, the steps below match its included instructions almost exactly — most major brands install the same way.
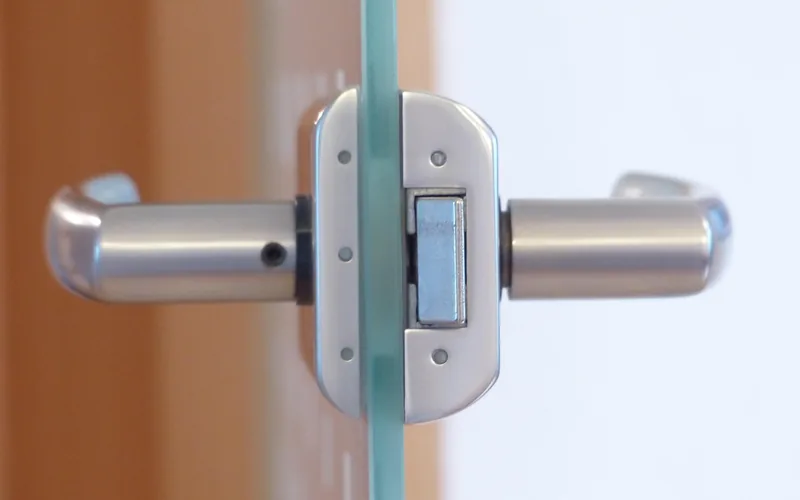
- Insert the new latch: slide the latch mechanism into the edge of the door and secure its faceplate with the provided screws.
- Feed the spindle through: push the spindle through the latch so it extends evenly on both sides of the door.
- Attach the exterior handle: slide the exterior handle and rose over the spindle and hold it flush against the door.
- Secure the interior side: fit the interior handle and plate over the spindle, then drive in the mounting screws until snug — not overtightened.
- Test before you walk away: turn the handle fully and confirm the latch retracts and extends smoothly.
Testing the Handle
Turn the handle slowly in both directions. It shouldn’t feel stiff, and the latch should retract and extend smoothly with no grinding or clicking. If the latch drags on the strike plate instead of sliding into it, the backset or alignment needs another look before you call the job done.
Troubleshooting Common Issues
A handle that’s loose right after installation usually means the mounting screws need another quarter-turn, or the spindle has worn round at the corners and needs replacing. If your existing handle is just loose rather than worn out, it may not need full replacement at all — see how to tighten a door handle for the faster fix.
A misaligned strike plate is the most common reason a freshly installed latch won’t catch. Loosen the strike plate screws, shift the plate until the latch lines up and slides in cleanly, then retighten.
“The strike plate is NOT aligned with the latch bolt. Make sure the strike plate is aligned with the latch bolt.”
Maintenance Tips
Wipe handles down weekly with a soft cloth and mild soap; harsh chemicals can strip the finish. Check for loose screws every few months, and add a drop of lubricant to a sticky latch rather than forcing it.
Frequently Asked Questions
Can I Replace A Door Handle Myself?
Yes. Replacing a door handle is a beginner-friendly project that takes 15 to 30 minutes with a Phillips screwdriver. Confirm the backset (2-3/8 or 2-3/4 inch) and handing of your door before buying so the new handle fits the existing holes.
Is It Difficult To Change A Door Handle?
No. Most handles install with basic tools by reversing the removal steps: pull the old handle and latch out, then insert the new latch, spindle, and handle in order. The only common snag is a backset or thickness mismatch with the door.
Do All Door Handles Fit All Doors?
No. Compatibility depends on the door’s backset (2-3/8 or 2-3/4 inch, per ANSI/BHMA A156.2) and thickness (most residential doors are 1-3/8 to 1-3/4 inch). Measure both before buying, or choose a handle with an adjustable backset to cover either size.
How To Replace An Existing Door Handle?
Unscrew and remove the old handle and latch, confirm the new handle’s backset matches your door, then insert the new latch, feed the spindle through, and attach both sides of the handle. Test the latch before considering the job finished.
Conclusion
Replacing a door handle comes down to three things: matching the backset, following the removal and installation steps in order, and testing the latch before you call it done. A properly fitted handle should turn smoothly and latch cleanly on the first try — if it doesn’t, the backset or strike plate alignment is almost always the reason.
Sponsored / affiliate links. As an Amazon Associate I earn from qualifying purchases. I may earn additional commission from eligible campaigns.