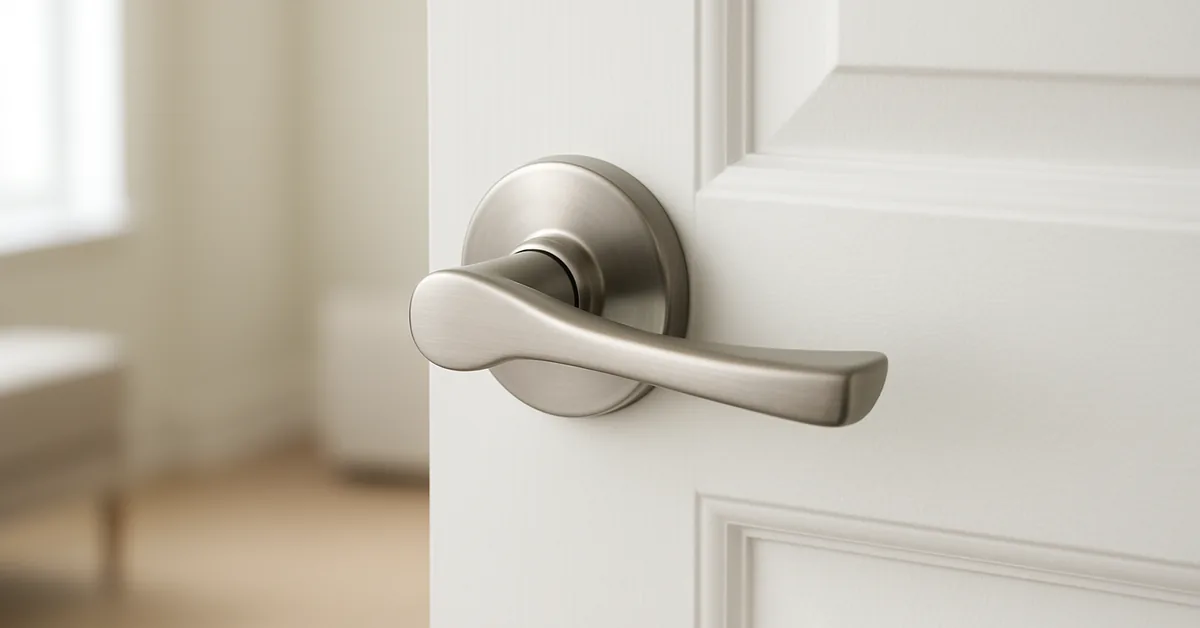
How to Install a Door Handle Set (2-3/8″ or 2-3/4″ Backset)
A door handle set installs in under 30 minutes once the backset is right — most interior doors use a 2-3/8 inch backset, exterior doors often 2-3/4 inch, and mixing the two leaves the latch too short or too long for the strike plate. Getting this wrong is the top reason handle sets get returned to the store. This guide covers backset and screw sizing, the 5-step install process, and fixes for a loose or misaligned handle.
Quick Answer
To install a door handle set: confirm your door’s backset (2-3/8" or 2-3/4"), slide the latch into the edge bore with the angled bolt face toward the strike plate, pass the spindle through the latch, attach both handle halves with the included screws, then mount the strike plate on the frame. Most installs take 15–30 minutes with just a screwdriver.
Why Installing a Door Handle Matters
A door handle does more than just open a door. Swapping a tarnished knob for a sleek, modern one can change how a whole room feels, and a properly seated handle keeps the door working smoothly and securely for years. Whether it’s for safety, style, or fixing a loose handle, knowing how to install one is a skill that pays for itself the first time you skip the $50–$100 handyman call.
Tools and Materials You’ll Need
Before you begin, gather your tools and materials. I learned the hard way that having everything ready makes the job much smoother. Here’s what I typically use:
| Tool/Material | Purpose |
|---|---|
| New door handle set | The main component you’ll install. |
| Screwdriver (Phillips/flat) | For removing and tightening screws. |
| Measuring tape | To check alignment and spacing. |
| Drill (optional) | For creating new holes if needed. |
| Chisel (optional) | For adjusting the strike plate or latch area. |
| Pencil | To mark spots for drilling or alignment. |
| Level | To ensure the handle is straight. |
| Screws (usually included) | For securing the handle and latch. |
Most door handle kits come with everything you need, including screws and a latch. Double-check that your kit matches your door’s thickness (standard is 1-3/8 to 1-3/4 inches). If you’re replacing an old handle, make sure the new one fits the existing holes. I once bought a fancy handle only to realize it didn’t match my door’s setup—lesson learned!
Choosing the Right Door Handle
Picking the right door handle can feel overwhelming with so many options out there. First, decide on the type: knob or lever. Knobs are classic and budget-friendly, while levers are easier to grip, especially for kids or elderly folks. Next, consider the finish — brushed nickel, matte black, or brass can completely change the vibe of a room. If you’re standardizing on one brand across a project, our Kwikset installation walkthrough covers the brand-specific screw and spindle details.
You’ll also want to think about function. For interior doors, a simple passage handle (no lock) usually works. For bathrooms or bedrooms, a privacy handle with a lock is ideal. For exterior doors, go for a keyed entry handle for security. Check the packaging for terms like “passage,” “privacy,” or “entry” to know what you’re getting.
Choosing the Right Backset and Screw Size for Your Door Handle Set
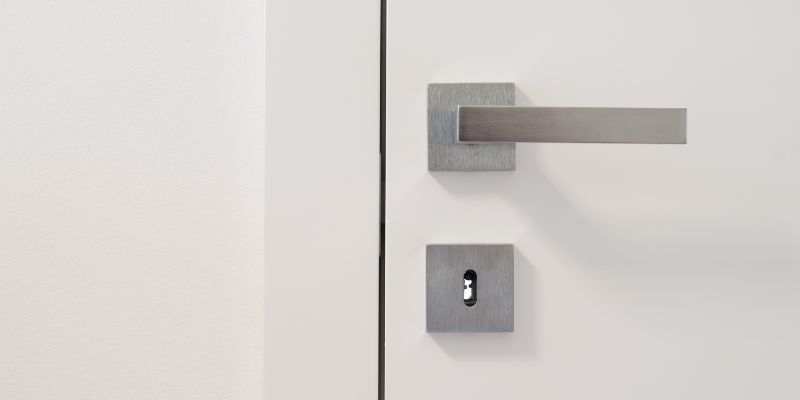
Nearly every door handle set sold in the U.S. uses one of two backsets — 2-3/8 inch or 2-3/4 inch — measured from the door’s edge to the center of the bore hole. Buy the wrong one and the latch bolt ends up too short or too long to reach the strike plate cleanly.
The 2-3/8" backset is most common on interior doors; 2-3/4" shows up more often on exterior and commercial doors. Some replacement sets, including a couple of the picks below, ship with an adjustable plate that works with either measurement, which removes the guesswork if you’re not sure which one your door has. For the screws themselves, most residential handles use #6 to #10 set screws, typically 1/4" to 1/2" long depending on the handle’s wall thickness {D} see our door handle set screw size breakdown if you’re matching screws on an existing handle rather than installing a full new set.
ANSI/BHMA grade is a certification that rates how much cycle testing and force a lockset has passed. Grade 1 is built for commercial and high-traffic doors (1,000,000 cycles, 360 lb of force). Grade 3 is the certified minimum for residential interior doors. For most homes, a Grade 2 set is the better buy {D} it still clears 800,000 cycles and 250 lb, well past what a bedroom or exterior door sees day to day, without paying commercial pricing. Not every handle box lists its grade, so check the product description before you buy if durability matters more than looks.
📊 U.S. door handle sets are graded Grade 1 (1,000,000 cycles / 360 lb, commercial), Grade 2 (800,000 cycles / 250 lb, residential/light commercial), or Grade 3 (the certified residential minimum). — Source: PDQ Locks, 2026
Not all handles are interchangeable across every door either — see are door handles universal for the fit factors beyond just backset, including bore hole diameter and door thickness.
“The backset trips up more first-time installers than the actual screwdriver work does — measure the old latch, or the door edge-to-bore distance, before you buy a replacement set, not after.”
Best Door Handle Set Pick
Kwikset Casey Privacy Door Lever with Lock — $19.97
A recognized brand privacy lever with the thumb-turn lock this guide describes for bathroom and bedroom doors — reversible for either backset without buying a second kit.
- Best for: Single bathroom or bedroom door replacement
- Why we picked it: Fits both 2-3/8" and 2-3/4" backsets out of the box, matching the sizing this guide covers
- Main drawback: Privacy function only — not rated for exterior keyed entry
Compare more door handle set options
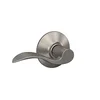 Option 1 Schlage Accent Passage Handle — $30.88
|
 Option 2 Probrico Wave Lever 6-Pack — $52.99
|
 Option 3 Gobrico Privacy Lever 6-Pack — $52.99
|
As an Amazon Associate we earn from qualifying purchases.
Preparing Your Door for Installation
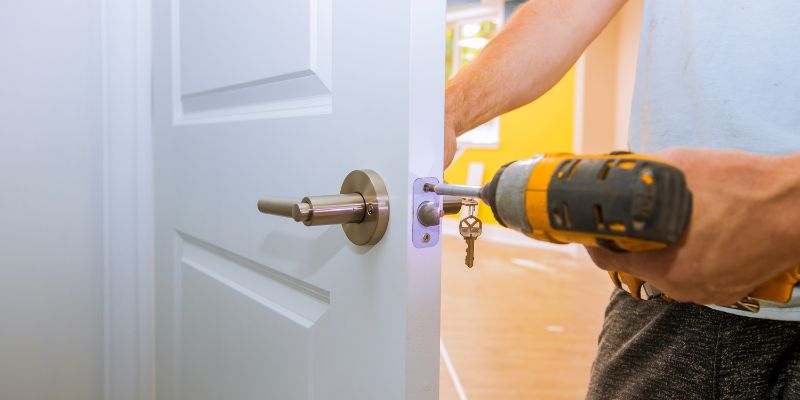
Before you start, take a moment to prep your door. I always clear the area around the door to give myself space to work. If you’re replacing an old handle, remove it first. Use a screwdriver to take out the screws holding the old handle in place. Most handles have two screws on the interior side. Once those are out, the handle and latch should pop off easily.
If your door is new or doesn’t have pre-drilled holes, you’ll need to measure and mark where the handle and latch will go. Standard handle height is about 36 inches from the floor, but I always double-check with a measuring tape. Use a pencil to mark the spots for the handle and latch. If your kit includes a template, use it—it’s a lifesaver for getting the measurements right.
Step-by-Step Guide to Installing a Door Handle
Now, let’s get to the fun part—installing the handle! I’ve broken this down into simple steps based on my own experience. Follow along, and you’ll have that handle on in no time.
Step 1: Install the Latch
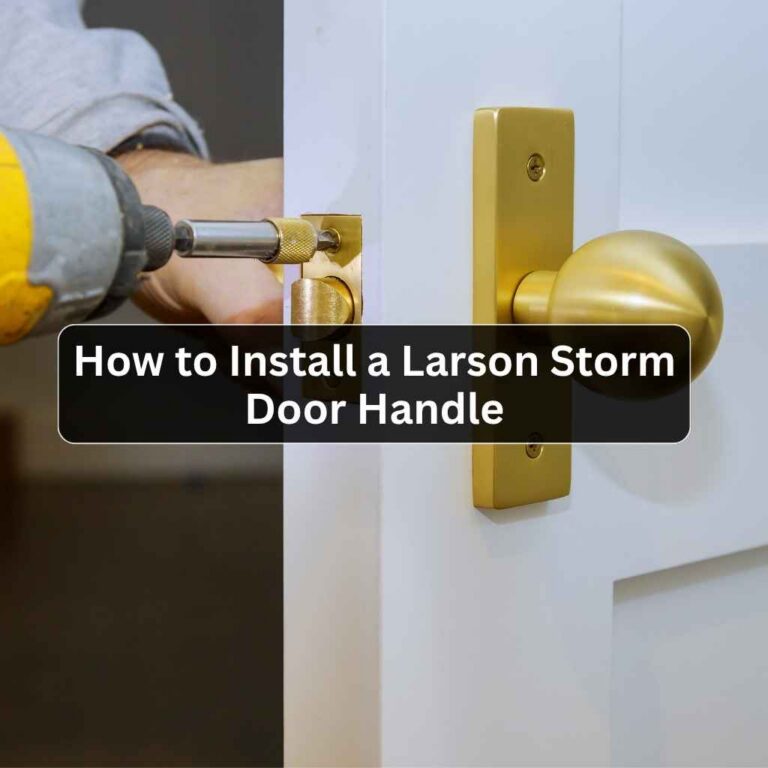
The latch is the part that goes into the edge of the door and catches the strike plate. Slide the latch into the hole on the door’s edge. Make sure the curved side of the latch faces the direction the door closes. For example, if your door swings inward, the curve should face the inside of the room. Secure the latch with the two screws provided. I always tighten them gently at first, then go back to make sure they’re snug.
Step 2: Attach the Exterior Handle
Take the exterior half of the handle (the part that goes on the outside of the door). Line it up with the pre-drilled hole on the door. The spindle (the rod that connects the two handles) should slide through the latch mechanism. I’ve found it helps to wiggle it a bit to make sure it’s seated properly. Hold the exterior handle in place while you move to the next step.
Step 3: Secure the Interior Handle
Now, grab the interior handle and line it up with the spindle. Most handles have screw holes that align with posts on the exterior handle. Insert the screws and tighten them with a screwdriver. Don’t overtighten—I did that once and ended up stripping the screw, which was a headache to fix. Use a level to make sure the handle is straight before fully tightening.
Step 4: Install the Strike Plate
The strike plate is the metal piece that goes on the door frame, where the latch catches. Line it up with the latch and mark the screw holes with a pencil. If the frame doesn’t have pre-drilled holes, you may need to drill pilot holes or use a chisel to create a recess for the plate. Secure it with screws. I always test the door at this point to make sure the latch catches smoothly.
Step 5: Test the Handle
Close the door and test the handle a few times. Turn it to make sure the latch retracts and extends properly. Open and close the door to check that it latches securely. If it feels loose or sticky, double-check the screws and alignment. I once had a handle that wouldn’t catch because the latch was slightly misaligned—a quick adjustment fixed it.
Troubleshooting Common Issues
Even with careful installation, things can go wrong. Here are some issues I’ve run into and how to fix them:
- Handle feels loose: Tighten the screws on the interior and exterior handles. If they’re stripped, you may need longer screws or a repair kit.
- Latch doesn’t catch: Check if the strike plate is aligned with the latch. You may need to adjust or reposition it.
- Handle is stiff: Make sure the spindle is properly seated in the latch. Lubricate the latch with a bit of graphite powder if needed.
- Wrong handle type: If you accidentally bought a passage handle for a locking door, you’ll need to exchange it for the right one.
I once installed a handle upside down (yep, it happens!). If the handle looks odd or doesn’t turn smoothly, double-check the orientation.
Tips for a Professional Finish
To make your door handle look like it was installed by a pro, here are a few tricks I’ve picked up:
- Clean the area: Wipe down the door and handle to remove fingerprints or dust. A clean handle shines brighter.
- Match the hardware: If you’re replacing multiple handles, use the same finish for a cohesive look. I learned this after mixing brass and nickel in one room—not a good look!
- Check door alignment: If your door sags or sticks, the handle won’t work smoothly. Adjust the hinges or sand down sticky spots.
- Keep spares: Save any extra screws or parts from the kit. They come in handy for future repairs.
Maintaining Your Door Handle
Once your handle is installed, a little maintenance goes a long way. I check my handles every few months to make sure they’re tight and working smoothly. Dust and grime can build up, so I wipe them down with a damp cloth and mild soap. Avoid harsh chemicals—they can damage the finish. If the handle starts to squeak, a tiny bit of lubricant on the latch or spindle usually does the trick. For exterior handles, I check for rust or wear, especially after harsh weather.
Why DIY Door Handle Installation Is Worth It
Doing this project yourself is rewarding. Not only do you save on labor costs (which can run $50-$100 per door), but you also gain confidence in your home improvement skills. I felt so proud the first time I installed a handle without calling a handyman. Plus, you can customize your home’s look without breaking the bank. Whether it’s a sleek lever for your modern living room or a vintage knob for your cozy bedroom, the right handle makes a big difference.
Frequently Asked Questions
What backset size do most door handle sets use?
Most interior doors use a 2-3/8 inch backset, the distance from the door’s edge to the center of the bore hole. Exterior and some commercial doors use 2-3/4 inch instead. Many replacement sets include an adjustable backset plate that works with either measurement, which removes the guesswork if you’re not sure which one your door has.
What type of door handle should I choose for my home?
It depends on the door’s purpose. For interior doors like hallways, a passage handle without a lock works great. For bathrooms or bedrooms, a privacy handle with a lock is better. For exterior doors, choose a keyed entry handle for security. Levers are modern and easy to use, while knobs are classic and budget-friendly.
Can I install a door handle without drilling new holes?
If you’re replacing an existing handle, you usually won’t need to drill new holes, as long as the new handle fits the same hole pattern and backset. Check the backset (2-3/8" or 2-3/4") before buying. If it’s a new door, you’ll need to drill using the template provided in the kit.
How long does it take to install a door handle?
For a straightforward replacement with matching backset and pre-drilled holes, it takes about 15-30 minutes with just a screwdriver. If you’re drilling new holes or adjusting the door frame, it can take closer to an hour.
What do I do if my door handle is loose?
First, tighten all the screws on the handle and latch. If they’re stripped, try longer screws or a repair kit from a hardware store. Also check the spindle alignment — it sometimes isn’t seated properly, which causes the same wobble as a loose screw.
Do I need special tools to install a door handle?
A screwdriver is usually enough for most installations. If you’re working with a new door, a drill, chisel, and measuring tape might be needed. Most handle kits include a template to make measurements easier.
Conclusion
Installing a door handle set comes down to two things most guides skip: matching the backset (2-3/8" or 2-3/4") before you buy, and following the 5 steps above in order. Get those right and the job takes 15–30 minutes with a screwdriver. Grab your new set, confirm the backset, and give your door the upgrade it deserves — or browse our full door hardware and locks library for hinges, deadbolts, and smart lock guides.
Sponsored / affiliate links. As an Amazon Associate I earn from qualifying purchases. I may earn additional commission from eligible campaigns.
 Kwikset Casey Interior Privacy Door Handle with Lock, Door Lever For Bathroom and Bedroom, Satin Nickel Reversible Keyless Turn Lock, with Microban Protection
 Mengico 3 Pack Satin Nickel Modern Interior Passage Door Knobs, Keyless Door Handle for Hallway & Closet, Wave Style Non-Locking Door Lever Reversible for Left & Right Handed