What Is The Best Clear Coat For Painted Wood In 2025?
The best clear coat for painted wood in 2025 depends on the project’s needs. For high-traffic areas, durable polyurethane or water-based acrylics offer protection. For a natural look, spray lacquers or shellac work well.
Always consider moisture resistance and UV protection based on the item’s location.
Understanding Clear Coats for Painted Wood
A clear coat is like a shield for your painted wood. It adds a layer of protection. This layer keeps the paint from chipping or scratching.
It also helps protect against water and sun damage. Choosing the right one makes a big difference. It keeps your project looking fresh for longer.
There are many kinds of clear coats. They all do a similar job. But they have different strengths.
Some are very hard. Others are more flexible. Some are easy to apply.
Others need special tools or conditions. Think about what you are painting. Think about how it will be used.
This guide will help you pick the best one. We will look at the most popular types. We will see where they work best.
We will also talk about how to use them. Getting this right makes your projects shine. It ensures they stand up to everyday life.
My Own Clear Coat Chaos
I remember a time I painted an old dresser. I wanted it to look modern. I spent days stripping it, sanding it smooth, and applying a lovely soft blue paint.
It looked fantastic in my garage. I was so proud! Then came the clear coat decision.
I saw a can of “super tough” varnish and grabbed it. I thought more toughness was always better.
I brushed it on. It was thick. It left brush marks everywhere.
And worse, it made my beautiful blue look dull and yellowish. It completely changed the color. I felt a wave of panic.
I had ruined it! It looked like a cheap toy. I almost threw the dresser away.
That day taught me a lot about not all clear coats being the same.
I learned that you need to match the clear coat to the paint and the project. It’s not a one-size-fits-all thing. Since then, I’ve tried many different types.
I’ve made mistakes. But I’ve also learned what works. I want to share that with you so you don’t have the same panic I did.
Clear Coat Basics: What to Look For
When you’re choosing a clear coat, think about these things:
- Durability: How much wear and tear will it face?
- Finish: Do you want it super shiny, matte, or somewhere in between?
- Application: Is it easy to spray or brush on?
- Drying Time: How long will it take to be ready to use?
- UV Protection: Will it be in direct sunlight?
- Moisture Resistance: Will it be in a steamy bathroom or kitchen?
Types of Clear Coats for Painted Wood
Let’s dive into the main types of clear coats. Each has its own personality and best use. Knowing these will help you make the perfect choice for your project.
1. Polyurethane
Polyurethane is a popular choice. It’s known for being very tough. It’s great for surfaces that get a lot of use.
Think tabletops, chairs, or doors.
There are two main kinds: oil-based and water-based.
Oil-Based Polyurethane
Oil-based poly is very strong. It stands up well to wear and tear. It also resists heat and solvents better than water-based.
The downside is its smell. It has strong fumes. It also yellows over time.
This can change the color of your paint, especially lighter colors.
Application needs good ventilation. Cleanup requires mineral spirits. It takes longer to dry between coats.
This is a classic choice for durability. But the yellowing can be a problem for certain paint colors. It forms a very hard, protective film.
This makes it ideal for furniture that sees heavy use.
Water-Based Polyurethane (Acrylic Polyurethane)
Water-based poly is clearer. It doesn’t yellow as much as oil-based. This is good for light paint colors.
It’s also easier to clean up. You just need soap and water. It dries faster too.
You can often get two coats on in a day.
It’s not quite as tough as oil-based poly. But it’s still very durable for most home projects. Modern water-based polys are much stronger than they used to be.
Many are strong enough for most furniture. They also dry clear, which is a huge plus. This helps maintain the true color of your paint job.
Polyurethane: Quick Comparison
Oil-Based:
- Pros: Very durable, heat/solvent resistant.
- Cons: Yellows over time, strong fumes, needs mineral spirits for cleanup.
Water-Based:
- Pros: Dries clear, low odor, easy soap/water cleanup, faster drying.
- Cons: Slightly less durable than oil-based, can be prone to water marks if not sealed well.
2. Lacquer
Lacquer is another popular finish. It dries very quickly. It’s often sprayed on.
This gives a very smooth, factory-like finish. It’s not as hard as polyurethane. But it’s still a good choice for many projects.
Lacquer can be nitrocellulose or acrylic. Nitrocellulose is more common for DIY. Acrylic lacquer is tougher and more durable.
Lacquer fumes are strong. Good ventilation is a must. It’s also sensitive to heat and alcohol.
Lacquer sprays are convenient. They let you get an even coat easily. They dry super fast.
This means you can do multiple coats quickly. The finish can be beautiful. It’s often chosen for cabinets or decorative items.
It dries to a hard film. But it can be brittle. It doesn’t handle impact as well as polyurethane.
3. Shellac
Shellac is a natural product. It comes from the lac beetle. It’s often sold in flakes that you mix with alcohol.
Or you can buy it pre-mixed. Shellac dries very fast. It has a pleasant smell.
It’s non-toxic once dry.
Shellac is great for sealing knots in wood. It also blocks stains. It dries to a warm, amber tone.
This can add character. But it can also alter light paint colors. It’s not very resistant to heat, water, or alcohol.
So, it’s not ideal for kitchen counters or tabletops.
It’s best used on items that won’t see a lot of abuse. Think picture frames or interior trim. It’s very easy to repair.
You can often dissolve old shellac with denatured alcohol. Then you can add a new coat right over it. This makes it easy to fix scratches or wear.
Shellac: A Natural Choice
Pros: Natural, fast-drying, low odor, seals knots well, easy to repair.
Cons: Poor resistance to heat, water, and alcohol; can alter paint color (amber tone).
Best For: Picture frames, interior trim, craft projects, sealing wood knots.
4. Varnish
Varnish is a general term. It often means a mix of resin, oil, and solvent. It’s designed to be durable.
It’s usually a bit more flexible than polyurethane. This can help it resist cracking.
There are oil-based and water-based varnishes. Oil-based varnishes are very tough. They offer good protection from moisture and wear.
They tend to yellow with age. Water-based varnishes are clearer. They dry faster and have less odor.
They are easier to clean up.
Some varnishes are specifically made for outdoor use. These often have UV blockers. They are great for outdoor furniture or doors.
When choosing varnish, look at the intended use. Some are very glossy. Others have a satin or matte finish.
5. Water-Based Acrylic Sealers
These are very popular for DIY projects. They are easy to use. They dry clear.
They have low odor. And they clean up with water. They offer good protection for most painted furniture and decor.
They are not as hard as polyurethane. But they are flexible. This means they are less likely to chip.
They are a great option for painted cabinets, shelves, or wall art. Many brands offer different sheen levels, from matte to high gloss.
Look for ones labeled as “tough” or “durable.” These often have added acrylic resins for better wear. They are a safe bet for many painted wood surfaces. They maintain the true color of your paint.
This is a big plus for bright or pastel colors.
Acrylic Sealer vs. Polyurethane
Acrylic Sealer:
- Pros: Dries clear, low odor, easy cleanup, flexible, good for light colors.
- Cons: Less durable than some polyurethanes, can scratch more easily.
Polyurethane (Water-Based):
- Pros: Very durable, good scratch and abrasion resistance.
- Cons: Can sometimes have a slight milky cast if applied too thick, slightly harder to work with than acrylic.
Polyurethane (Oil-Based):
- Pros: Most durable, excellent wear and water resistance.
- Cons: Yellows significantly, strong fumes, difficult cleanup.
Choosing the Right Clear Coat for Your Project
Now that we know the types, how do we pick the best one? It really comes down to what you are painting and where it will live.
For High-Traffic Furniture (Tables, Chairs, Desks)
These items take a beating. They need the most protection. Look for something very durable.
- Best Bets: Oil-based polyurethane or a high-quality water-based polyurethane.
Oil-based poly offers the ultimate hardness. But if you want to keep colors bright, go with a good water-based poly. Make sure to apply multiple thin coats.
This builds up the protection.
Tabletop Test: What I Found
I once refinished a dining table. I used a deep emerald green paint. I wanted it to last.
I tried a water-based polyurethane. It looked good. But after a few months, I saw faint water rings.
Then a slight scratch from a dropped fork.
For my next table project, I used an oil-based polyurethane. It was messier to apply. The fumes were strong.
But the finish was incredibly hard. It resisted everything. Water rings didn’t stand a chance.
It did add a slight amber tint. But on a dark color, it looked rich.
Lesson: For truly high-abuse surfaces, oil-based poly is often still the champ if you can manage its drawbacks. For less intense use, a good water-based poly is often sufficient and much easier.
For Cabinets and Shelves
Cabinets get touched often. Shelves hold many items. They need good scratch resistance.
But they don’t usually see direct spills like a table.
- Best Bets: Water-based polyurethane or water-based acrylic sealer.
These offer a good balance of protection and ease of use. They won’t yellow your paint. They dry fast for quick recoats.
Apply at least 2-3 thin coats for good coverage.
For Decorative Items (Picture Frames, Vases, Wall Art)
These items don’t get touched much. They mostly need protection from dust and light.
- Best Bets: Spray lacquer, shellac, or a light coat of water-based acrylic sealer.
Lacquer provides a smooth, professional look. Shellac is fast and natural. An acrylic sealer gives easy protection.
Choose based on the look you want. For a smooth, glass-like finish, spray lacquer is excellent.
For Doors and Trim
Doors get handled frequently. Trim gets bumped by vacuums and feet. These areas need to be tough.
- Best Bets: Oil-based polyurethane or a very durable water-based polyurethane.
Doors, especially exterior ones, need good moisture resistance. Polyurethane does a great job here. For interior doors, a good water-based poly is often enough.
Ensure it’s rated for high traffic.
For Outdoor Projects
Outdoor items face sun, rain, and temperature changes. They need special protection.
- Best Bets: Exterior-grade varnish or exterior-grade polyurethane.
These products usually contain UV inhibitors. They also have better water and mildew resistance. Always check the label to ensure it’s suitable for outdoor use.
Apply extra coats for maximum protection.
Application Method Matters
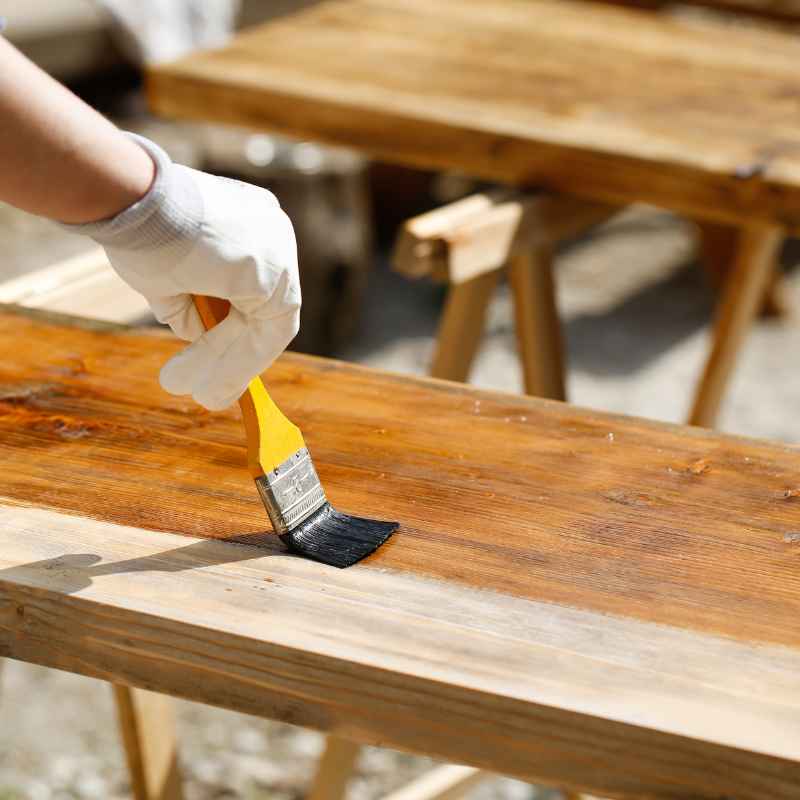
Brushing: Good for most types. Use a high-quality synthetic brush for water-based products. Use a natural bristle brush for oil-based products.
Apply thin, even coats. Avoid over-brushing.
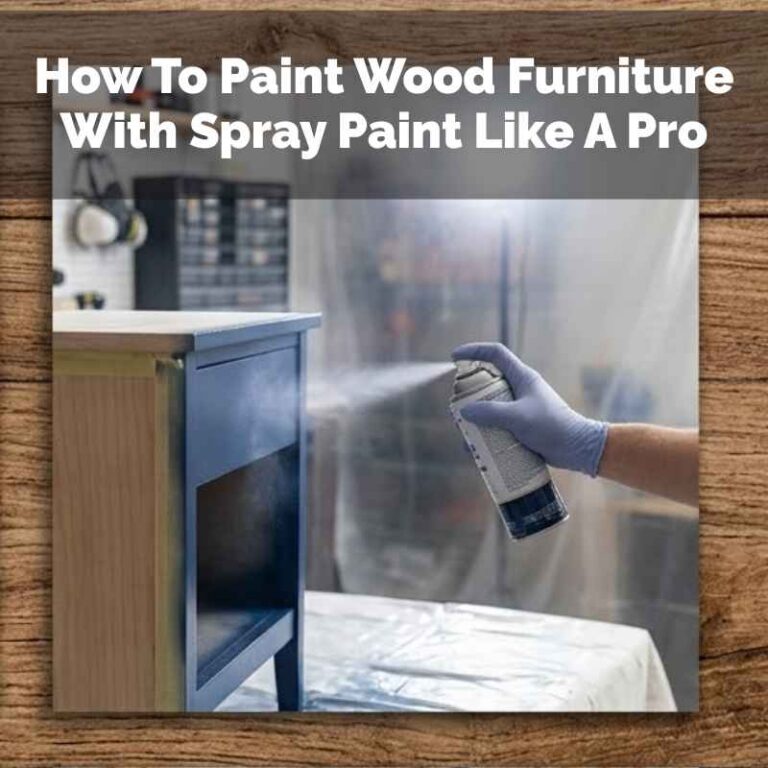
Spraying: Ideal for lacquer and some polyurethanes. Gives a smooth, factory-like finish. Requires a spray gun and proper safety gear.
Best for large surfaces or when a flawless finish is key.
Wiping/Rag Coating: Some products, like certain oil-based finishes, can be applied with a rag. This method often leaves a thinner, more natural-looking finish.
How to Apply Clear Coat Like a Pro
Applying clear coat isn’t hard, but doing it right makes a huge difference. Follow these steps for a beautiful, lasting finish.
Preparation is Key
This is the most important step. You can’t skip it!
- Clean the Surface: Wipe down the painted surface with a tack cloth. This removes any dust or debris. Dust is your enemy here.
- Ensure Paint is Fully Cured: Most paints need several days to a week to fully harden. Applying clear coat too soon can cause peeling or bubbling.
- Work in a Clean Area: Choose a space that is as dust-free as possible. Good lighting is also helpful.
Application Techniques
The method depends on the product. Always read the can!
Brushing
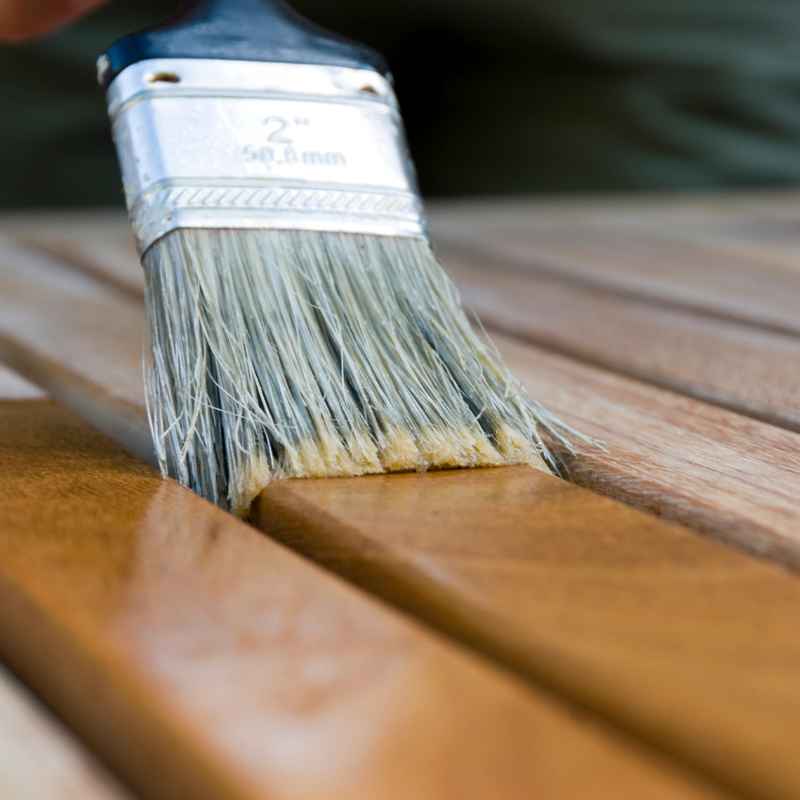
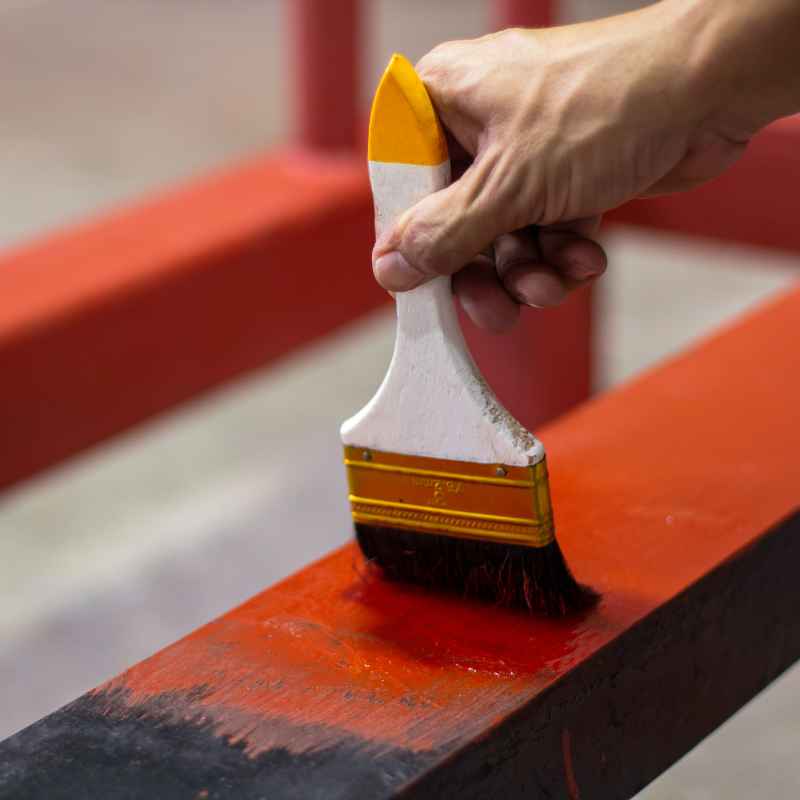
Use the right brush for the product. For water-based finishes, a synthetic brush is best. For oil-based, use a natural bristle brush.
Load the brush but don’t overload it. Apply in long, even strokes.
Work with the grain of the wood. Overlap your strokes slightly. Try to apply the coat evenly.
Avoid drips and runs. If you see a drip, fix it right away. Don’t overwork the finish.
This can cause brush marks.
Spraying
If you’re spraying, use a respirator mask. Wear old clothes. Test your spray pattern on cardboard first.
Hold the spray gun about 10-12 inches from the surface. Move in smooth, even passes. Overlap each pass by about 50%.
Apply thin coats. Multiple thin coats are better than one thick one. This prevents runs and ensures an even finish.
Let each coat dry according to the manufacturer’s instructions.
Sanding Between Coats
This step creates a super smooth finish. It helps the next coat stick better.
- After the first coat is dry, lightly sand the surface. Use very fine-grit sandpaper (220-grit or higher).
- Sand gently. You’re not trying to remove the clear coat. You’re just knocking down any tiny bumps or dust specks.
- Wipe away all dust with a tack cloth. Then apply the next coat.
Repeat this process between each coat. Most projects will need 2-4 coats. For high-wear surfaces, you might need more.
Quick Sanding Tips
- Use a sanding sponge or block for even pressure.
- Always wipe away dust thoroughly with a tack cloth.
- Don’t sand the final coat.
Common Issues and How to Fix Them
Even with the best intentions, things can go wrong. Here’s how to handle common clear coat problems.
1. Brush Marks
This happens when you over-brush or use a poor-quality brush. If they are fresh, try to smooth them out gently with your brush. If the coat is dry, you’ll need to sand it down and reapply.
Using a high-quality brush and working methodically helps prevent this.
2. Runs and Drips
These occur when too much product is applied. Catch them early! Use your brush to gently spread them out.
If they dry, you’ll need to sand them off. Then reapply the coat thinly.
3. Bubbles
Bubbles can be caused by too much agitation of the product, or by applying it in a too-warm or humid environment. Sometimes spraying too close can cause them. If they are small and fresh, you might be able to pop them with a pin and smooth the area.
Dry bubbles mean sanding and reapplying.
4. Haziness or Cloudiness
This can happen if moisture gets into the finish while it’s drying. It’s common with water-based finishes in humid conditions. If it’s slight, sometimes buffing with a very fine compound can help.
Otherwise, you may need to sand it off and reapply in a drier environment.
Another cause is applying too thick a coat of water-based product. It can dry from the outside in, trapping moisture. Thin coats are key.
5. Yellowing
This is a common issue with oil-based polyurethanes and oil-based varnishes. They naturally amber over time, especially with UV exposure. If you are using a light-colored paint, this can be a problem.
Water-based products are much better at staying clear.
Problem Solver: Haziness
Cause: Moisture trapped during drying (especially with water-based products).
Fix:
- Ensure good ventilation and moderate humidity when applying.
- Apply thin coats.
- If haze appears, you might need to lightly sand and reapply.
What This Means for Your Painted Wood Projects
Choosing the right clear coat is not just about aesthetics. It’s about making your projects last. It’s about protecting your time and effort.
When is a Clear Coat Normal?
A clear coat is almost always recommended for painted wood. It adds crucial durability. It prevents the paint from fading, chipping, or scratching easily.
For any item that will be touched, used, or exposed to light, a clear coat is normal and smart.
When Should You Worry?
You should worry if the paint is showing significant wear before a clear coat is applied. This might mean the paint itself isn’t adhering well. Or perhaps the surface wasn’t prepped properly.
Also, worry if your chosen clear coat is not rated for the item’s use. For example, using an interior-only finish on outdoor furniture.
Simple Checks Before You Start
- Test a small, hidden spot: Always test your clear coat on a scrap piece of painted wood or an inconspicuous area. See how it looks and dries.
- Check the paint manufacturer’s advice: Some paints might have specific recommendations for topcoats.
- Consider the environment: Will the item be in a steamy bathroom? In direct sunlight? Choose a clear coat that can handle it.
Quick Tips for a Better Finish
Here are some final thoughts to help you get that perfect finish every time.
- Thin coats are your friend. Always apply multiple thin layers rather than one thick one.
- Work in good lighting. This helps you spot drips and ensures even coverage.
- Use good quality brushes or spray equipment. Cheap tools can ruin a good finish.
- Read the product label carefully. Each product has specific instructions.
- Ventilate your workspace well. Many finishes have strong fumes.
- Be patient. Let each coat dry completely before sanding or applying the next.
Frequently Asked Questions About Clear Coats for Painted Wood
Can I use a spray clear coat on furniture that I brushed paint?
Yes, you often can. Spray clear coats can give a very smooth finish. Just make sure the paint is fully cured.
Lightly sand the painted surface first. Then apply the spray clear coat in thin, even layers.
Will clear coat change the color of my paint?
Some clear coats can. Oil-based products tend to yellow over time, which can make paint look warmer or even slightly orange. Lacquers and water-based acrylics usually dry clear and won’t alter the color much.
How many coats of clear coat do I need?
For most furniture, 2-3 coats are good. For high-traffic items like tabletops or chairs, 3-4 coats are better. For decorative items, 1-2 coats might be enough.
What is the difference between varnish and polyurethane?
Varnish is a broader category. Polyurethane is a specific type of resin used in varnishes and clear coats. Polyurethane is known for its toughness.
Many modern varnishes use polyurethane resin.
Can I put a water-based clear coat over oil-based paint?
Generally, yes. You can put water-based finishes over oil-based paints. But you can’t usually put oil-based finishes over water-based paints.
Always test first. Make sure the oil-based paint is fully cured and degreased.
How do I get a matte finish with a gloss clear coat?
You can’t easily change a gloss clear coat to matte. It’s best to buy a clear coat that already has the sheen you want. Look for “matte,” “satin,” or “eggshell” finishes.
You can also sometimes mix a matte product with a gloss product. But this can be tricky and may affect durability.
Final Thoughts on Your Painted Wood Projects
Choosing the right clear coat is the final step to a beautiful, lasting painted wood project. Think about how the item will be used. Pick a product that matches its needs.
With a little care and the right approach, your painted pieces will look amazing for years to come.
Sponsored / affiliate links. As an Amazon Associate I earn from qualifying purchases. I may earn additional commission from eligible campaigns.