How to Repaint Wrought Iron Patio Furniture Like a Pro
Repainting wrought iron patio furniture restores its original beauty and protects it from rust for years to come. This step-by-step guide walks you through every stage, from surface preparation to the final protective coat, ensuring a durable, professional finish you can achieve at home.
Simply put, repainting wrought iron patio furniture requires thorough cleaning, complete rust removal, proper priming, and multiple thin coats of high-quality paint. Skipping any of these steps leads to peeling, chipping, and rust within months, not years.
Key Takeaways
- Repainting wrought iron patio furniture demands meticulous surface preparation, including rust removal and degreasing, for paint to adhere properly.
- You must use a rust-inhibitive primer and a paint formulated for metal or wrought iron to ensure long-lasting protection outdoors.
- Apply multiple thin coats rather than one thick coat to avoid drips, uneven coverage, and premature cracking.
- Allow adequate drying time between each coat and cure the finish fully before exposing furniture to moisture or heavy use.
- Regular maintenance like cleaning and touch-ups extends your paint job’s life significantly beyond a single season.
What You Need to Repaint Wrought Iron Patio Furniture
Before you start, gather the right tools and materials. Using the wrong products wastes time and produces a finish that fails quickly.
Cleaning and Stripping Supplies
- Wire brush (stiff brass or steel bristles)
- Medium-grit sandpaper (80 to 120 grit) or an orbital sander
- Steel wool pads (fine grade)
- Rust remover or white vinegar for light rust spots
- TSP (trisodium phosphate) or mild dish soap mixed with warm water
- Garden hose or pressure washer on low setting
Priming and Painting Supplies
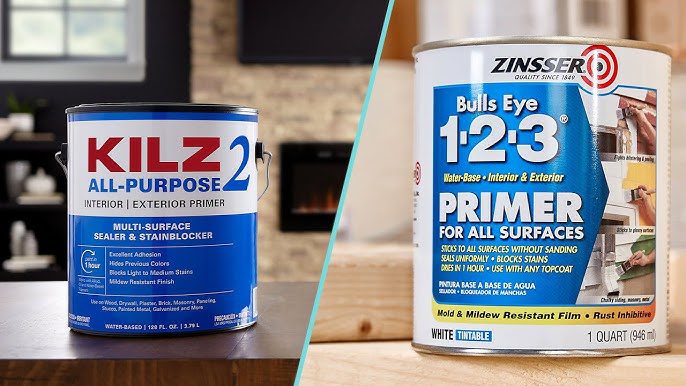
- Rust-inhibitive metal primer (spray or brush-on)
- High-quality exterior metal or wrought iron paint (oil-based or spray enamel)
- Paintbrushes (angled, synthetic bristles for brush application)
- Drop cloths or plastic sheeting
- Painter’s tape for masking non-metal parts
- Respirator mask and safety goggles
Tip: For intricate scrollwork and tight corners, spray paint or a spray gun delivers a much smoother finish than a brush. If you use a brush, choose a high-quality angled sash brush to reach crevices.
| Product Type | Recommended For | Avoid For |
|---|---|---|
| Oil-based enamel paint | Heavy-duty outdoor furniture | Indoor or low-ventilation areas |
| Aerosol spray paint for metal | Detailed, curved, or ornate pieces | Large flat surfaces (too wasteful) |
| Rust-inhibitive primer (spray) | Furniture with heavy rust or pitting | Non-ferrous metals like aluminum |
Choosing the right paint and primer is the foundation of a lasting finish. Oil-based enamels dry harder and resist scratching better than water-based alternatives, but they require more ventilation and longer drying times.
How to Prepare Wrought Iron for Painting
Preparation takes up 80% of the total project time. Rushing this step guarantees poor adhesion and early paint failure.
- Wash the furniture thoroughly with TSP and warm water to remove grease, dirt, and old wax. Rinse completely and let it dry.
- Scrape off loose paint using a stiff wire brush or putty knife. Work in the direction of the metal grain to avoid scratching the underlying iron.
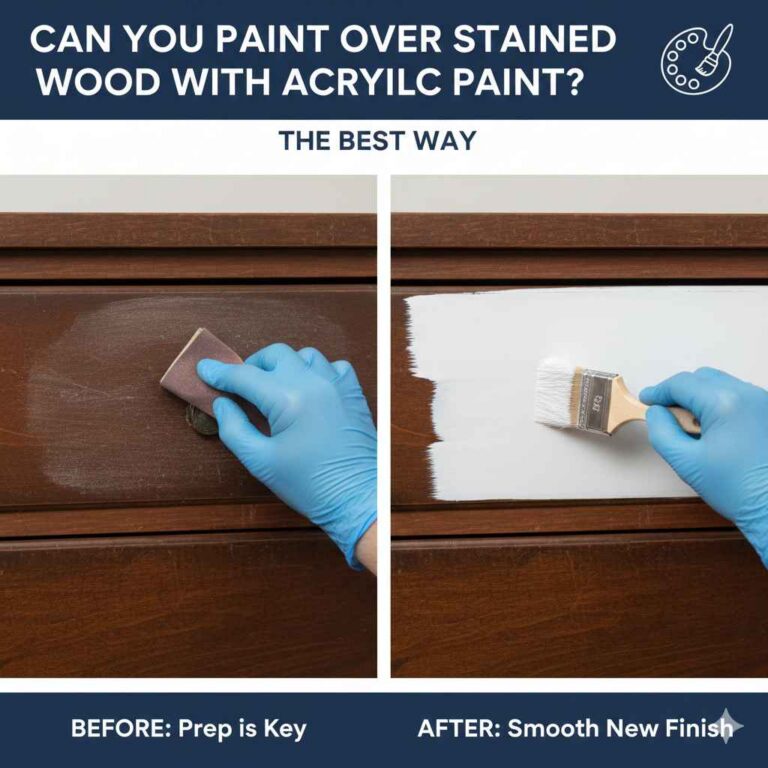
- Sand rough areas with medium-grit sandpaper to feather the edges of remaining paint and create a rough surface for primer adhesion.
- Apply rust remover or vinegar to areas with visible rust. Let it sit for 15-20 minutes, then scrub with steel wool.
- Repeat sanding with fine-grit sandpaper over all metal surfaces until they feel smooth to the touch.
- Wipe everything down with a tack cloth or damp rag to remove all dust particles before priming.
Warning: Never use a wire brush on galvanized wrought iron — it can strip the protective zinc coating. If you’re unsure about your furniture’s finish, test a small hidden area first.
According to the Paint Quality Institute, proper surface preparation accounts for over 75% of a paint job’s longevity. Skipping sanding or leaving rust spots active beneath the new paint leads to blistering within three to six months.
A clean, rough surface allows the primer to mechanically bond with the iron. If you skip this step, the paint sits on top of the old finish rather than locking into the metal, making peeling inevitable.
Step 1: Clean the Furniture Thoroughly
Cleaning removes the invisible grease and grime that prevent primer from sticking. Even brand-new-looking furniture needs cleaning before painting.
Mix a solution of one cup TSP per gallon of warm water. Scrub every surface, especially the underside of seats and legs where dirt accumulates. Rinse with a garden hose and let the furniture dry completely for at least 24 hours.
If you paint over moisture trapped in crevices, it will bubble and peel later.
- Use a degreaser if the furniture was near a grill or fire pit where smoke residue settled
- Pay special attention to joints and welded areas where dirt collects
- Work in sections: clean, rinse, repeat for all sides
- Allow furniture to dry in direct sunlight or a warm, ventilated space
- Wipe with a tack cloth after drying to pick up any remaining dust
Important: Do not use bleach or ammonia-based cleaners on wrought iron. They can react with the metal and cause flash rusting within hours, forcing you to restart the preparation process.
The Consumer Product Safety Commission advises that outdoor furniture degreasers containing citrus solvents work safely on metal finishes. However, always rinse thoroughly because residue can interfere with paint adhesion just as much as dirt.
Step 2: Remove Rust and Old Paint
Rust is the biggest enemy of a fresh paint job on wrought iron. If you paint over rust, it continues spreading underneath the new coat, eventually pushing the paint off from the inside out.
Use a wire brush to scrape away loose rust flakes. For stubborn spots, apply a commercial rust converter or gel remover according to its label directions. Let it sit for the recommended dwell time, then scrub again with a brass wire brush.
Sand the area smooth with 120-grit paper until you see bare metal or a stable, sound surface.
| Rust Removal Method | Best For | Time Required |
|---|---|---|
| Wire brush + sandpaper | Small, localized rust spots | 30 minutes per chair |
| Chemical rust remover gel | Heavy, pitting rust on detailed areas | 1-2 hours including dwell time |
| Oscillating tool with wire cup brush | Entire chair or table restoration | 15-20 minutes per piece |
| Sandblasting (professional) | Multiple pieces, heavy corrosion | Varies by shop |
For furniture with deeply pitted rust, sandblasting is the most thorough option. Professional sandblasting removes all old paint and rust in minutes, leaving a clean surface ready for priming. The cost typically ranges from $50 to $150 per chair depending on your local rates.
Step 3: Prime the Surface
Primer is not optional for outdoor wrought iron. A quality rust-inhibitive primer seals the metal, prevents flash rusting, and provides a uniform surface for the paint to grip.
Apply a thin, even coat of primer using a spray can for intricate areas or a brush for larger straight sections. Hold the spray can 8-10 inches from the surface and apply in smooth, sweeping motions. Overlap each pass by 50% to ensure full coverage without heavy buildup in corners.
Tip: Choose a gray or white primer if you plan to paint with a light color. Dark red or brown primers are better suited for black or dark gray topcoats. Matching primer to your finish color reduces the number of topcoats needed.
Let the primer dry according to the manufacturer’s instruction — usually 24 hours for oil-based primers and 4-6 hours for water-based formulations. Do not rush this step. Drying time is especially critical in humid conditions.
If you apply paint over under-dried primer, moisture gets trapped and causes blistering.
- Apply primer at 65-80°F with humidity below 70% for best results
- Use a dedicated metal primer, not a general-purpose all-surface primer
- Lightly sand the primer with 220-grit paper before painting for better adhesion
- Wipe away sanding dust thoroughly with a tack cloth
Step 4: Apply Paint Properly
This is the most satisfying step, but it also requires the most patience. Rushing application leads to runs, drips, and uneven texture.
Stir your paint thoroughly, or shake spray cans for at least one minute after you hear the mixing ball rattle. Apply paint in thin coats rather than trying to cover everything in one go. Thin coats dry faster, level better, and are less likely to drip.
- Start with an angled brush for edges, scrollwork, and tight corners where a spray might miss
- Spray broader surfaces in a side-to-side pattern, keeping the can or spray gun moving constantly
- Do not overwork the paint — two or three light passes give better coverage than one heavy coat
- Let each coat dry completely before applying the next. Oil-based paints need 24 hours between coats
- Sand lightly between coats with 320-grit sandpaper only if you notice dust nibs or rough spots
- Apply a final protective clear coat if you want extra resistance to UV rays and moisture
Warning: Do not paint in direct sunlight or high wind conditions. Direct sun dries the paint too fast, causing a rough texture called “orange peel.” Wind blows dust and debris onto the wet surface, ruining the finish.
Plan to apply at least three coats of paint for full coverage and durability. Each thin coat builds up a total protective layer that resists chipping far better than a single heavy application. According to Rust-Oleum, their professional-grade spray paints achieve maximum durability with three thin coats applied at 10-minute intervals for fast-dry formulations.
Common Mistakes When Repainting Wrought Iron
Even experienced DIYers make errors that shorten the life of their paint job. Recognizing these mistakes before you start helps you avoid costly do-overs.
| Mistake | Consequence | Fix |
|---|---|---|
| Skipping rust removal entirely | Rust bleeds through new paint in 2-4 months | Strip back to bare metal and restart |
| Painting over dirt or grease | Peeling and chipping within weeks | Wash with TSP and sand before repainting |
| Applying one heavy coat | Drips, runs, and slow drying with poor adhesion | Sand down drips and reapply in thin coats |
| Not using metal-specific primer | Paint does not bond; chips off easily | Strip and re-prime with correct primer |
| Painting in humid weather | Blushing, poor adhesion, and slow curing | Wait for a dry day with humidity below 60% |
Another common oversight is not waiting long enough between coats. Oil-based paints require a minimum of 24 hours of drying time between each layer. If you apply the next coat too soon, solvents trapped in the first coat create bubbles that later pop into craters.
The American Coatings Association recommends allowing a full seven-day cure time before exposing freshly painted wrought iron to rain, sprinklers, or heavy use. During the cure window, the paint hardens from the inside out, reaching maximum durability.
How to Maintain Your Newly Painted Wrought Iron Furniture
A quality paint job on wrought iron can last five to seven years with proper care. Without maintenance, you will likely need to repaint within two to three years.
Clean the furniture every month during the outdoor season with mild soap and water. Rinse well and dry with a soft cloth to prevent water spots. Inspect for chips or scratches each time you clean.
If you find a small chip, touch it up immediately with a tiny brush before rust starts forming underneath the surrounding paint.
- Store furniture indoors or under a breathable cover during winter months
- Apply a coat of automotive wax once per season for extra UV and moisture protection
- Do not use abrasive cleaners or scouring pads on the painted surface
- Lift furniture when moving it instead of dragging it across concrete or decking
- Keep furniture away from sprinkler heads and high-moisture areas
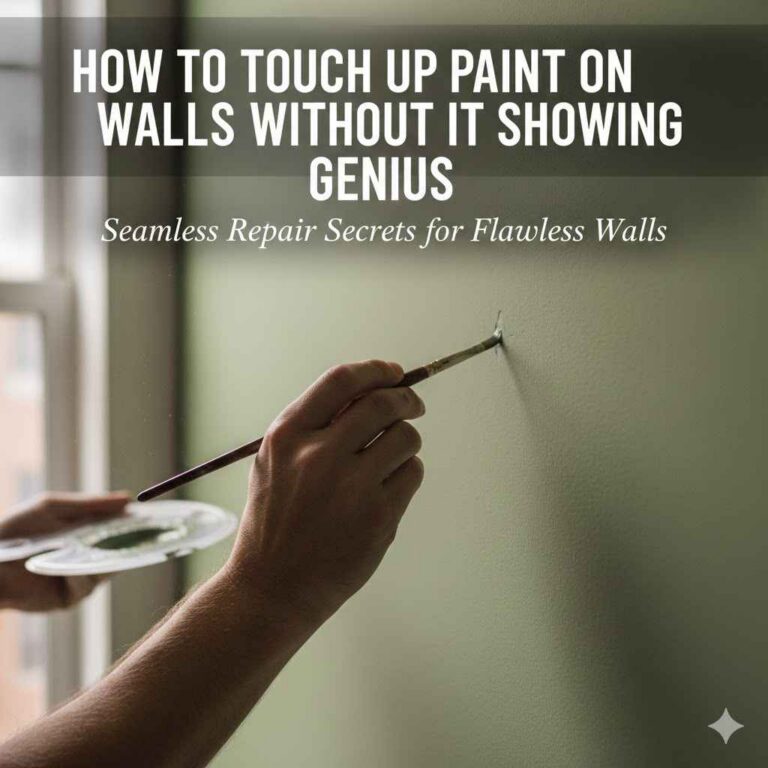
Tip: Keep a small bottle of your exact paint color and a fine-tip artist brush in your garage. Touching up a tiny scratch instantly — before rust has a chance to spread — adds years to your paint job.
Furniture covers made from waterproof, breathable fabric are worth the investment. Avoid plastic tarps, which trap condensation beneath them and promote rust. Look for covers with mesh vent panels that allow airflow while keeping rain and snow off the metal.
Frequently Asked Questions
Can I repaint wrought iron patio furniture without removing all the old paint?
You can repaint over sound old paint, but only if the existing finish is still well-adhered and not peeling. Remove any loose or flaking paint, sand the surface to create a mechanical bite, and clean it thoroughly. However, for best results, stripping to bare metal ensures maximum adhesion and longevity.
What type of paint is best for wrought iron furniture?
Oil-based enamel paint is the best choice for wrought iron because it dries hard, resists scuffs, and provides excellent protection against moisture. Aerosol spray paints designed specifically for metal also work well, especially on intricate designs and curved surfaces where brushing leaves streaks.
Do I need to prime wrought iron before painting?
Yes, priming is essential. A rust-inhibitive primer seals the bare metal, stops flash rusting, and gives the topcoat a uniform surface to grip. Without primer, paint adhesion is significantly weaker, and early peeling or chipping is almost guaranteed.
How long does repainting wrought iron patio furniture take?
The entire process takes three to five days from start to finish. Preparation and cleaning consume the first one to two days. Priming and painting each require 24 hours of drying time between coats.
An additional seven-day cure time is recommended before heavy use or exposure to weather.
Can I use spray paint on wrought iron instead of brush-on?
Yes, spray paint works very well on wrought iron, particularly for furniture with scrollwork, curls, and tight crevices. Choose a high-quality exterior enamel spray paint designed for metal. Apply in thin, sweeping passes to avoid drips and uneven coverage.
Final Thoughts
Repainting wrought iron patio furniture is a rewarding DIY project that dramatically extends the life and appearance of your outdoor pieces. Focus on thorough preparation, use high-quality metal primer and paint, and apply multiple thin coats for the best results. With proper maintenance and prompt touch-ups, your refreshed furniture will look beautiful and resist rust for many seasons to come.
Sponsored / affiliate links. As an Amazon Associate I earn from qualifying purchases. I may earn additional commission from eligible campaigns.