How to Install a Door Lock: Deadbolt, Knob & Smart Lock Steps
A new deadbolt or knob lock takes most homeowners 30-60 minutes to install with a $10-$50 kit — but the door must already have a standard 2-1/8 inch bore hole, or you’ll need a hole saw first. Using the wrong backset (2-3/8 in. vs 2-3/4 in.) is the most common reason a new lock won’t seat flush. This guide covers picking the right lock type, drilling and chiseling the door, and installing a deadbolt, knob, lever, or smart lock step by step.
This post contains affiliate links. As an Amazon Associate we earn from qualifying purchases.
Quick Answer
Most people can install a door lock themselves in under an hour. Measure the backset (2-3/8 in. or 2-3/4 in.), drill the 2-1/8 in. face hole and 1 in. edge hole using the kit’s paper template, chisel a shallow recess for the latch and strike plate, then install and test the lock. A Grade 2 deadbolt is the minimum ANSI/BHMA security rating recommended for exterior doors.
Why Installing a Door Lock Yourself Is a Great Idea
Let’s kick things off by talking about why this project is worth your time. When I started, I was tired of my old lock sticking, and I didn’t want to pay a locksmith $150 for a quick job. Installing a lock yourself saves money—big time. I spent $30 on a new deadbolt and did it for a fraction of the cost.
A good lock also keeps your home safe. My old lock felt flimsy, and I worried about break-ins. A sturdy new one gave me peace of mind. Plus, you can pick a lock that matches your style, like a sleek black deadbolt or a high-tech smart lock. Choosing the right lock also means matching its ANSI/BHMA security grade to how the door is used — covered in the next section.
Choosing the Right Lock Security Grade Before You Buy
ANSI/BHMA grading is a certification system that rates a lock’s durability and forced-entry resistance from Grade 1 (highest) to Grade 3 (lowest). Grade 1 locks pass a 250,000-cycle test and a 10-strike hammer test built for commercial doors; Grade 2 locks pass a 150,000-cycle test and a 5-strike hammer test, which is the minimum most locksmiths recommend for an exterior residential door. Grade 3 is fine for closets and interior doors where forced-entry resistance doesn’t matter.
- Grade 1: Commercial-grade durability, overkill (and pricier) for most homes unless you want the toughest option on a front door.
- Grade 2: The sweet spot for exterior doors — front doors, back doors, garage entry doors.
- Grade 3: Interior doors only — bedrooms, offices, closets, storage rooms.
📊 55.7% of U.S. burglaries in the most recent FBI reporting year involved forcible entry — which is why the FBI and most locksmiths recommend at least a Grade 2 deadbolt on every exterior door. — Source: FBI Uniform Crime Reporting Program
Getting to Know Door Locks
Before we grab our tools, let’s chat about door locks. I made the mistake of buying a lock that didn’t fit my door once, and I had to return it. Locks come in different types, and each has its job — see our full door knob and lock parts guide for how each piece fits together:
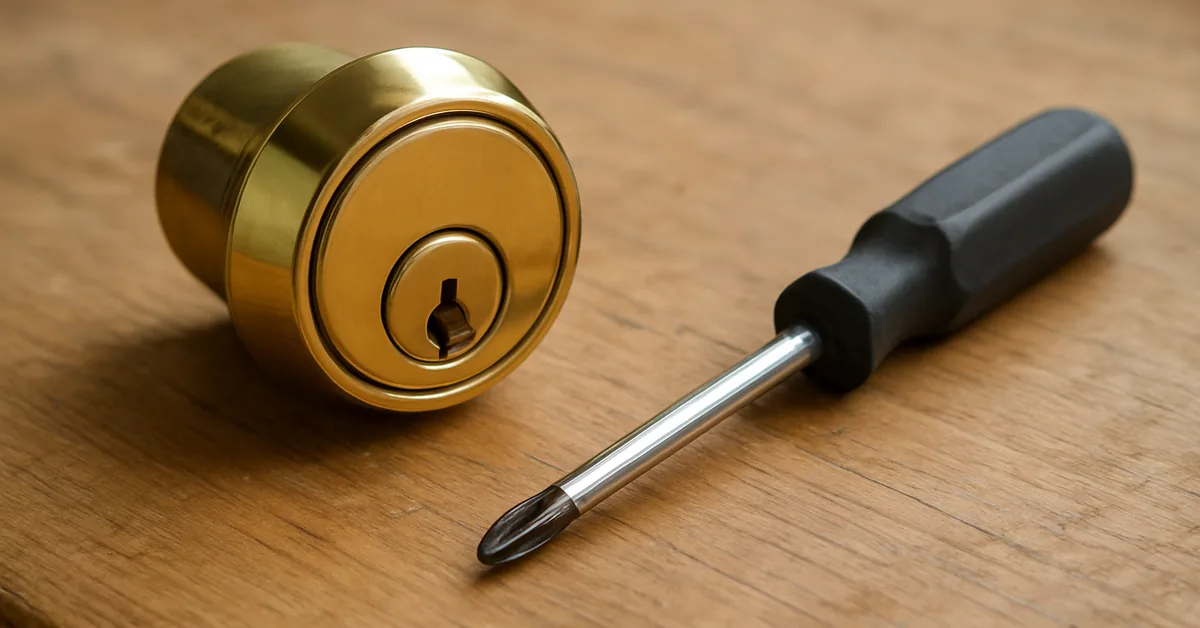
- Deadbolts: These are the toughest locks. I put a single-cylinder deadbolt on my front door—it uses a key outside and a thumb turn inside.
- Knob locks: These are common for inside or outside doors. I used one on my back door but added a deadbolt for extra security.
- Lever locks: Easier to grip than knobs, great for kids or elderly folks. I installed one in my home office for comfort.
- Smart locks: These use codes, apps, or even fingerprints. I helped my neighbor set up a smart lock, and it’s super cool but costs more.
I went with a deadbolt for my main door because it’s the most secure. Knowing what you need helps you pick the perfect lock for your home.
Tools and Materials You’ll Need
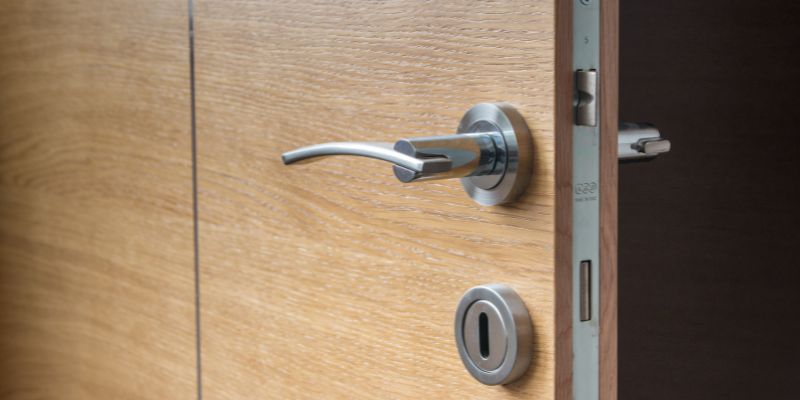
Having the right tools makes this job so much smoother. I learned this the hard way when I tried using a butter knife instead of a chisel—don’t do that! Here’s what I use:
- Door lock kit: Comes with the lock, latch, strike plate, and a template. I got a Kwikset deadbolt for $25. If you’re installing a Kwikset knob specifically, see our Kwikset door knob walkthrough.
- Screwdriver: A Phillips one for screws. I already had one in my toolbox.
- Drill and bits: For making holes. I used a $30 drill with a 2-1/8-inch hole saw and 1-inch spade bit.
- Chisel: To carve out spots for the latch and strike plate. Mine cost $8.
- Measuring tape and pencil: To mark where to drill. I used kitchen supplies.
- Combination square: To keep lines straight. I borrowed one, but they’re about $10.
- Hammer: To tap the chisel gently. I had one at home.
- Safety glasses: To protect your eyes from wood chips. I got $5 goggles.
- Optional: Lock installation kit: Includes templates for easy drilling. I used one for $15, and it was a lifesaver.
My total cost was around $65, but you might have some tools already — a dedicated installation kit like the ones below bundles the hole saw, jig, and chisel guide into one purchase. Check your lock kit’s instructions for exact drill bit sizes.
Best Door Lock Installation Kit Pick
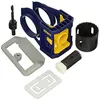
IRWIN Door Lock Installation Kit – $16.05
A recognized-brand hole saw kit sized for the standard 2-1/8 in. face bore this guide’s Method 1 uses — skips buying a separate hole saw and spade bit.
- Best for: First-time installers who don’t already own a hole saw
- Why we picked it: Long-standing tool brand, matches the 2-1/8 in. and 1 in. bores this guide specifies
- Main drawback: Basic kit — no adjustable jig, so you still mark the template by hand
Compare more lock installation kit options
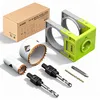 Option 1 KATA Bi-Metal Hole Saw & Adjustable Door Jig Kit – $26.99
|
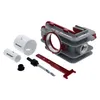 Option 2 Milescraft 1338 Lock Mate PLUS Self-Clamping Kit – $39.99
|
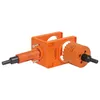 Option 3 VIKITON Door Lock Installation Kit (Knob, Lever, Deadbolt) – $15.99
|
As an Amazon Associate we earn from qualifying purchases.
Preparing Your Door for the Lock
Before you start drilling, you need to get your door ready. I messed this up once by skipping measurements, and my holes were off. Here’s how I prep now:
- Inspect the door: Make sure it’s wood, metal, or hollow-core. My solid wood door was easy to work with, but hollow doors need special kits.
- Measure the backset: This is the distance from the door’s edge to the lock’s center, usually 2-3/8 or 2-3/4 inches. My door was 2-3/8 inches, which is standard.
- Mark the lock height: Most locks go 36-38 inches from the floor. I marked 36 inches to match my other doors.
- Tape the template: Lock kits come with a paper template. I taped mine to the door to mark where to drill.
- Wipe the door: Clean it to see your marks. I used a damp cloth.
This prep takes 10 minutes but saves you from costly mistakes. It’s like checking your car’s tires before a trip—do it right, and you’re golden!
Method 1: Installing a Deadbolt on a Door Without a Lock
If your door is brand new or doesn’t have a lock, this is the way to go. I used this method for my front door. Here’s how I did it:
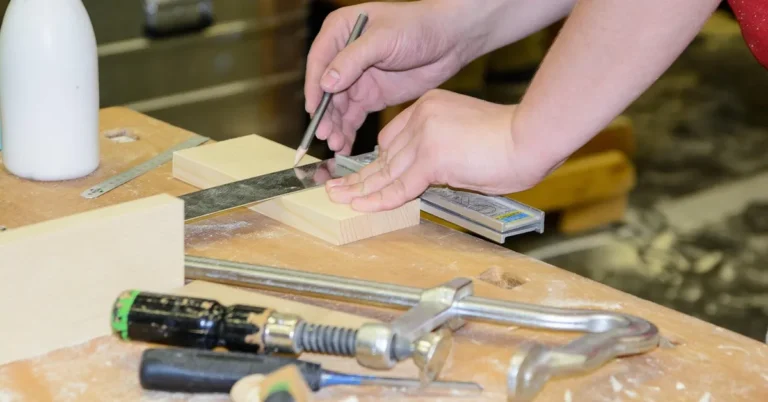
- Mark the spots: Tape the template at 36 inches high. I used a pencil to mark the lock hole (2-1/8 inches) on the door’s face and the latch hole (1 inch) on the edge.
- Drill the lock hole: Grab a 2-1/8-inch hole saw and drill through the door’s face. I started on one side, then finished from the other to avoid splintering.
- Drill the latch hole: Use a 1-inch spade bit to drill into the door’s edge. I stopped at about 2-1/8 inches deep, matching my deadbolt’s length.
- Chisel the latch recess: Place the latch plate on the edge and trace it. I chiseled a 1/8-inch deep recess so the plate sat flush.
- Install the latch: Slide the latch into the edge hole and screw it in with the kit’s screws. I tested it to make sure it moved smoothly.
- Add the deadbolt: Feed the deadbolt through the latch and align it. I screwed the inside and outside pieces together tightly.
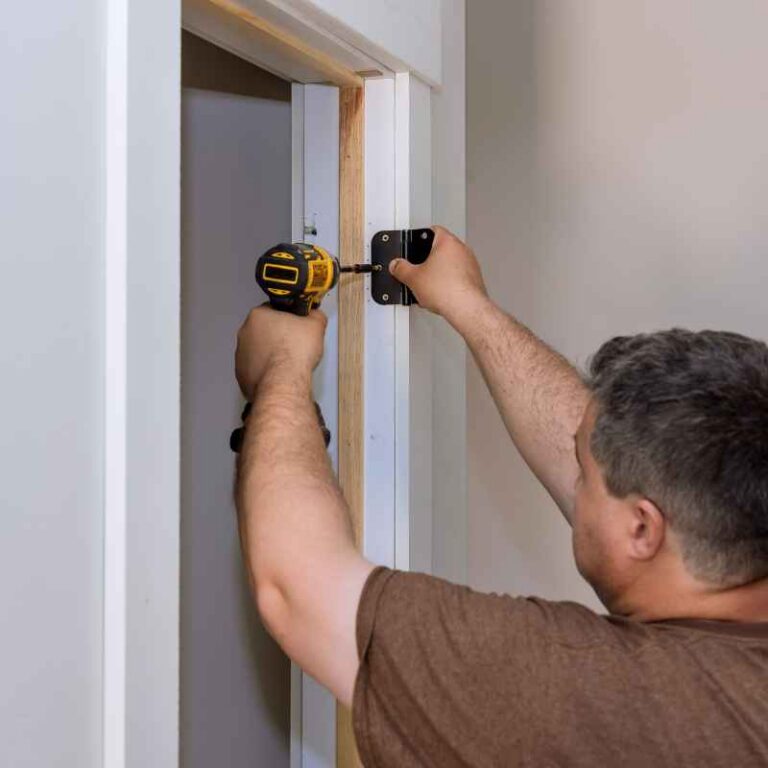
- Install the strike plate: Close the door and mark where the bolt hits the frame. I drilled a 1-inch hole, chiseled a recess, and screwed in the strike plate.
- Test it: Lock and unlock with the key and thumb turn. My deadbolt clicked perfectly, but I adjusted the strike plate a hair for smoothness.
This took me about an hour, and my door felt like Fort Knox. It’s perfect for new doors or boosting security. Only installing a deadbolt and nothing else? Our dedicated deadbolt-only installation guide narrows in on just that bore-and-strike-plate process in more depth.
Method 2: Replacing an Old Door Lock
If you’re swapping out a worn or outdated lock, this is quicker. I replaced a creaky knob lock on my back door. Here’s how:
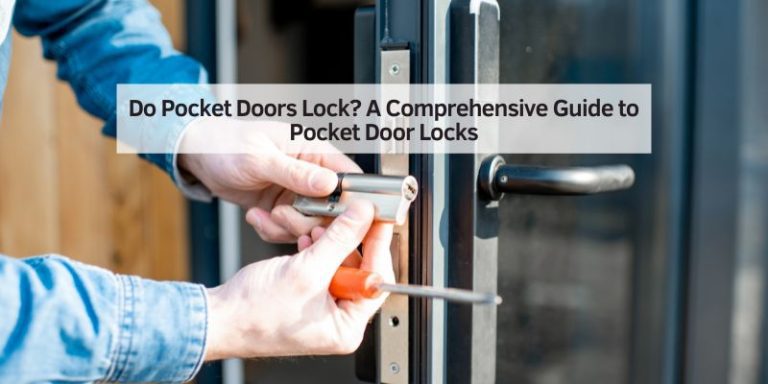
- Remove the old lock: Unscrew the two screws on the inside knob. I pulled both knobs off, then unscrewed the latch from the door’s edge.
- Check the holes: New locks usually fit standard 2-1/8-inch lock holes and 1-inch latch holes. My door’s holes were spot-on.
- Install the new latch: Slide the new latch into the edge hole and screw it in. I made sure it was flush with the door.
- Add the new lock. Feed the lock through the latch and align it. I screwed the inside and outside pieces together firmly.
- Reuse or replace the strike plate: If the old strike plate fits, keep it. Mine didn’t align, so I installed the new one like in Method 1.
- Test the lock: Turn the knob and key to ensure it works. I tweaked the strike plate for a snug fit.
This took 30 minutes since the holes were ready. It’s great for refreshing old locks or upgrading to a new style.
Method 3: Installing a Smart Lock
Smart locks are fancy and keyless. I helped my brother install a Yale Assure smart lock on his front door. Here’s the process:
- Check the door. Make sure it has standard 2-1/8-inch and 1-inch holes. My brother’s door was perfect.
- Remove the old lock: We unscrewed the old deadbolt and latch, just like Method 2.
- Install the new latch. Slide in the smart lock’s latch and screw it in. We set it for a 2-3/4-inch backset.
- Mount the lock: Feed the lock through the latch and connect the keypad wiring. We followed the manual to get it right.
- Add the interior panel: Screw on the inside panel and pop in the batteries. We used four AA batteries from the kit.
- Install the strike plate: The old strike plate worked, so we kept it.
- Set up the app: We downloaded the Yale app, paired the lock, and set a code. It took 15 minutes to program features like auto-lock.
- Test it: We locked it with the code, app, and backup key. It worked like a dream.
This took 45 minutes, plus app setup. Smart locks cost $150-$300 but are awesome for tech fans or key-haters. Once it is set up, you can change the access code any time — see our guide on changing the code on a Schlage smart lock if yours supports it.
Troubleshooting Common Problems
Sometimes, things don’t go perfectly. Here’s how I fixed issues I ran into:
- Bolt doesn’t catch: If the lock won’t engage, adjust the strike plate. I filed mine slightly to align it.
- Holes are too small: Widen them with a drill or hole saw. I enlarged a latch hole for a snug fit.
- Door splinters: Sand rough edges or use wood filler. I sanded my door to smooth out a splintered spot.
- The lock feels wobbly: Tighten the screws or use longer ones. I swapped short screws for 1-1/2-inch ones for stability.
These fixes are easy and keep your lock solid. A blockquote below has one more real fix worth knowing before you close up the job.
“The strike plate is the number one reason a freshly installed lock feels stiff or won’t catch — not the lock itself. Filing a sixteenth of an inch off the inside edge of the strike plate opening fixes it almost every time before you assume the whole lock is defective.”
Comparing Lock Installation Methods
To help you pick the best method, here’s a table based on my experiences:
| Method | Best For | Cost | Time Needed | Tools Needed | Difficulty |
|---|---|---|---|---|---|
| Deadbolt on New Door | New doors, max security | $25-$60 | 1 hour | Drill, hole saw, chisel, screwdriver | Medium |
| Replacing Old Lock | Upgrades, quick swaps | $20-$50 | 30 min | Screwdriver, optional chisel | Easy |
| Smart Lock | Keyless entry, tech lovers | $150-$300 | 45 min | Screwdriver, drill, app | Medium |
I love replacing old locks for speed, but deadbolts are best for safety. Choose what matches your door and goals.
Maintaining Your New Lock
Once your lock is installed, a little TLC keeps it working great. Here’s what I do:
- Lubricate it: Spray a dry PTFE or graphite lubricant into the keyhole once a year — avoid oil-based lubricants, which attract dust and gum up the pins. I do this to keep my deadbolt smooth.
- Check screws: Tighten them every few months to avoid looseness. I use a screwdriver for a quick check.
- Clean the lock: Wipe it with a damp cloth to remove dirt. I avoid harsh cleaners to protect the finish.
- Replace batteries (smart locks): Swap batteries yearly or as soon as the low-battery beep starts — most smart locks give you several weeks of warning beeps before they lock you out. My brother sets a phone reminder every January so his Yale lock never dies unannounced.
Five minutes of upkeep a year is all it takes to keep a new lock working like day one.
Frequently Asked Questions
Can you install a door lock yourself?
Yes. Installing a knob, lever, or deadbolt lock is a beginner-friendly DIY project if the door already has a standard bore hole — most people finish in 30 to 60 minutes with a screwdriver, drill, and a $10-$50 lock kit. Cutting a brand-new bore hole in a blank door takes longer and requires a hole saw and chisel.
What size hole do I need for a door lock?
Most U.S. residential locksets need a 2-1/8 inch hole through the door face for the lock body and a 1 inch hole through the door edge for the latch. Always check your specific lock kit’s paper template first, since a few brands use slightly different sizes.
What is the standard backset for a door lock?
The backset — the distance from the door’s edge to the center of the bore hole — is 2-3/8 inches on most interior doors and 2-3/4 inches on most exterior doors in the U.S. Buying the wrong backset is the most common reason a new lock won’t seat flush against the door.
Do you need a permit to install a door lock?
No. Swapping or adding a standard residential lockset, deadbolt, or smart lock does not require a building permit in most U.S. jurisdictions, since it doesn’t alter the door’s structure. Rental units may still require landlord permission before changing exterior locks.
How much does it cost to install a door lock yourself?
A basic knob or deadbolt kit runs $20 to $60, and a smart lock runs $150 to $300 — plus $20 to $50 for a hole saw kit if the door doesn’t already have a bore hole. A locksmith charges roughly $100 to $200 for the same job including labor.
Conclusion
Installing a door lock comes down to three things: picking a lock with at least a Grade 2 ANSI/BHMA rating for exterior doors, matching the backset and bore holes to your lock kit’s template, and taking the extra ten minutes to prep and measure before you drill. Whether you’re adding a first deadbolt, swapping a tired knob, or wiring in a smart lock, the same drill-chisel-install-test sequence applies — and most homeowners finish the whole job in under an hour.
Sponsored / affiliate links. As an Amazon Associate I earn from qualifying purchases. I may earn additional commission from eligible campaigns.